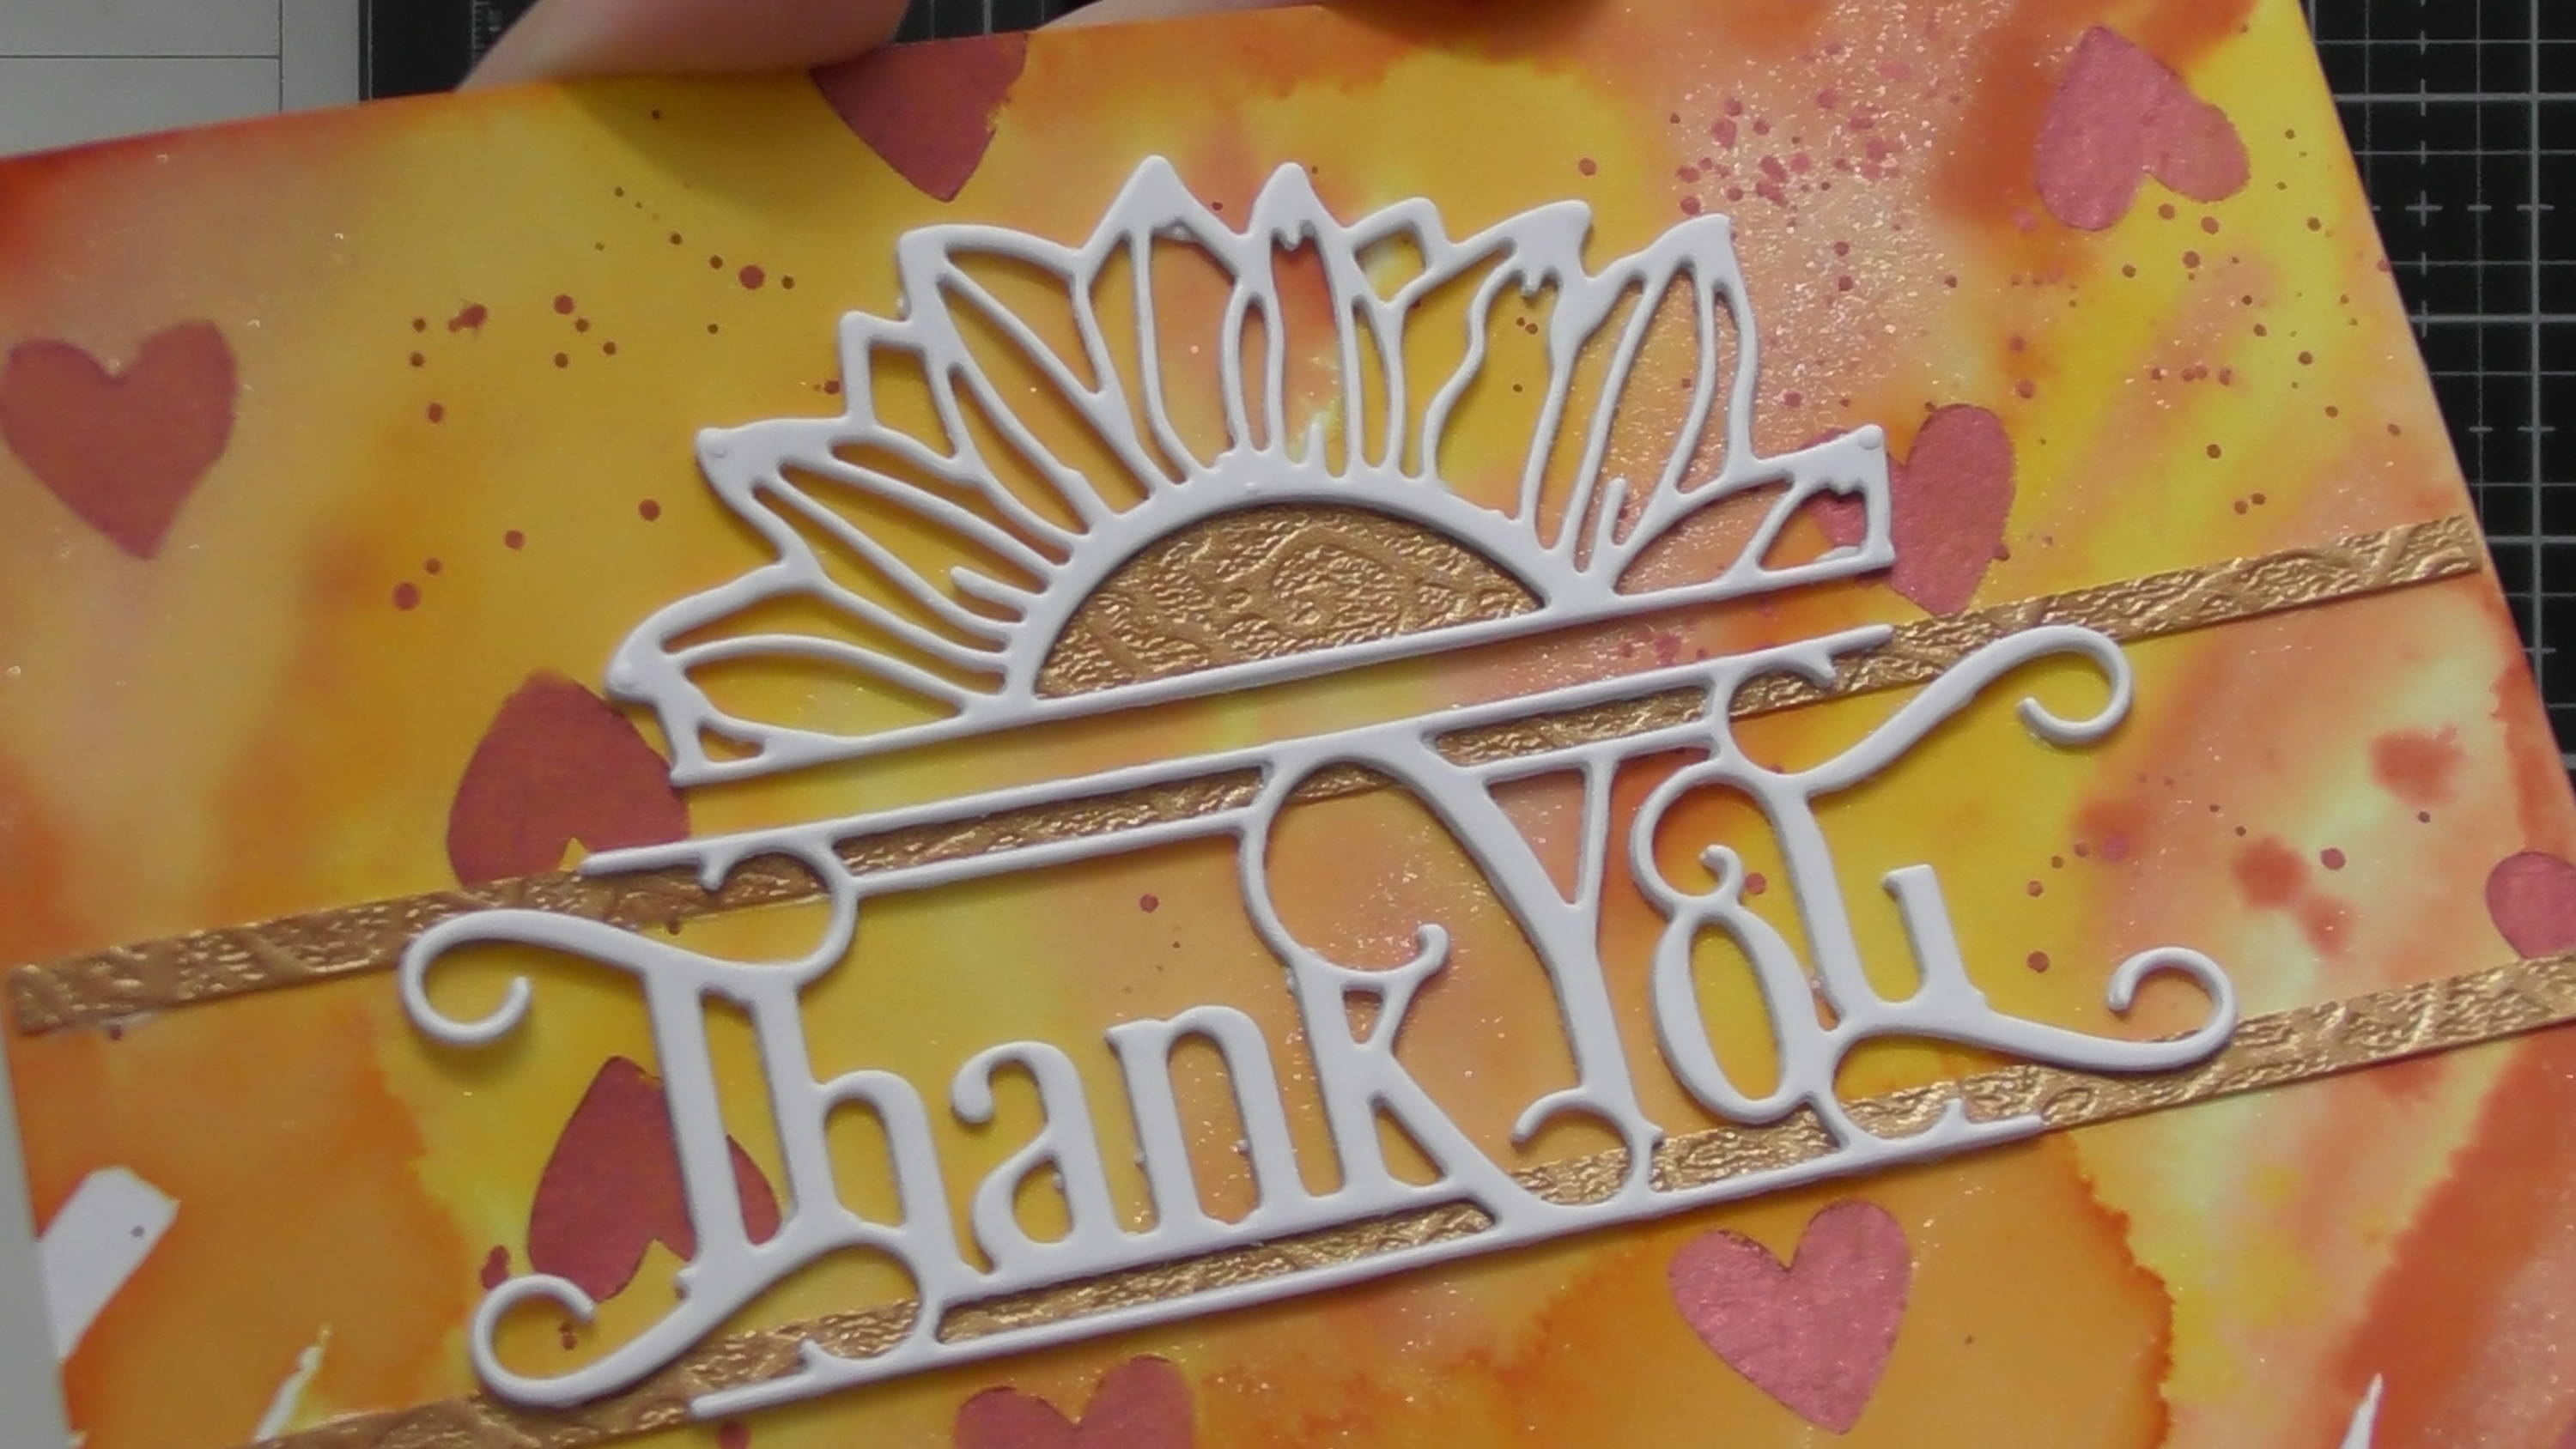
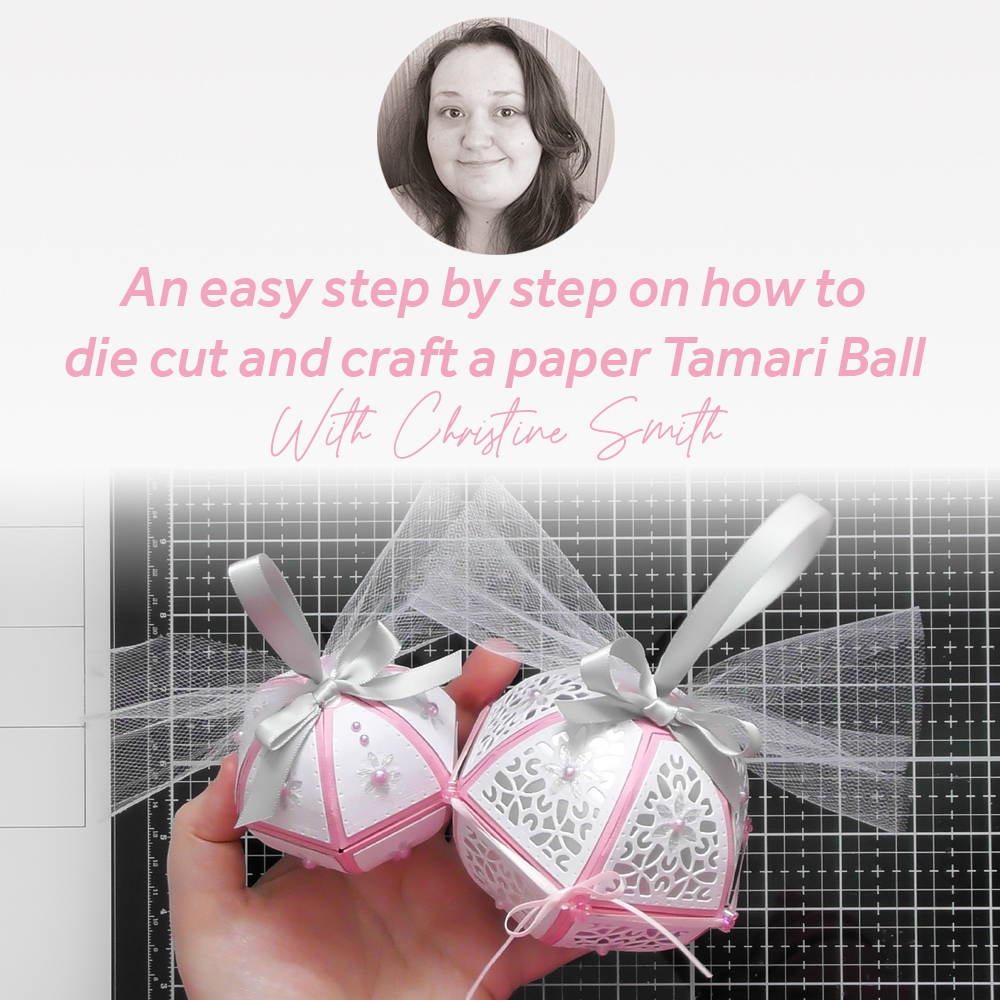
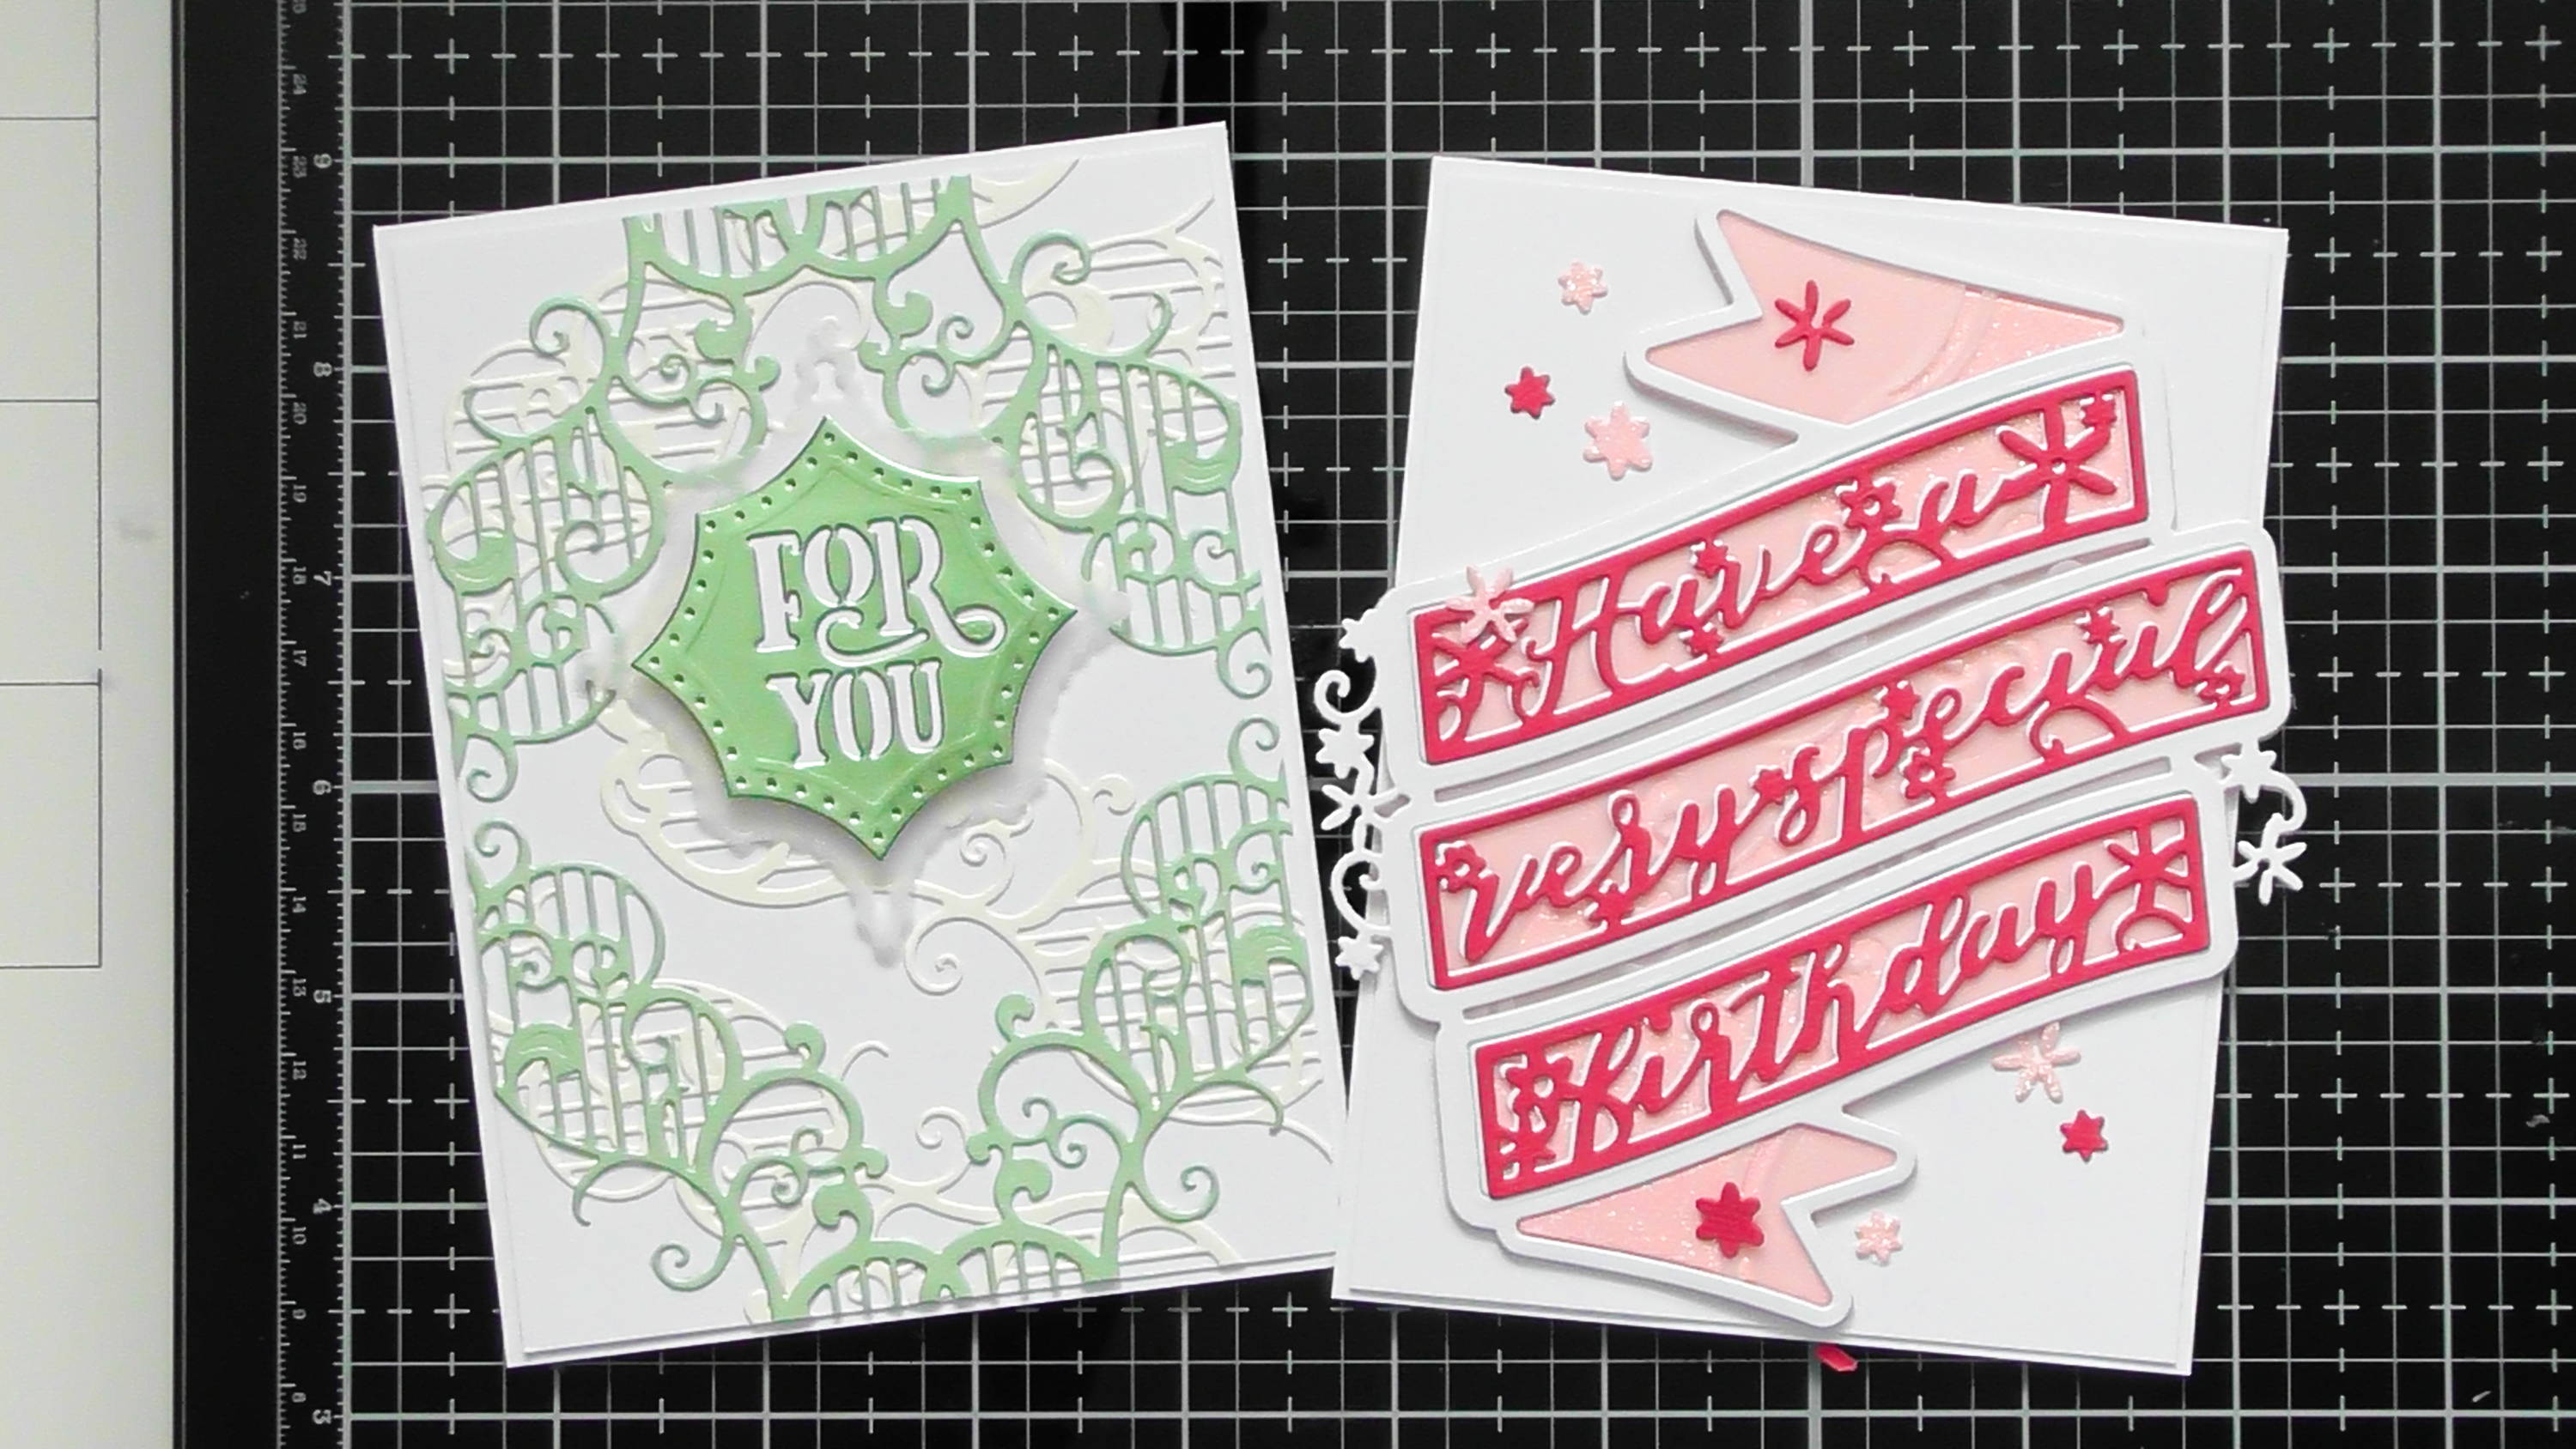
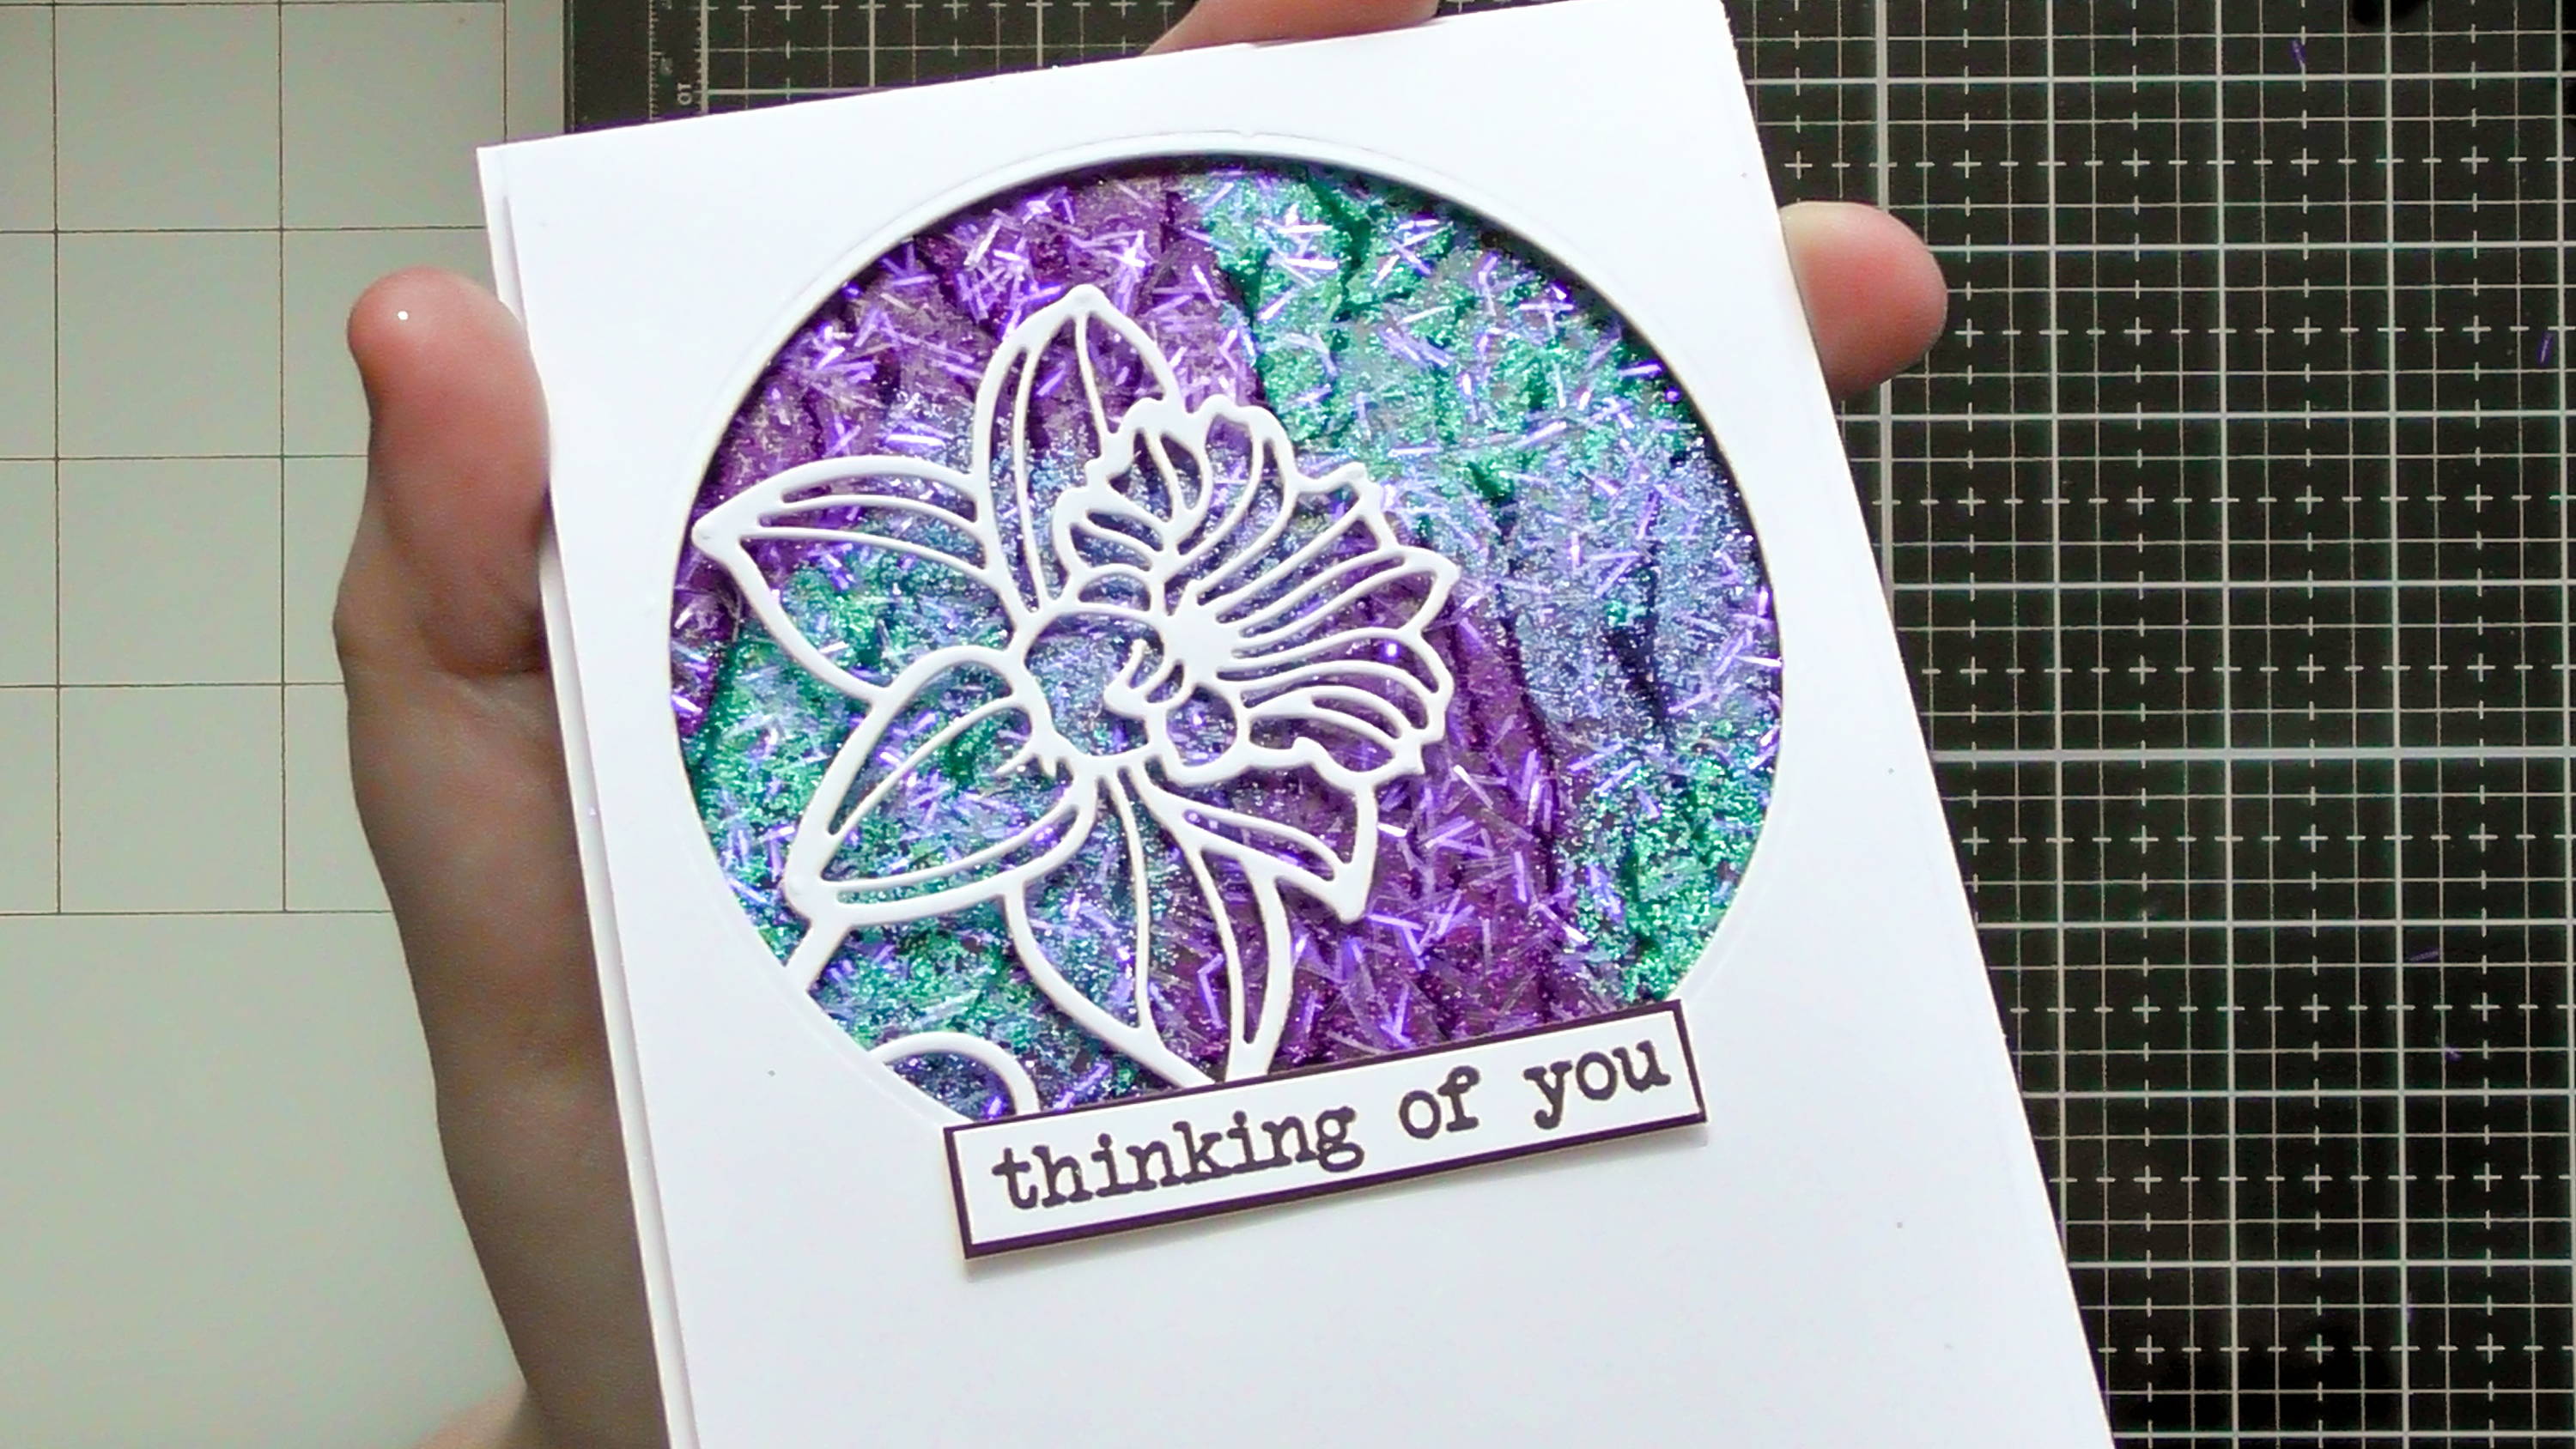
Card 1 - Thinking Of You
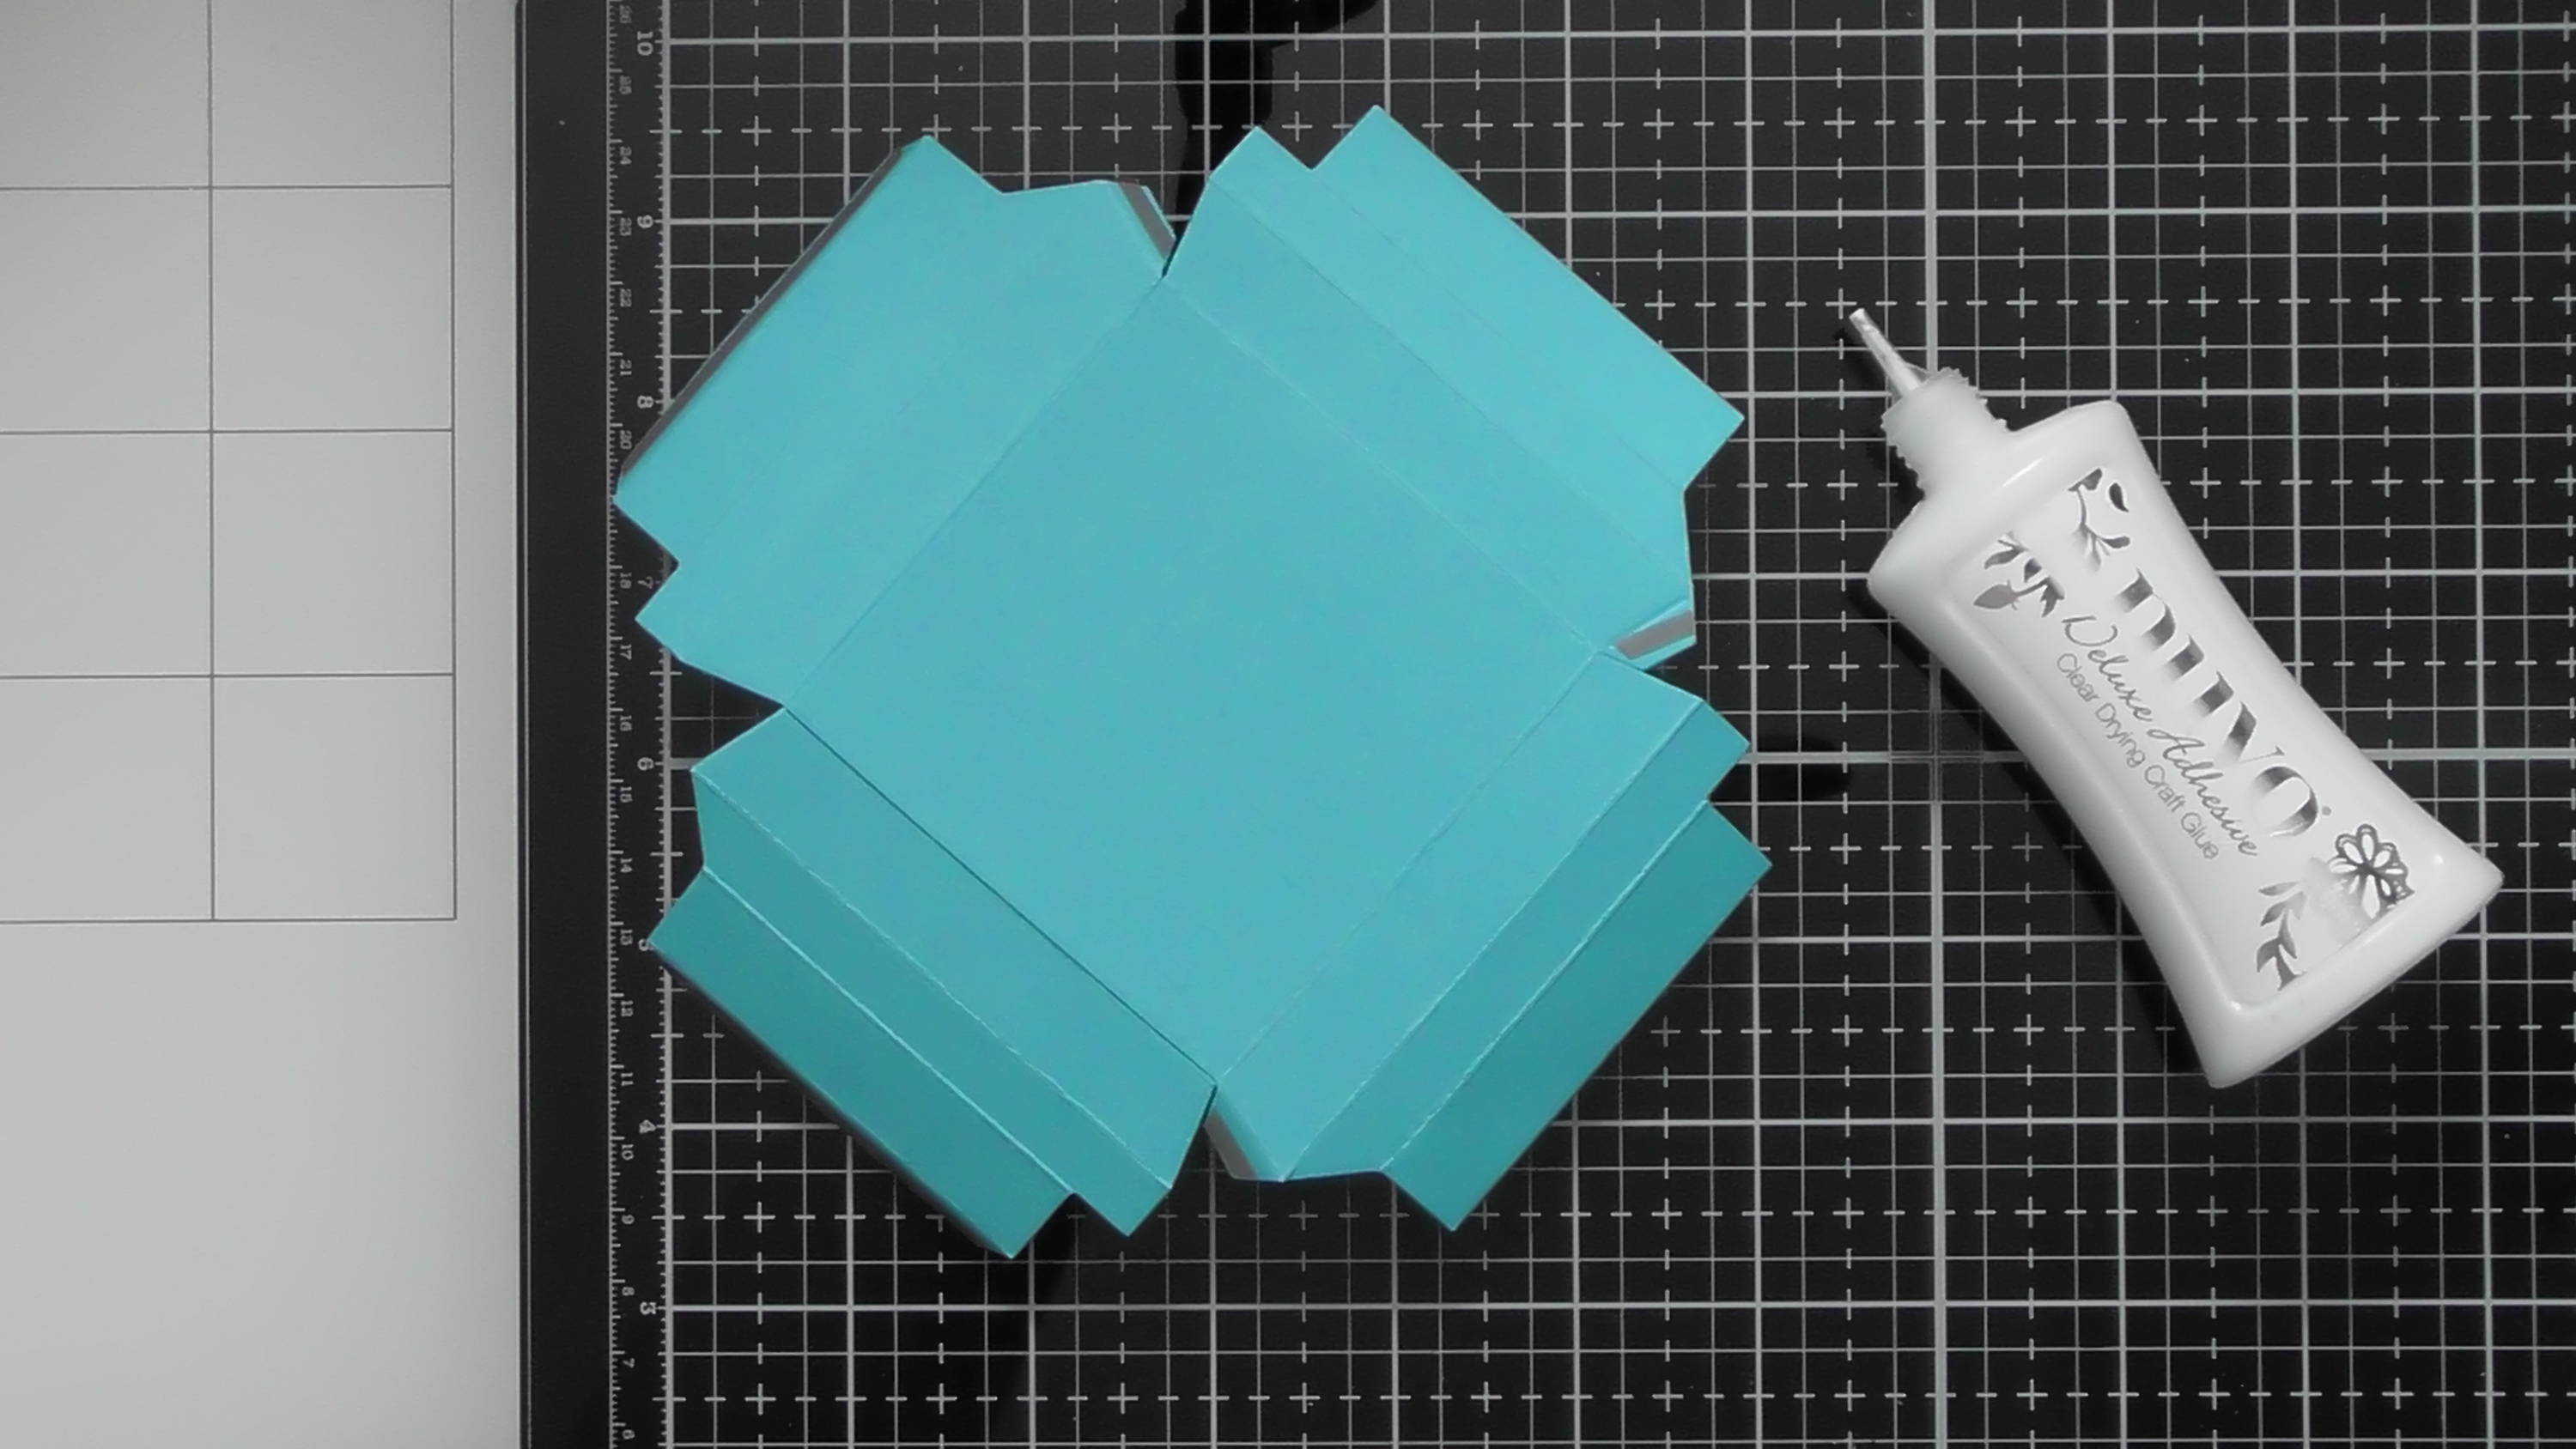
Step 1

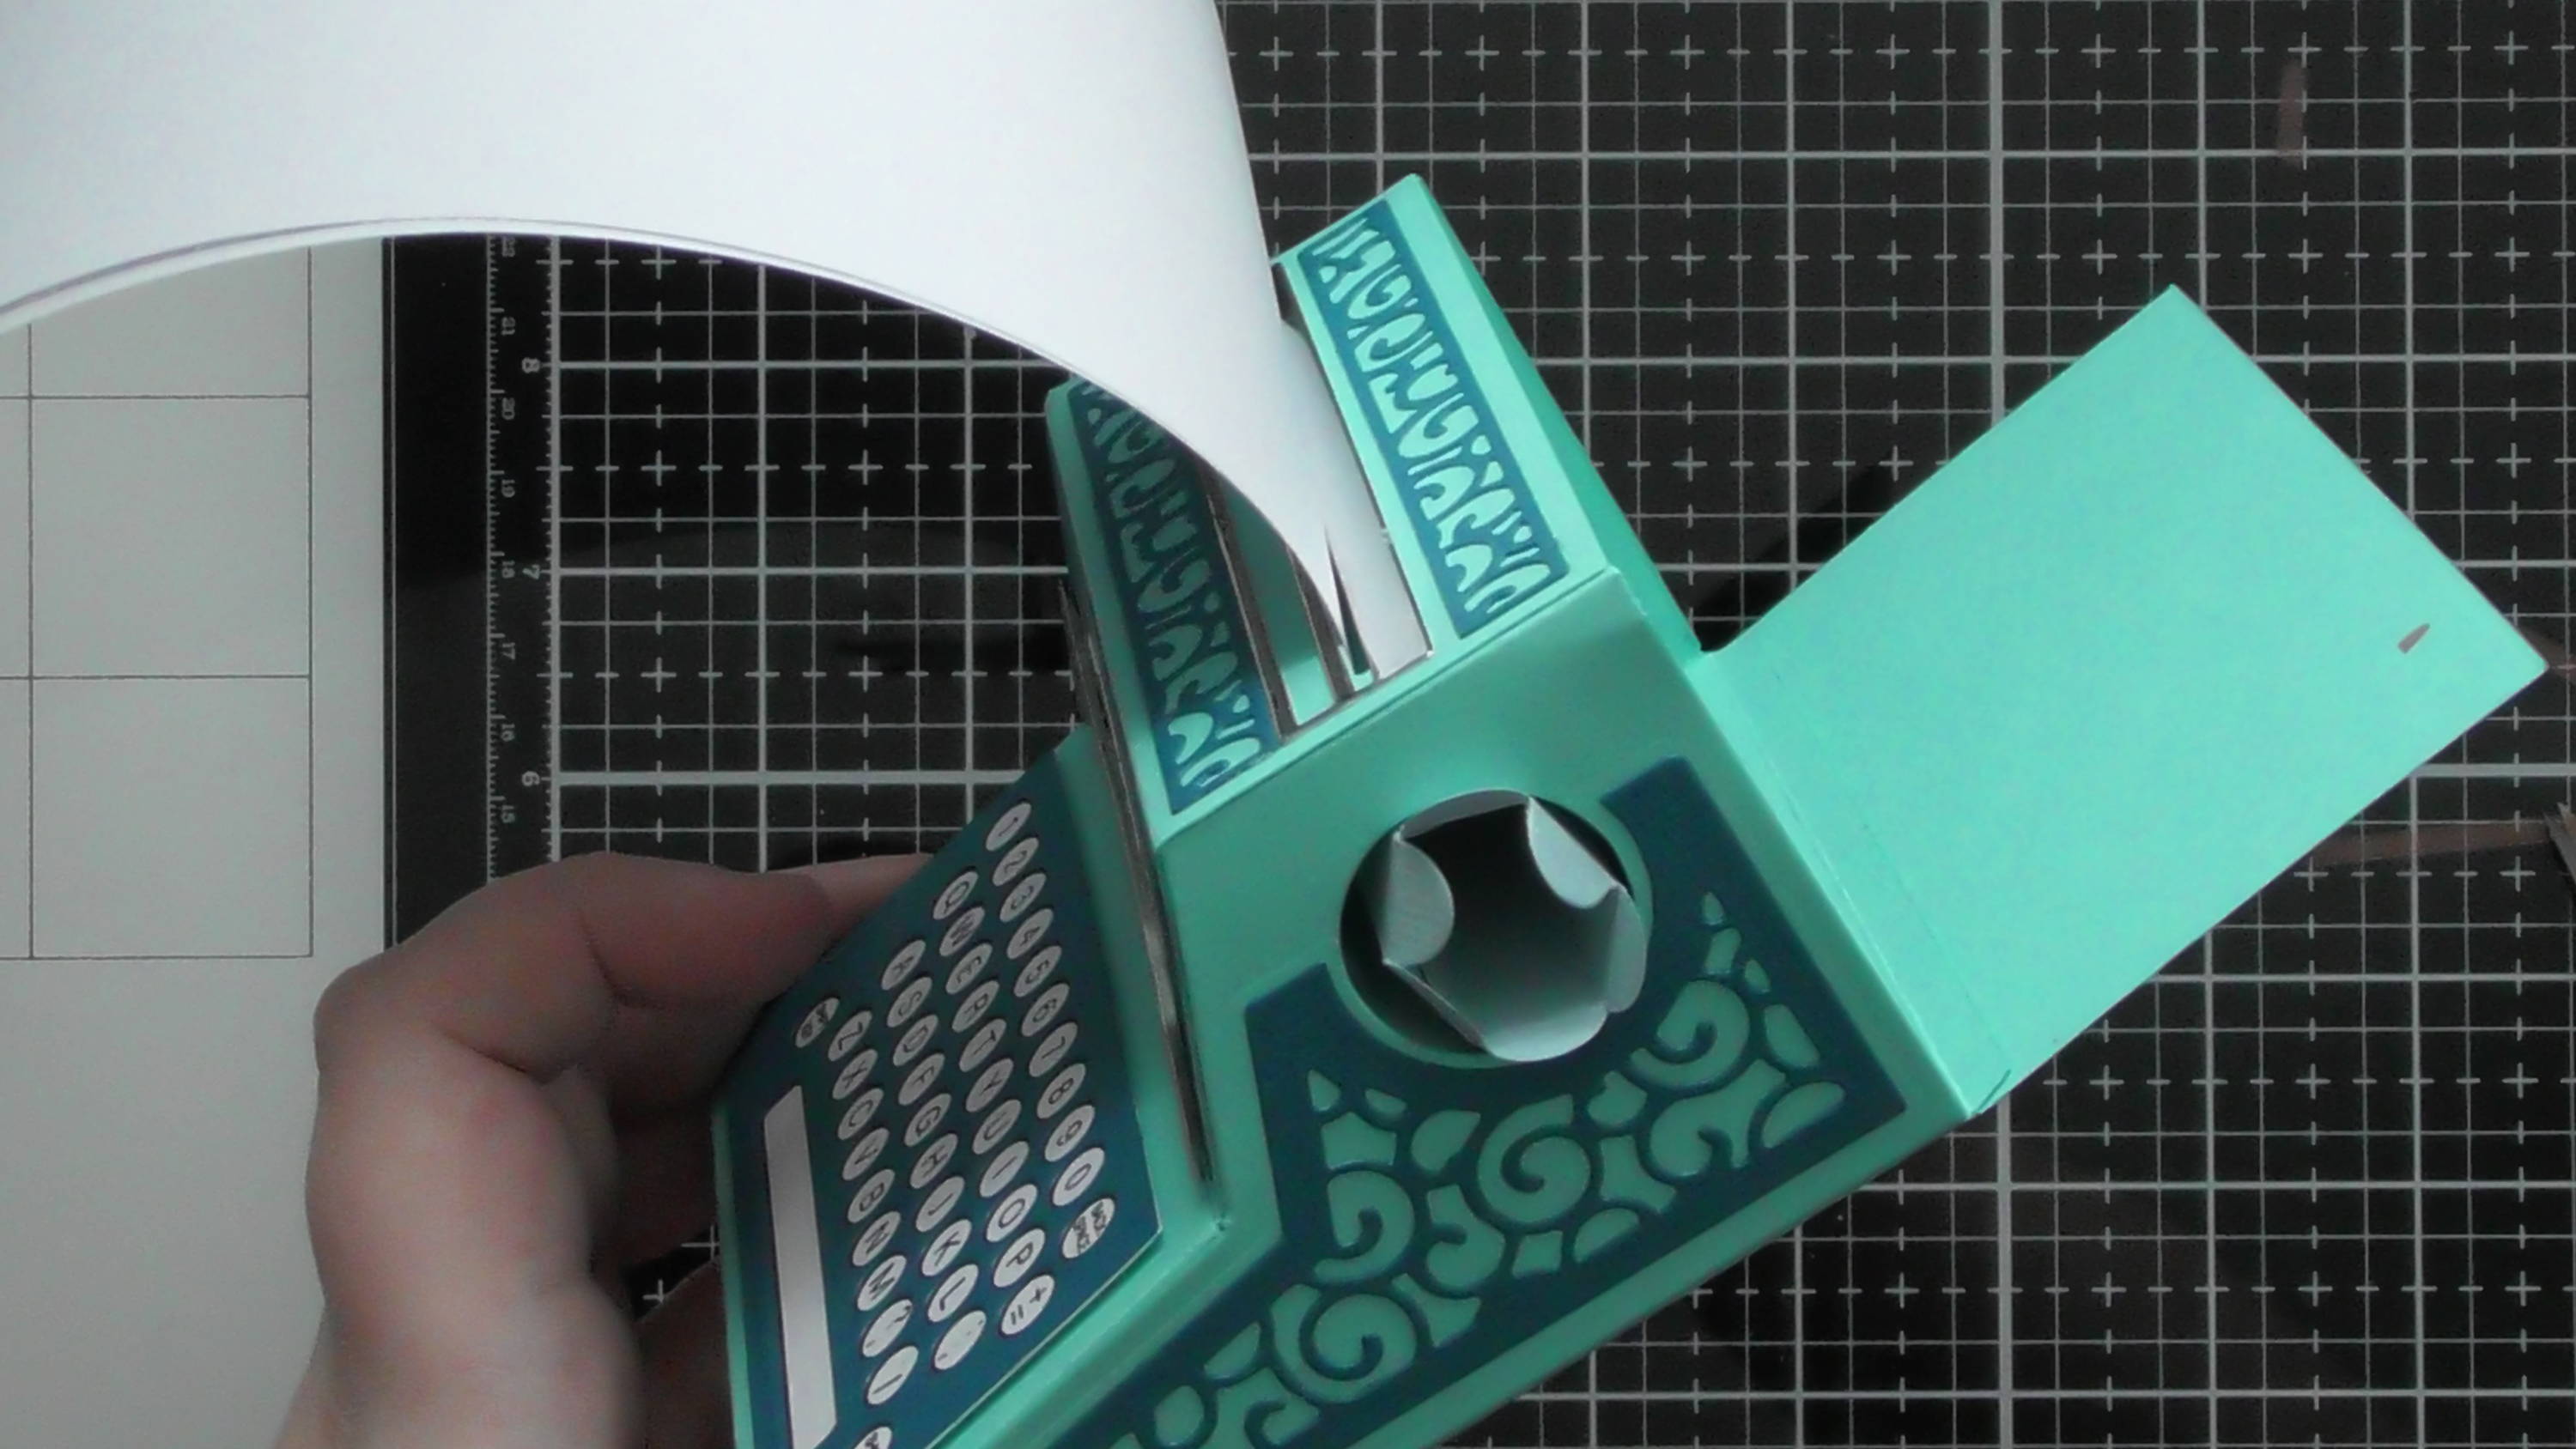
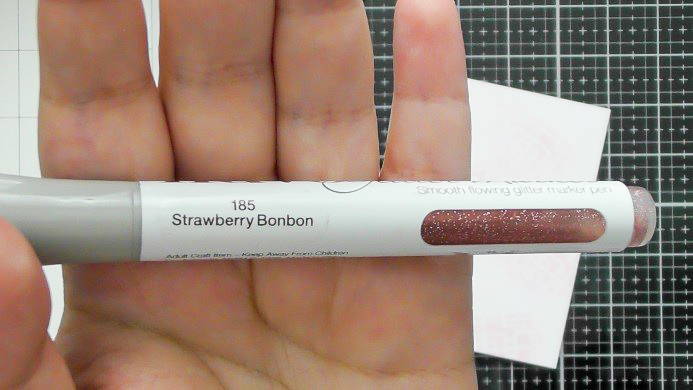
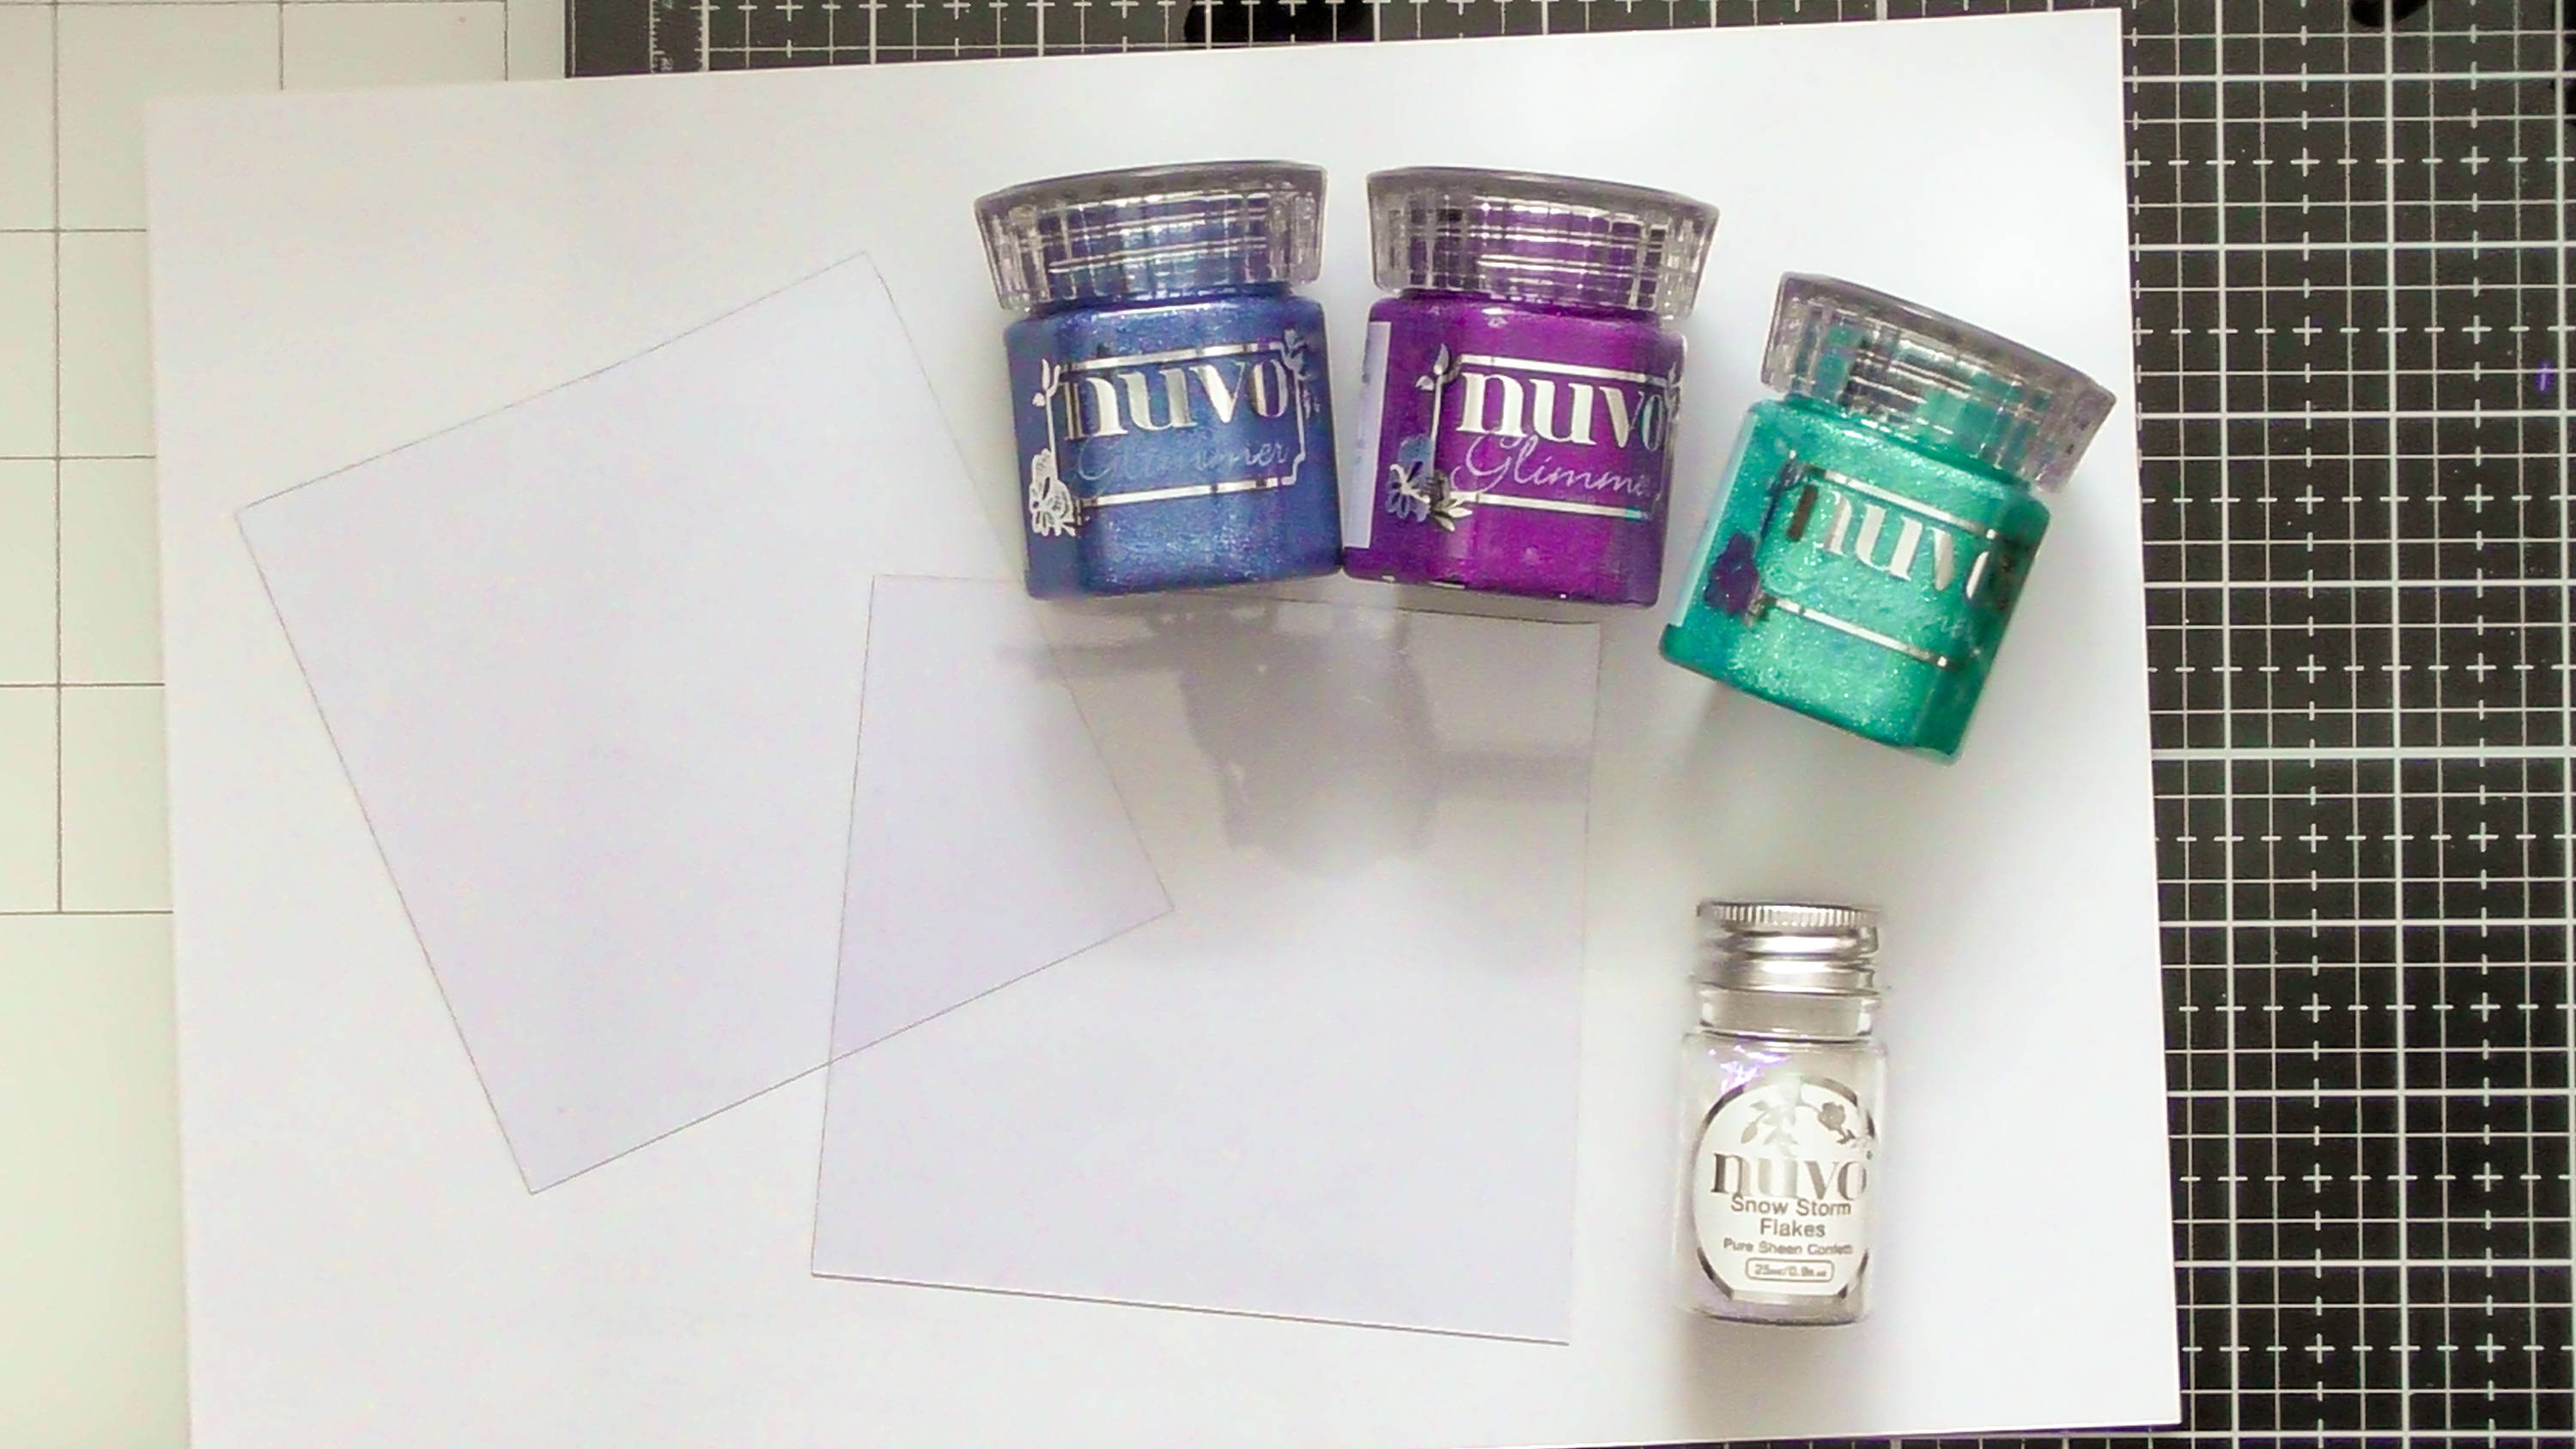
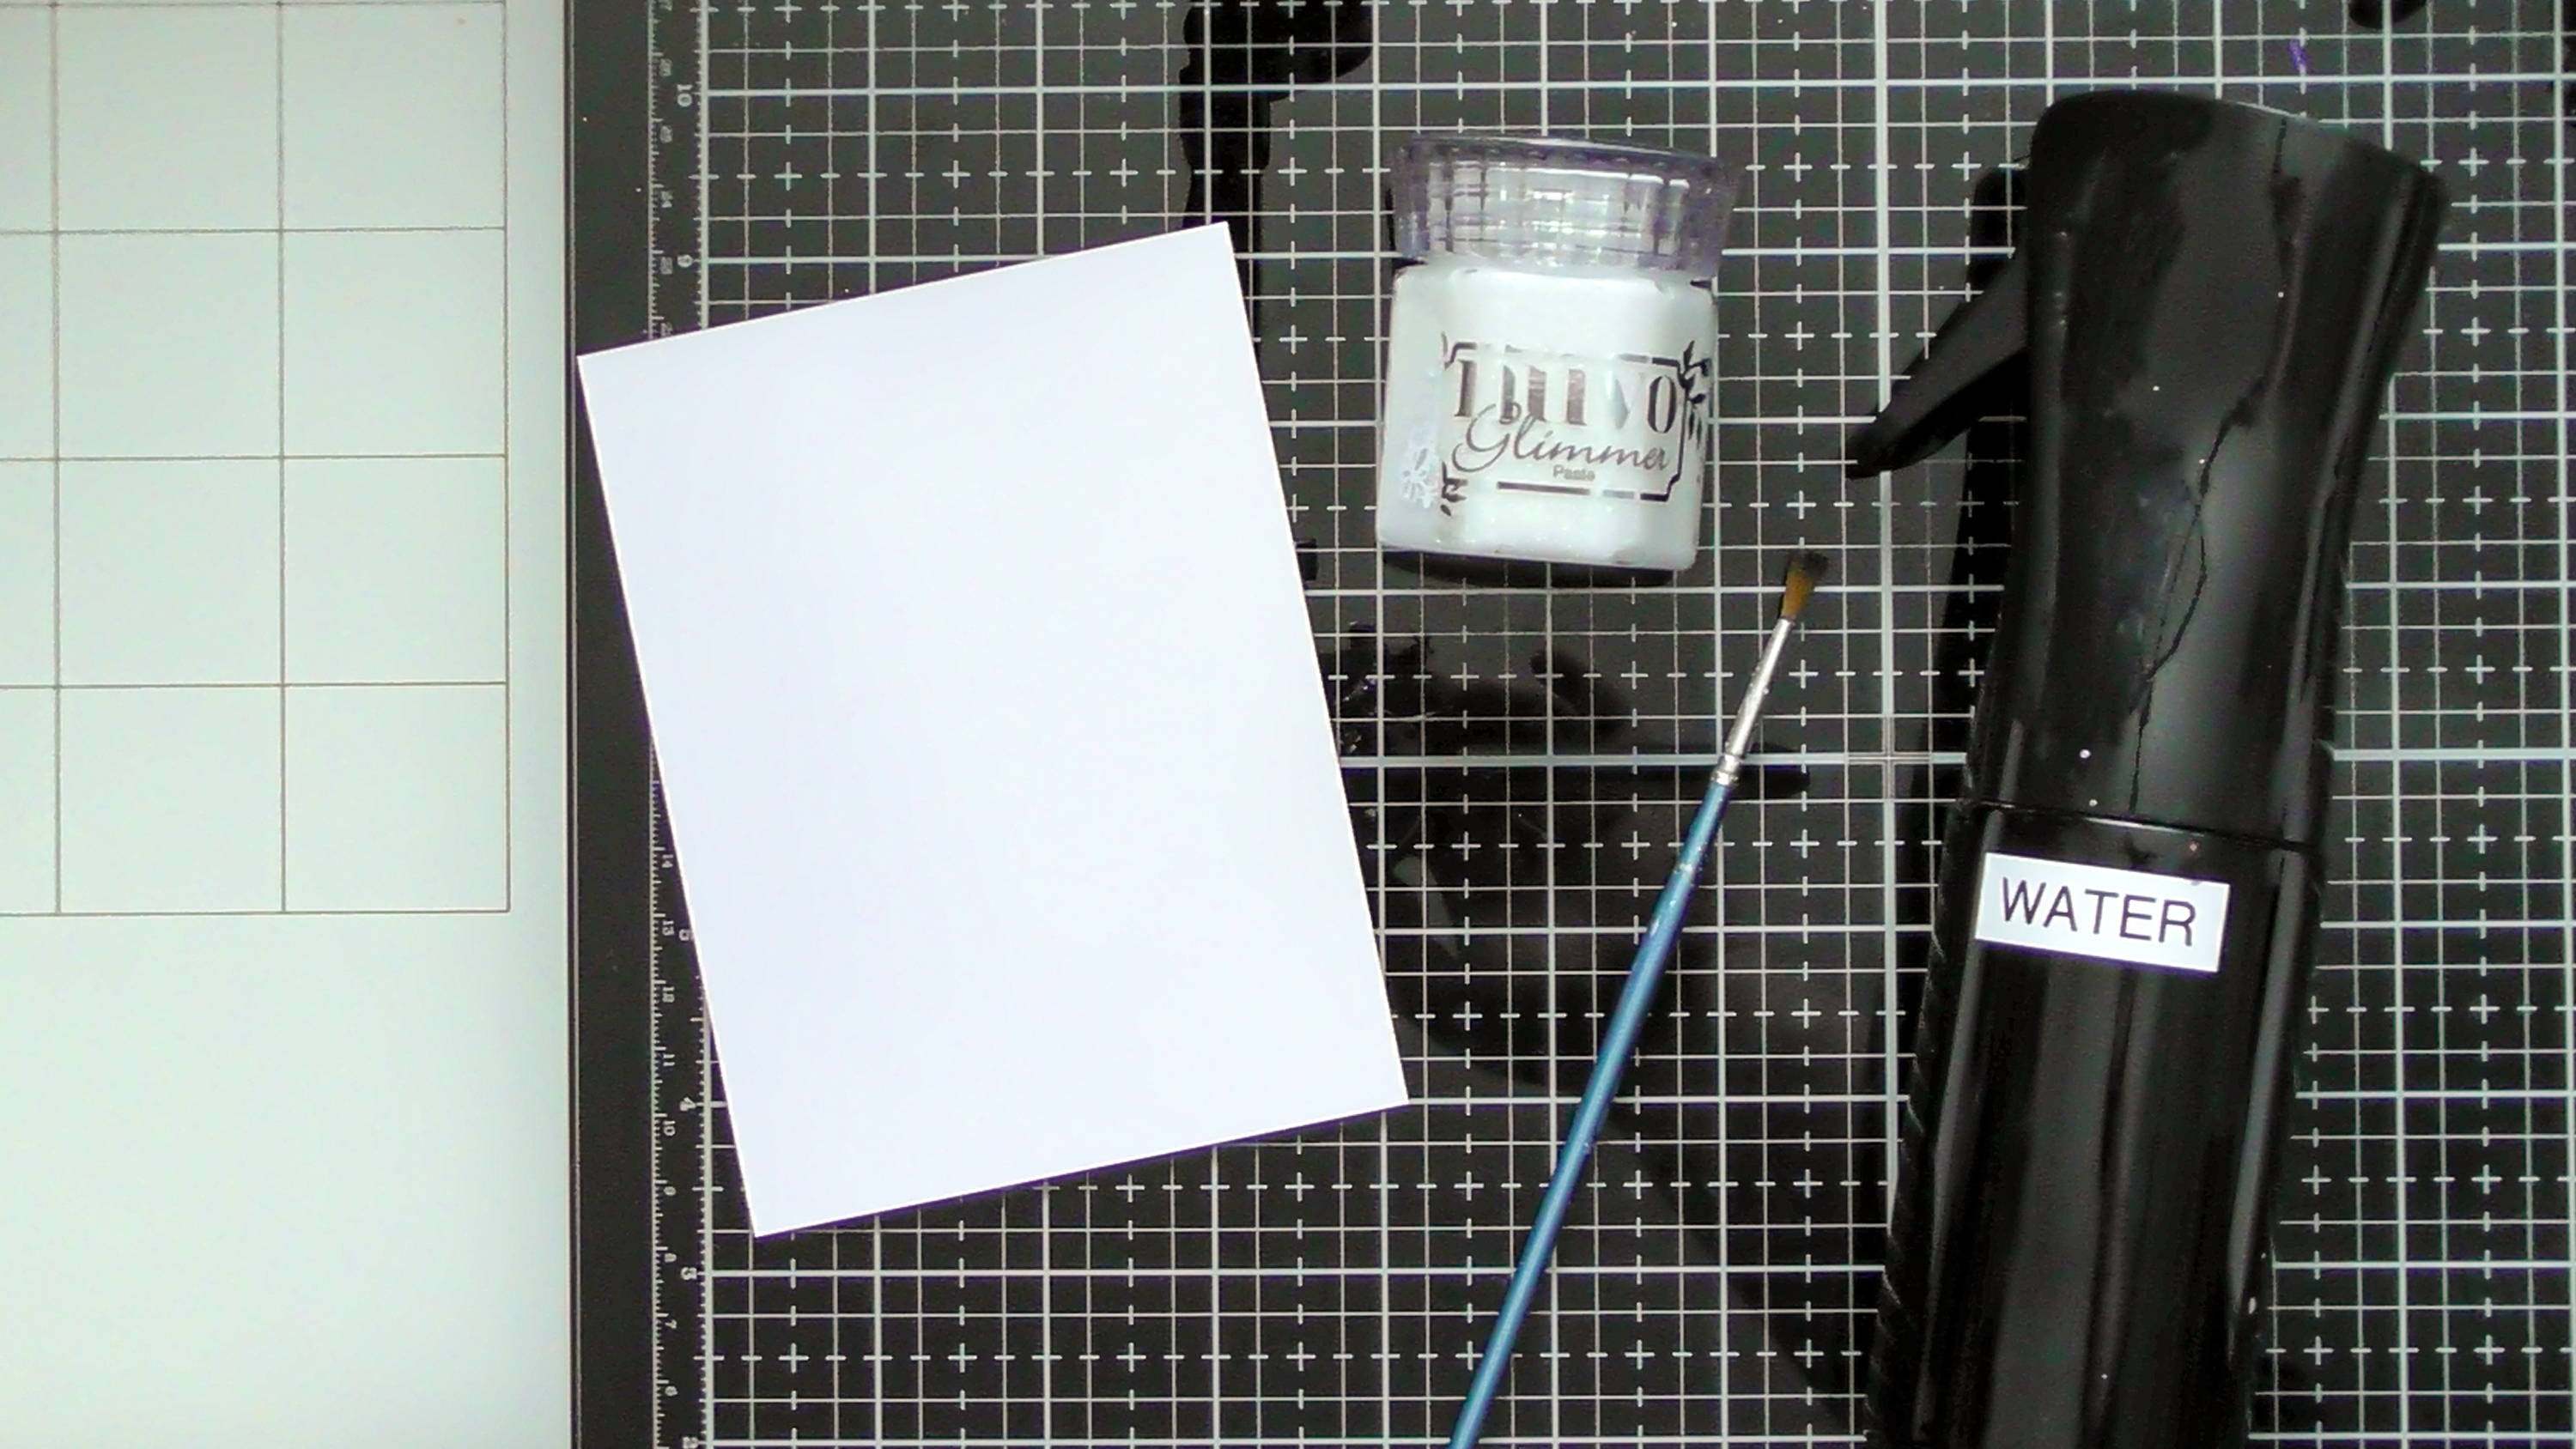
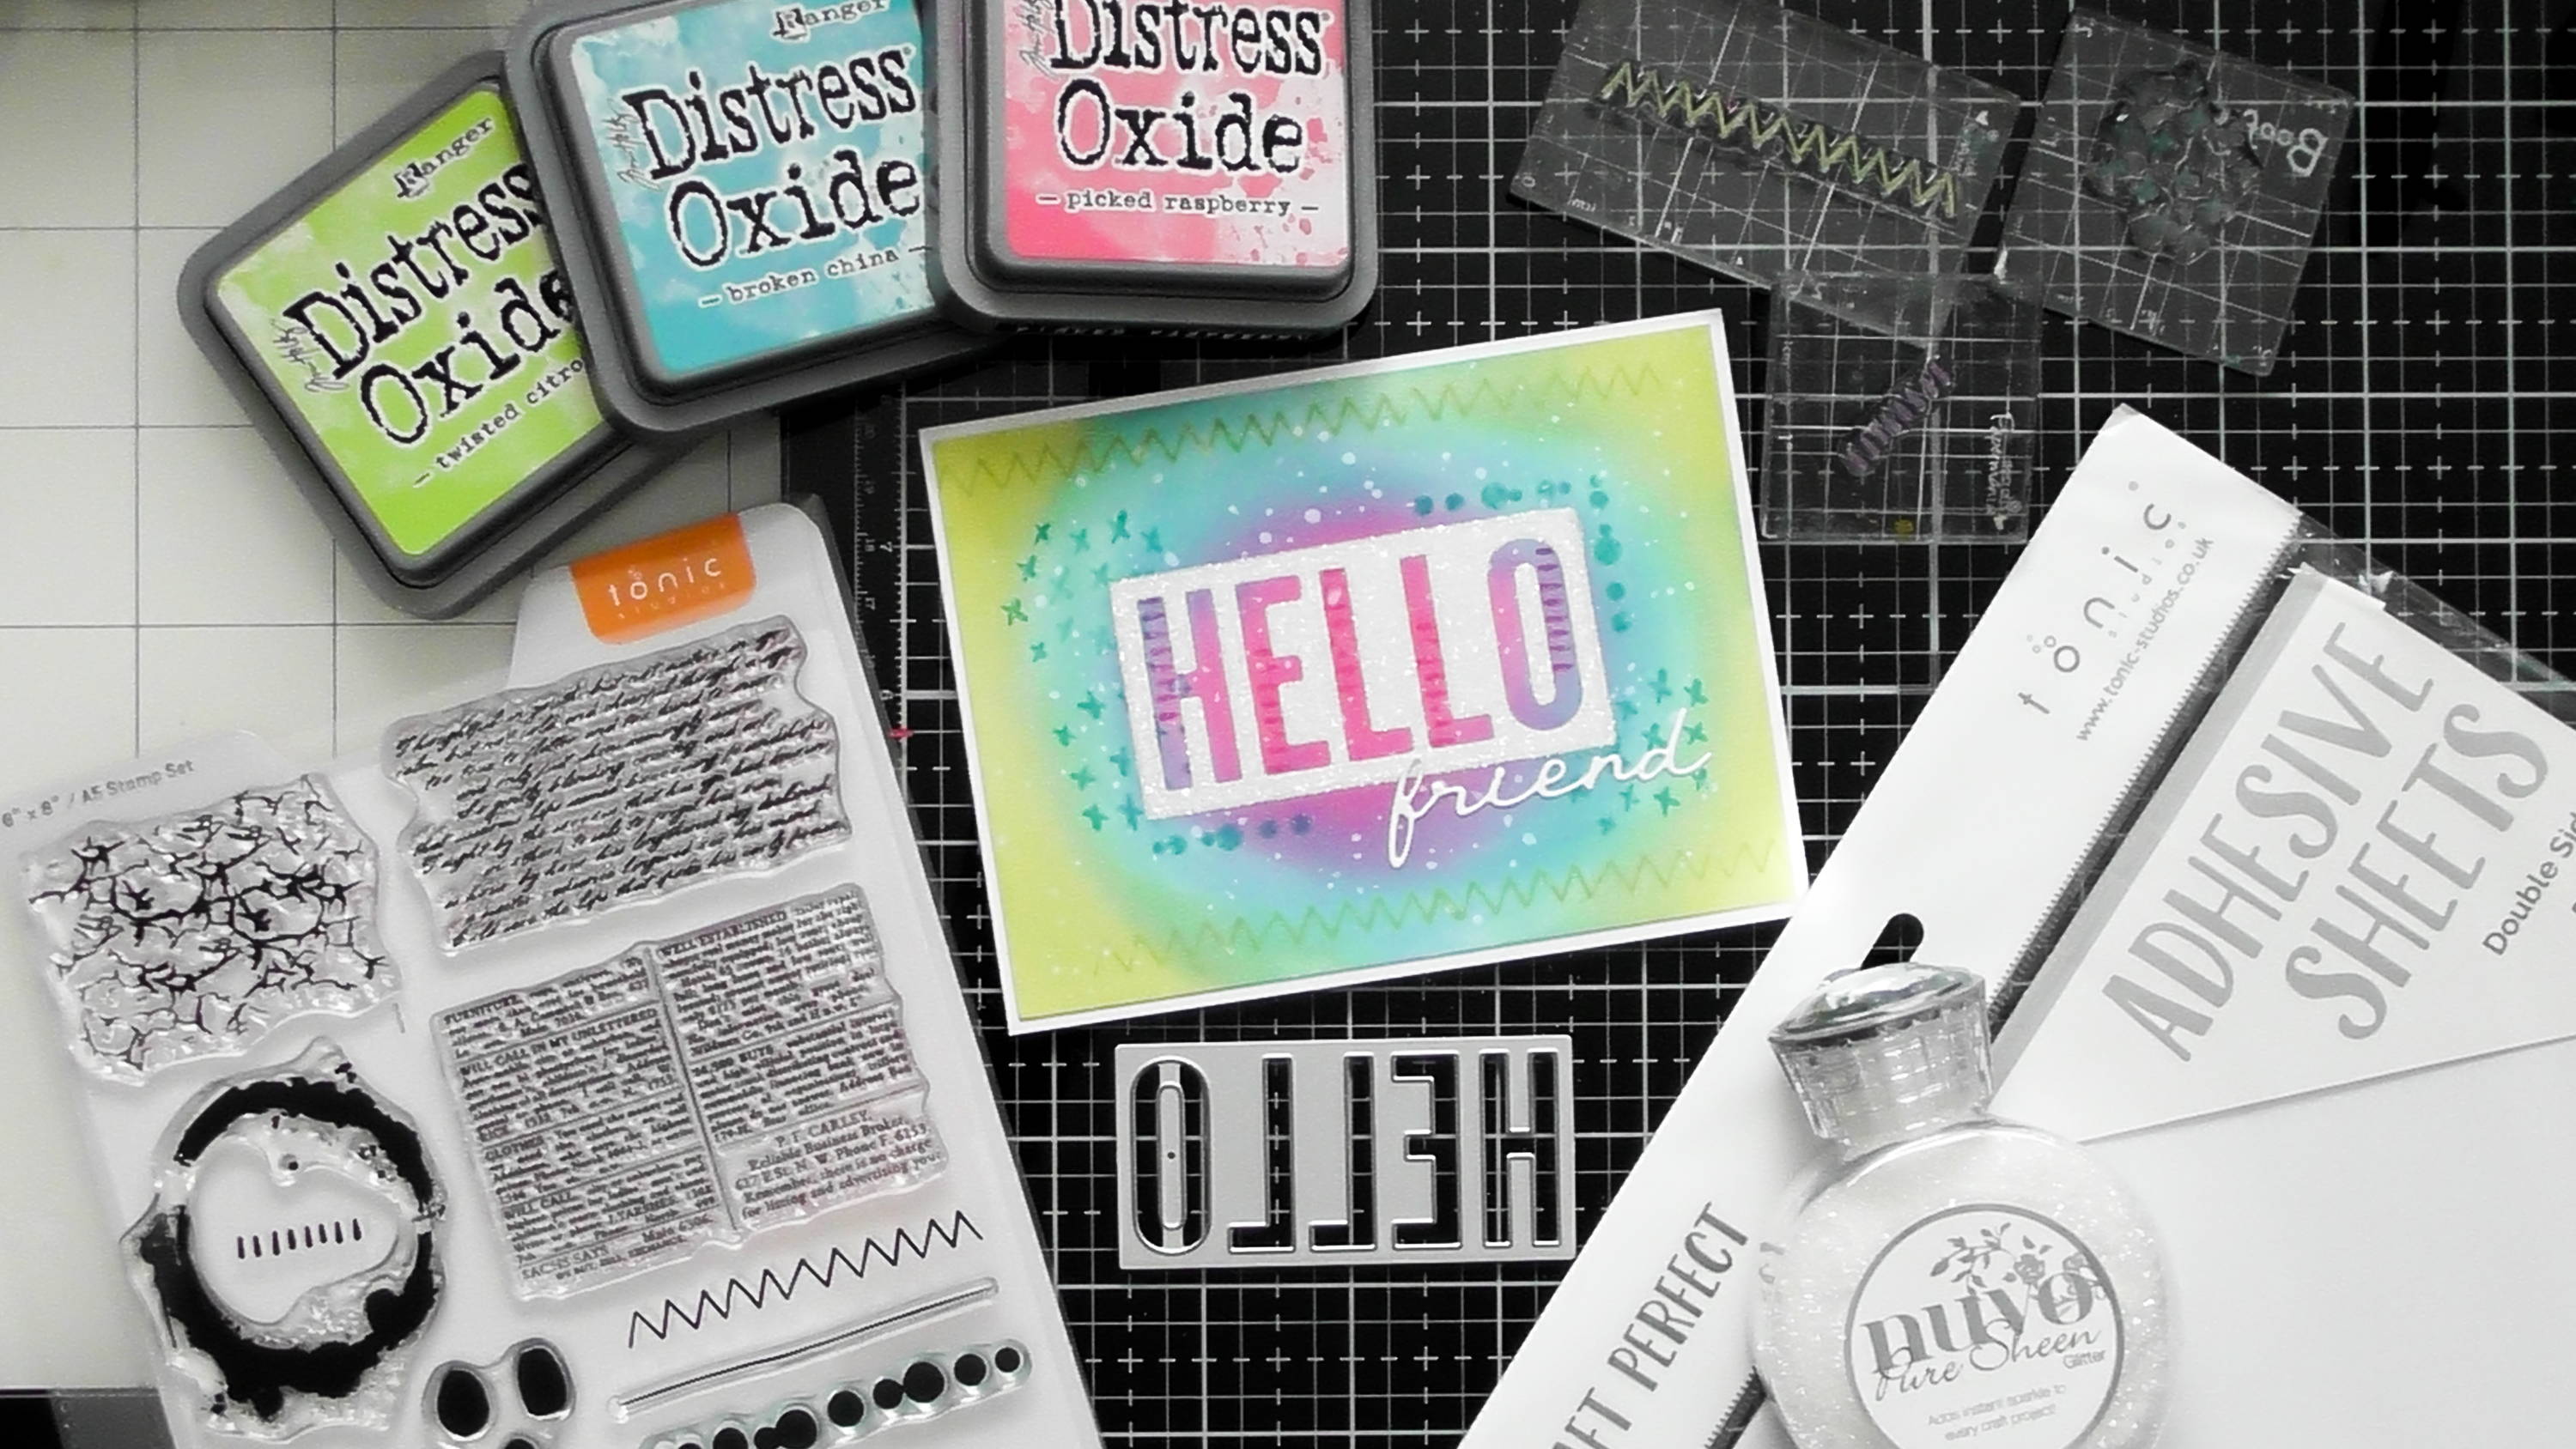
You will need… The red pens, glitter, nuvo drops and blue and yellow card from the bundle, plus the thinking of you dies
Step 2
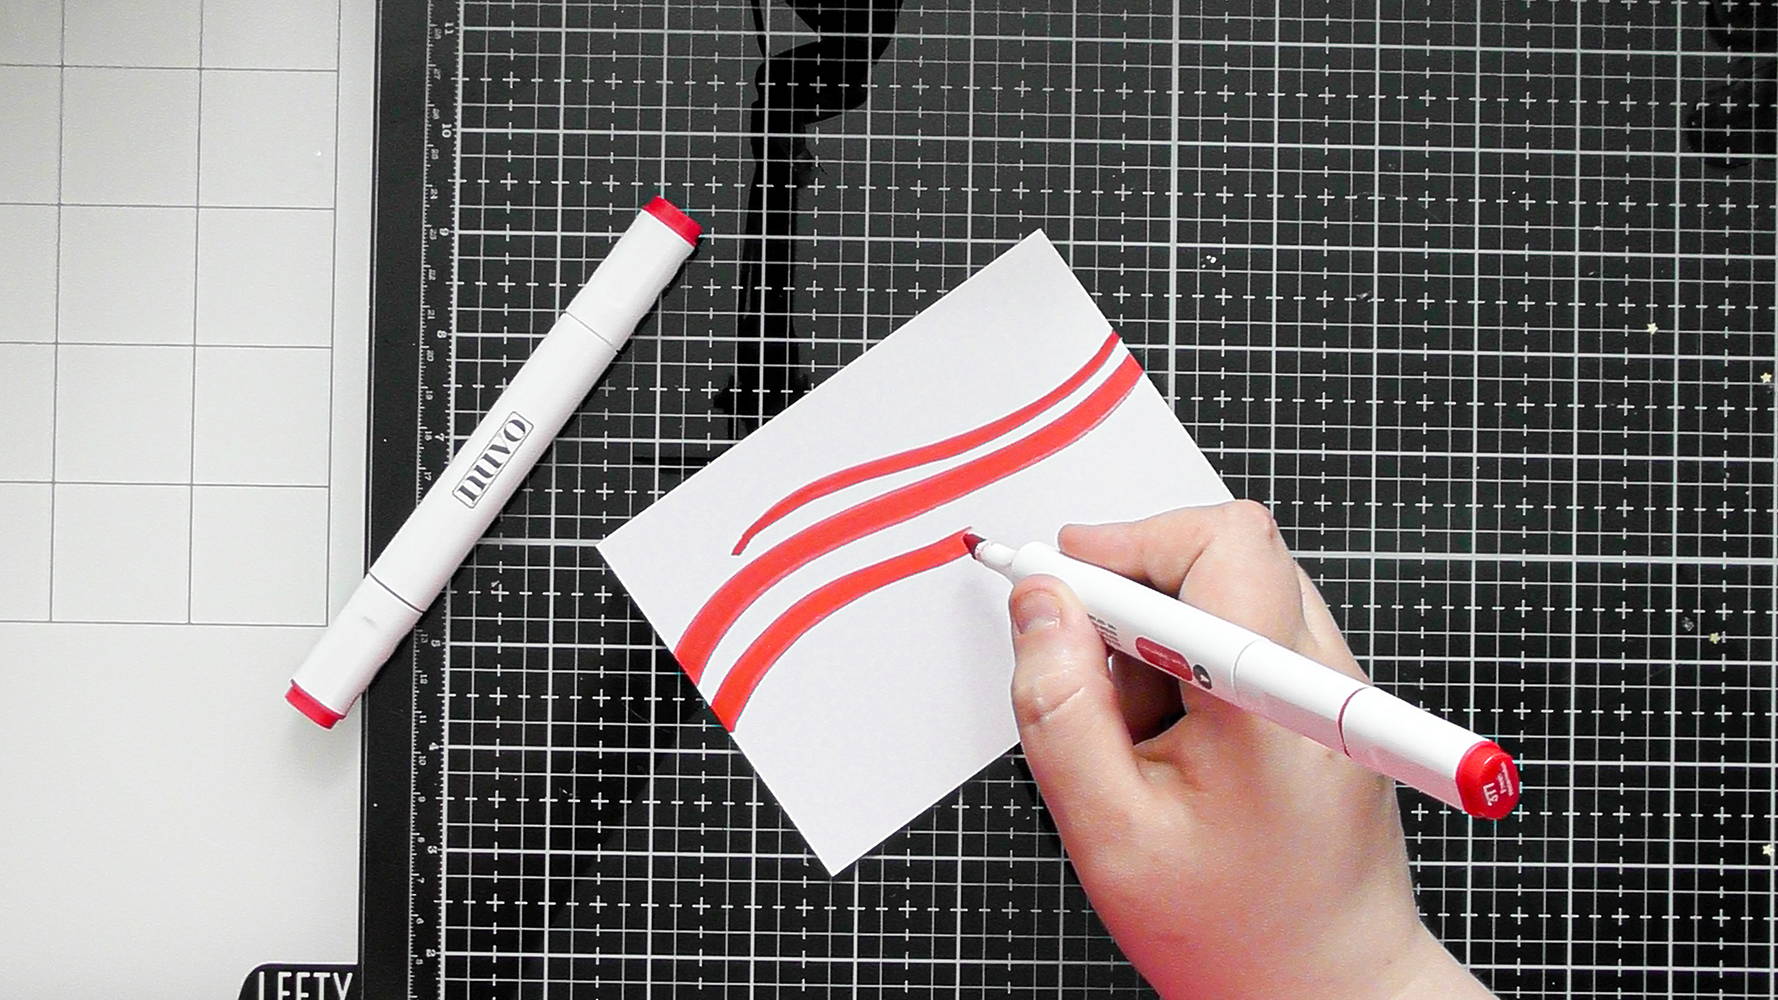
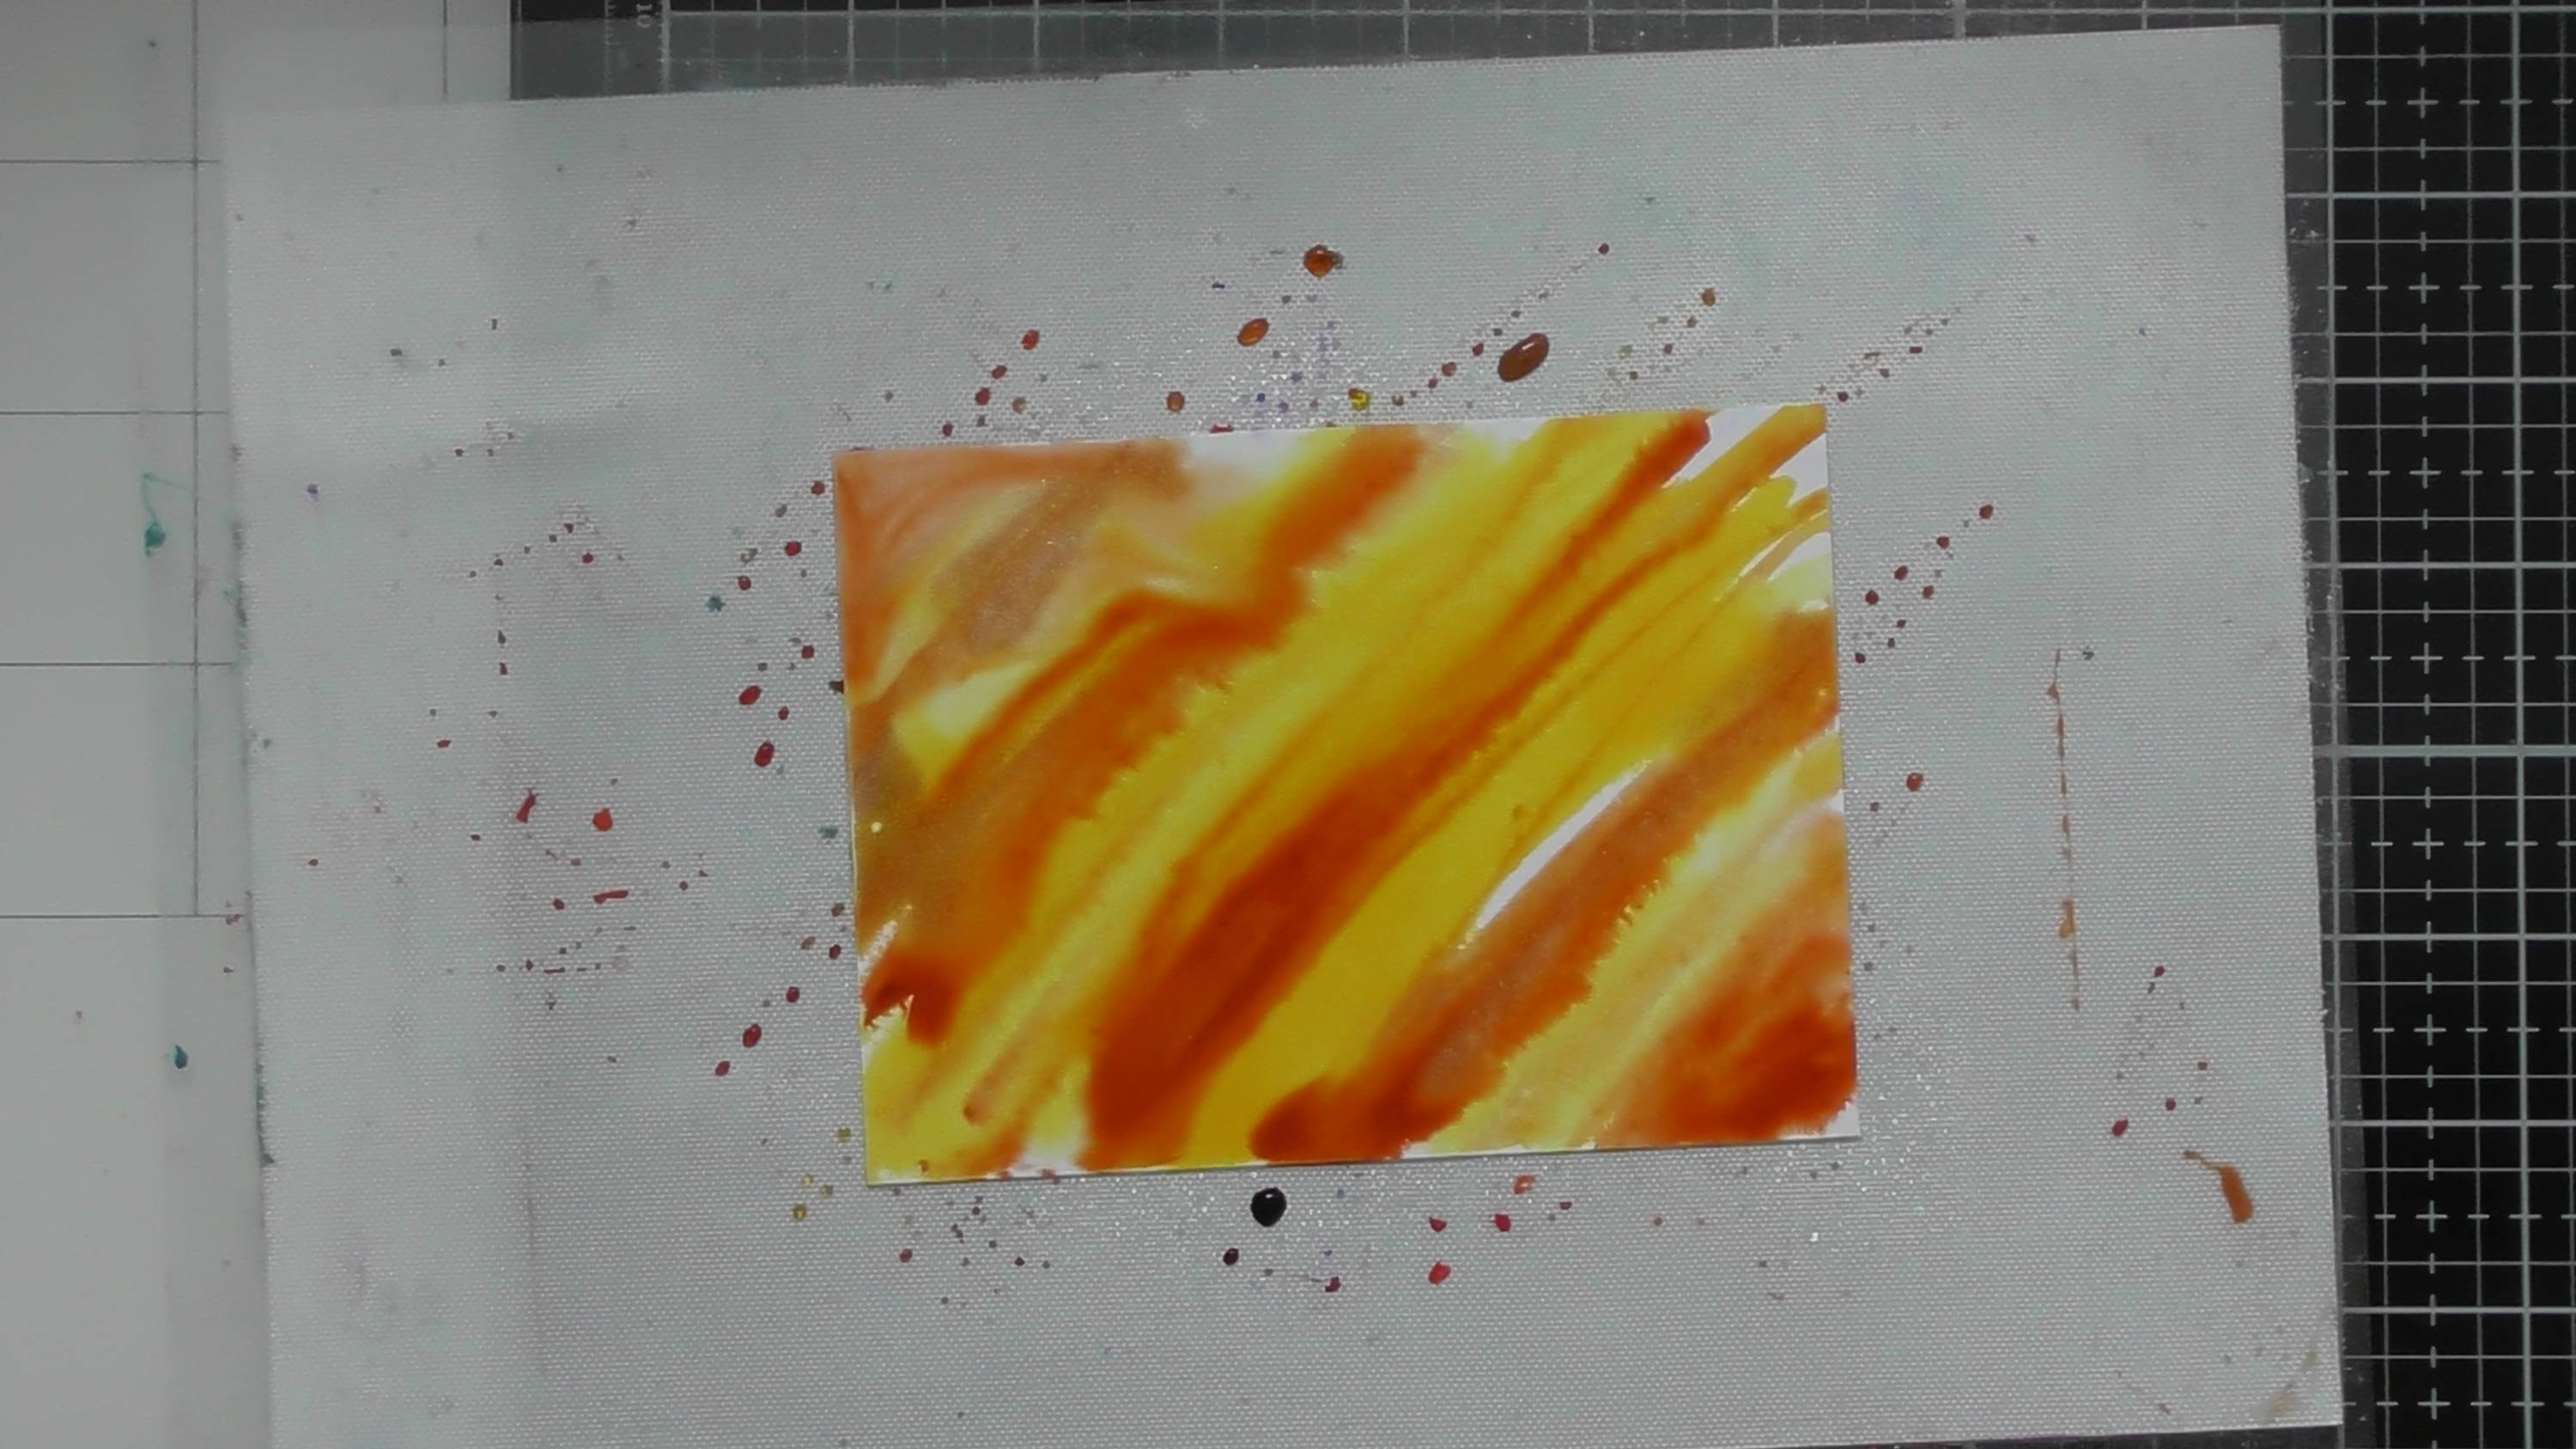
Take the red Nuvo alcohol pens and draw some wavy lines on your background (10 x 13 cm white card) using the chisel end to easily get a wider line, and using the fine tip to refine anything.
Step 3

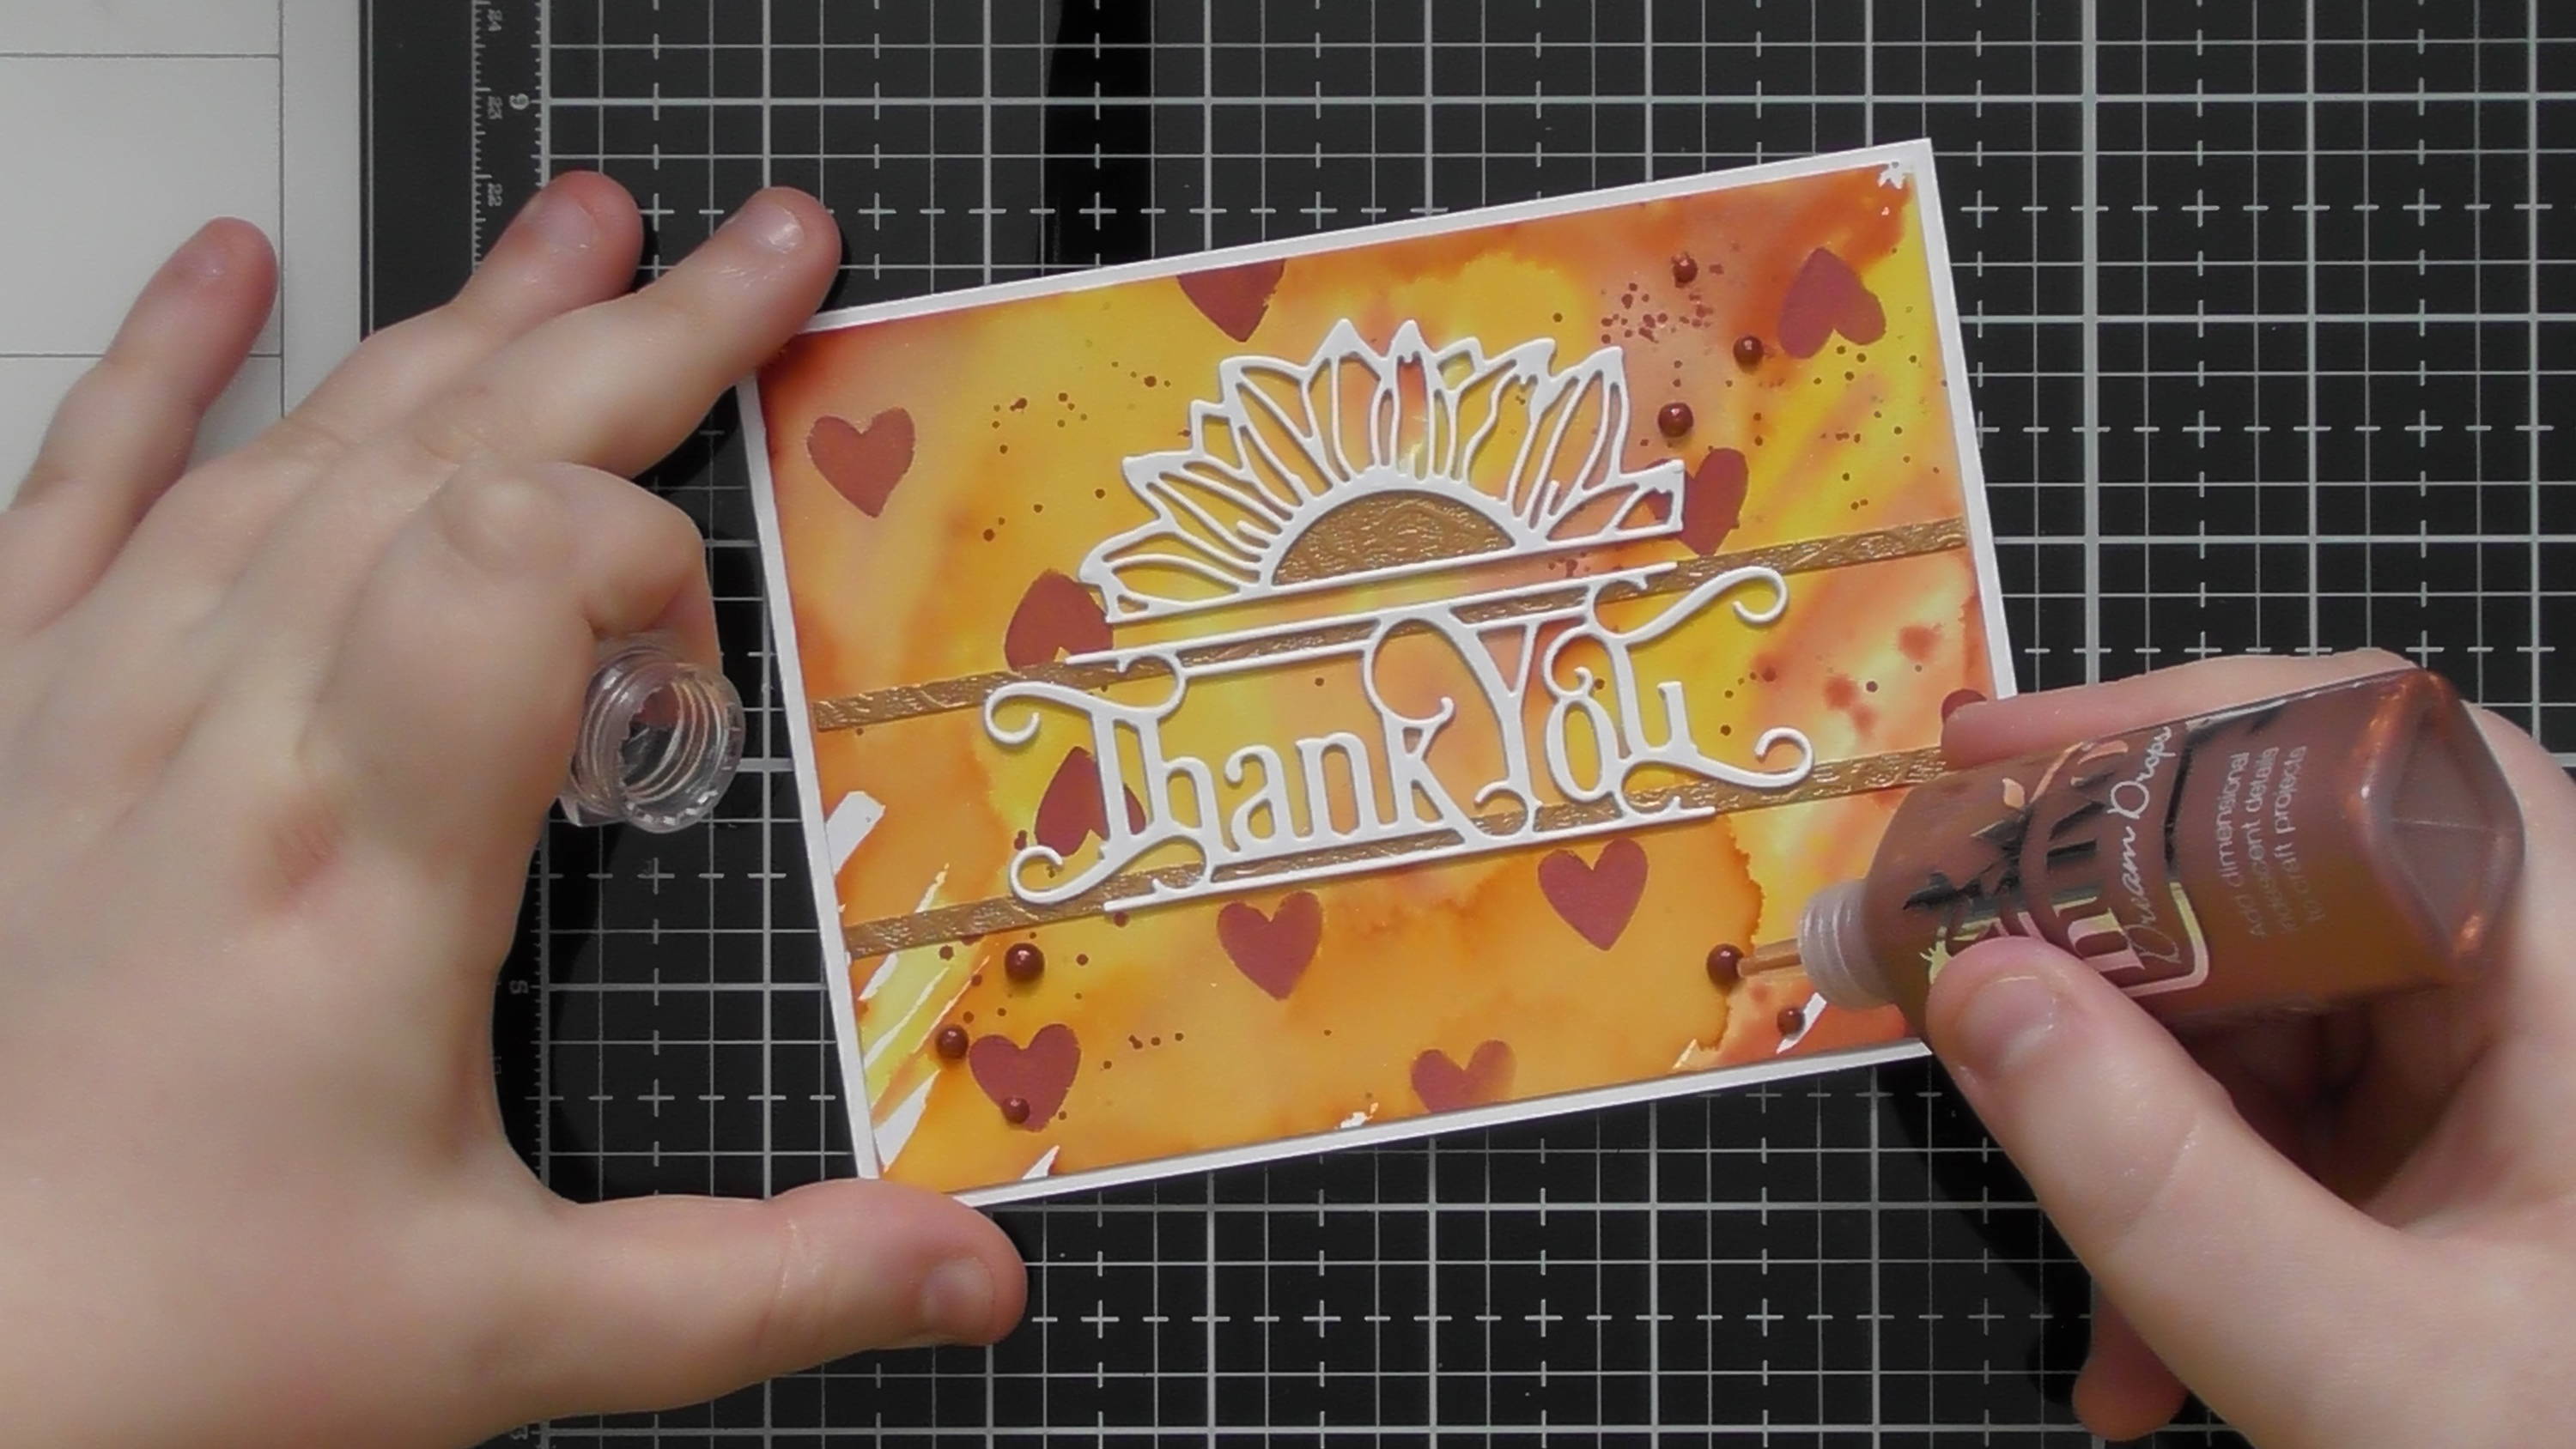
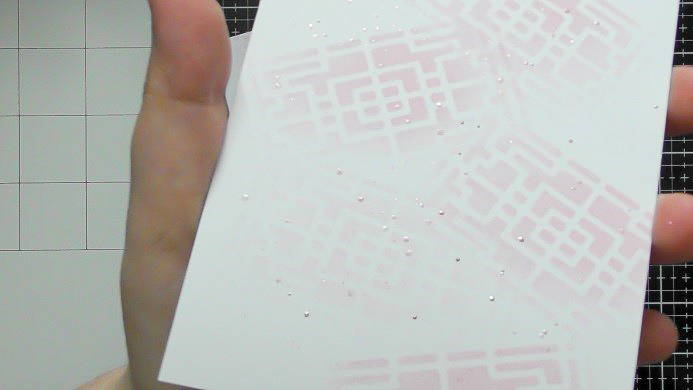
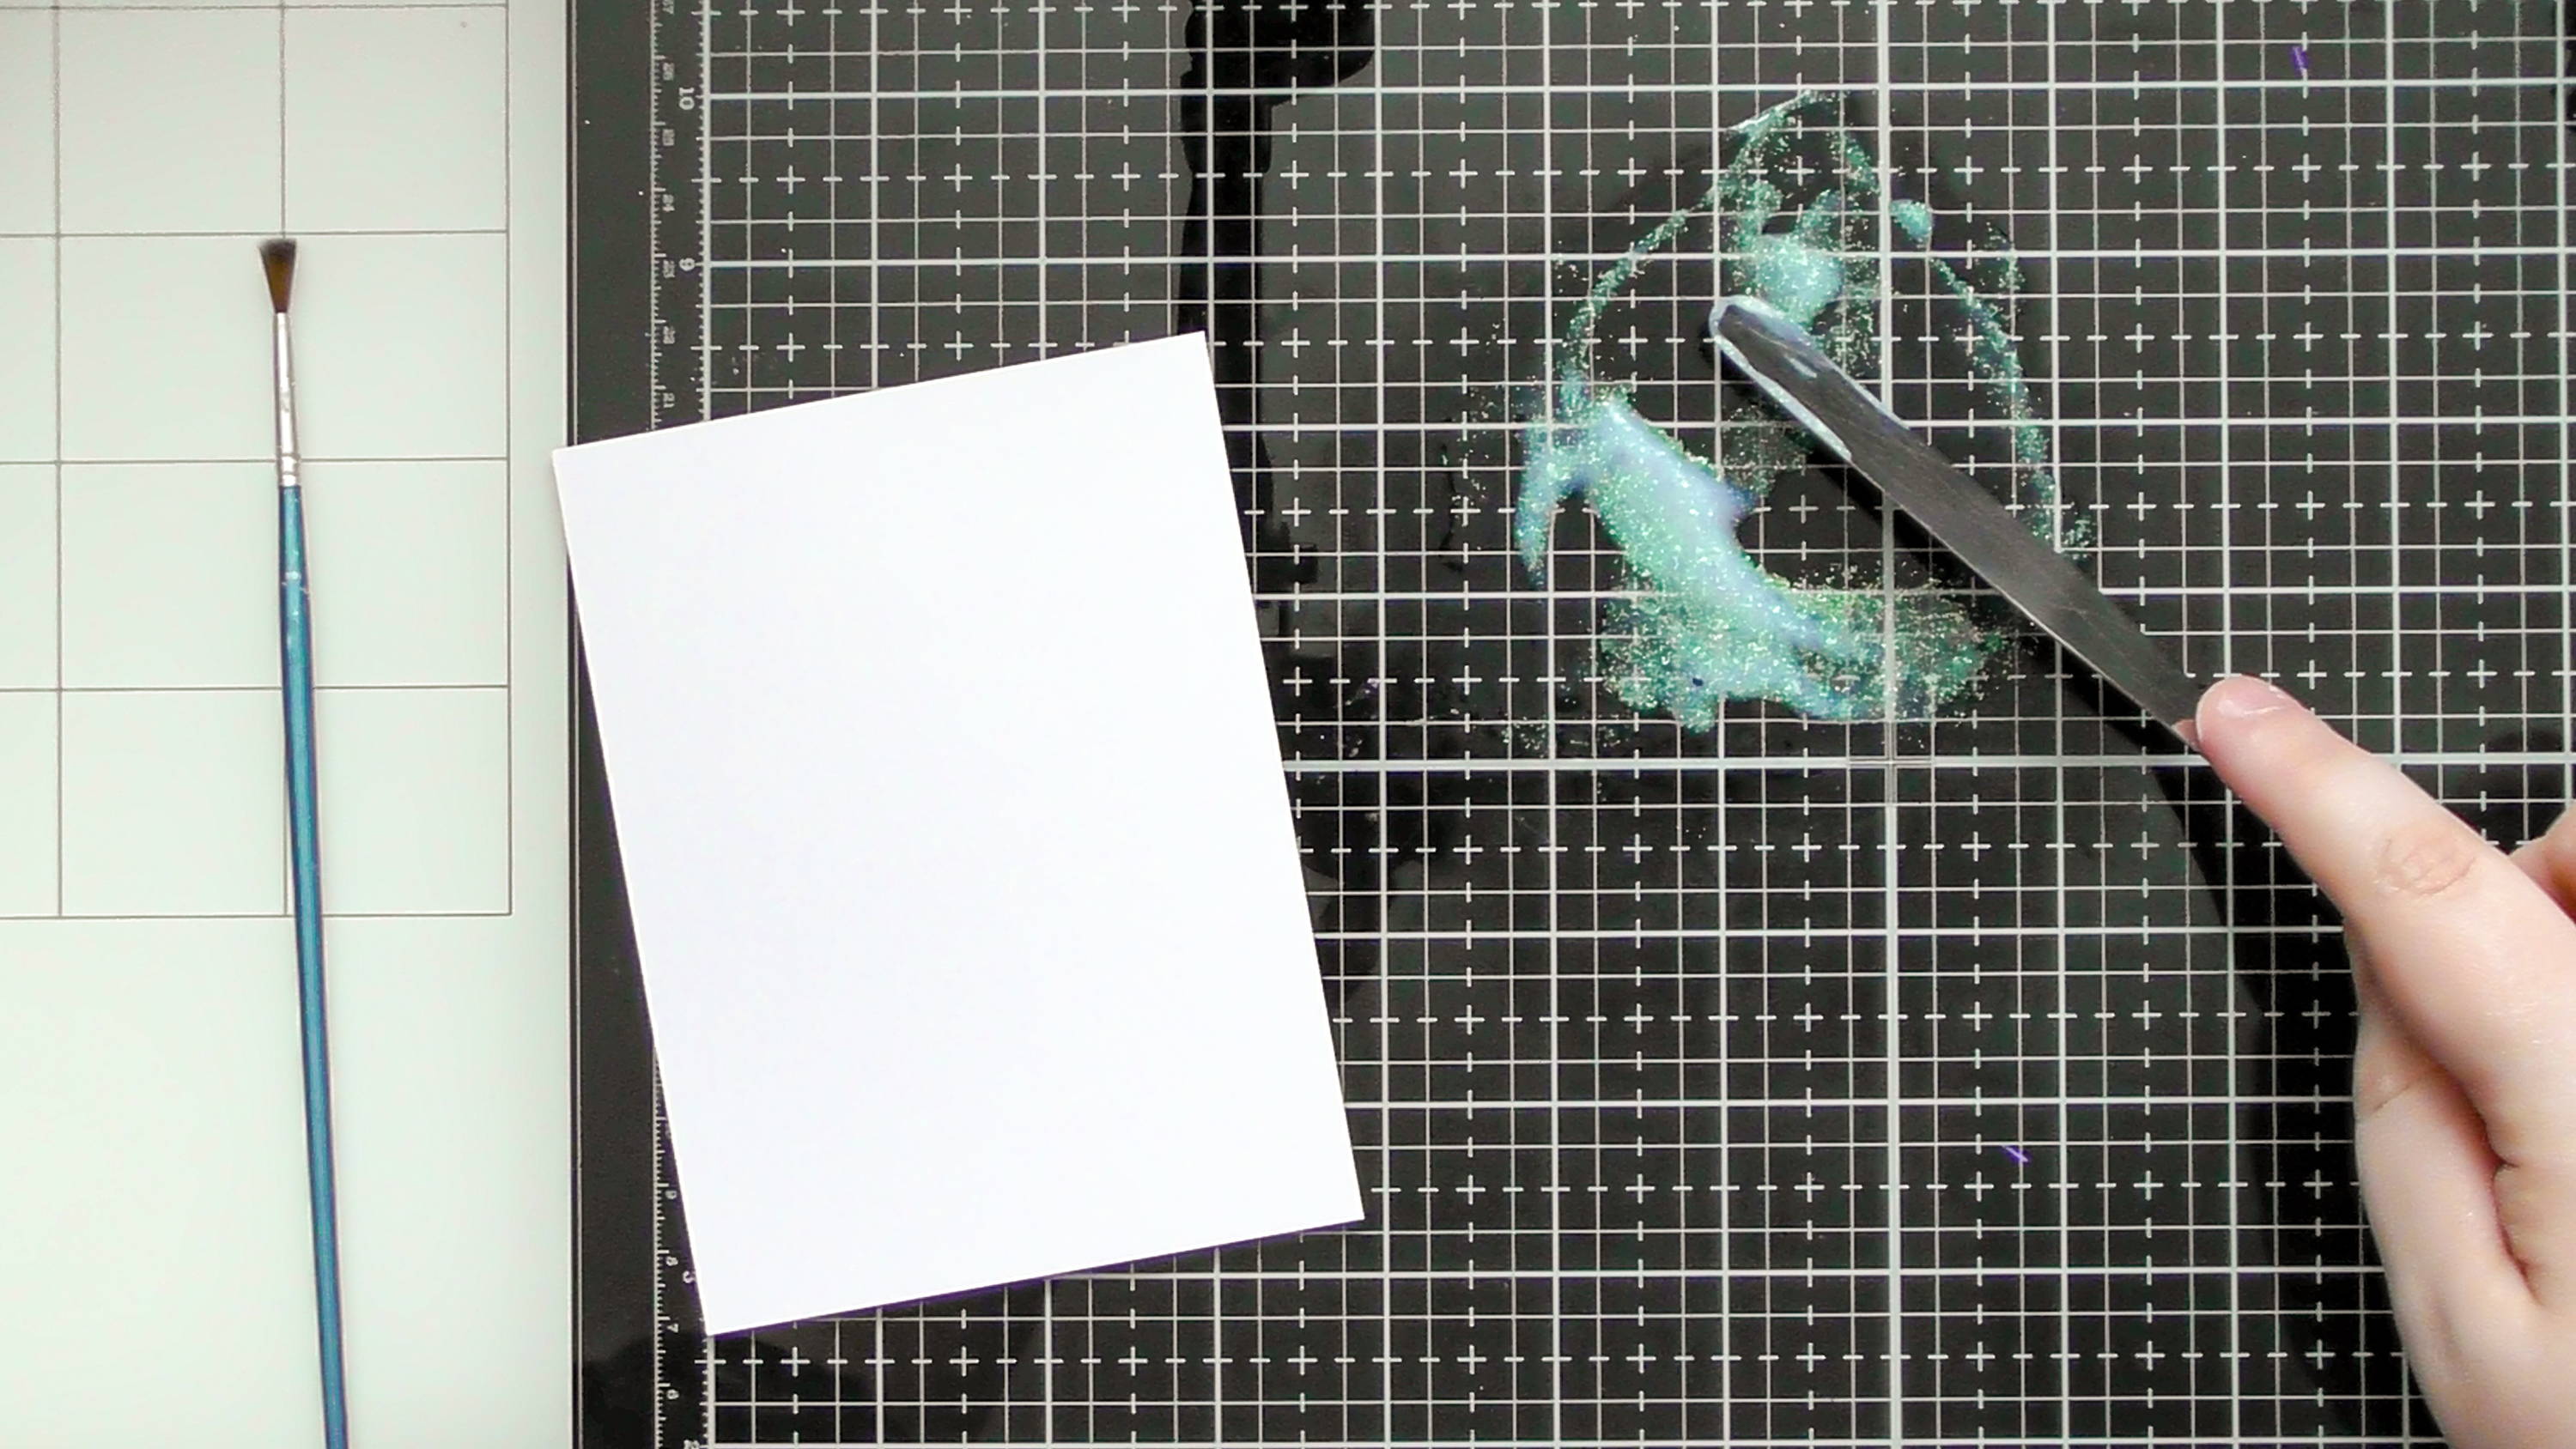
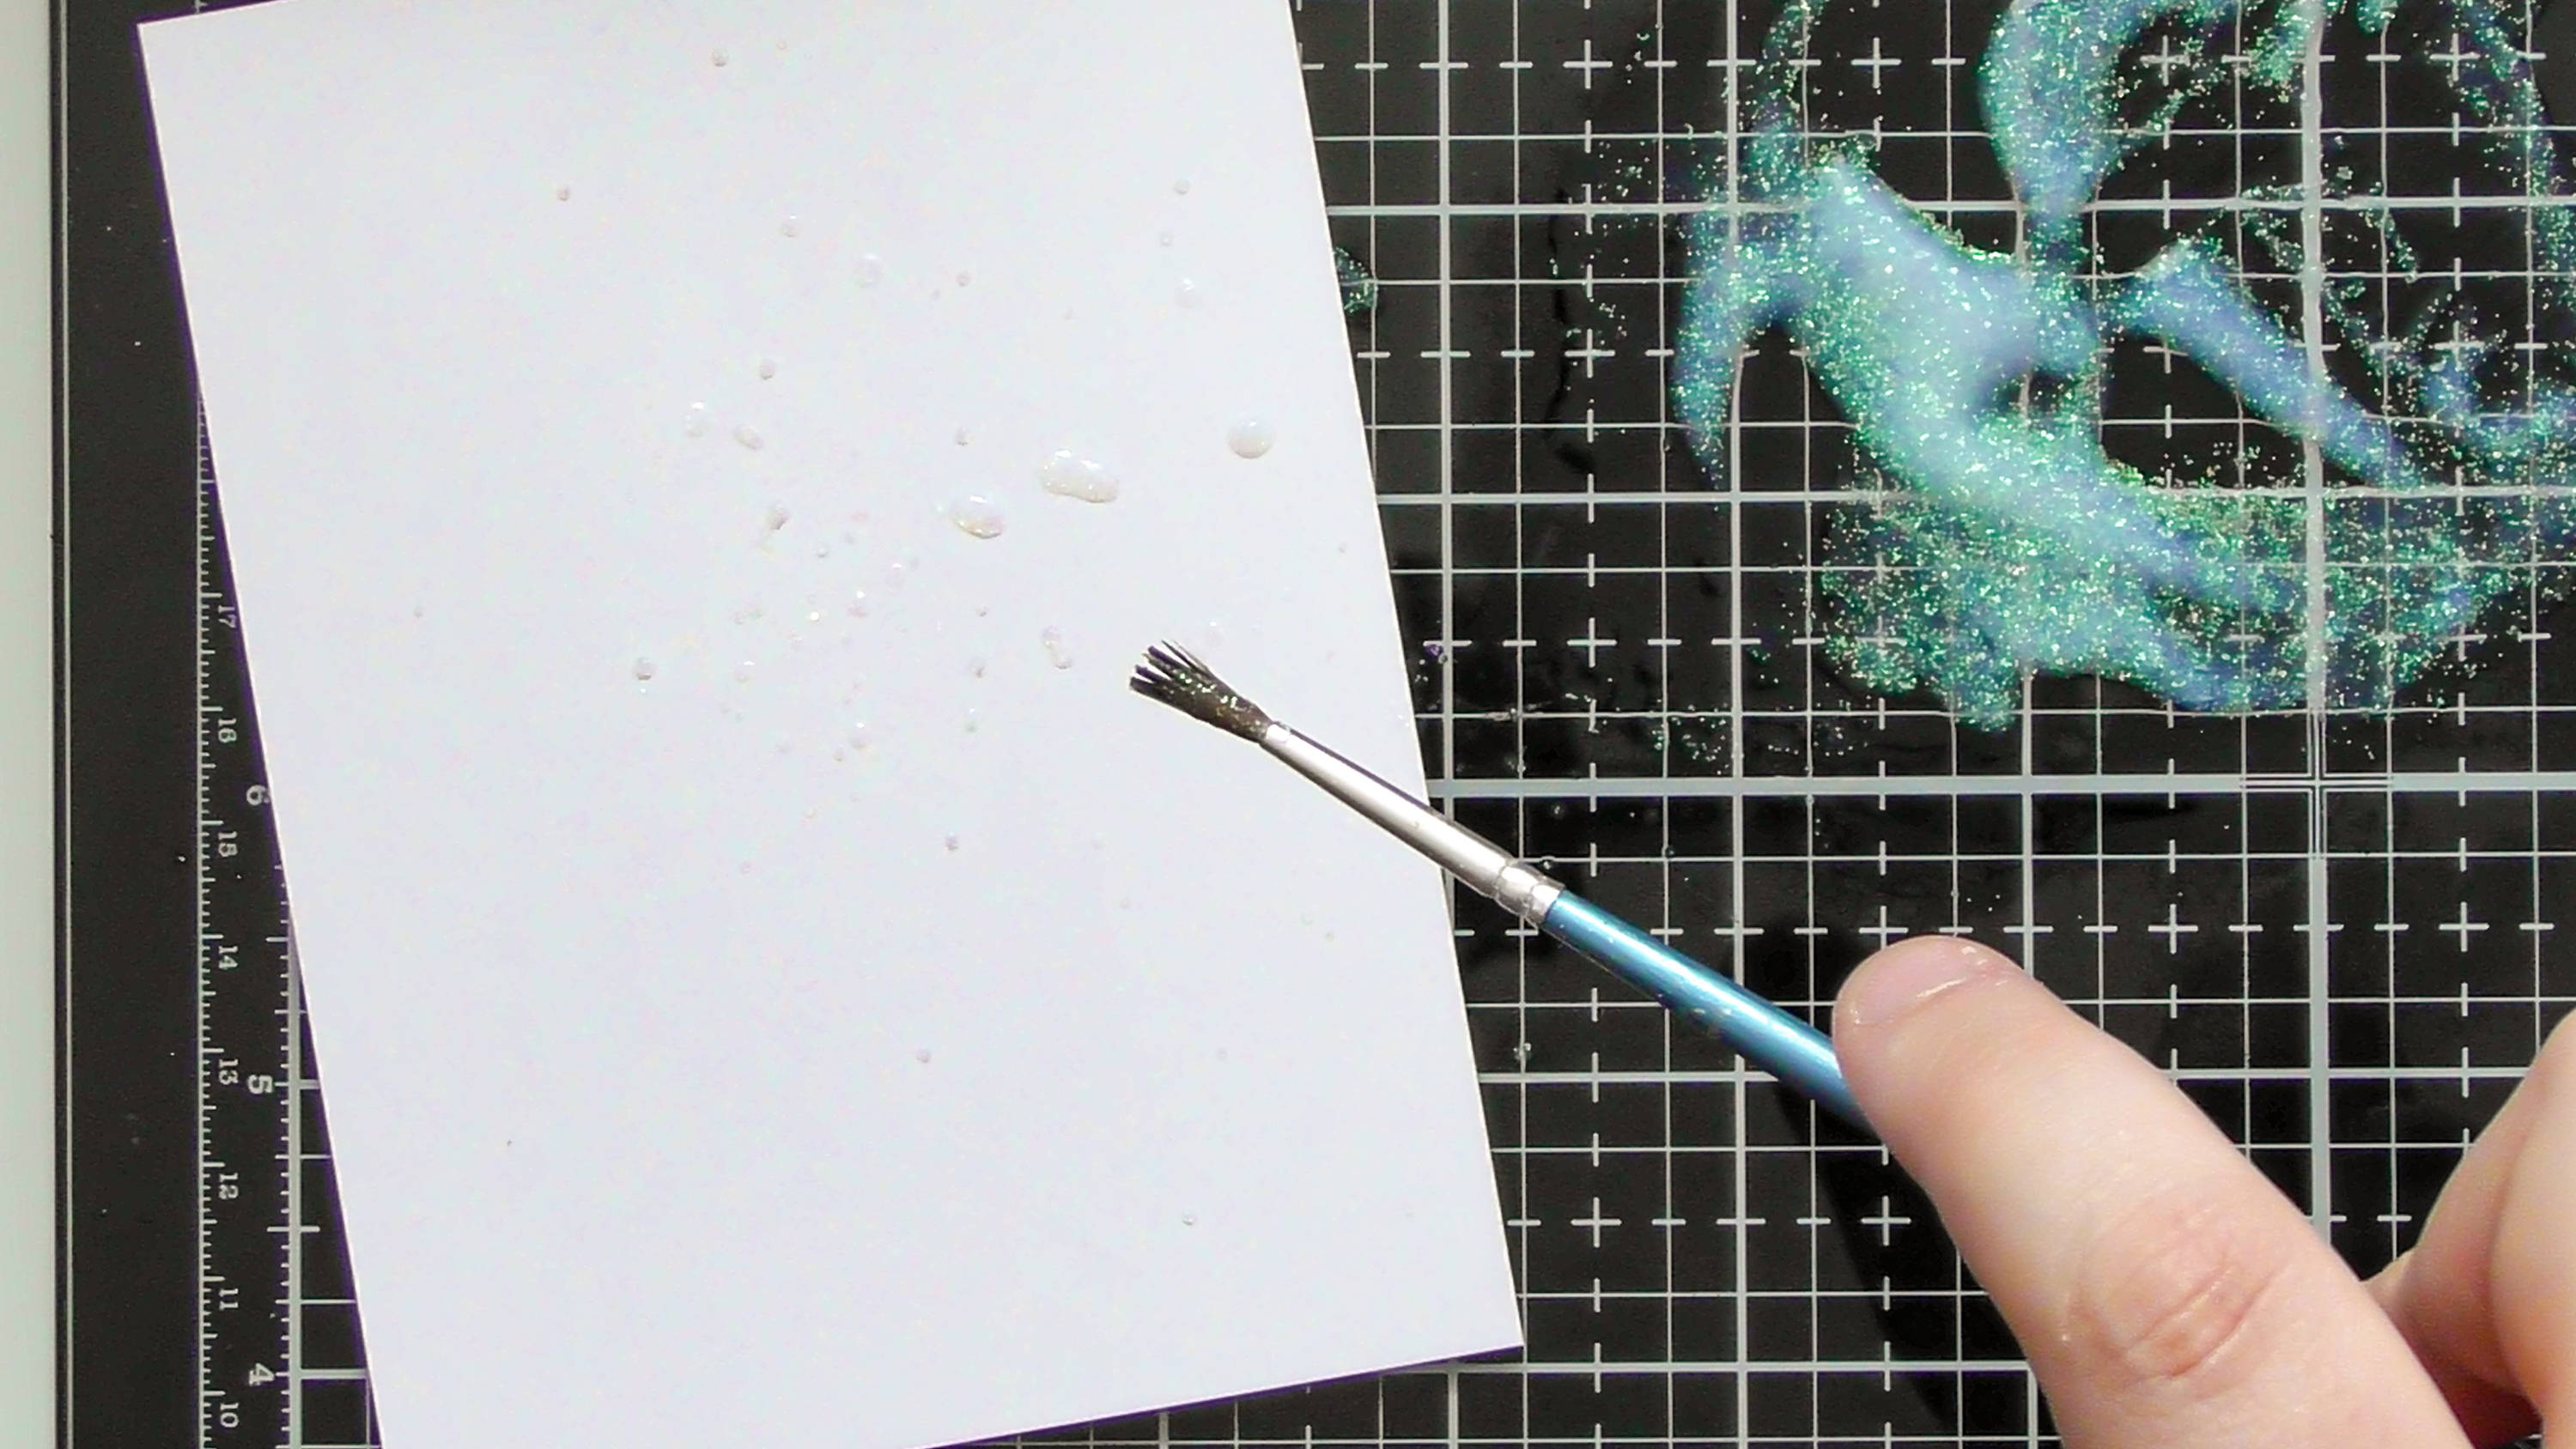
Use the Jewel drops to add some accents above and below the section of red waves.
Step 4

And for an extra special touch, sprinkle them with some yellow glitter while they’re wet.
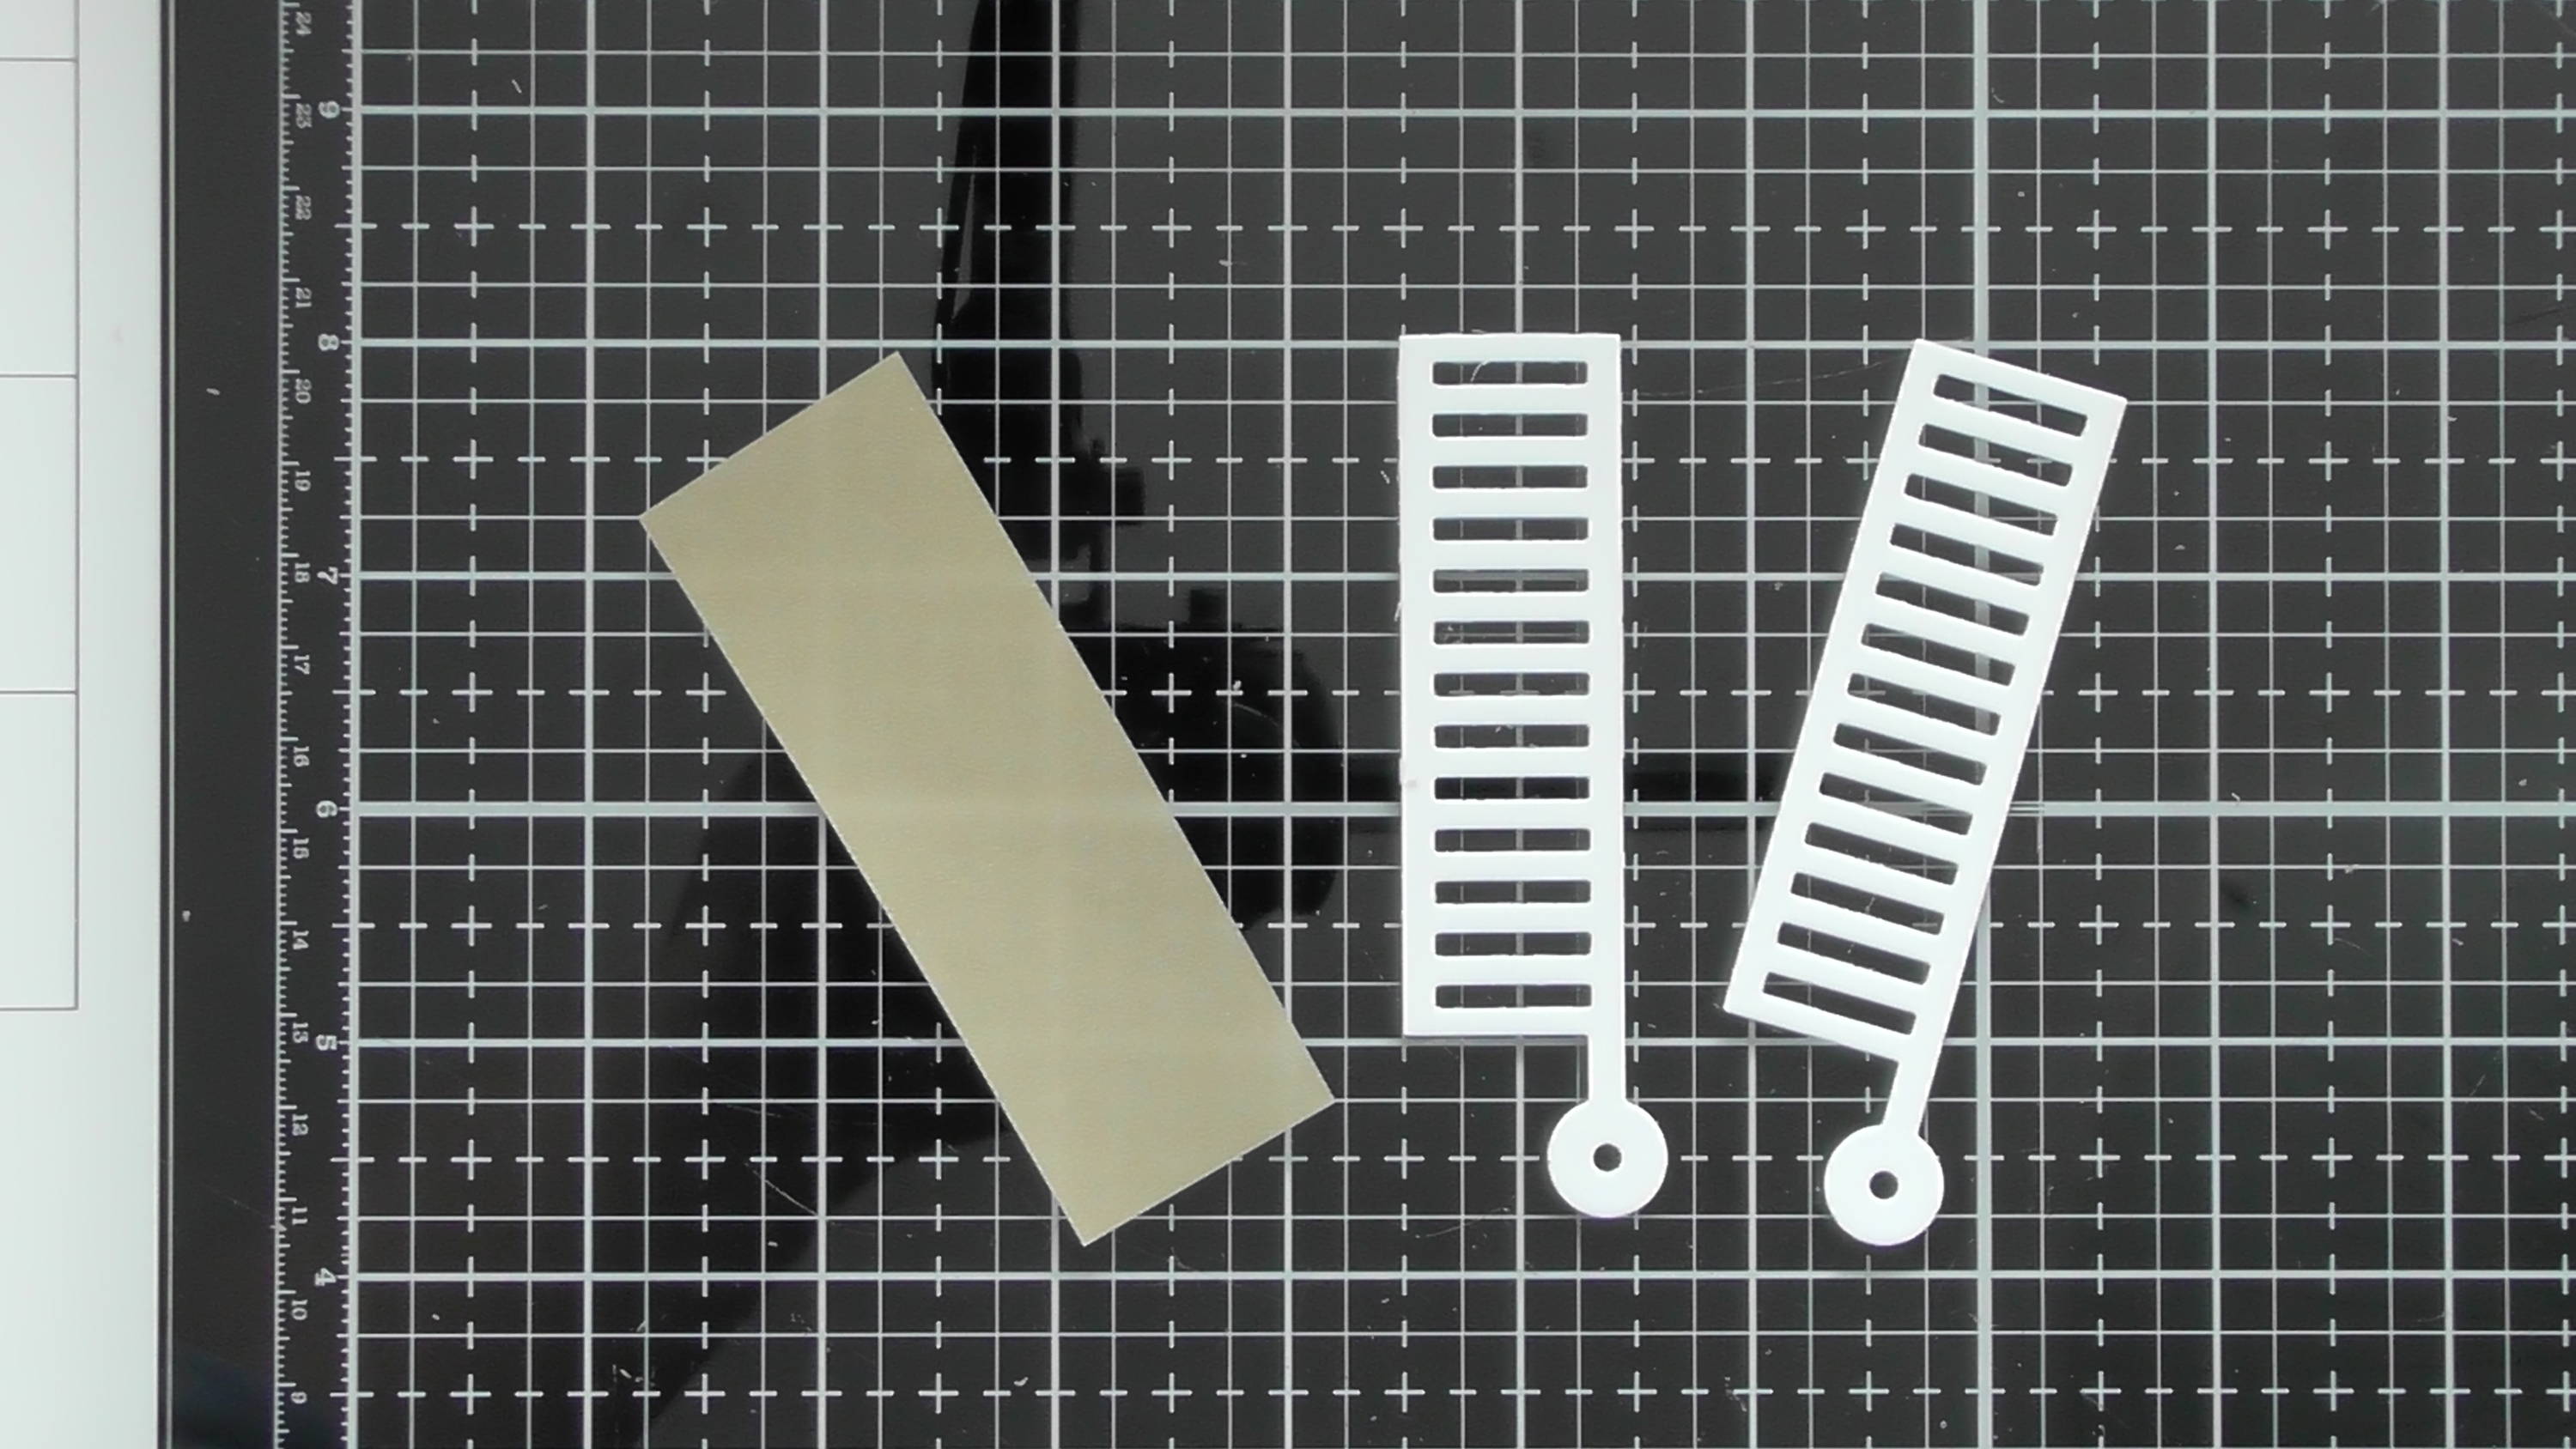
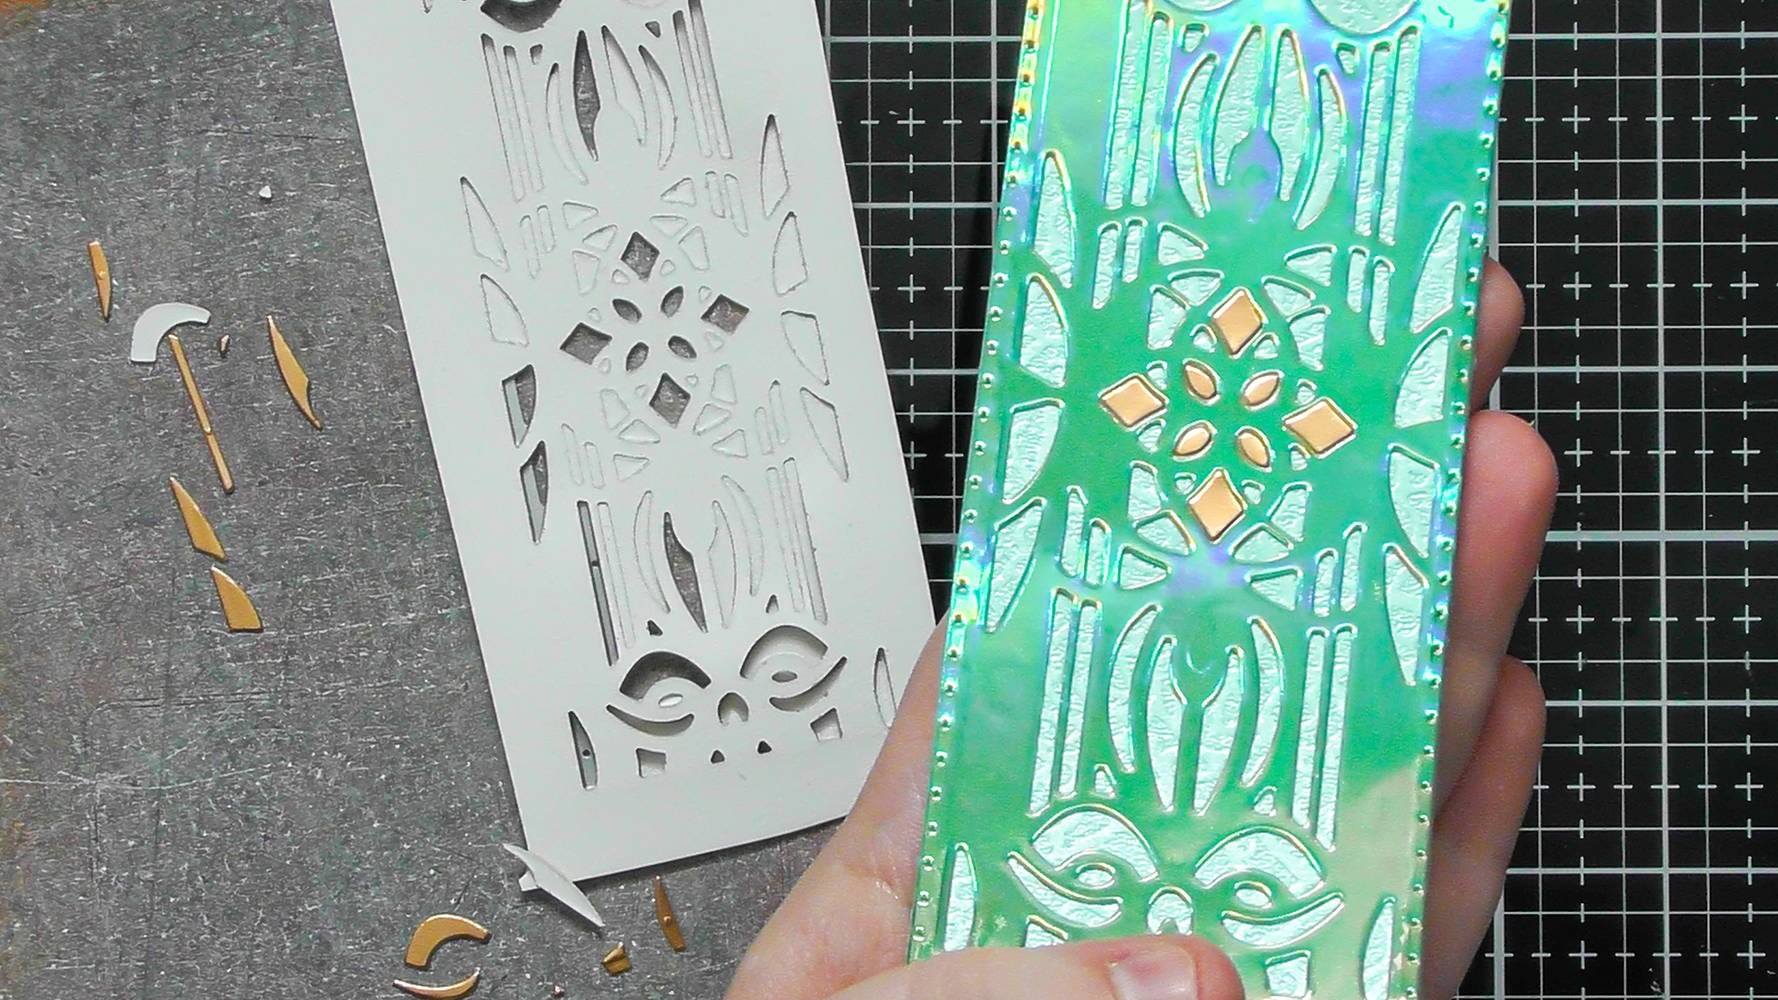
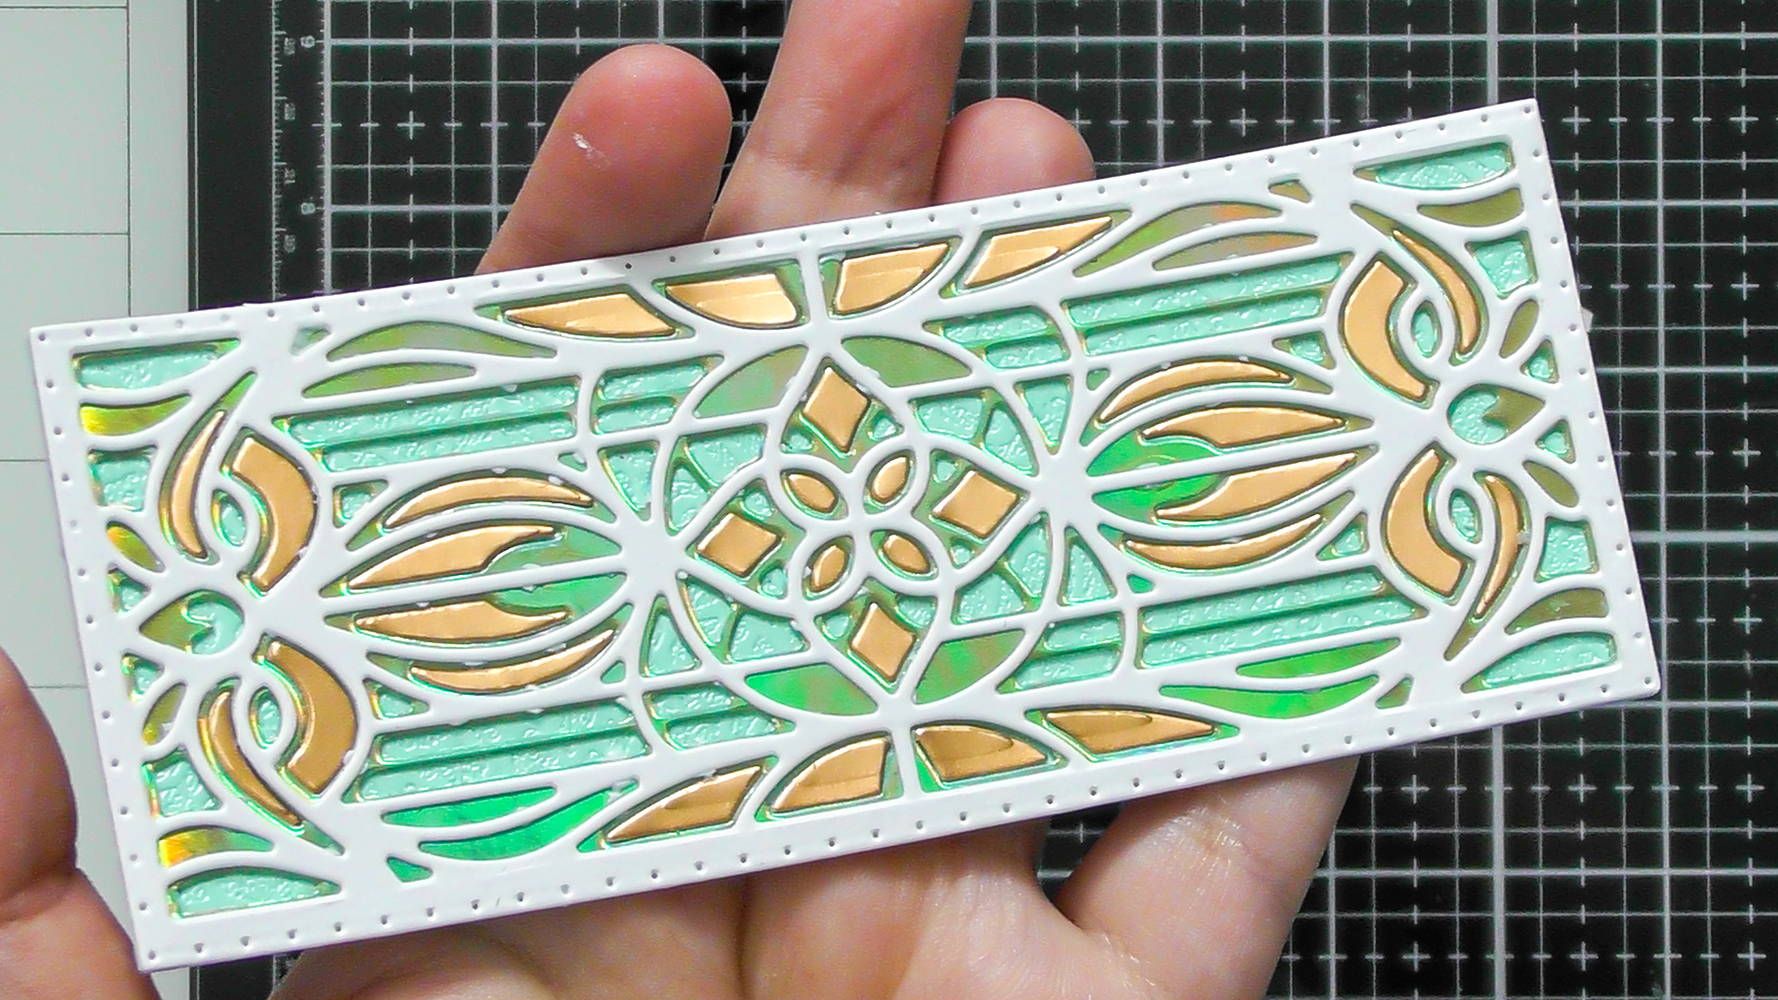
Step 5

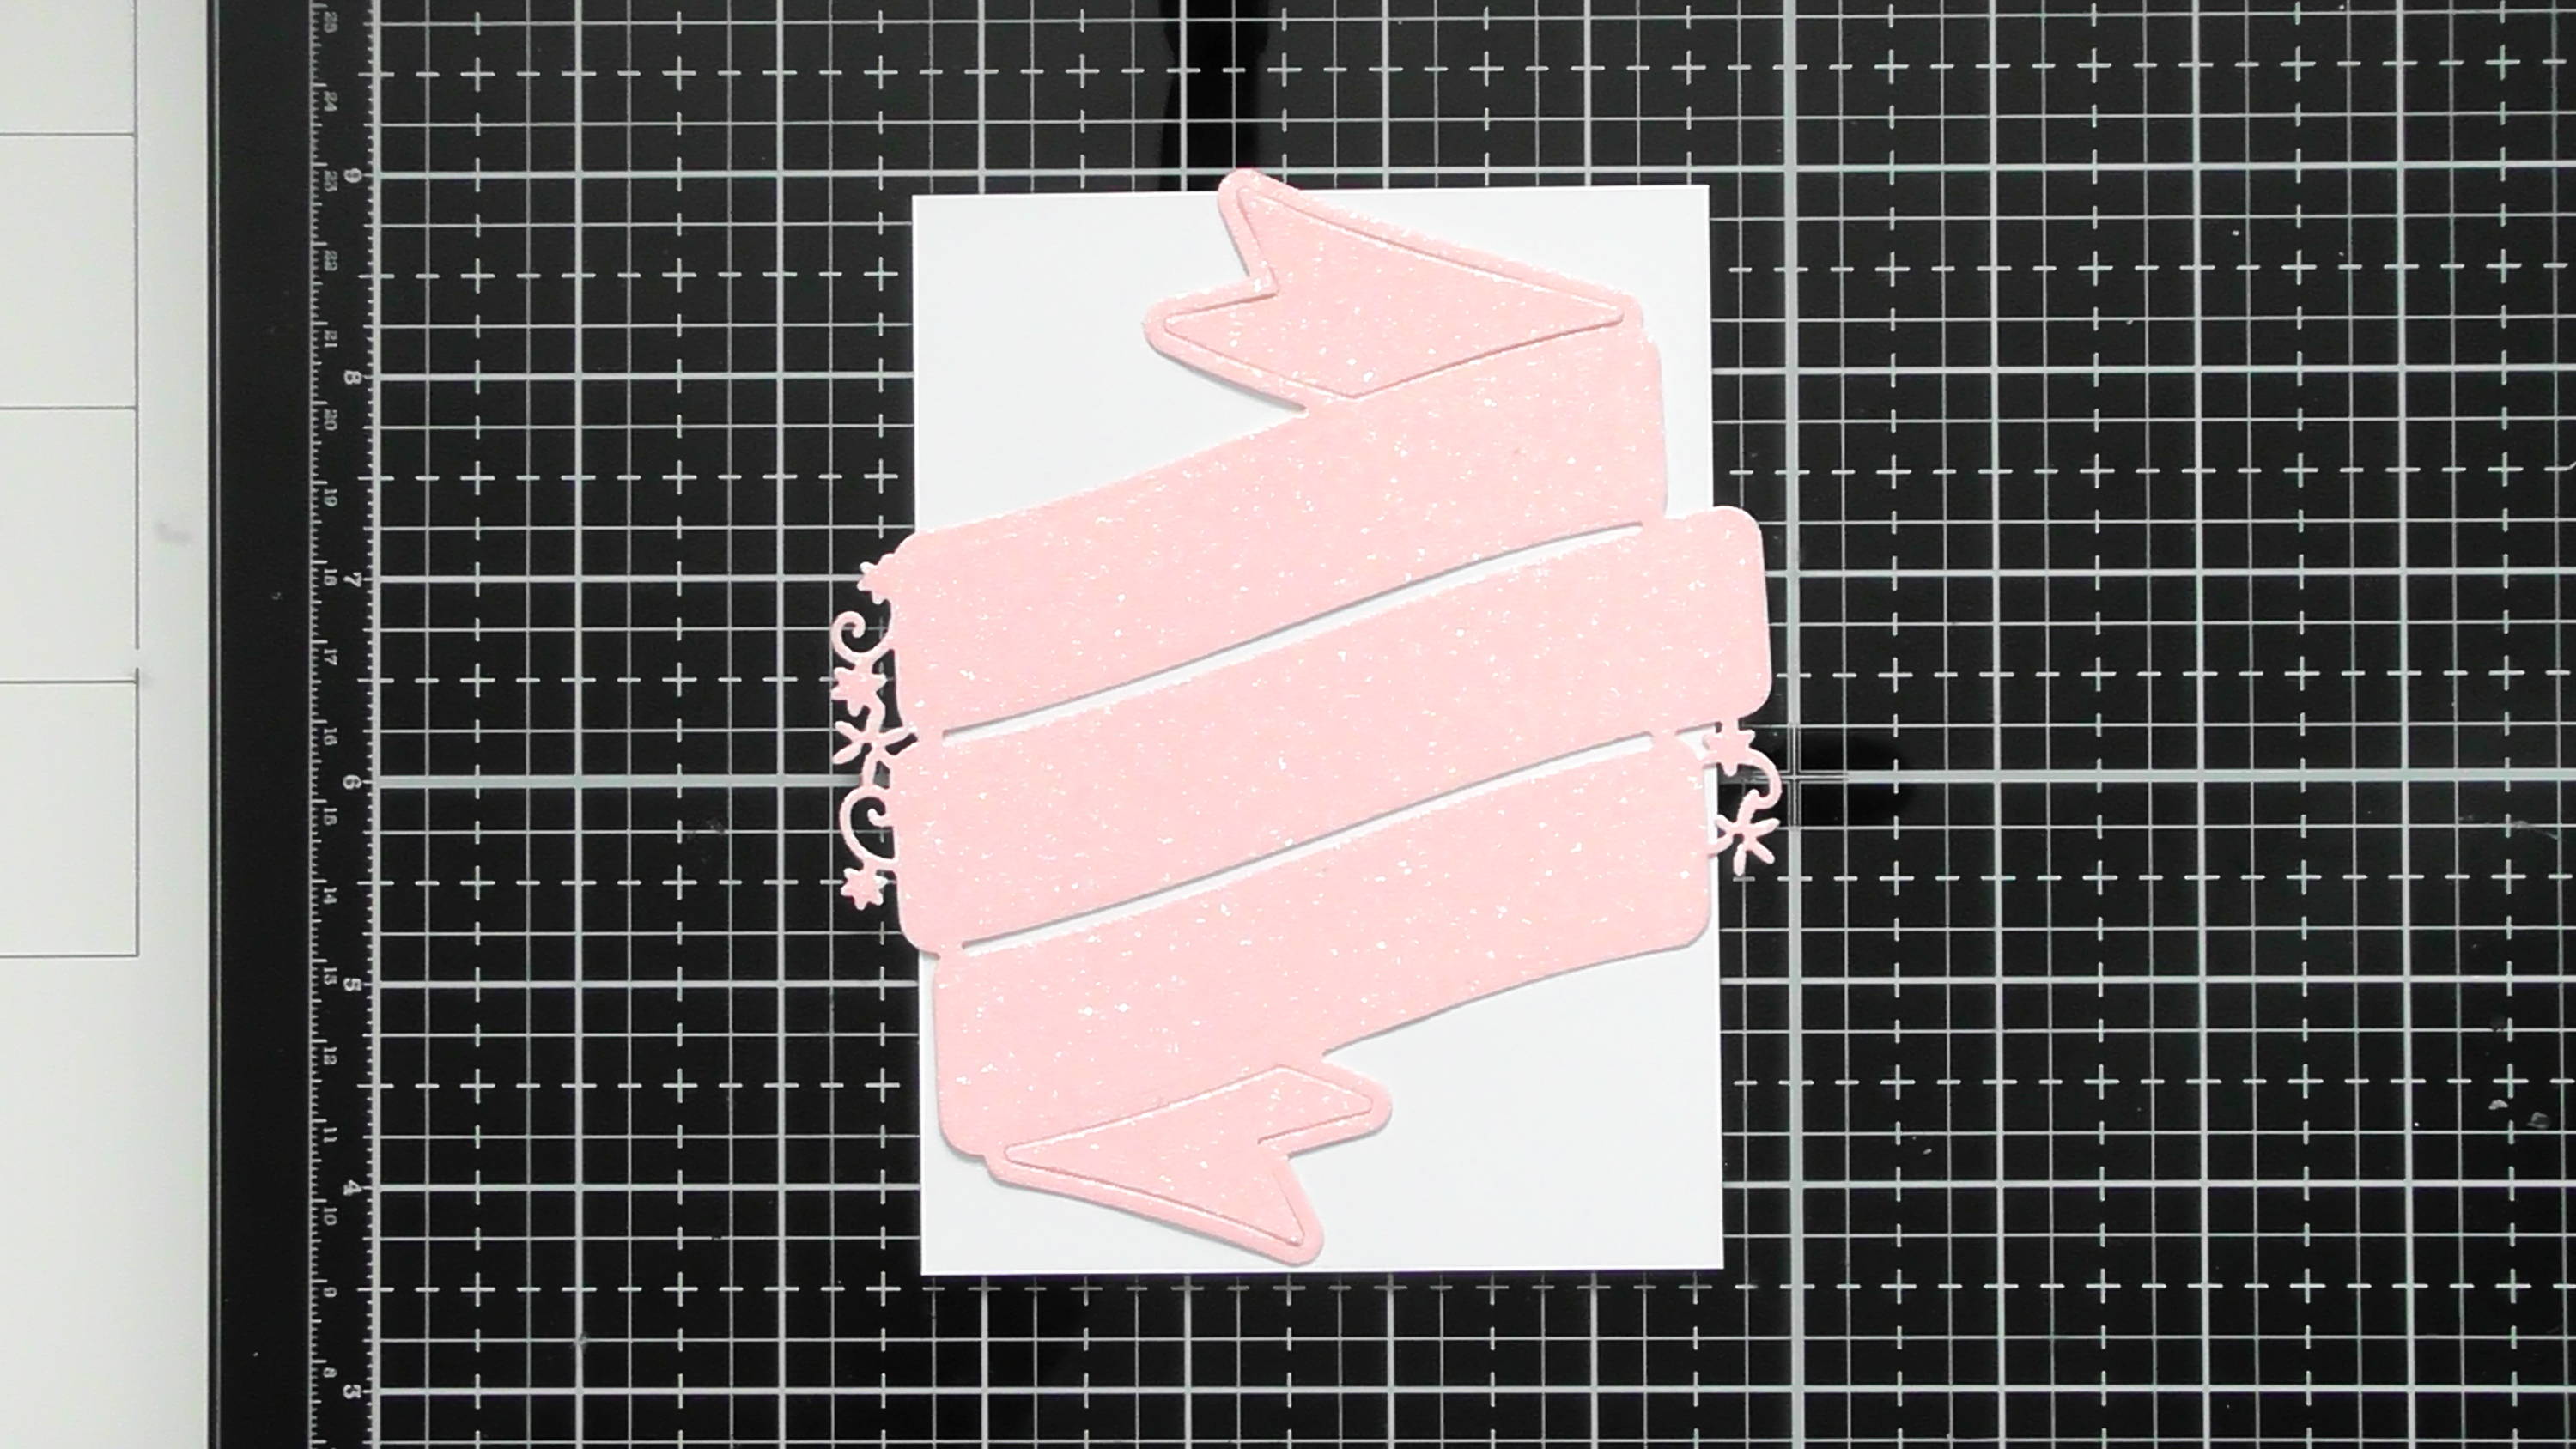
Die-cut the decorative thinking of you strip die from the yellow glitter card.
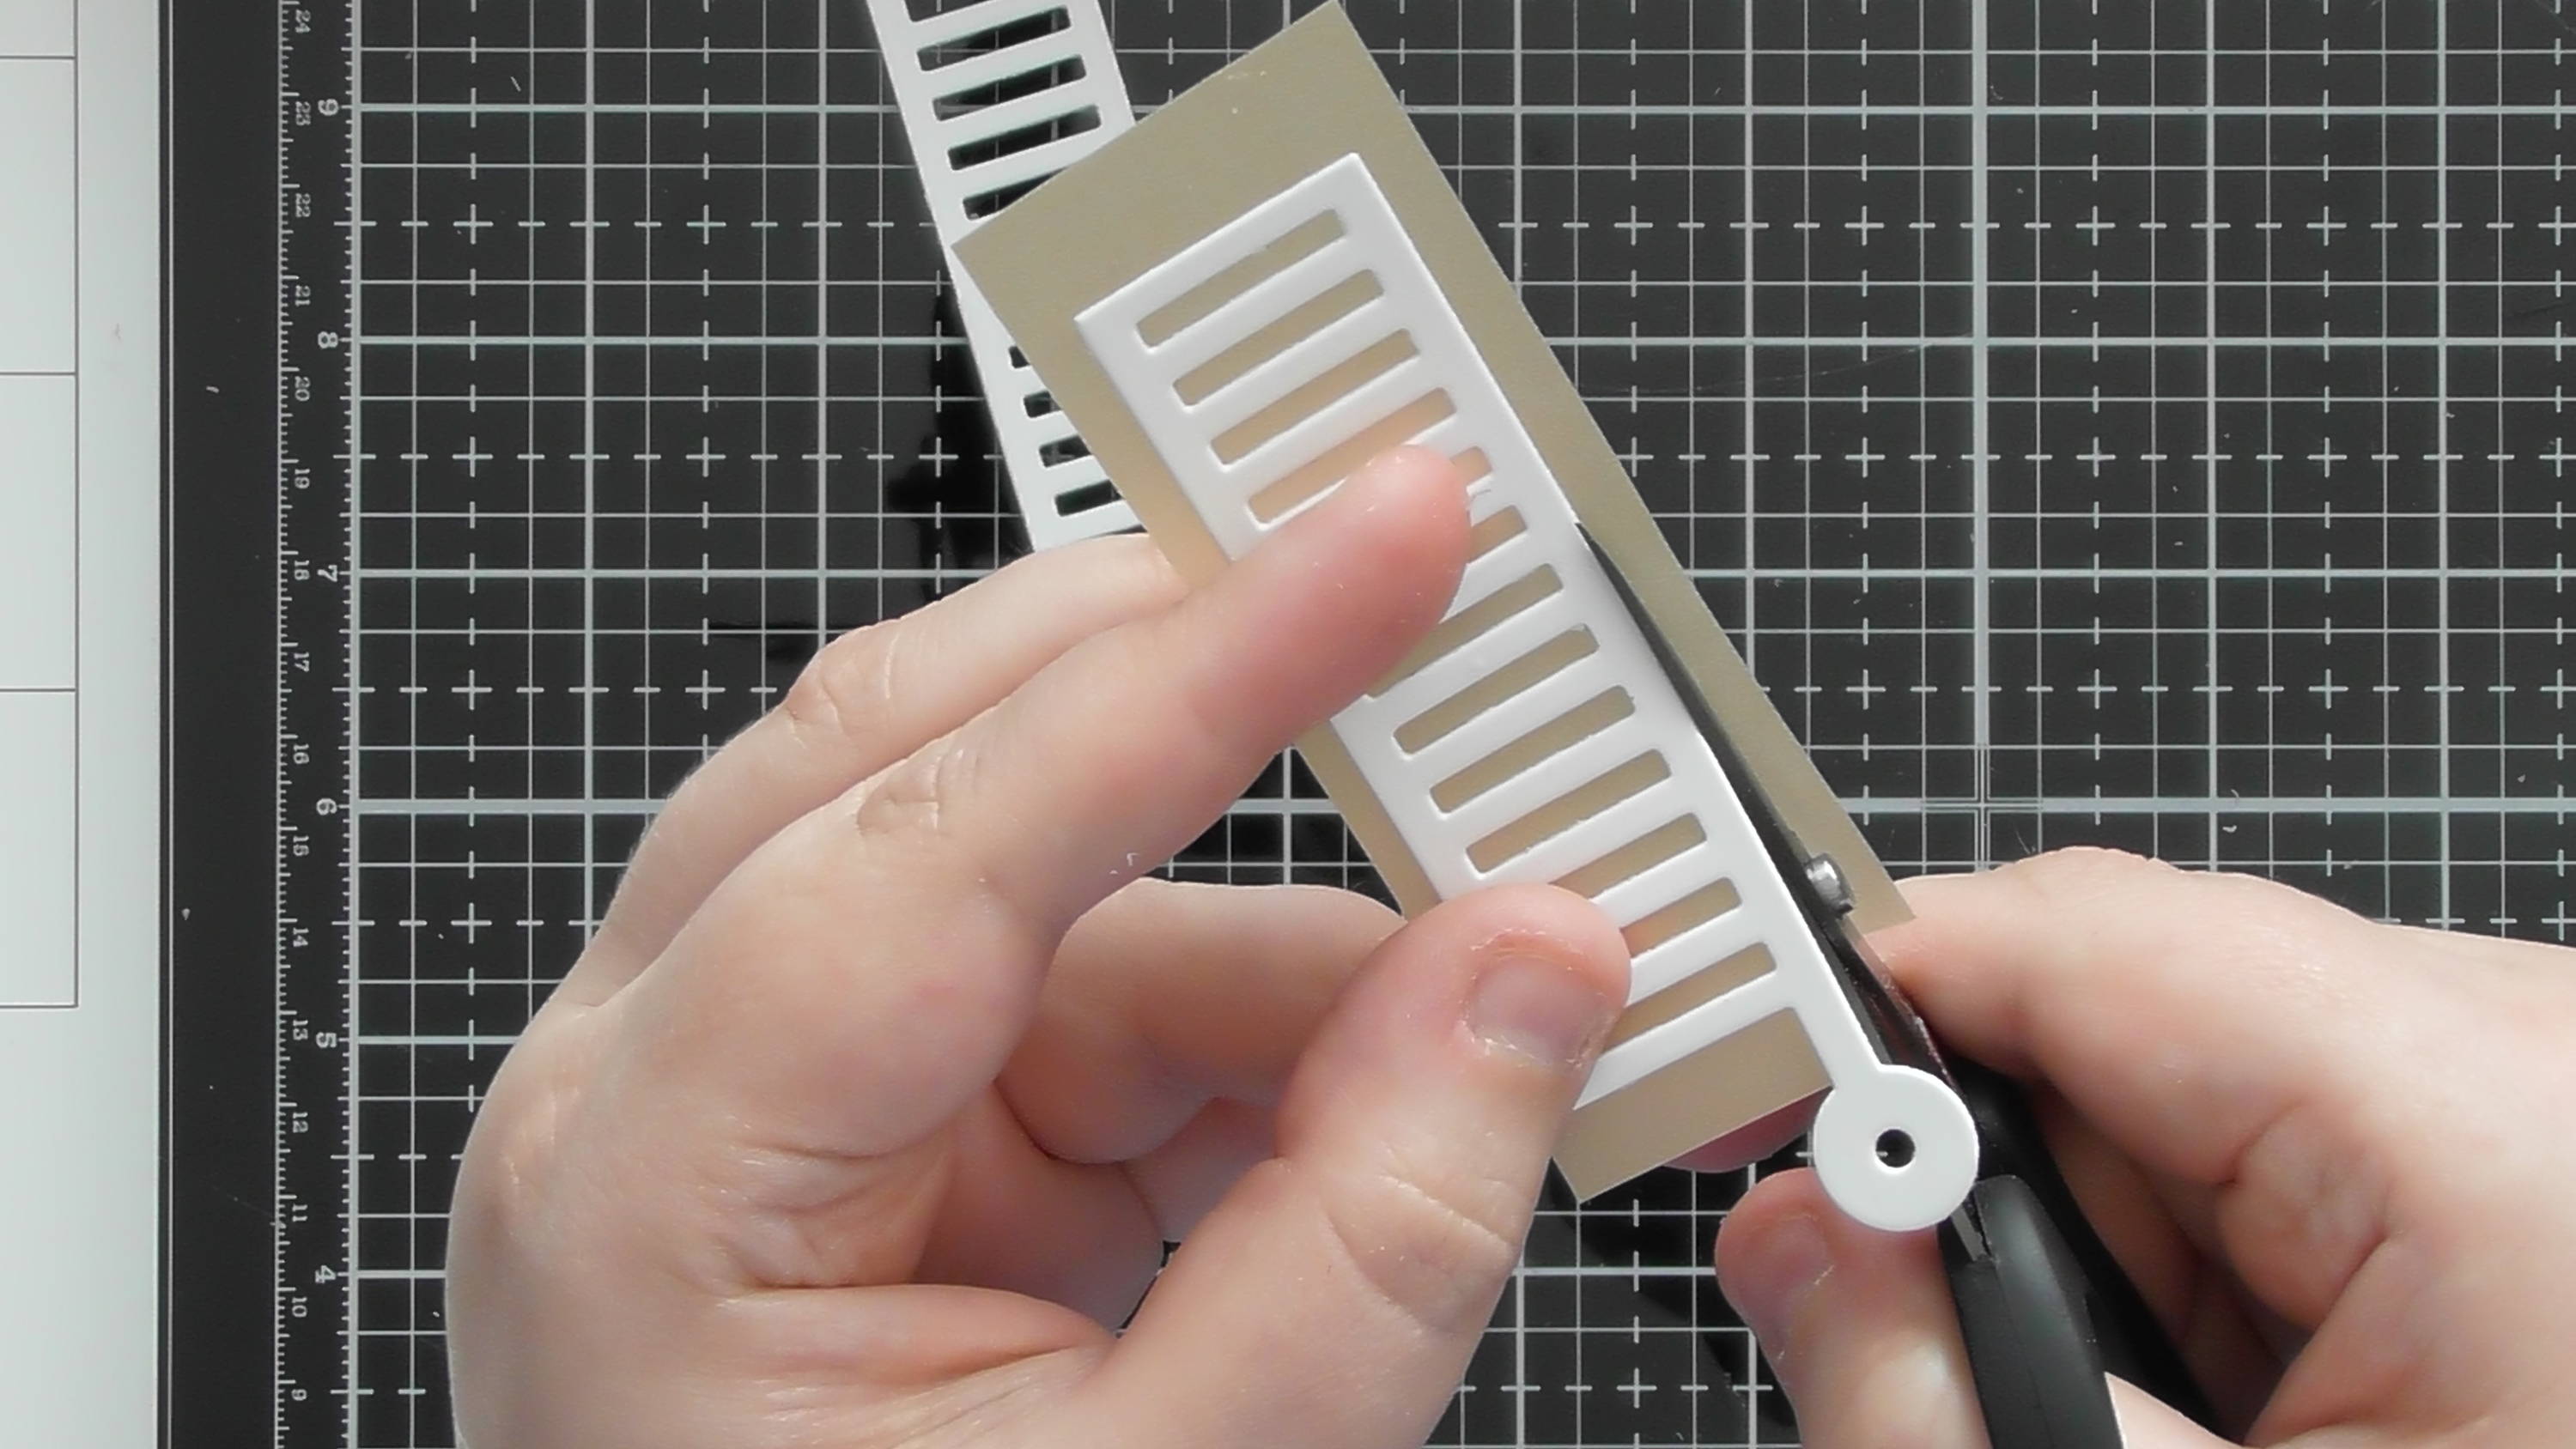
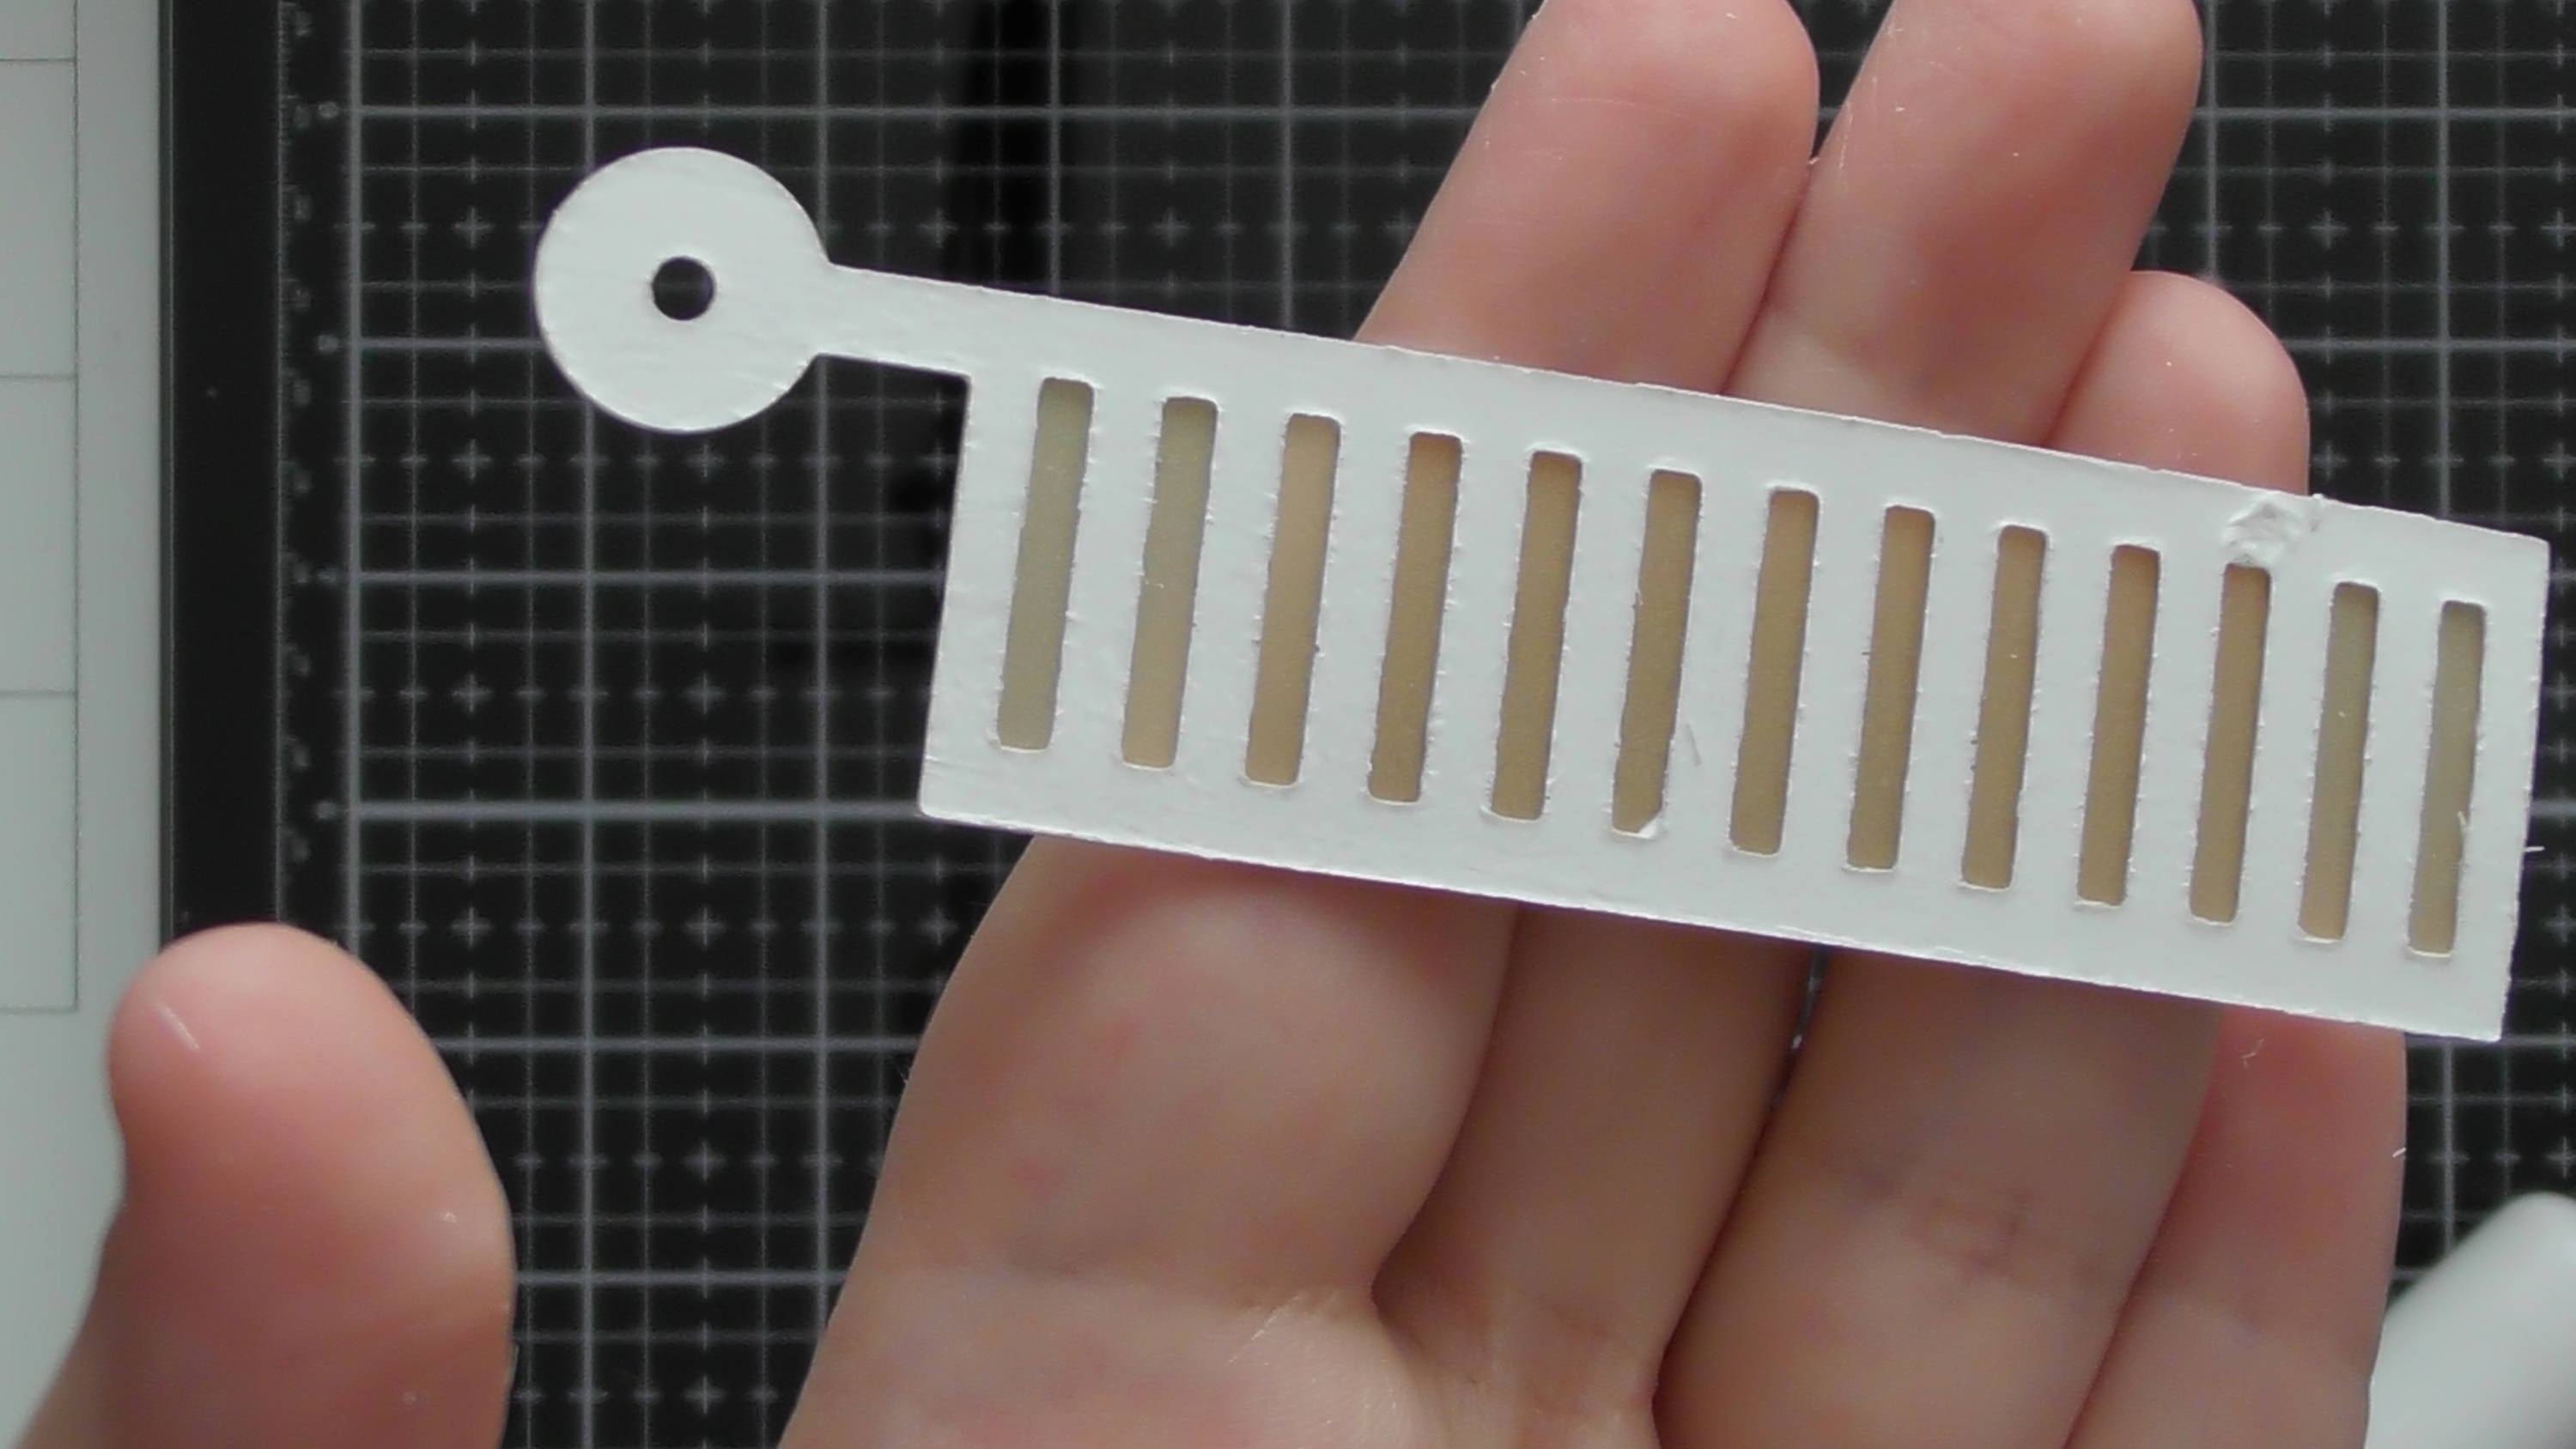
Step 6

Use your guillotine to trim down the border, to only have the middle section.
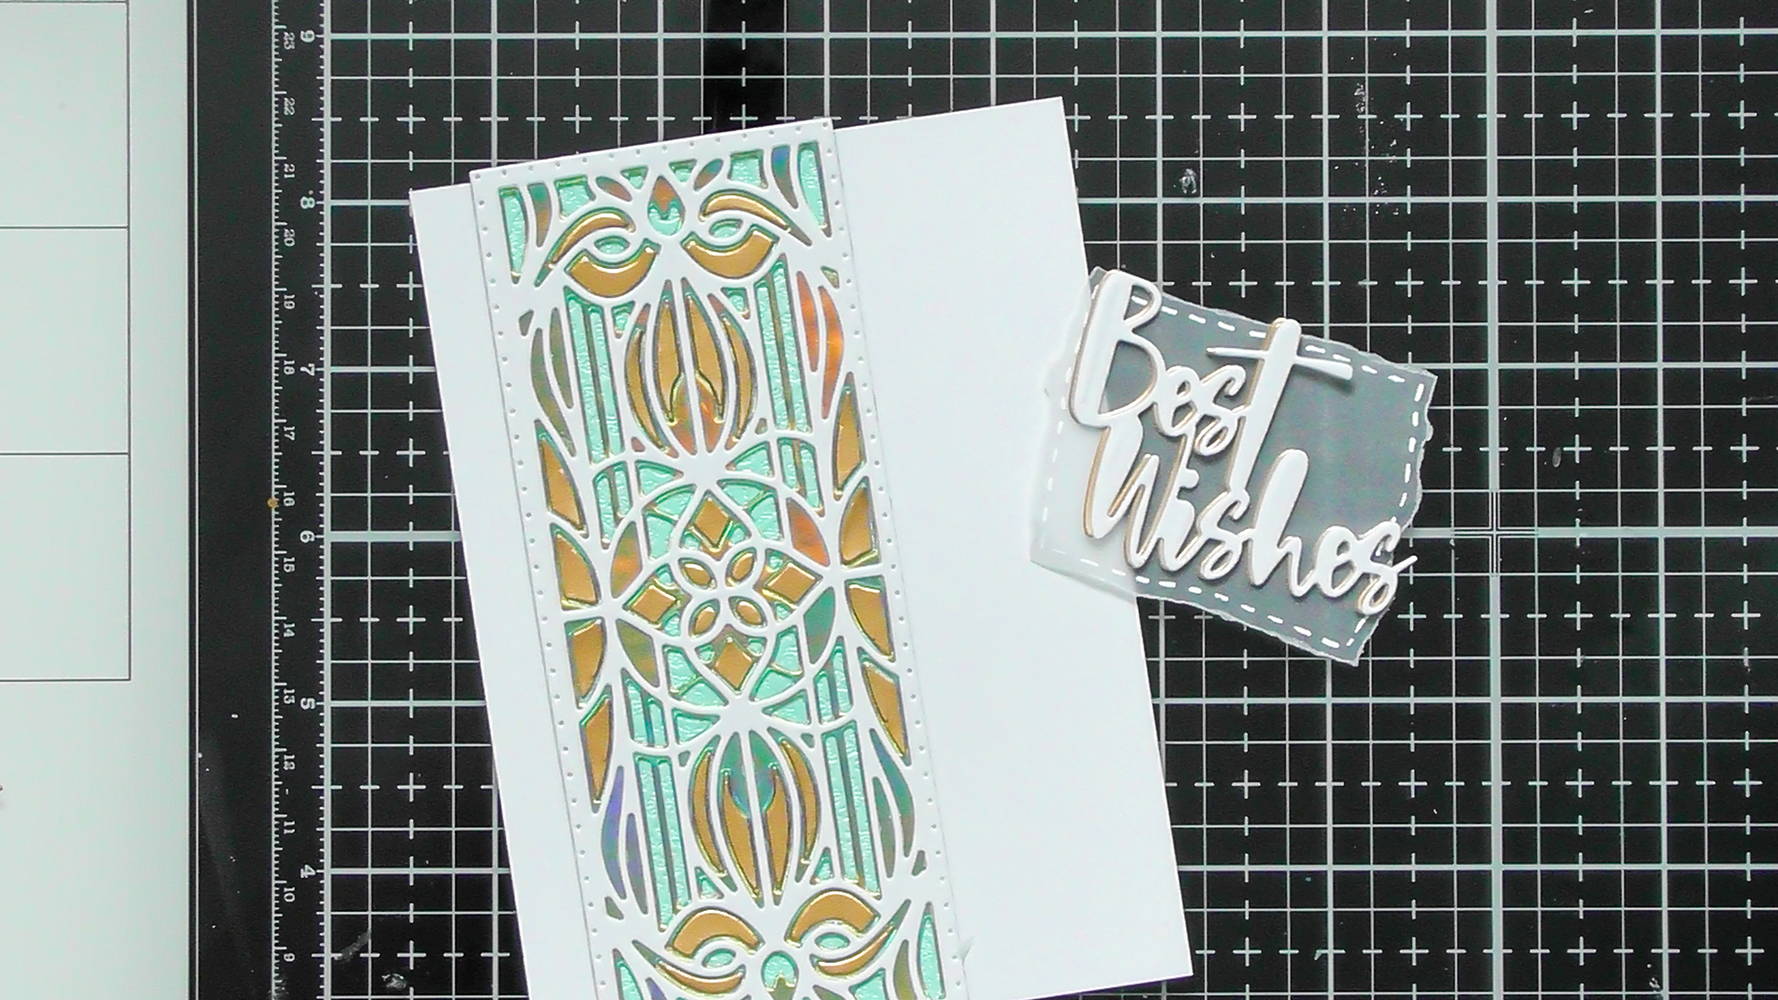
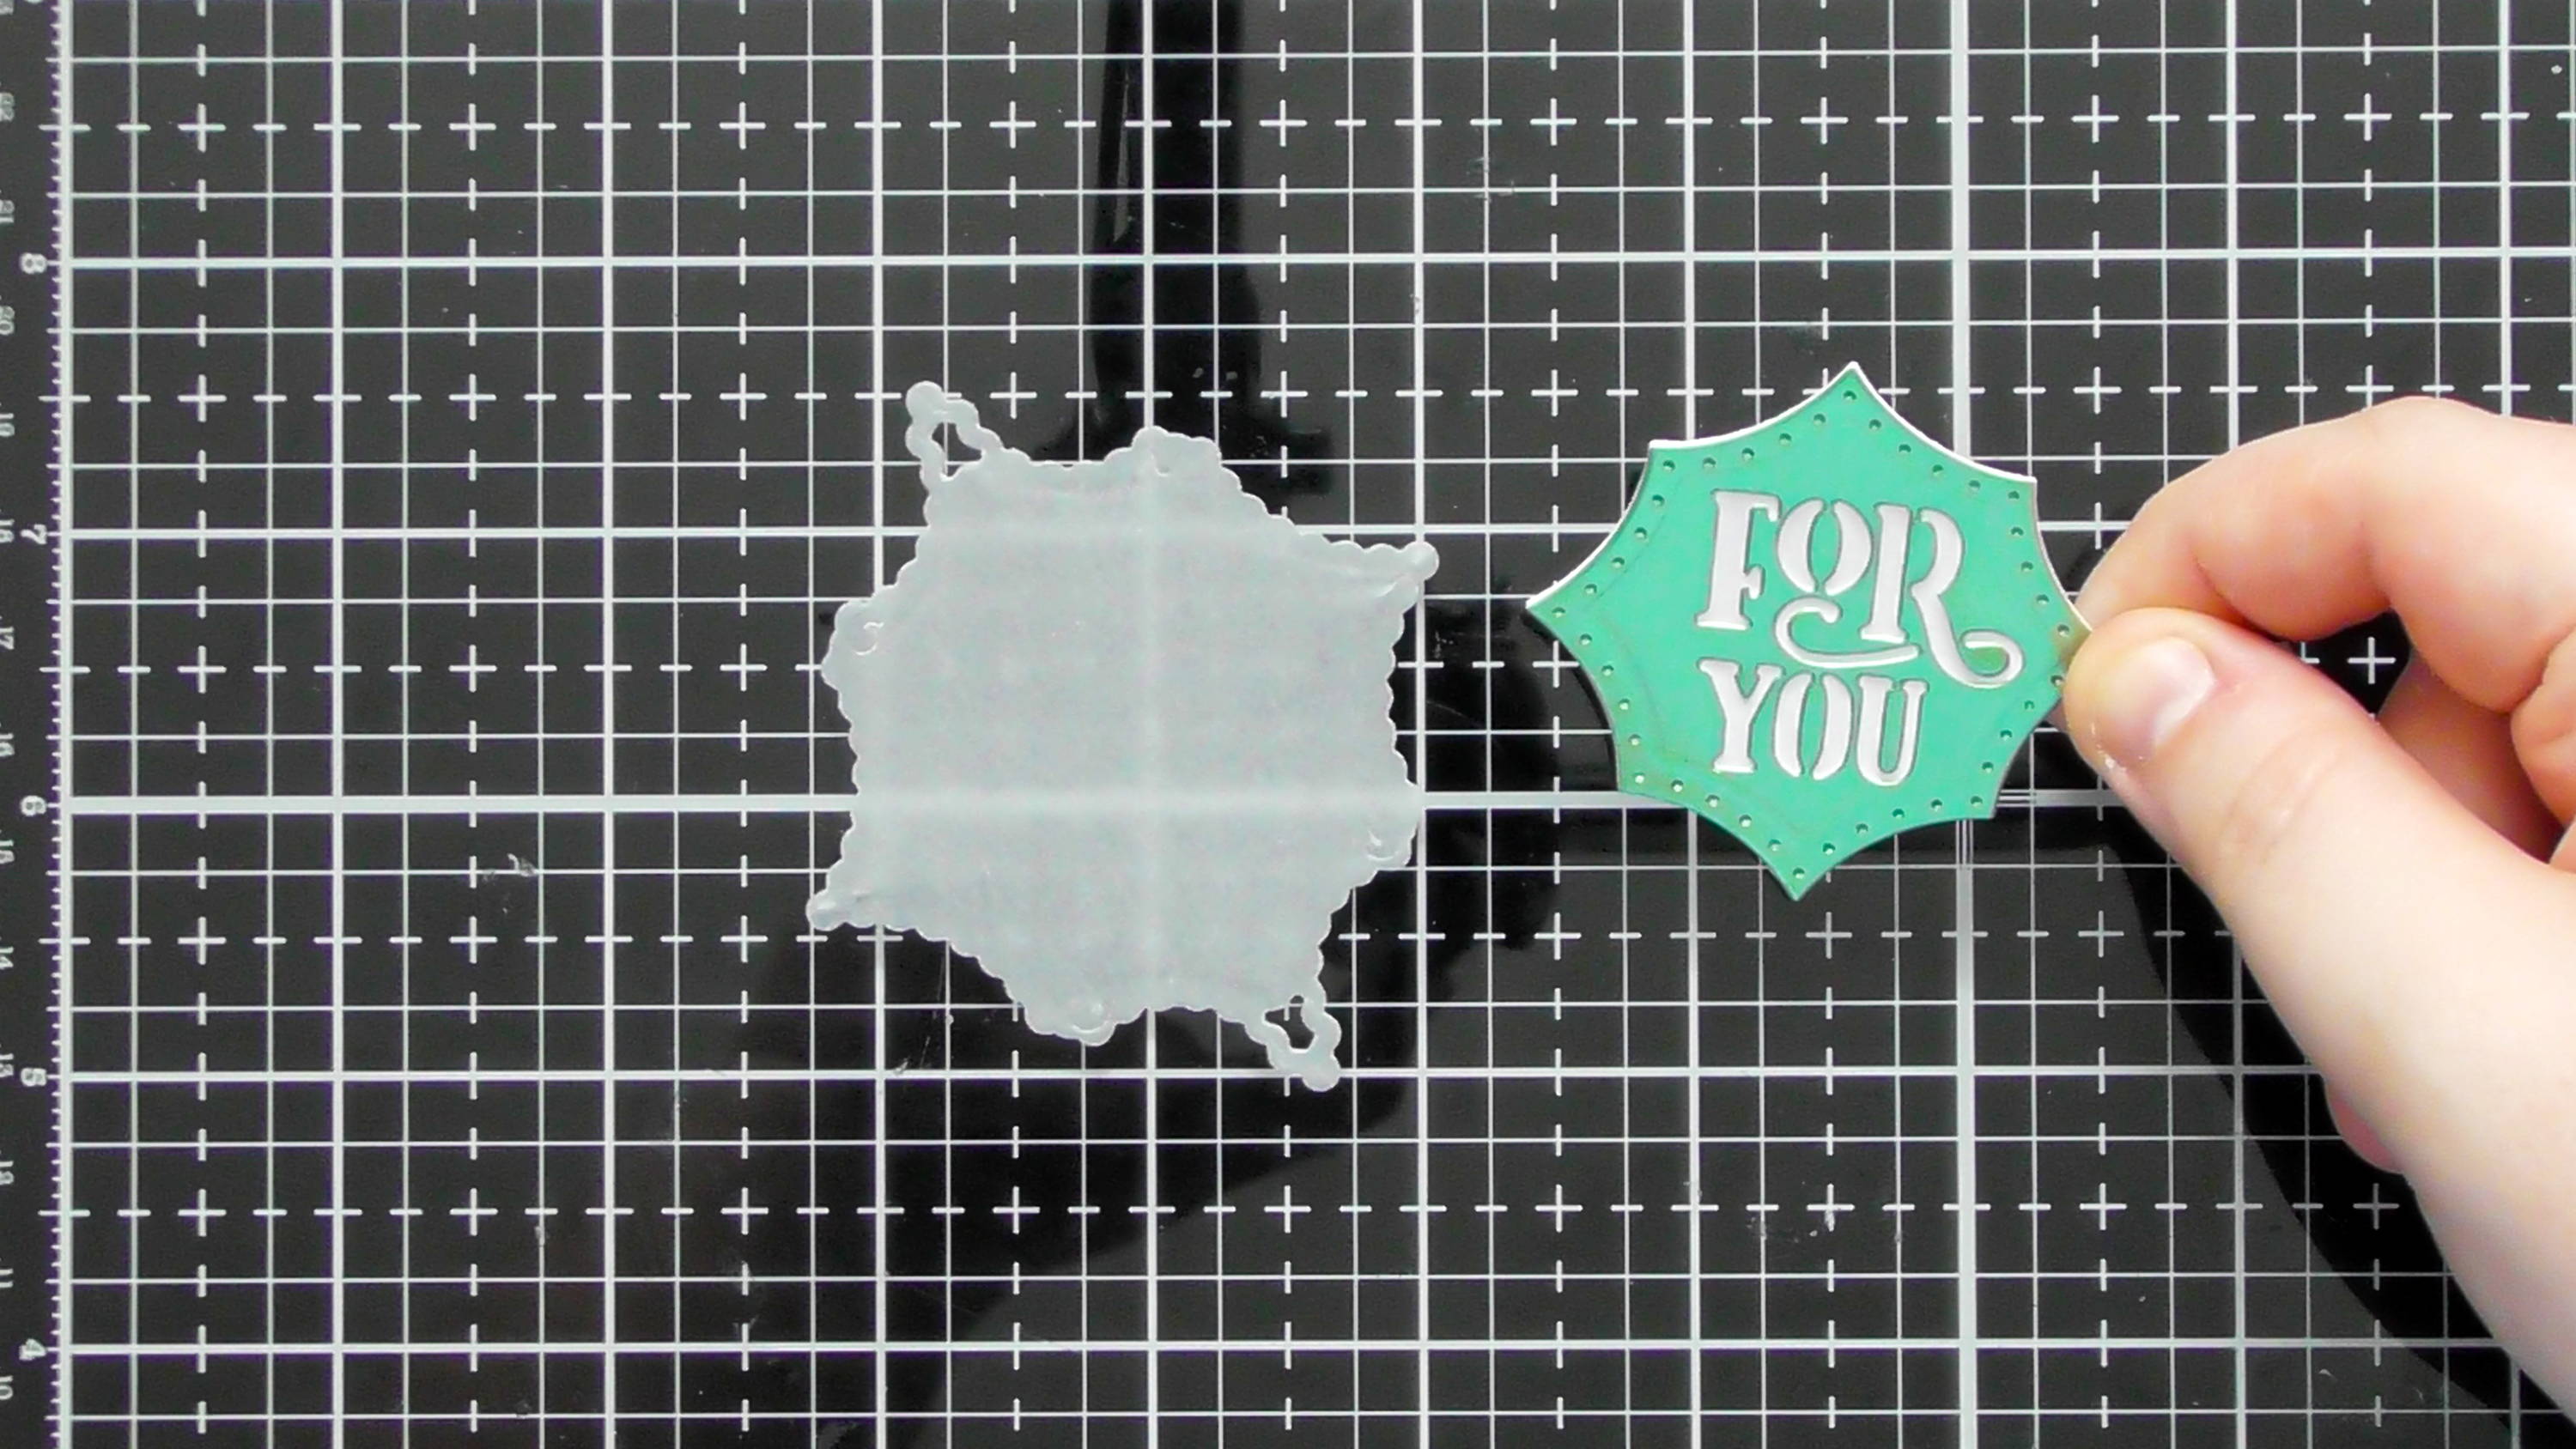
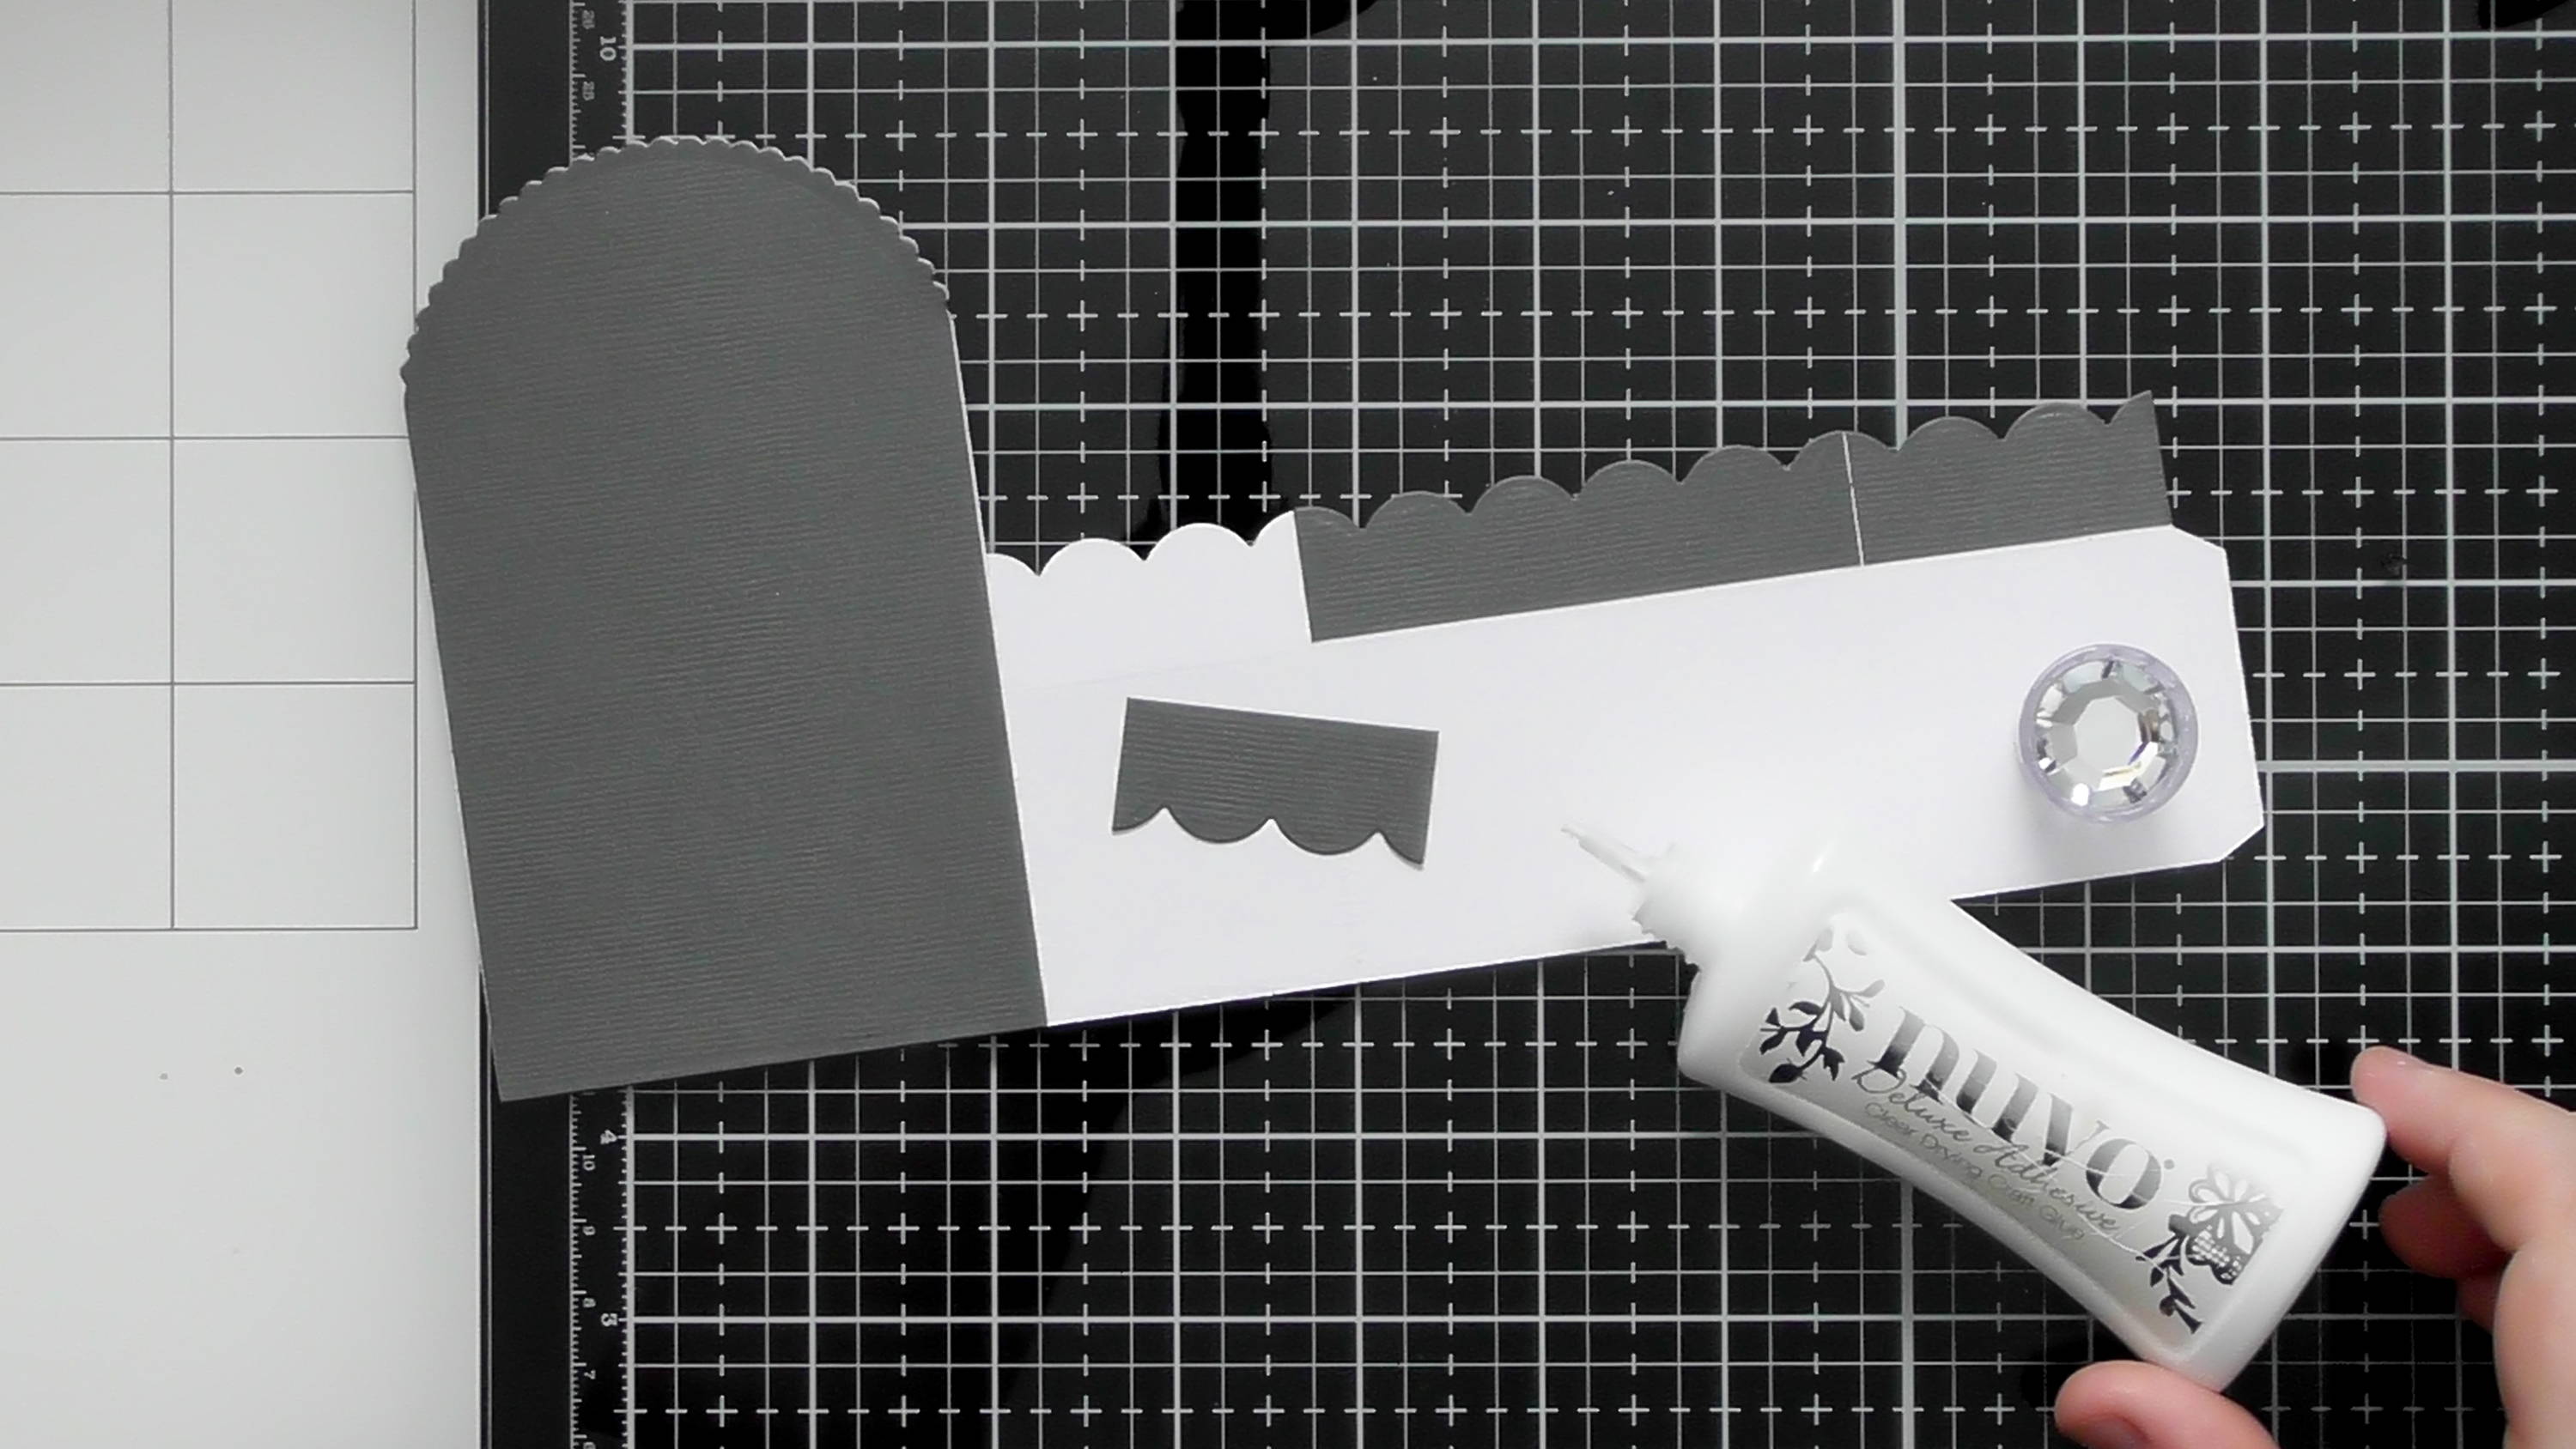
Step 7

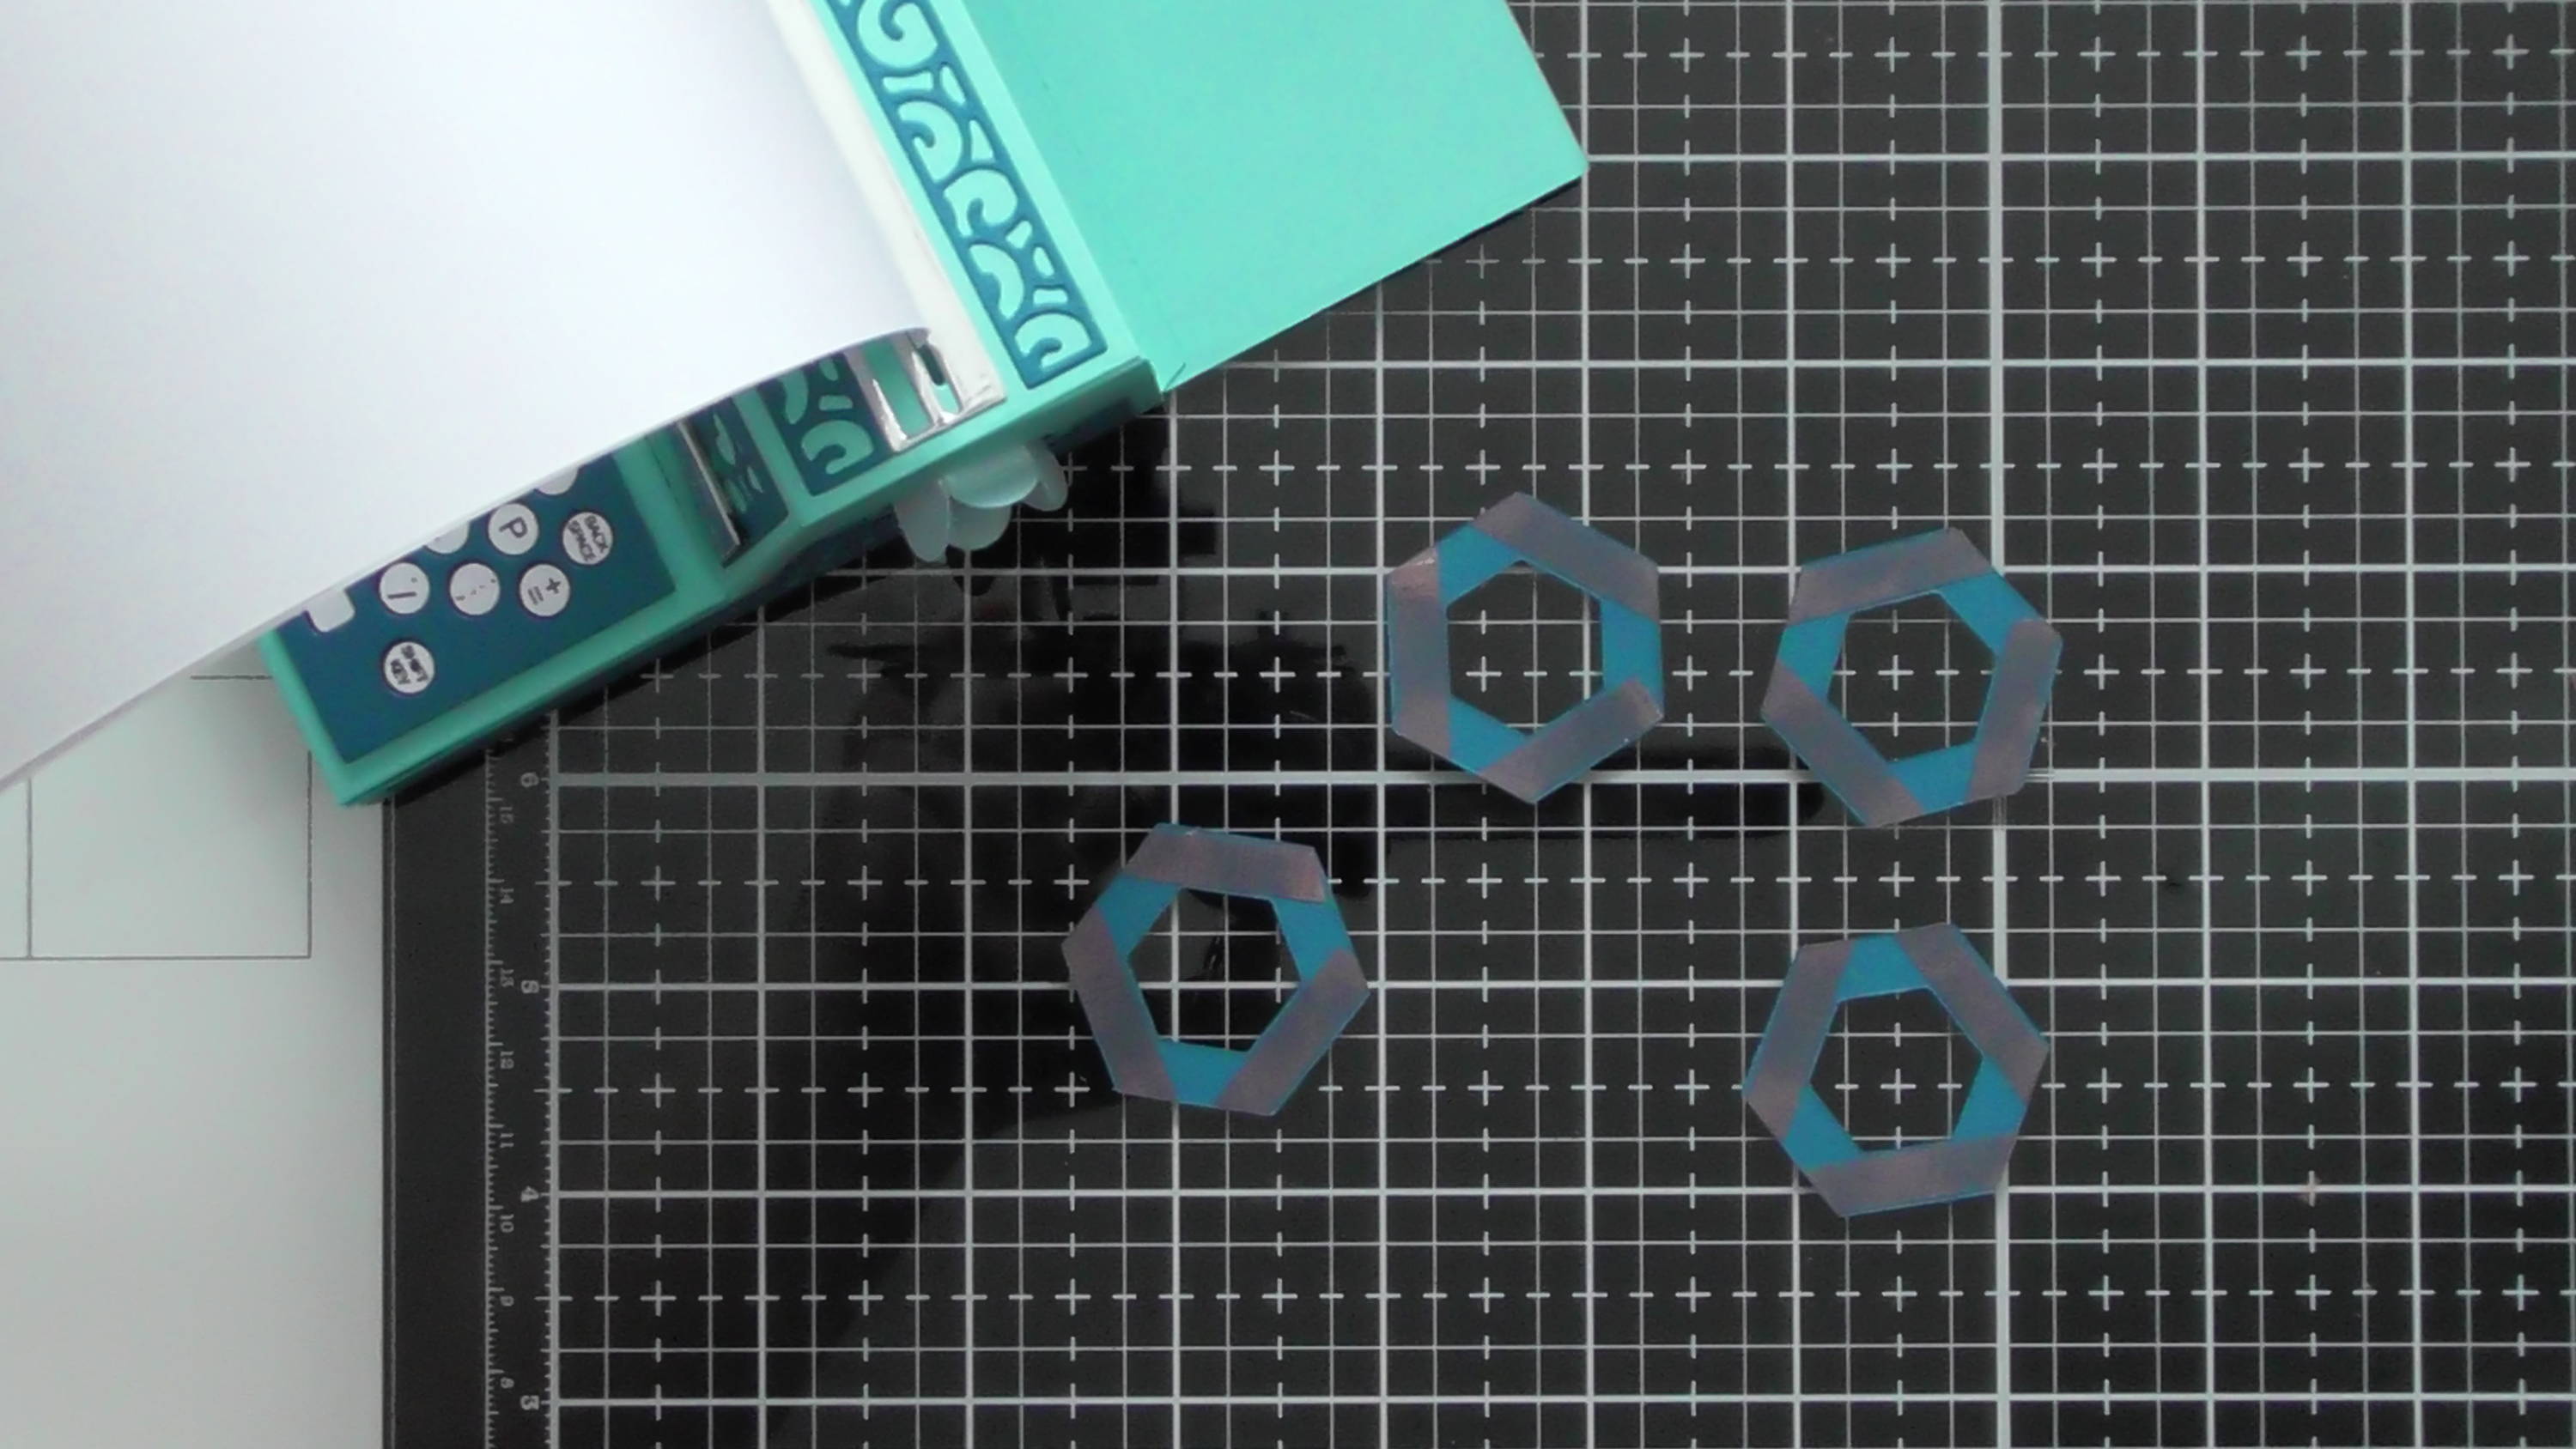
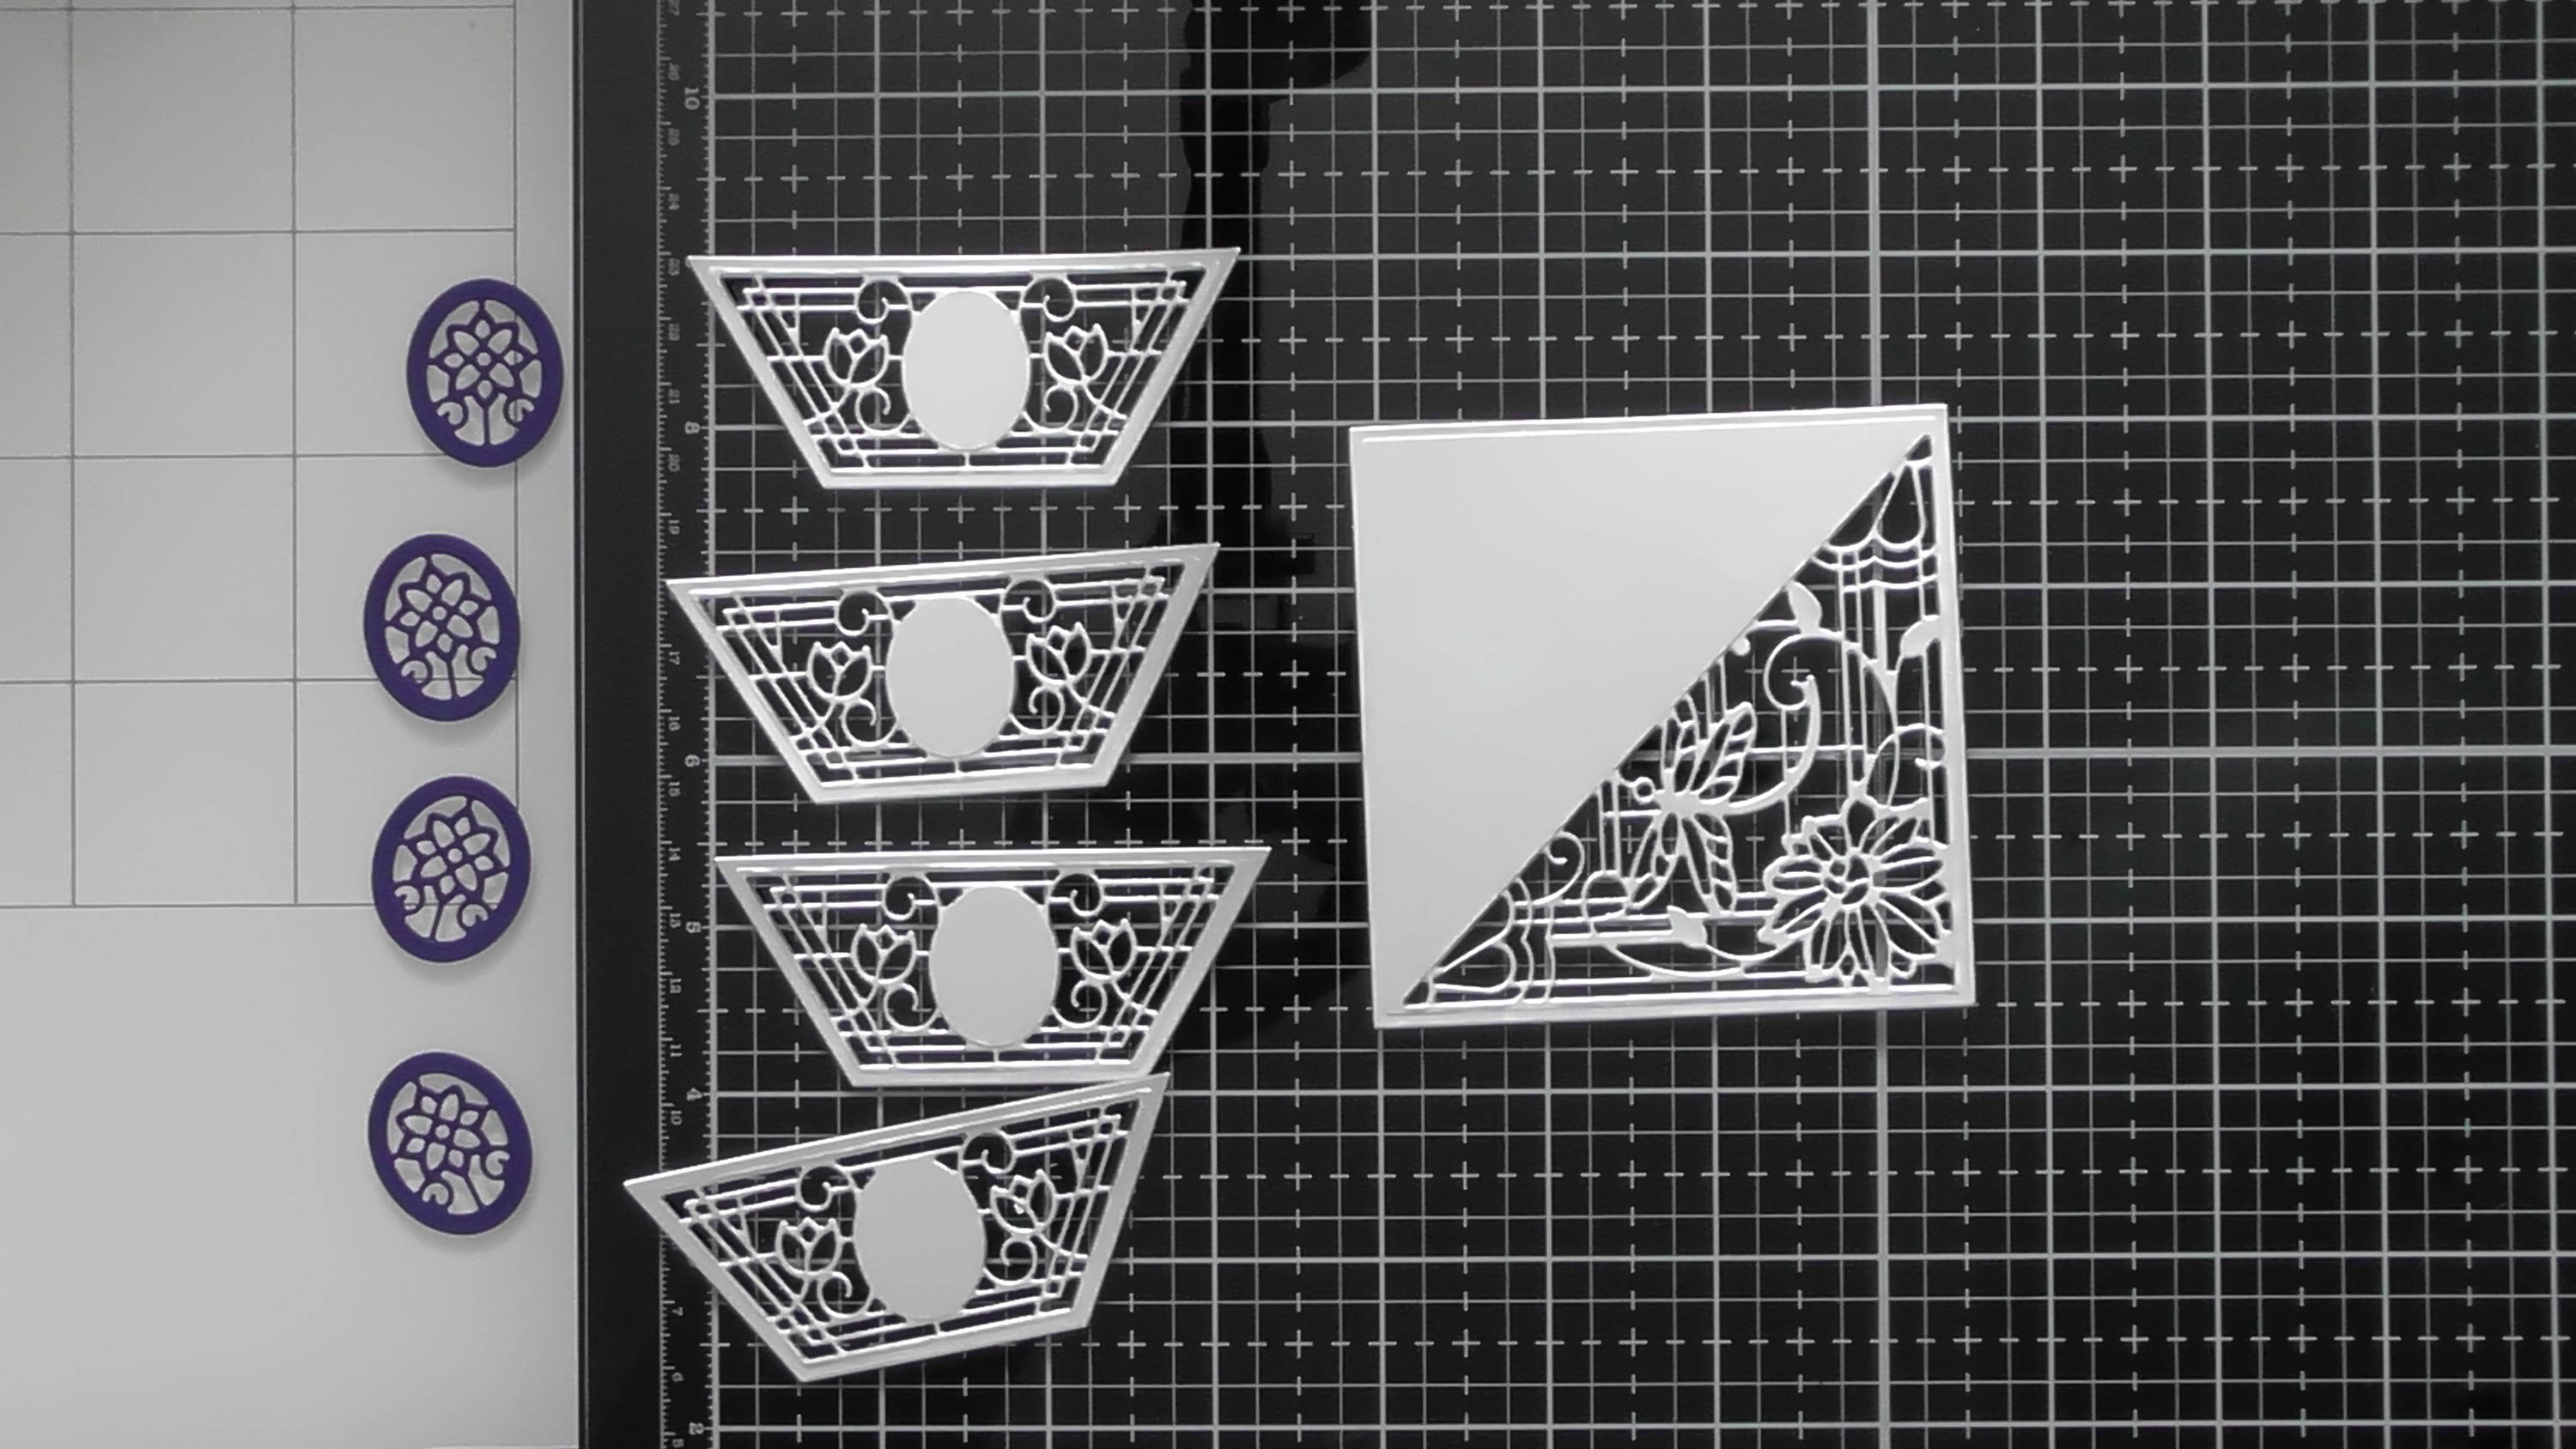
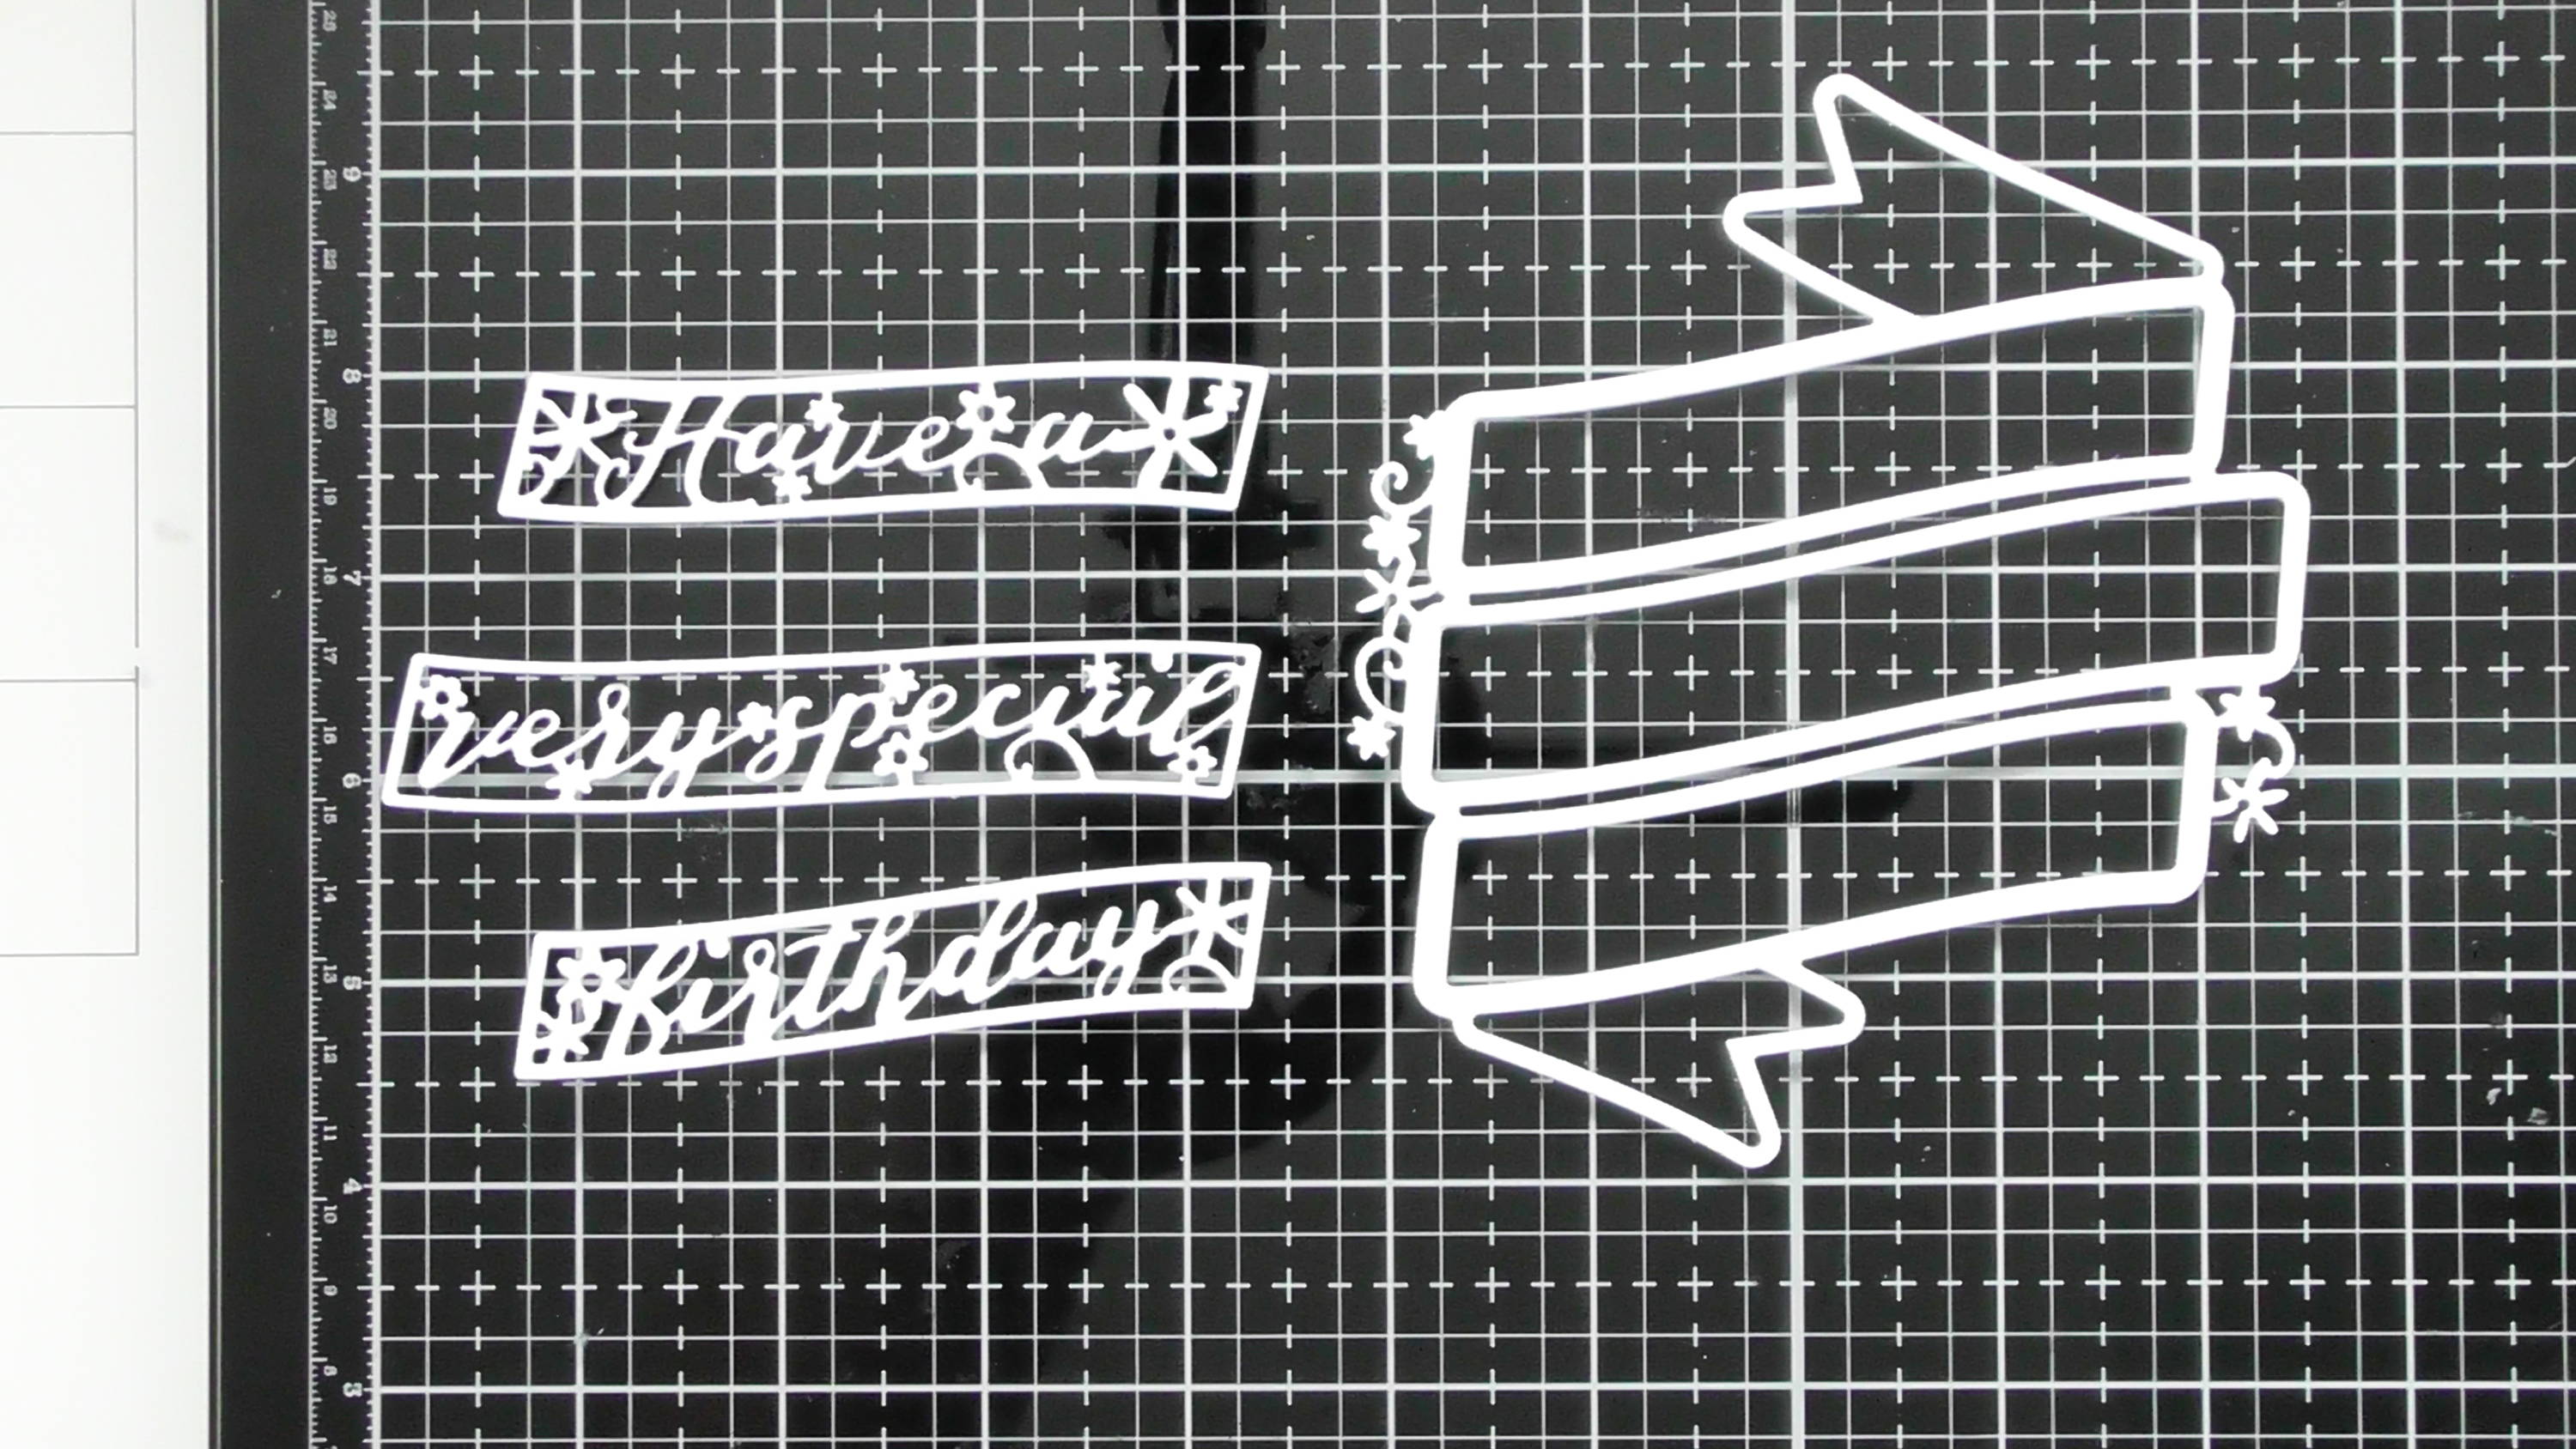
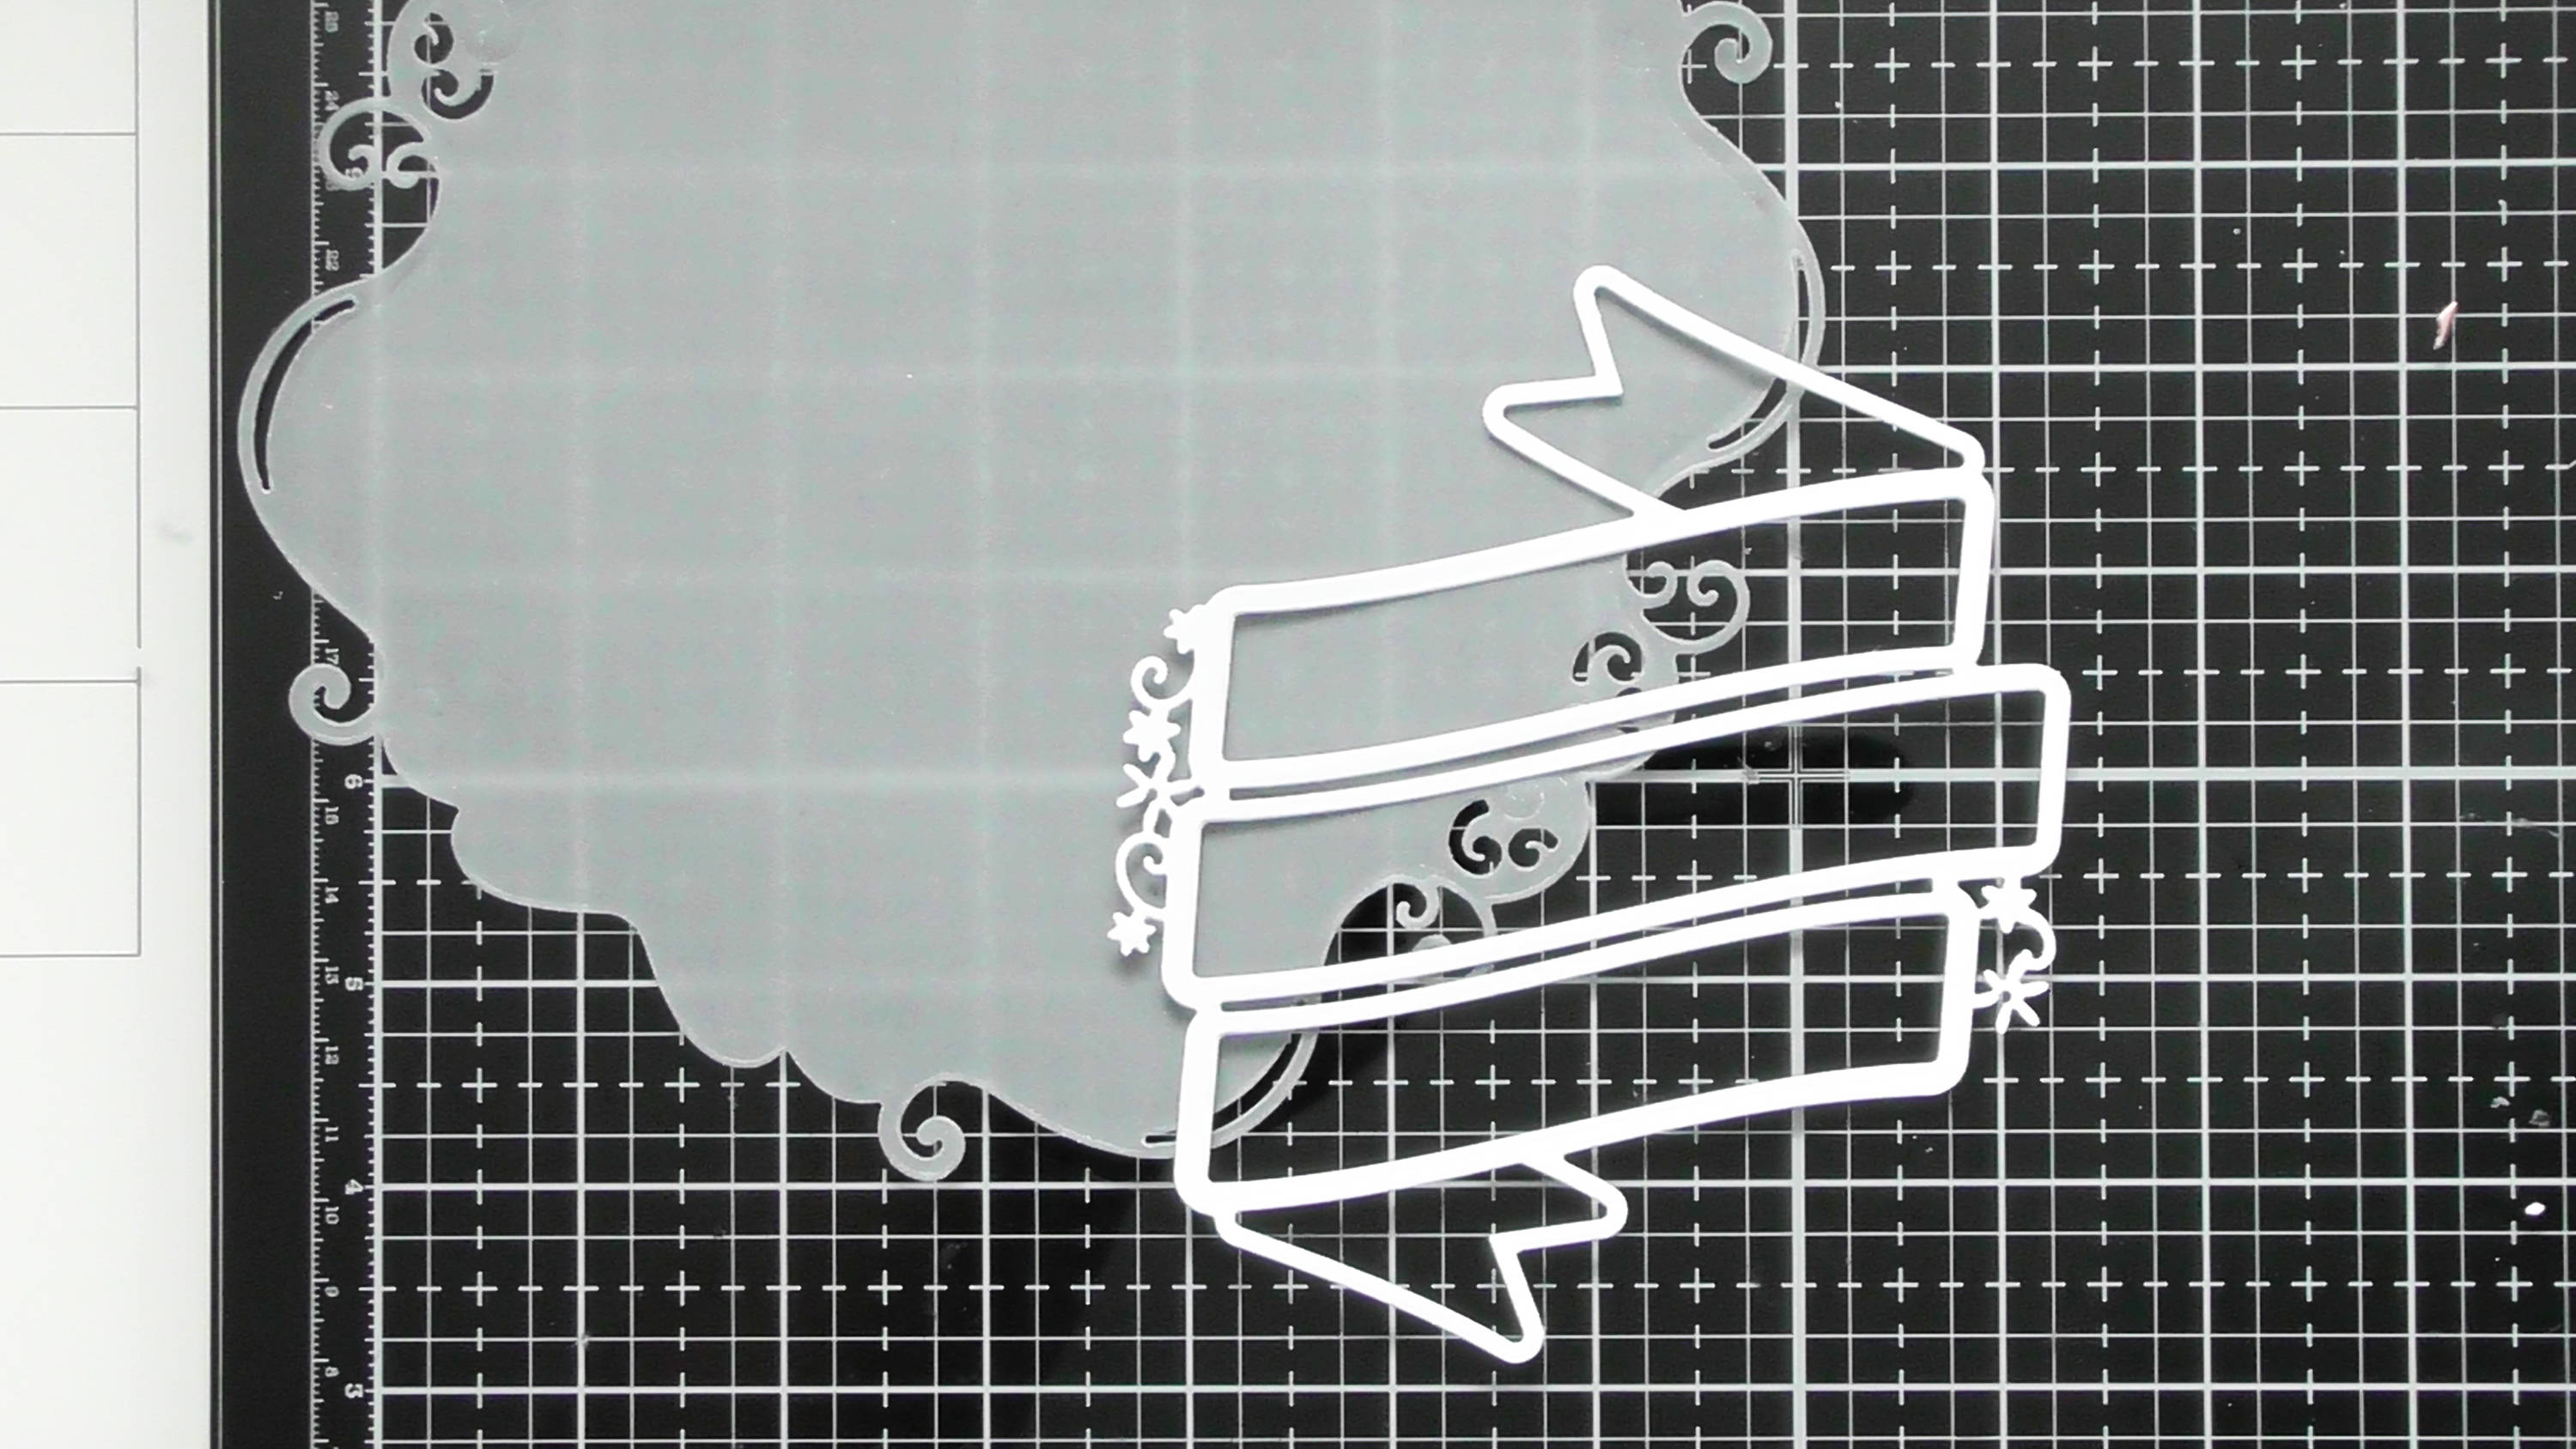
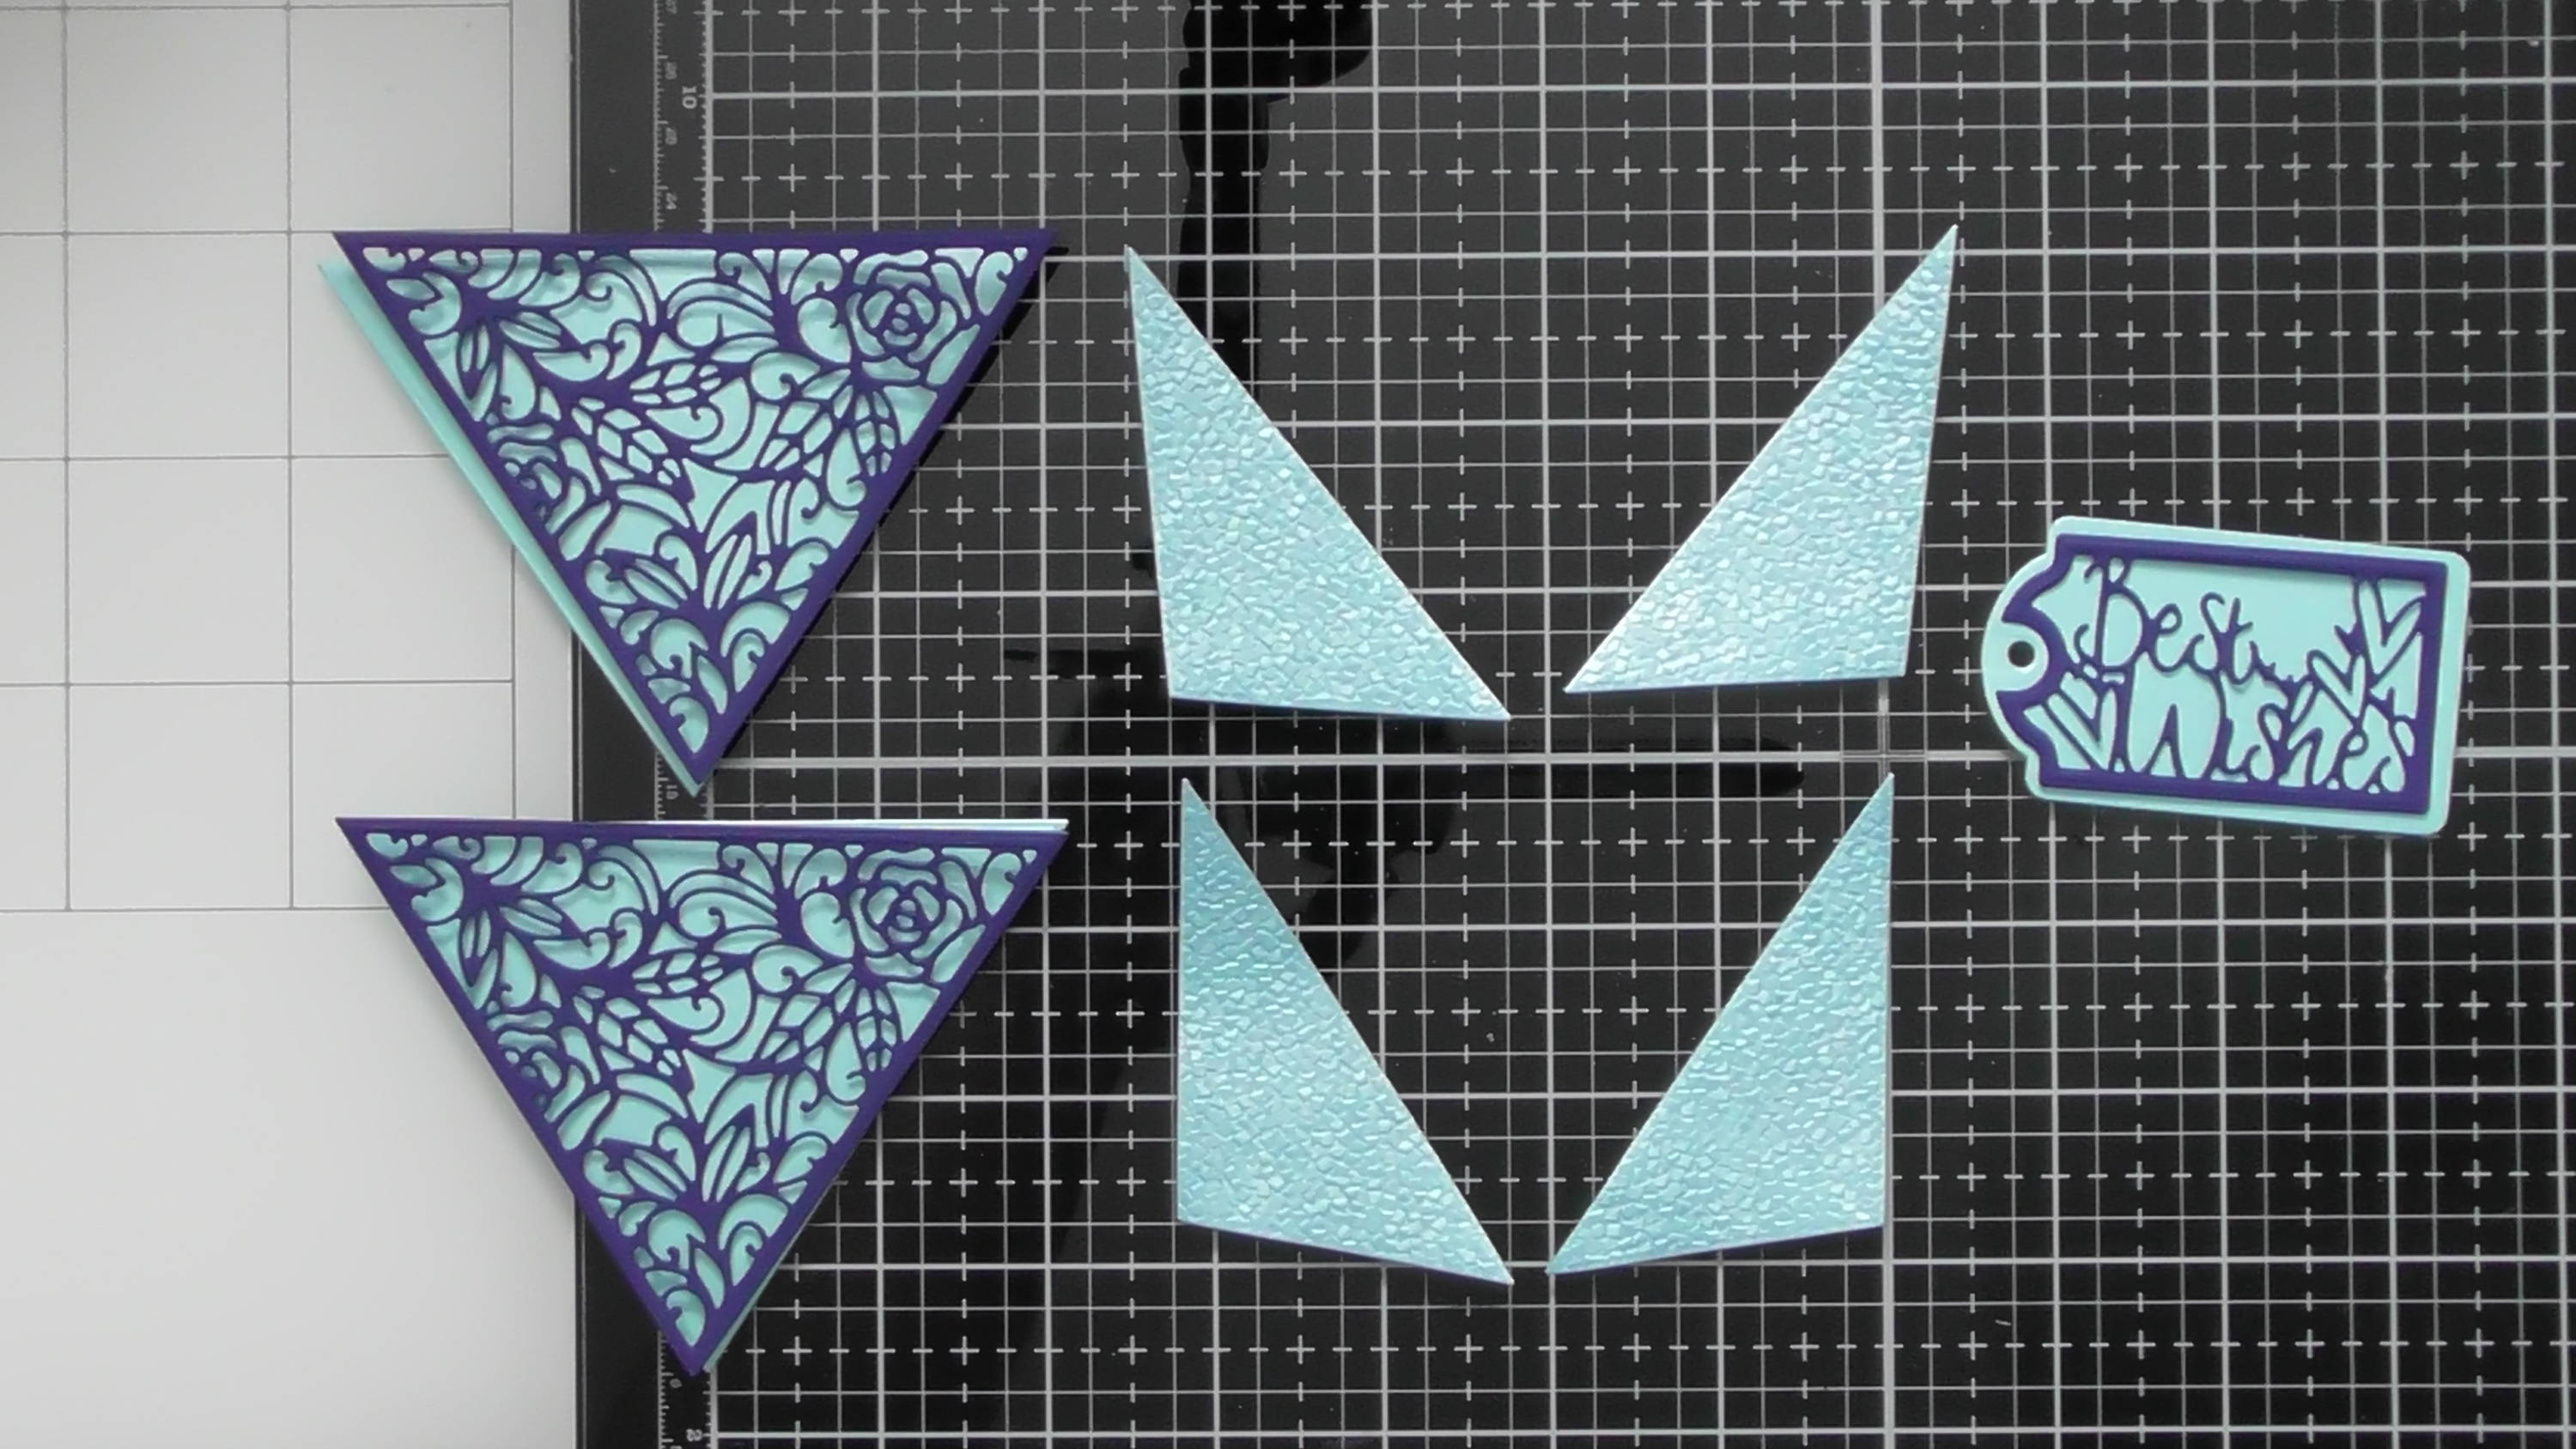
Add this to your card, then die-cut the thinking of you intricate die twice from blue and once from white, and the bubble from vellum too.
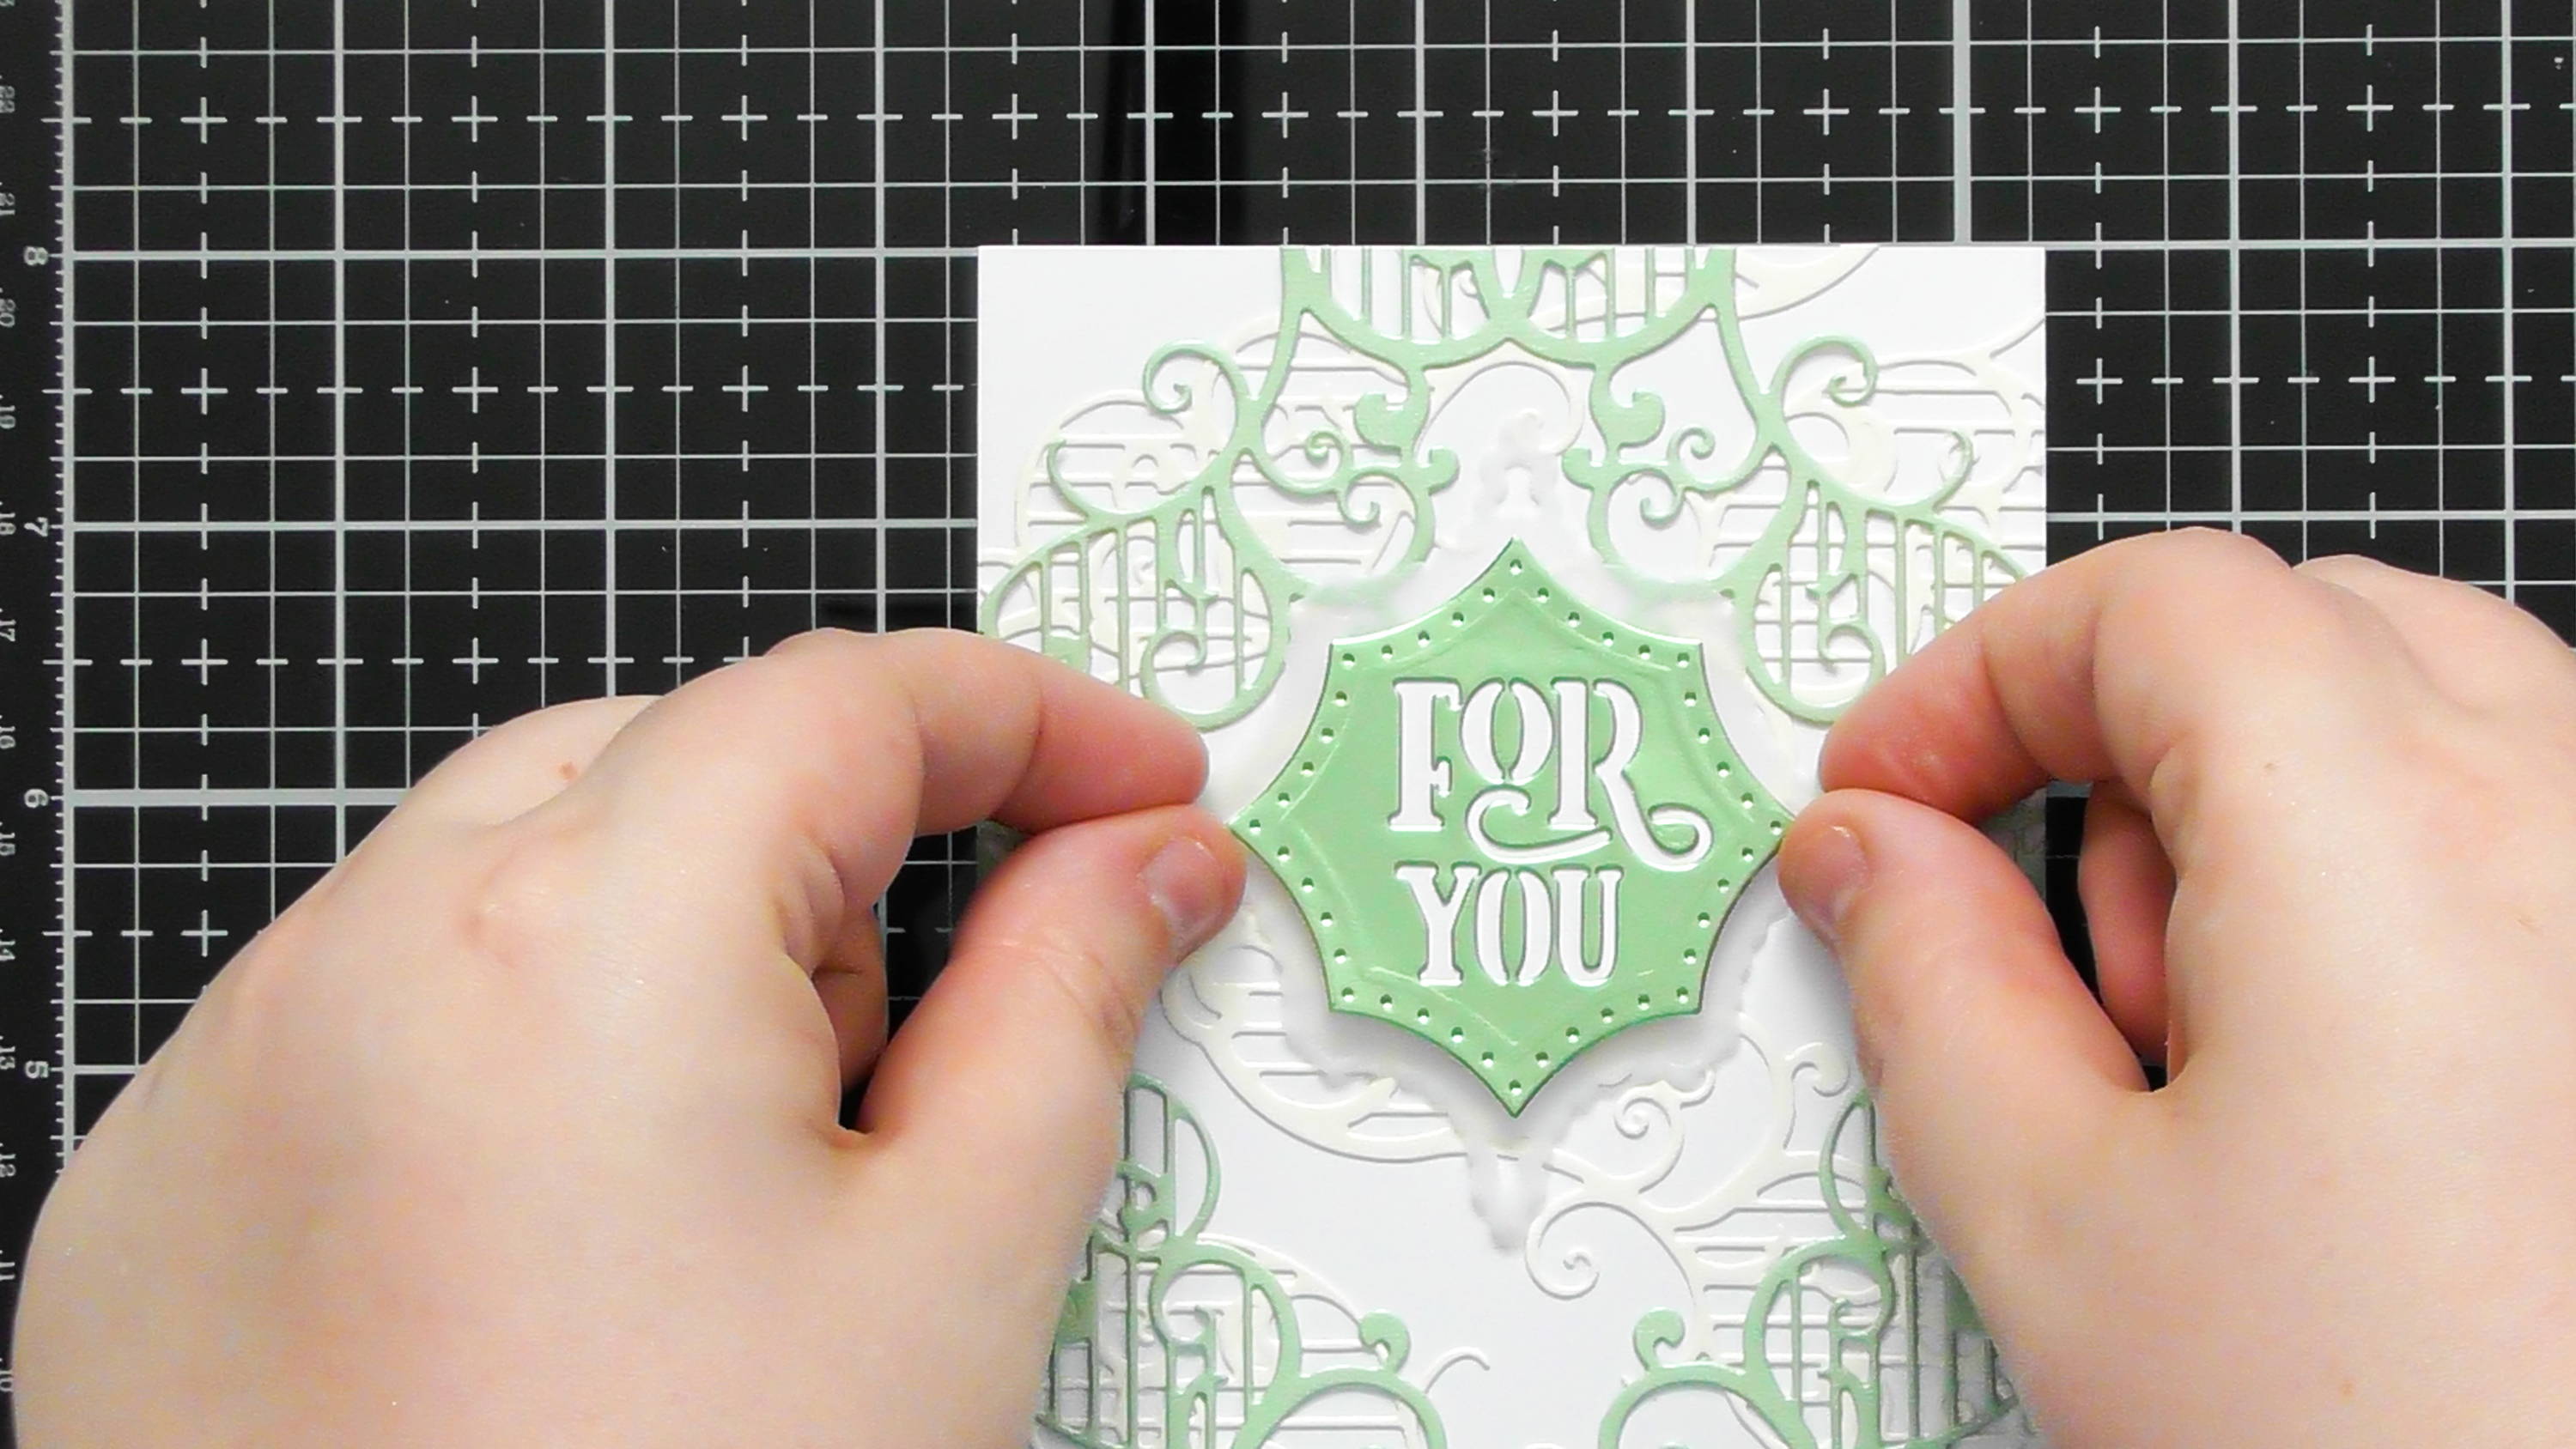
Step 8

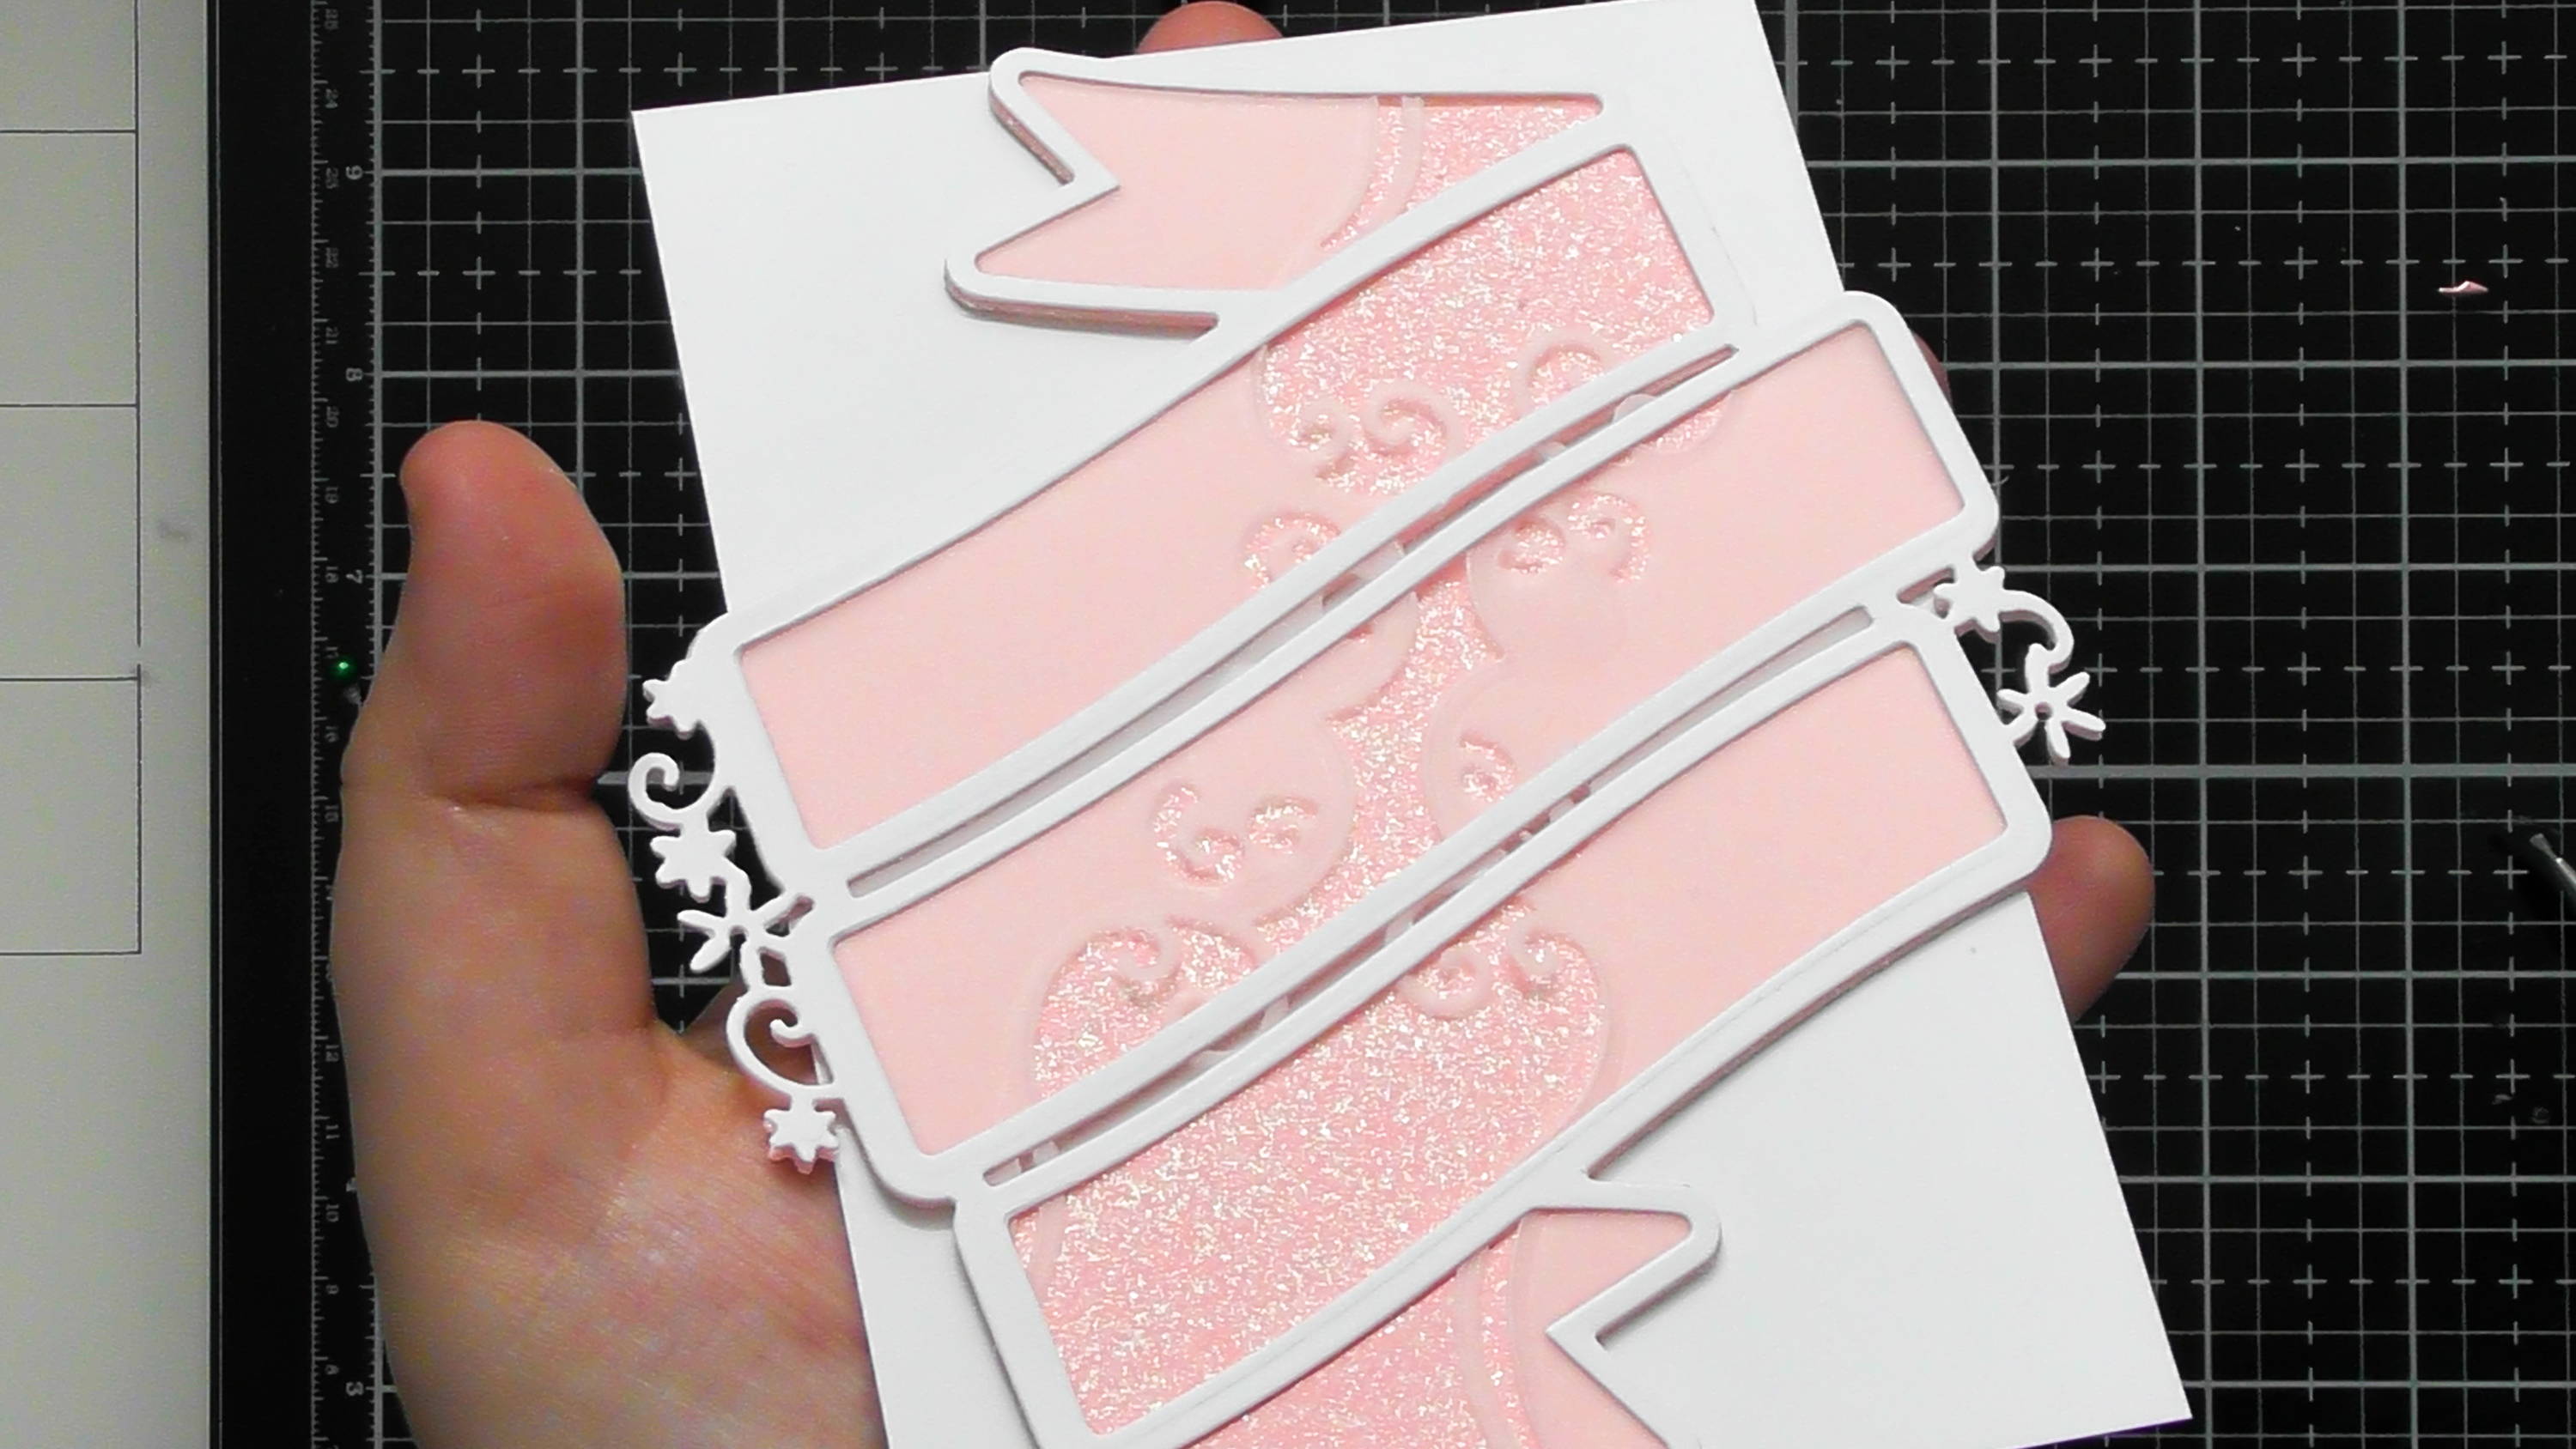
Stack the 2 blue die-cuts on top of each other, then shadow with the white, and stick this shadowed sentiment onto the vellum bubble.
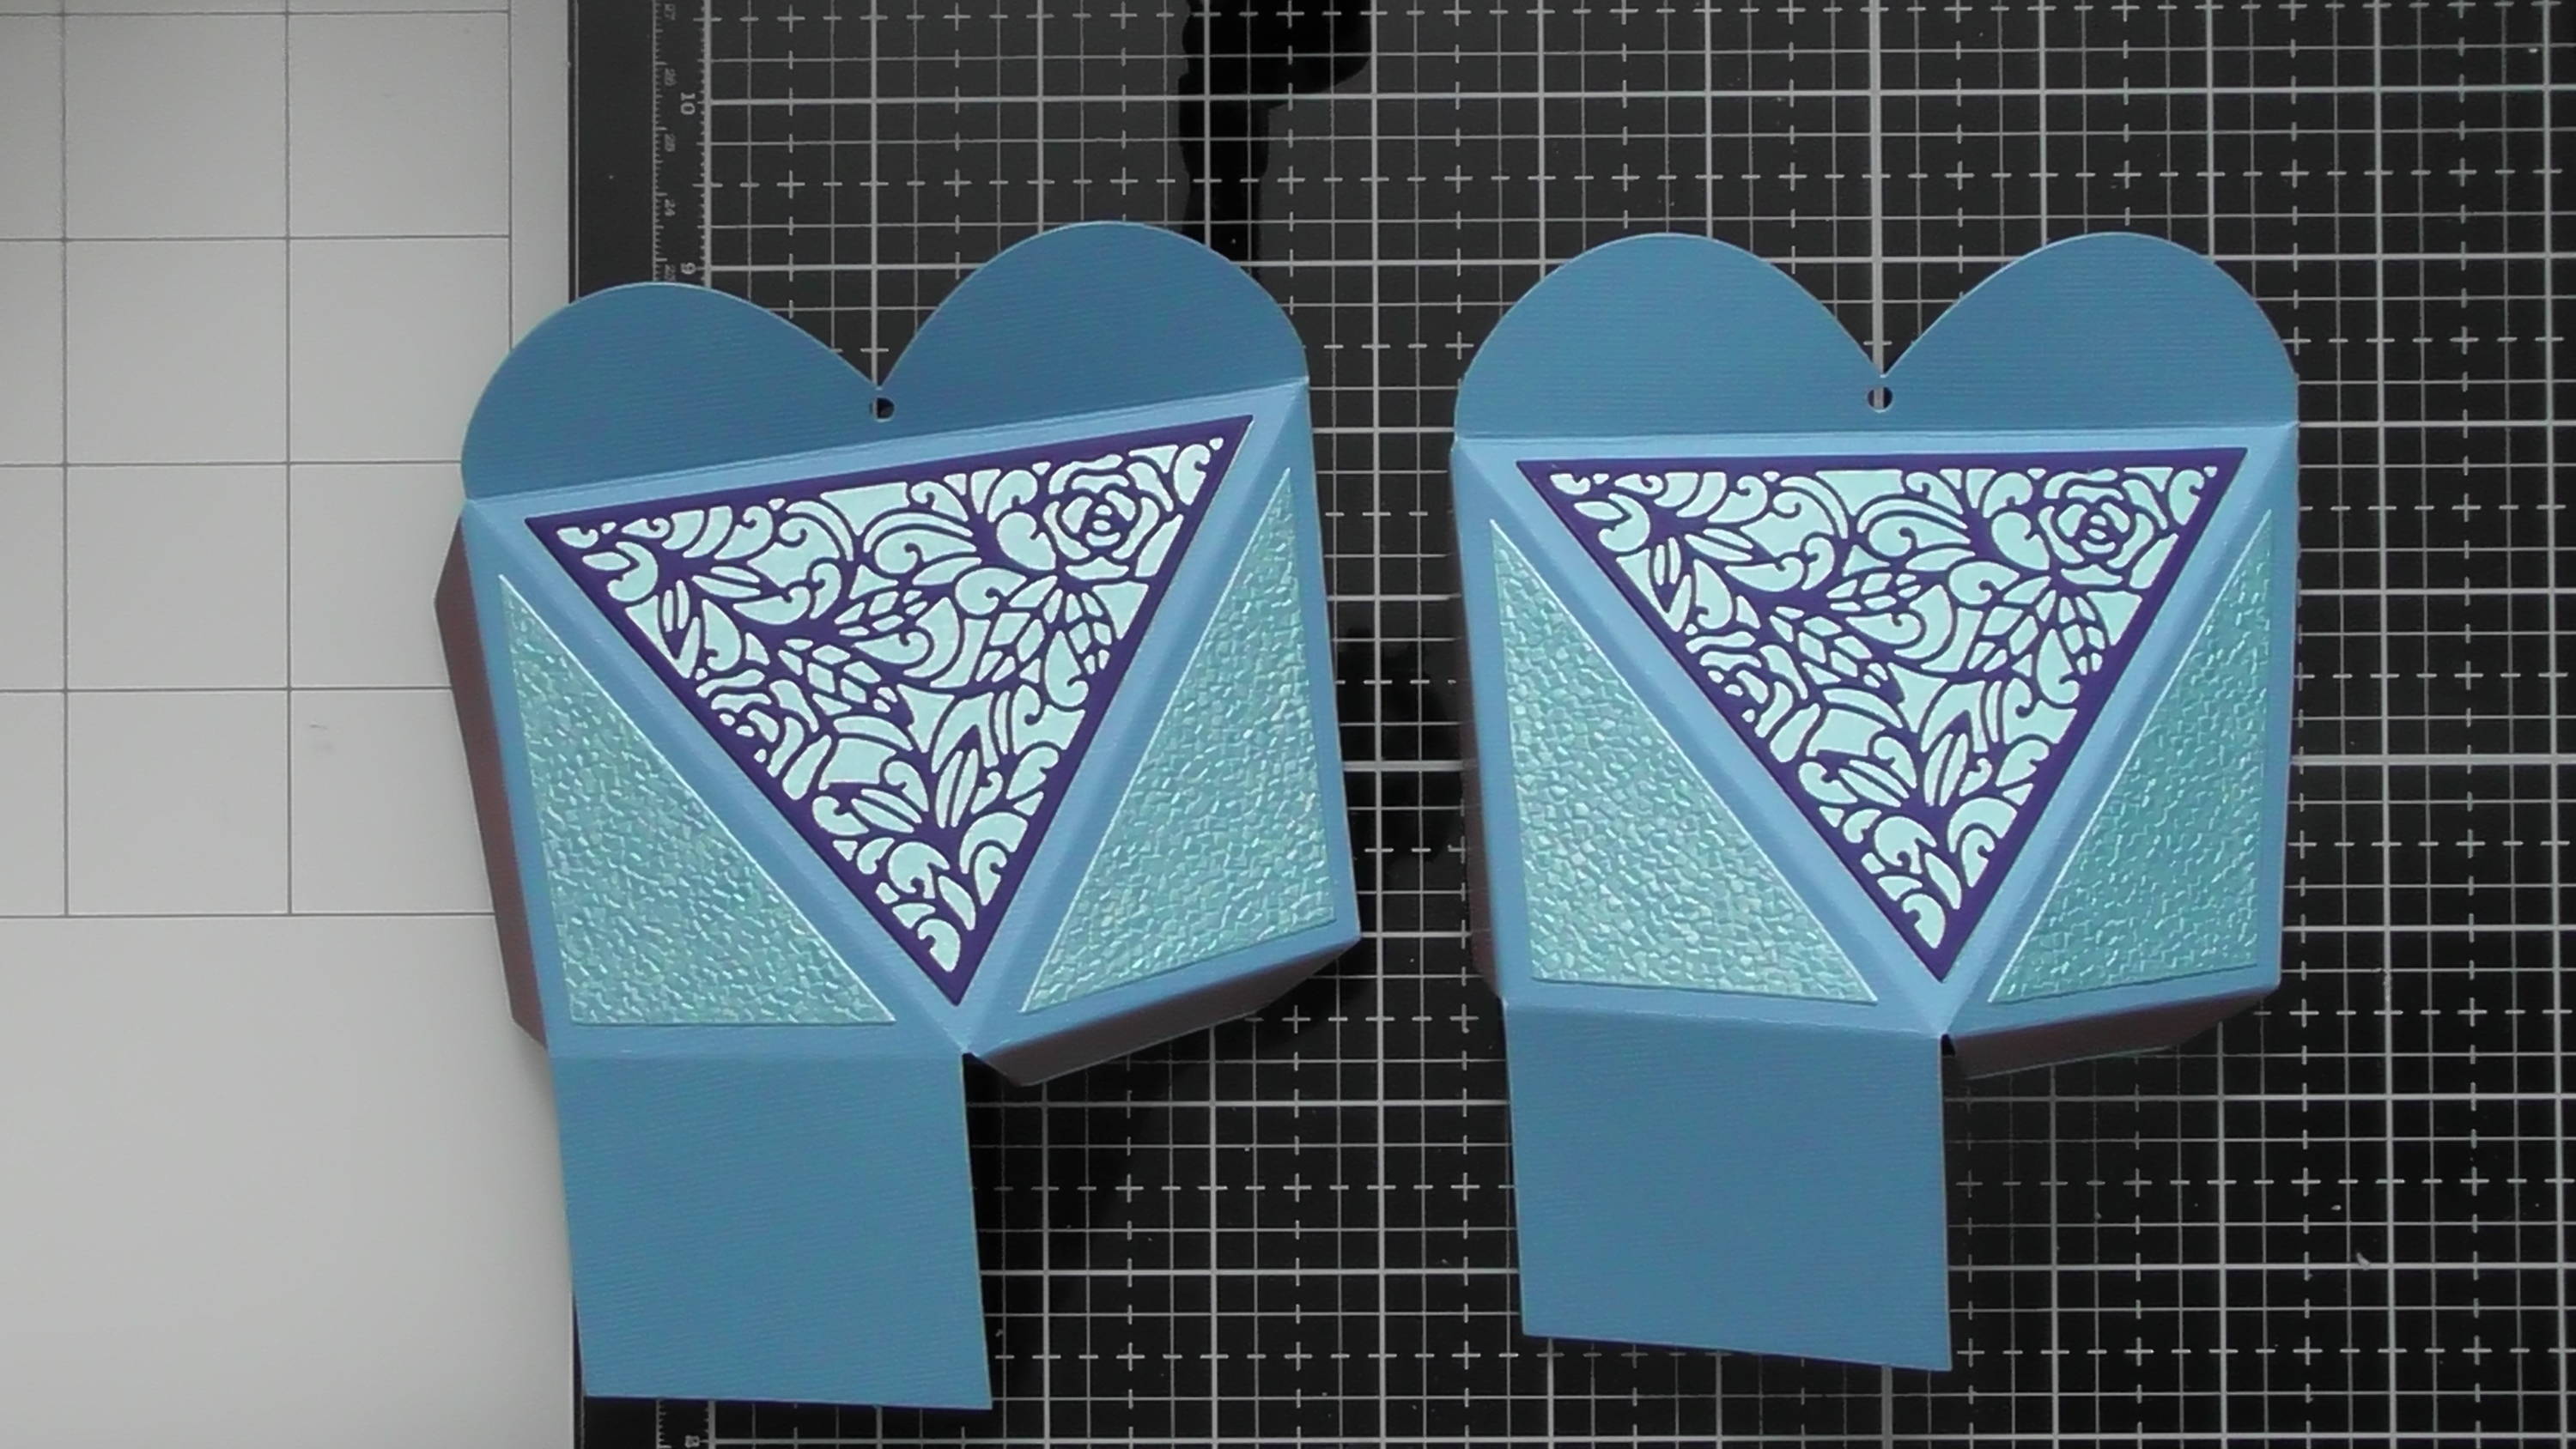
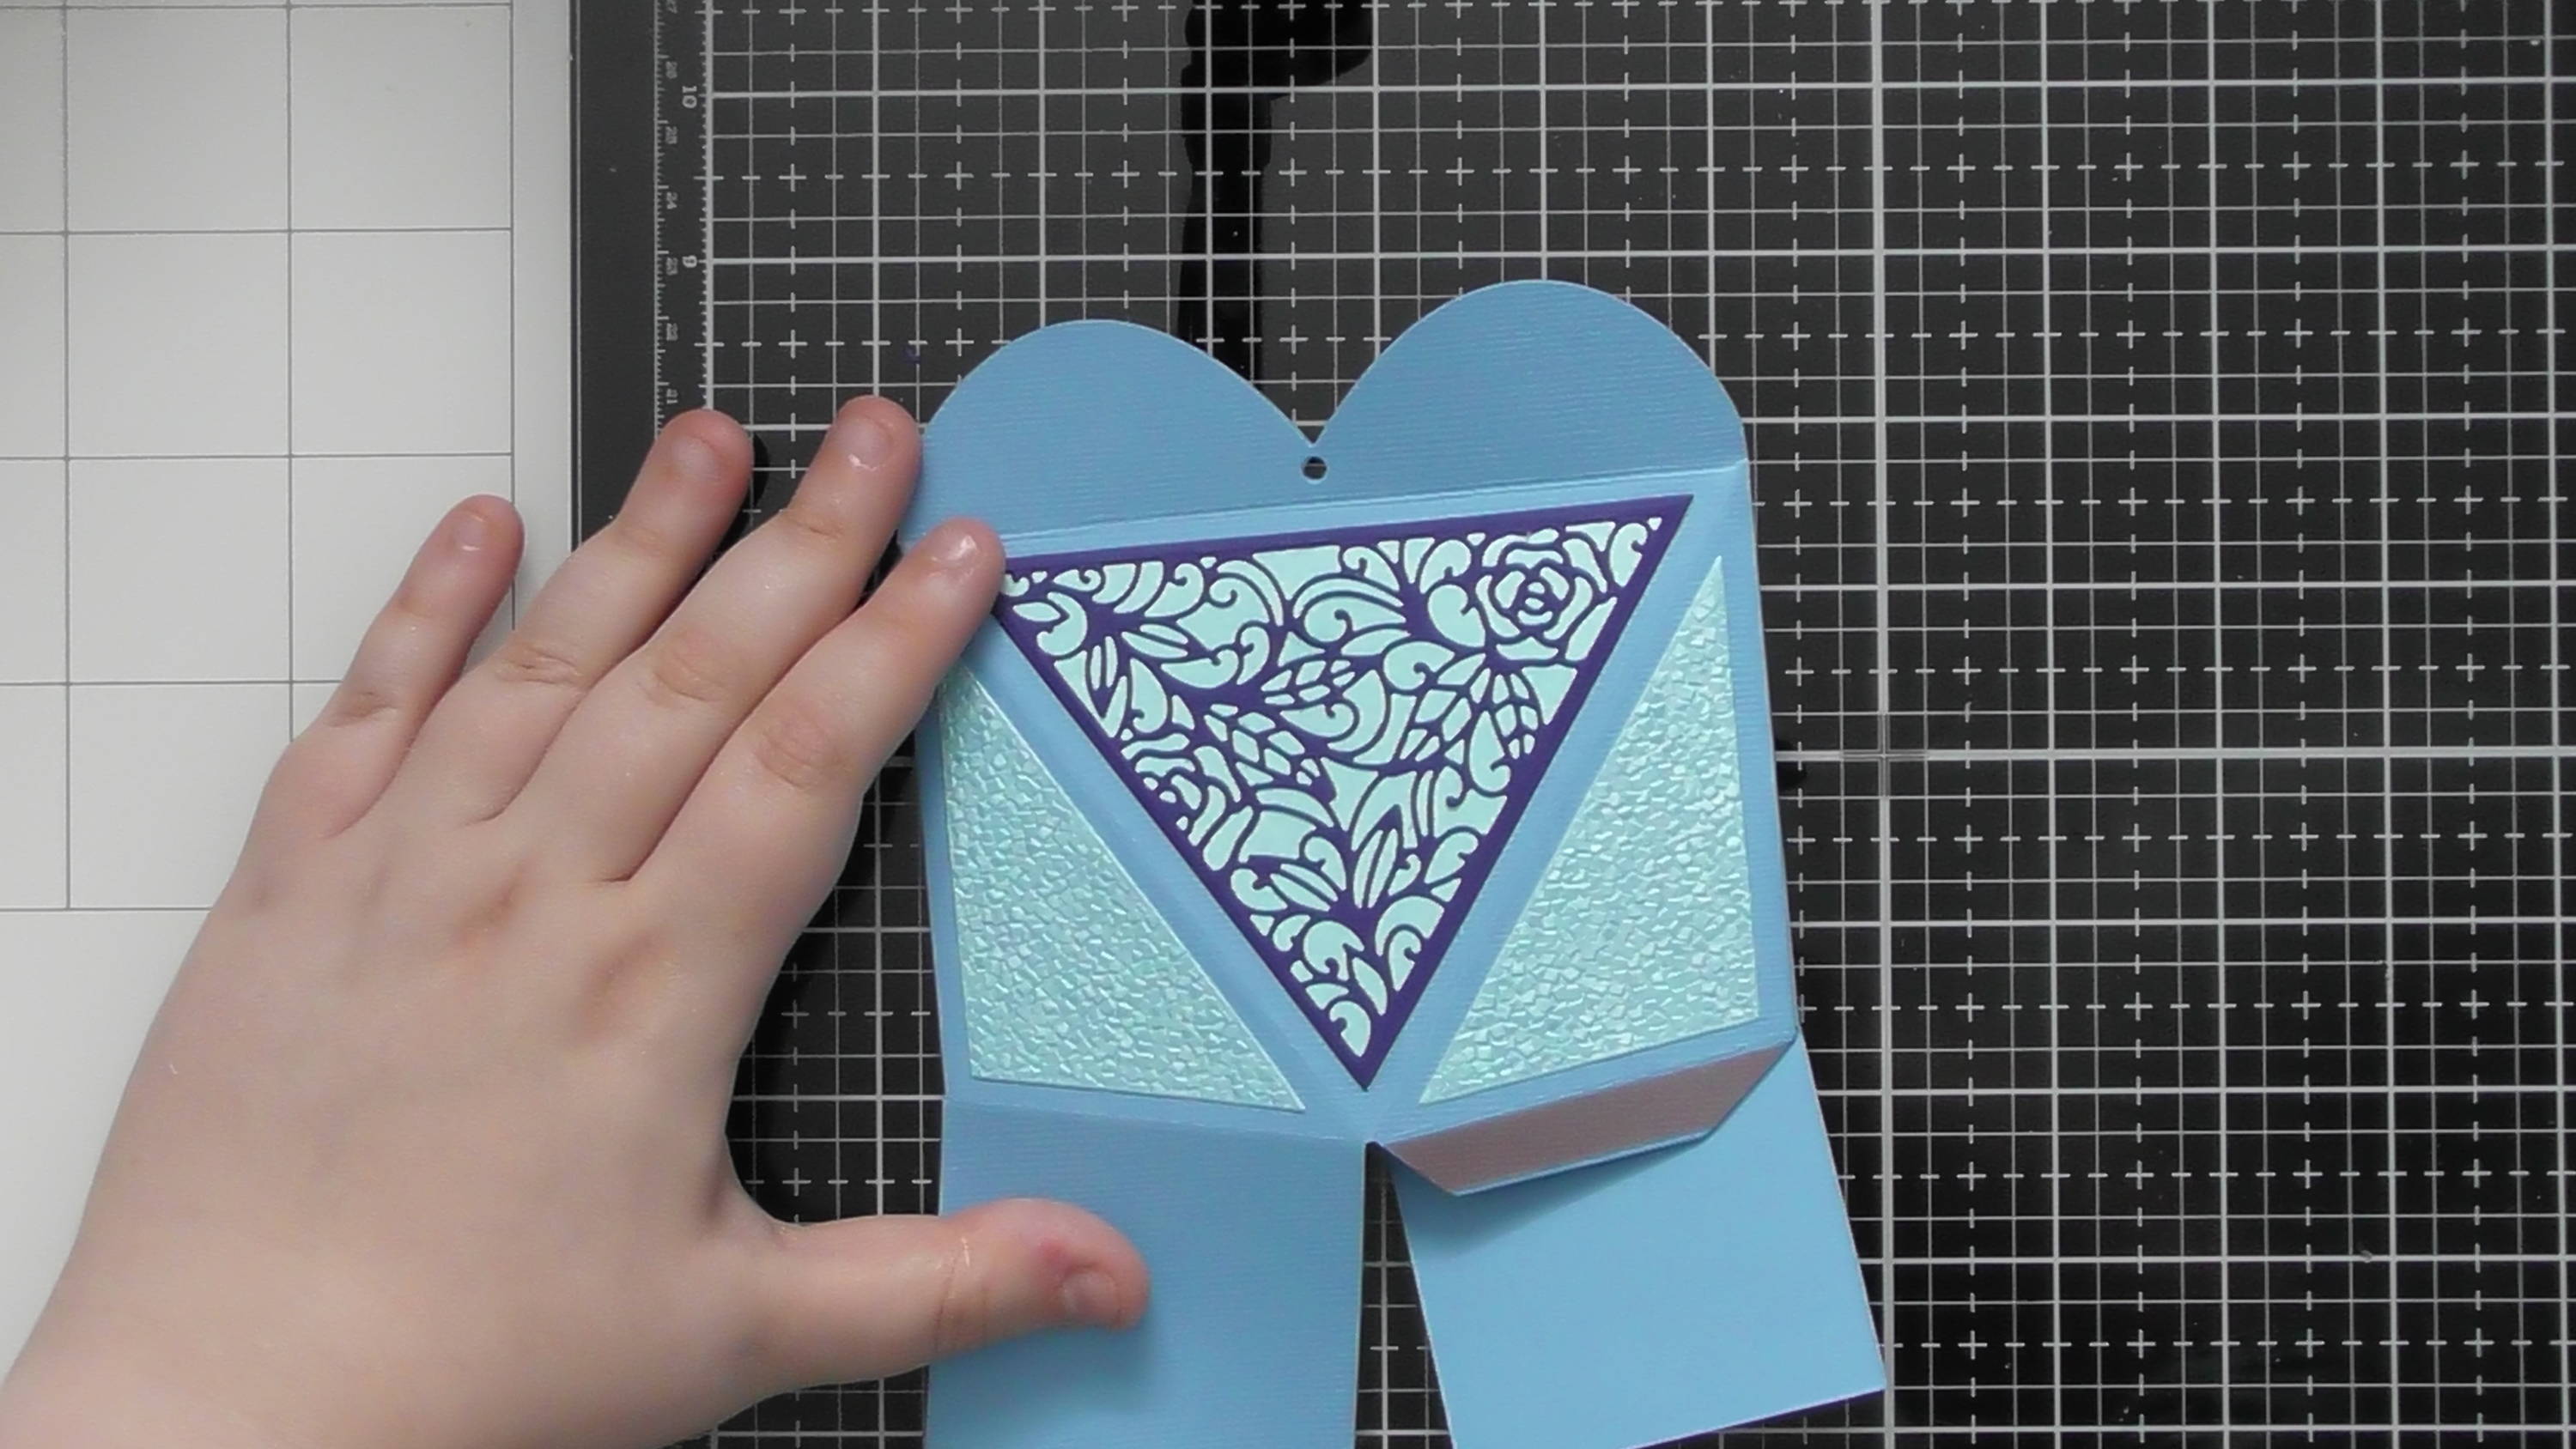
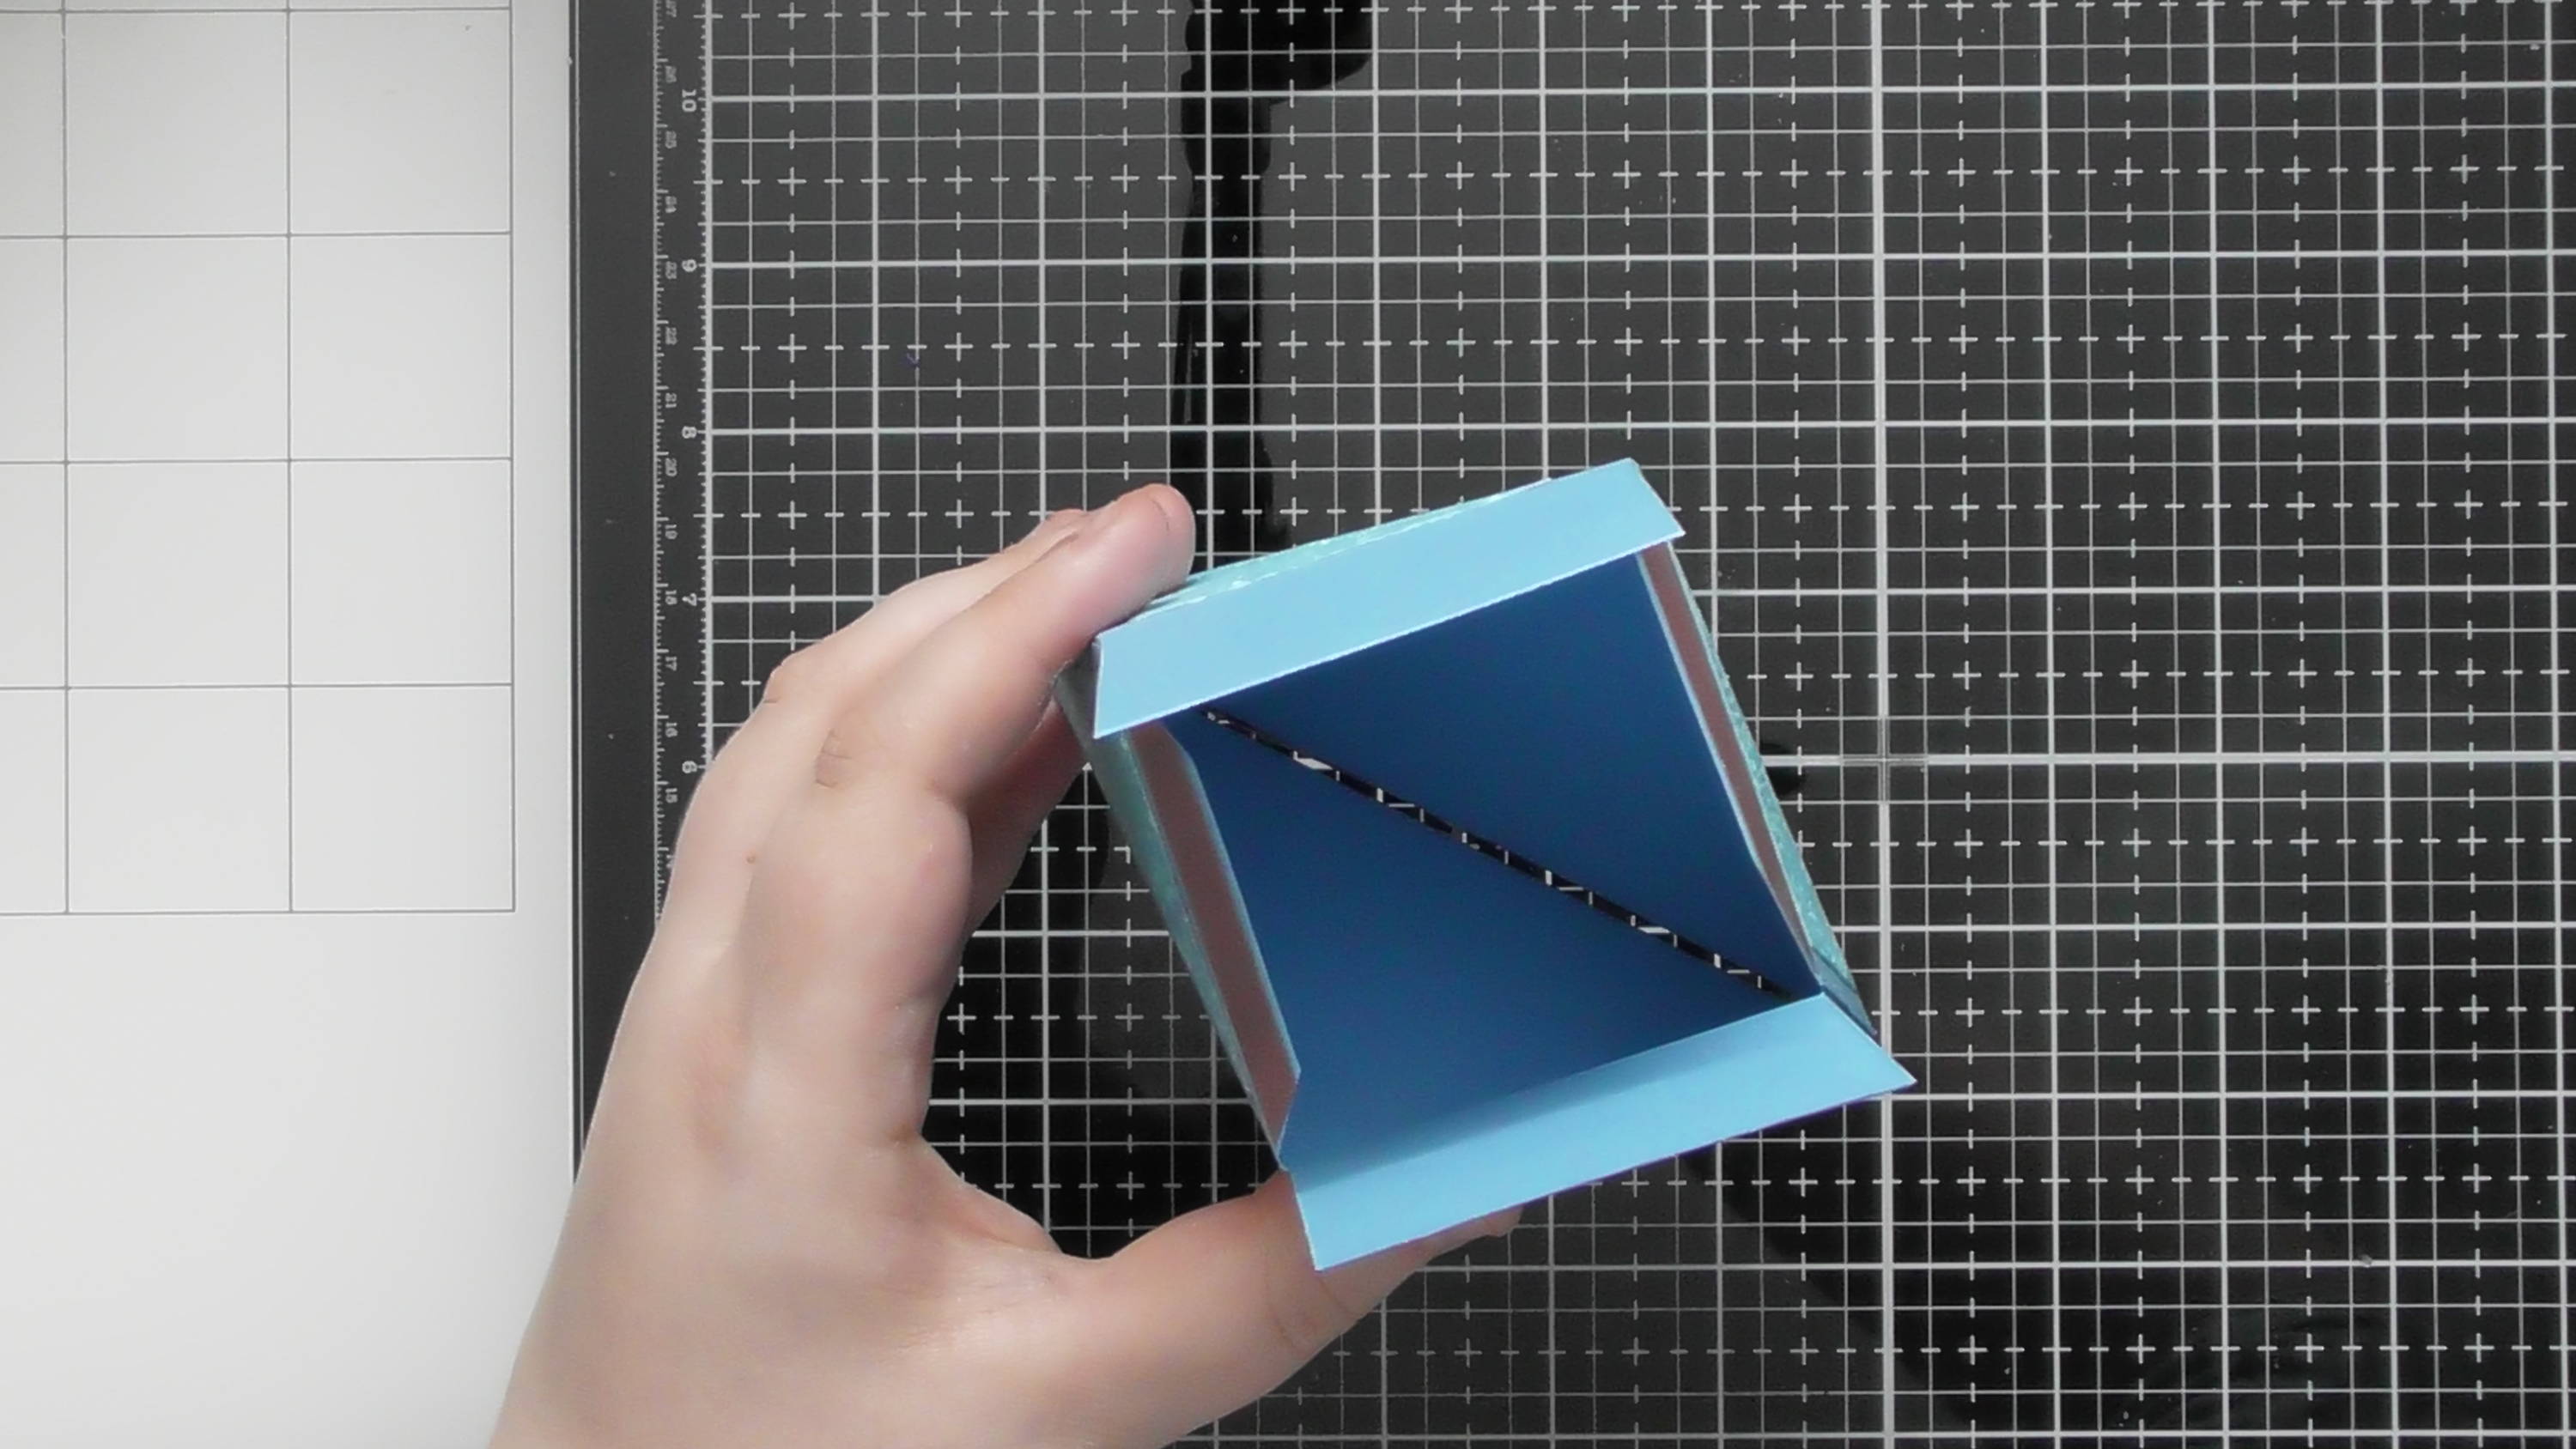
Step 9

Then simply add your finished panel to your card blank (10.5 cm x 13.5 cm)
Step 10

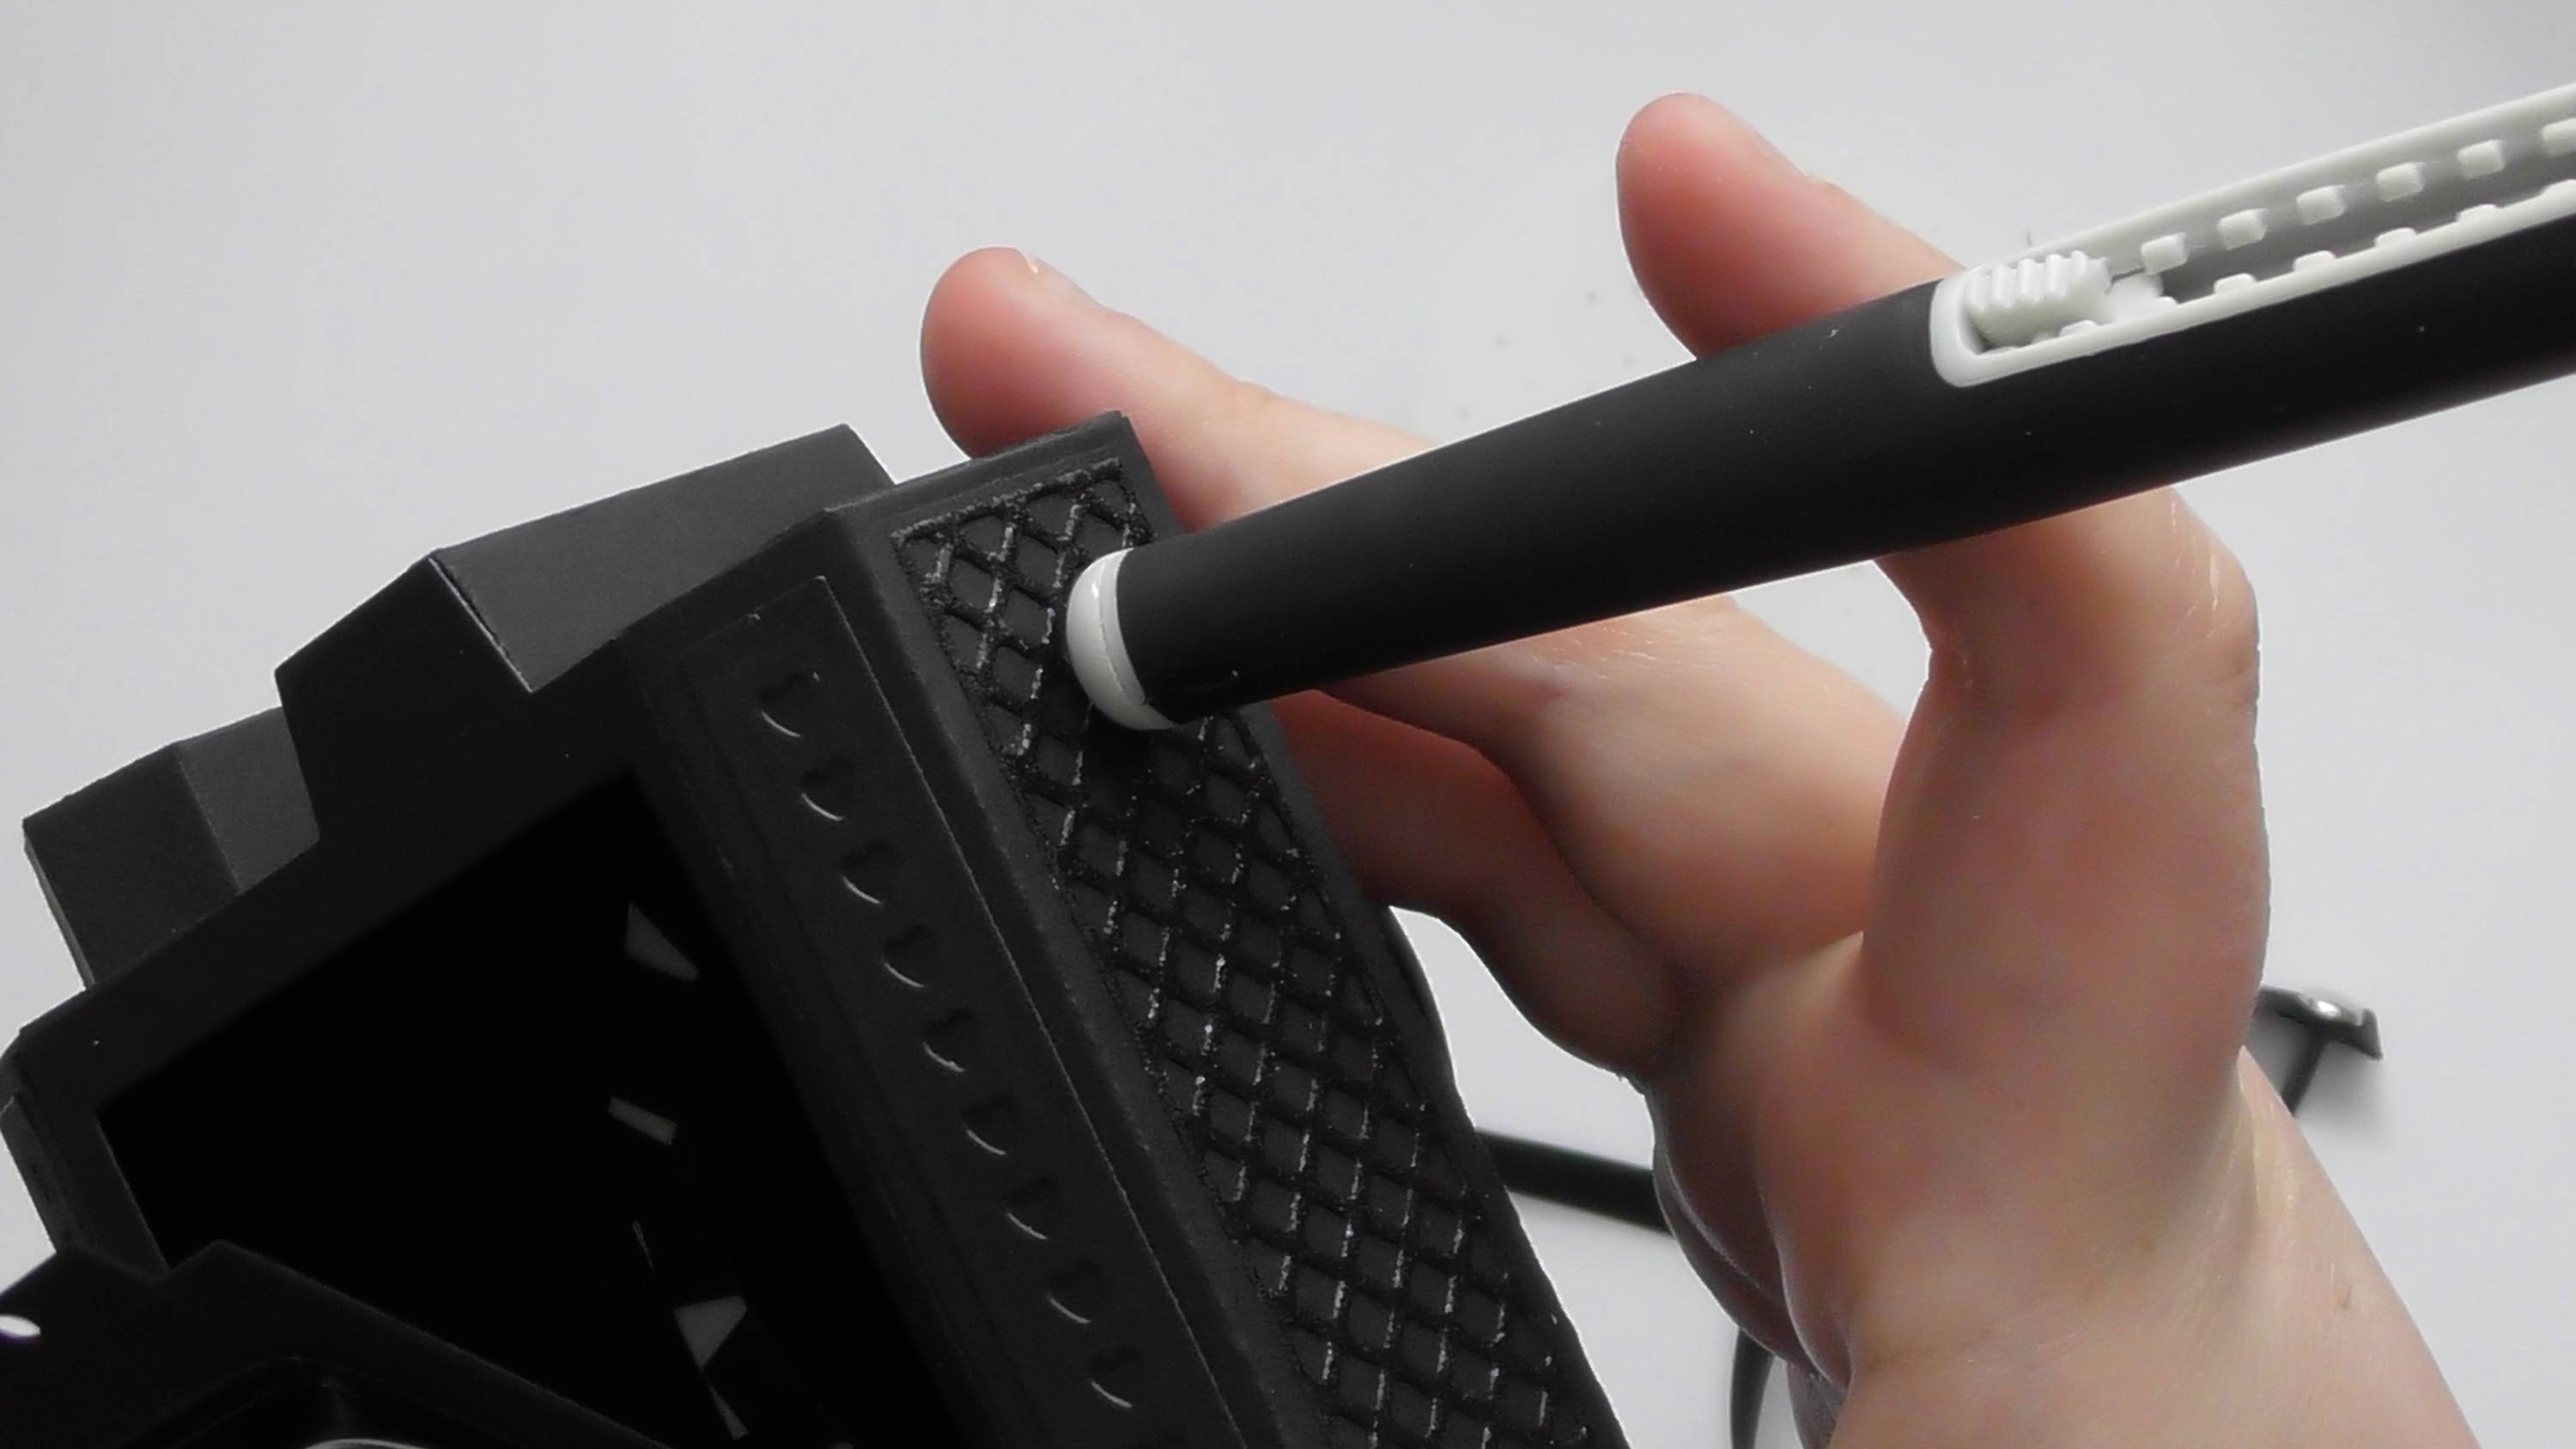
The finished card with the main supplies used.
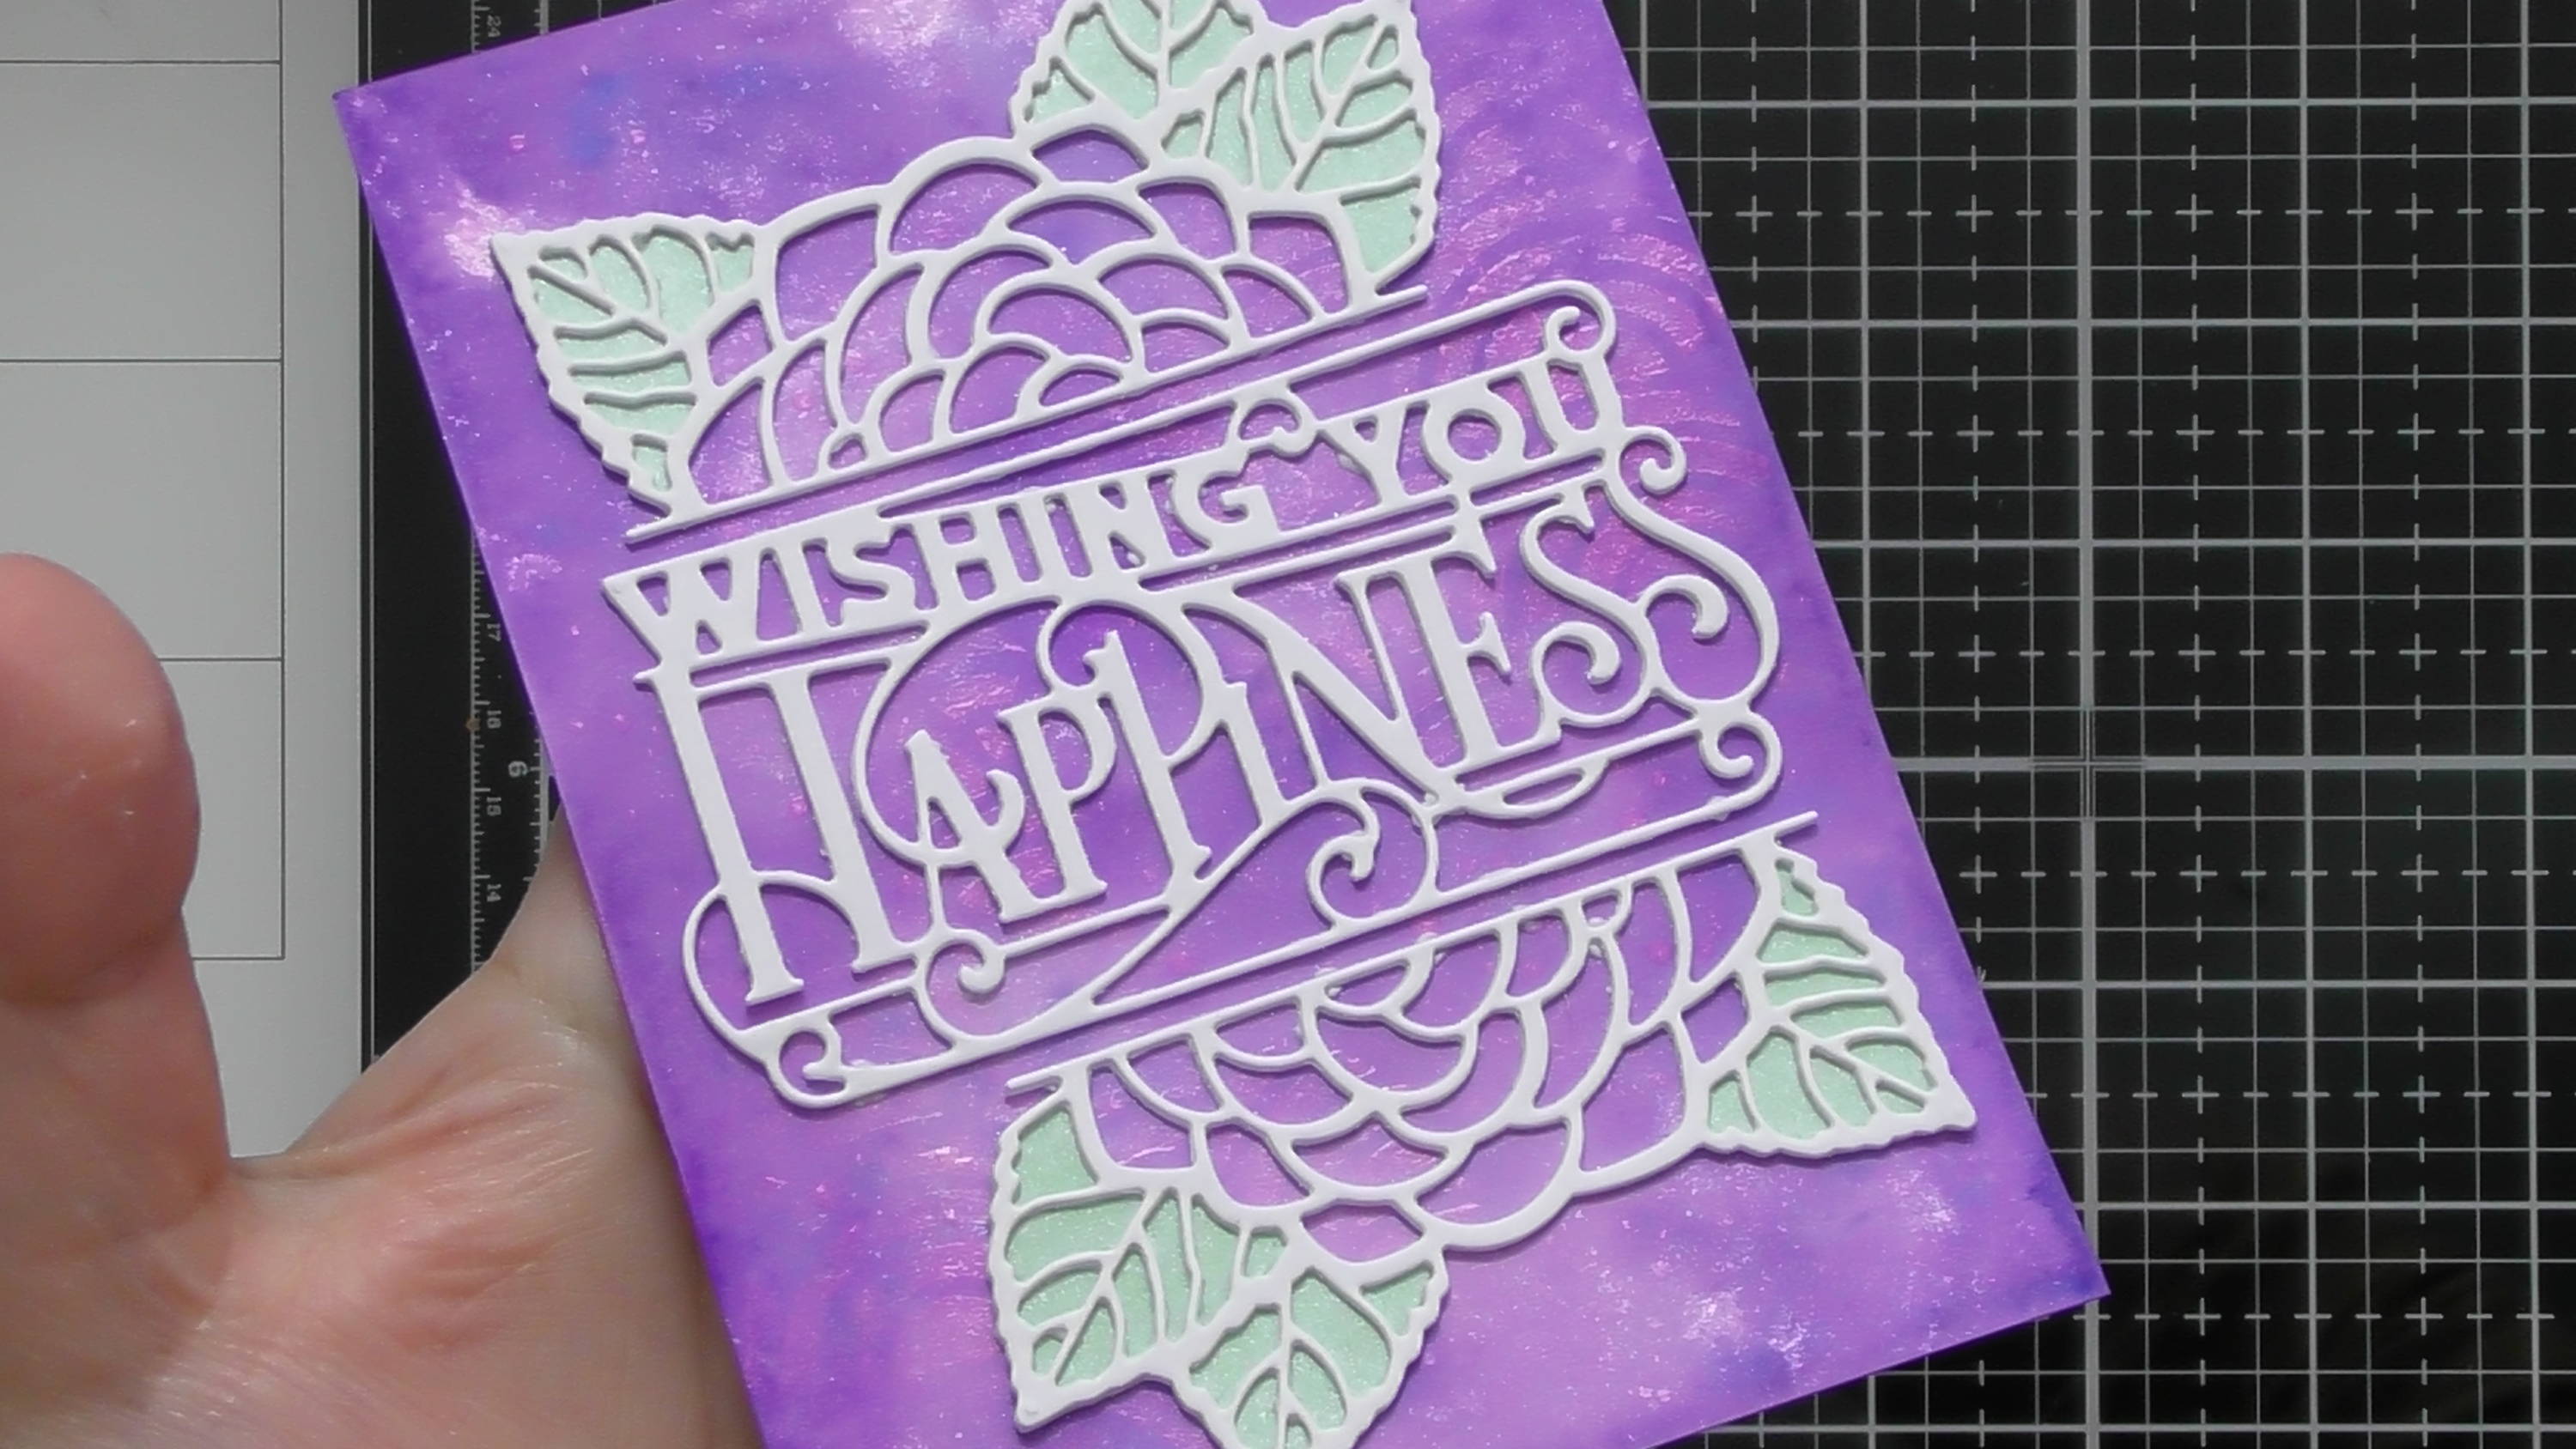
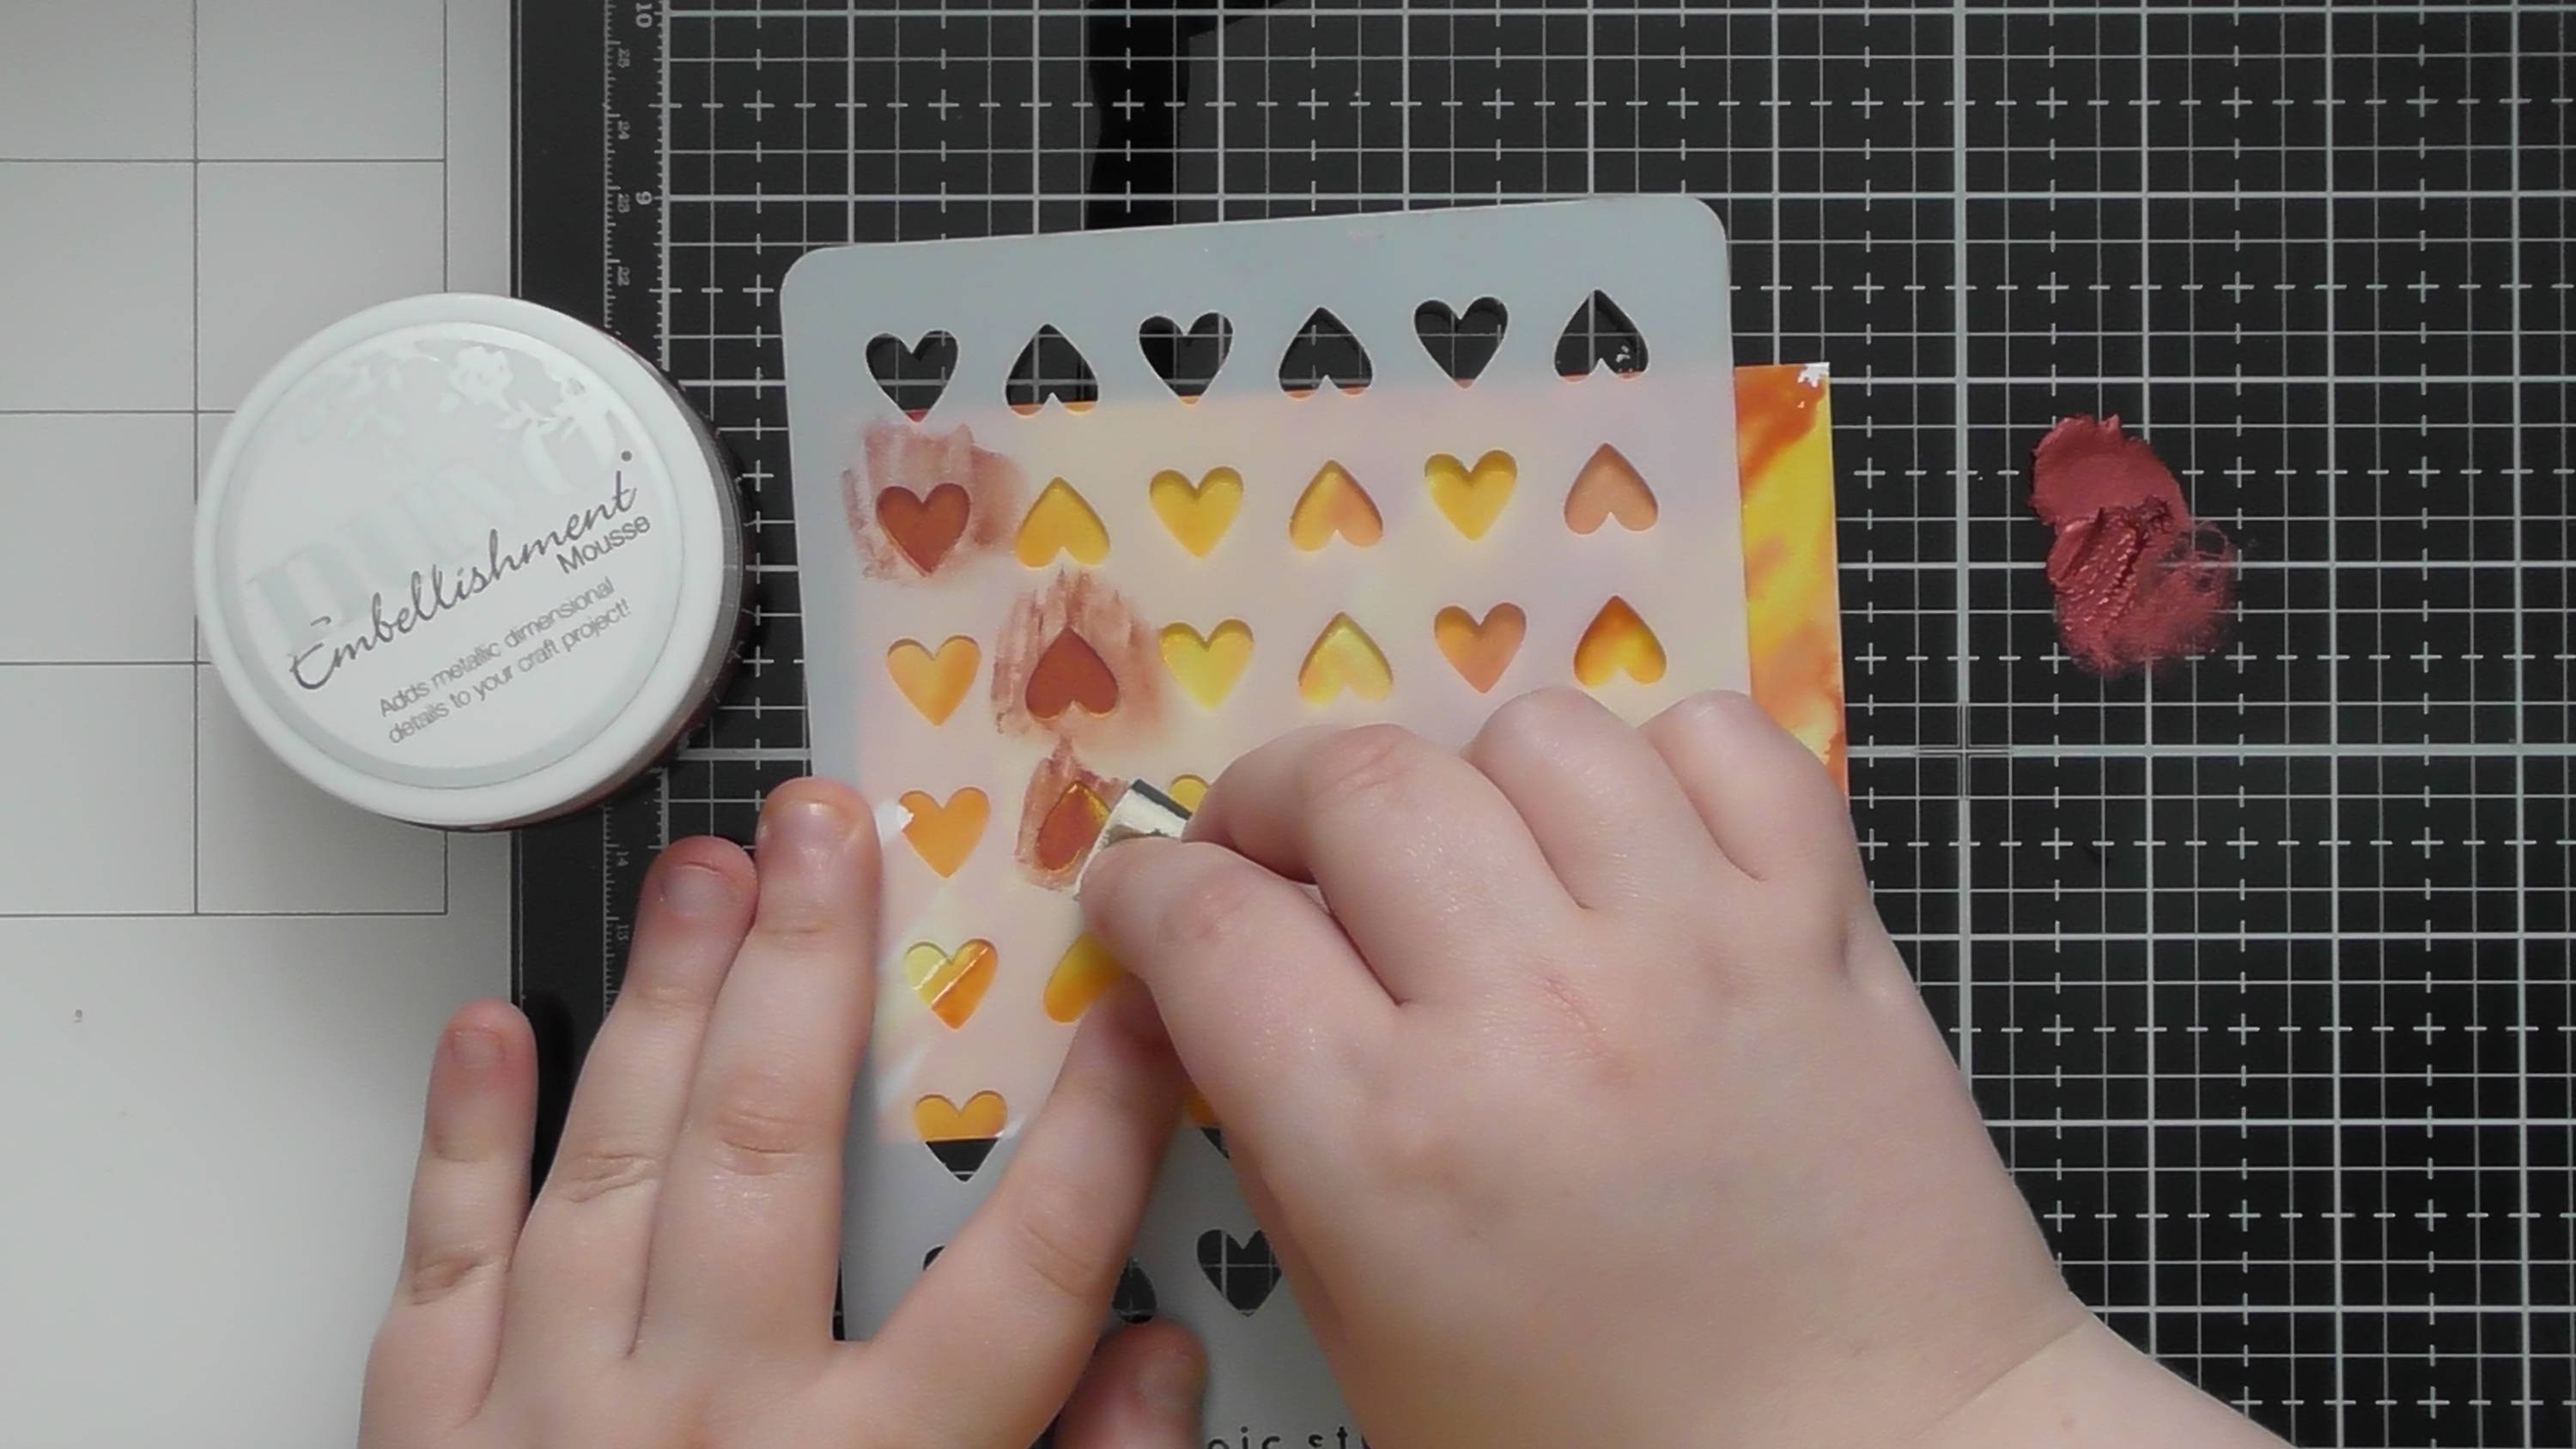
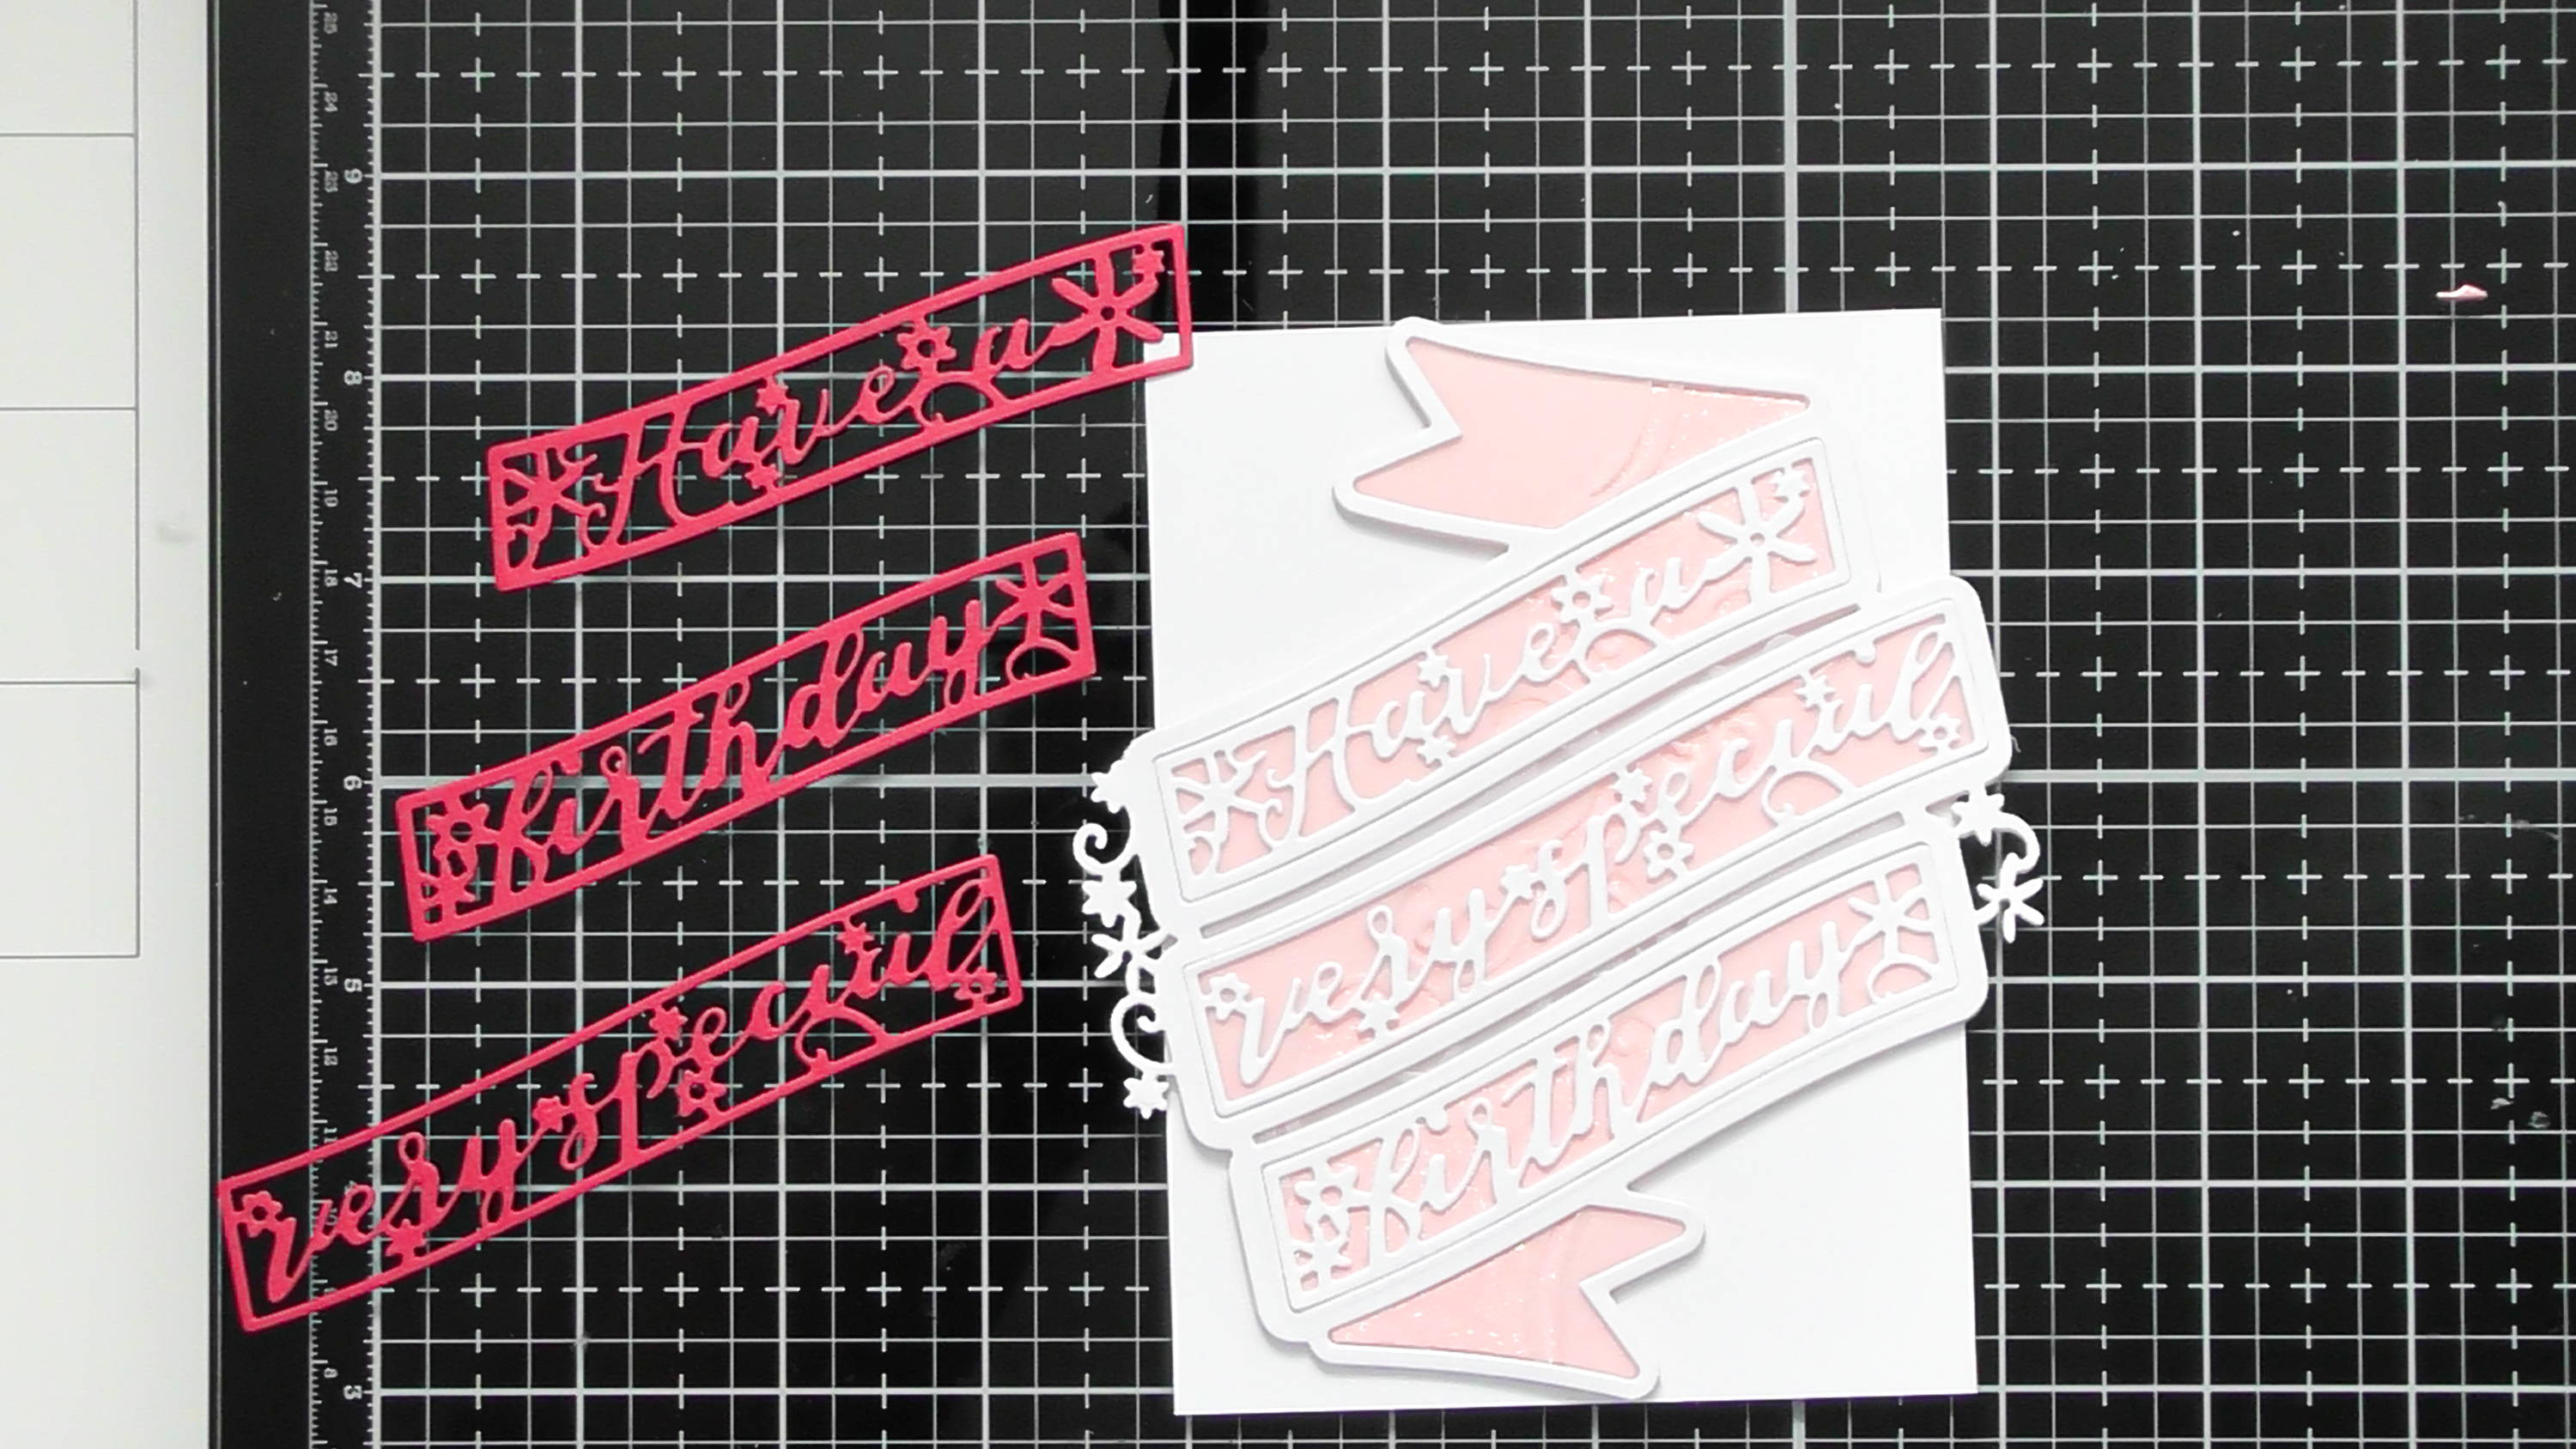
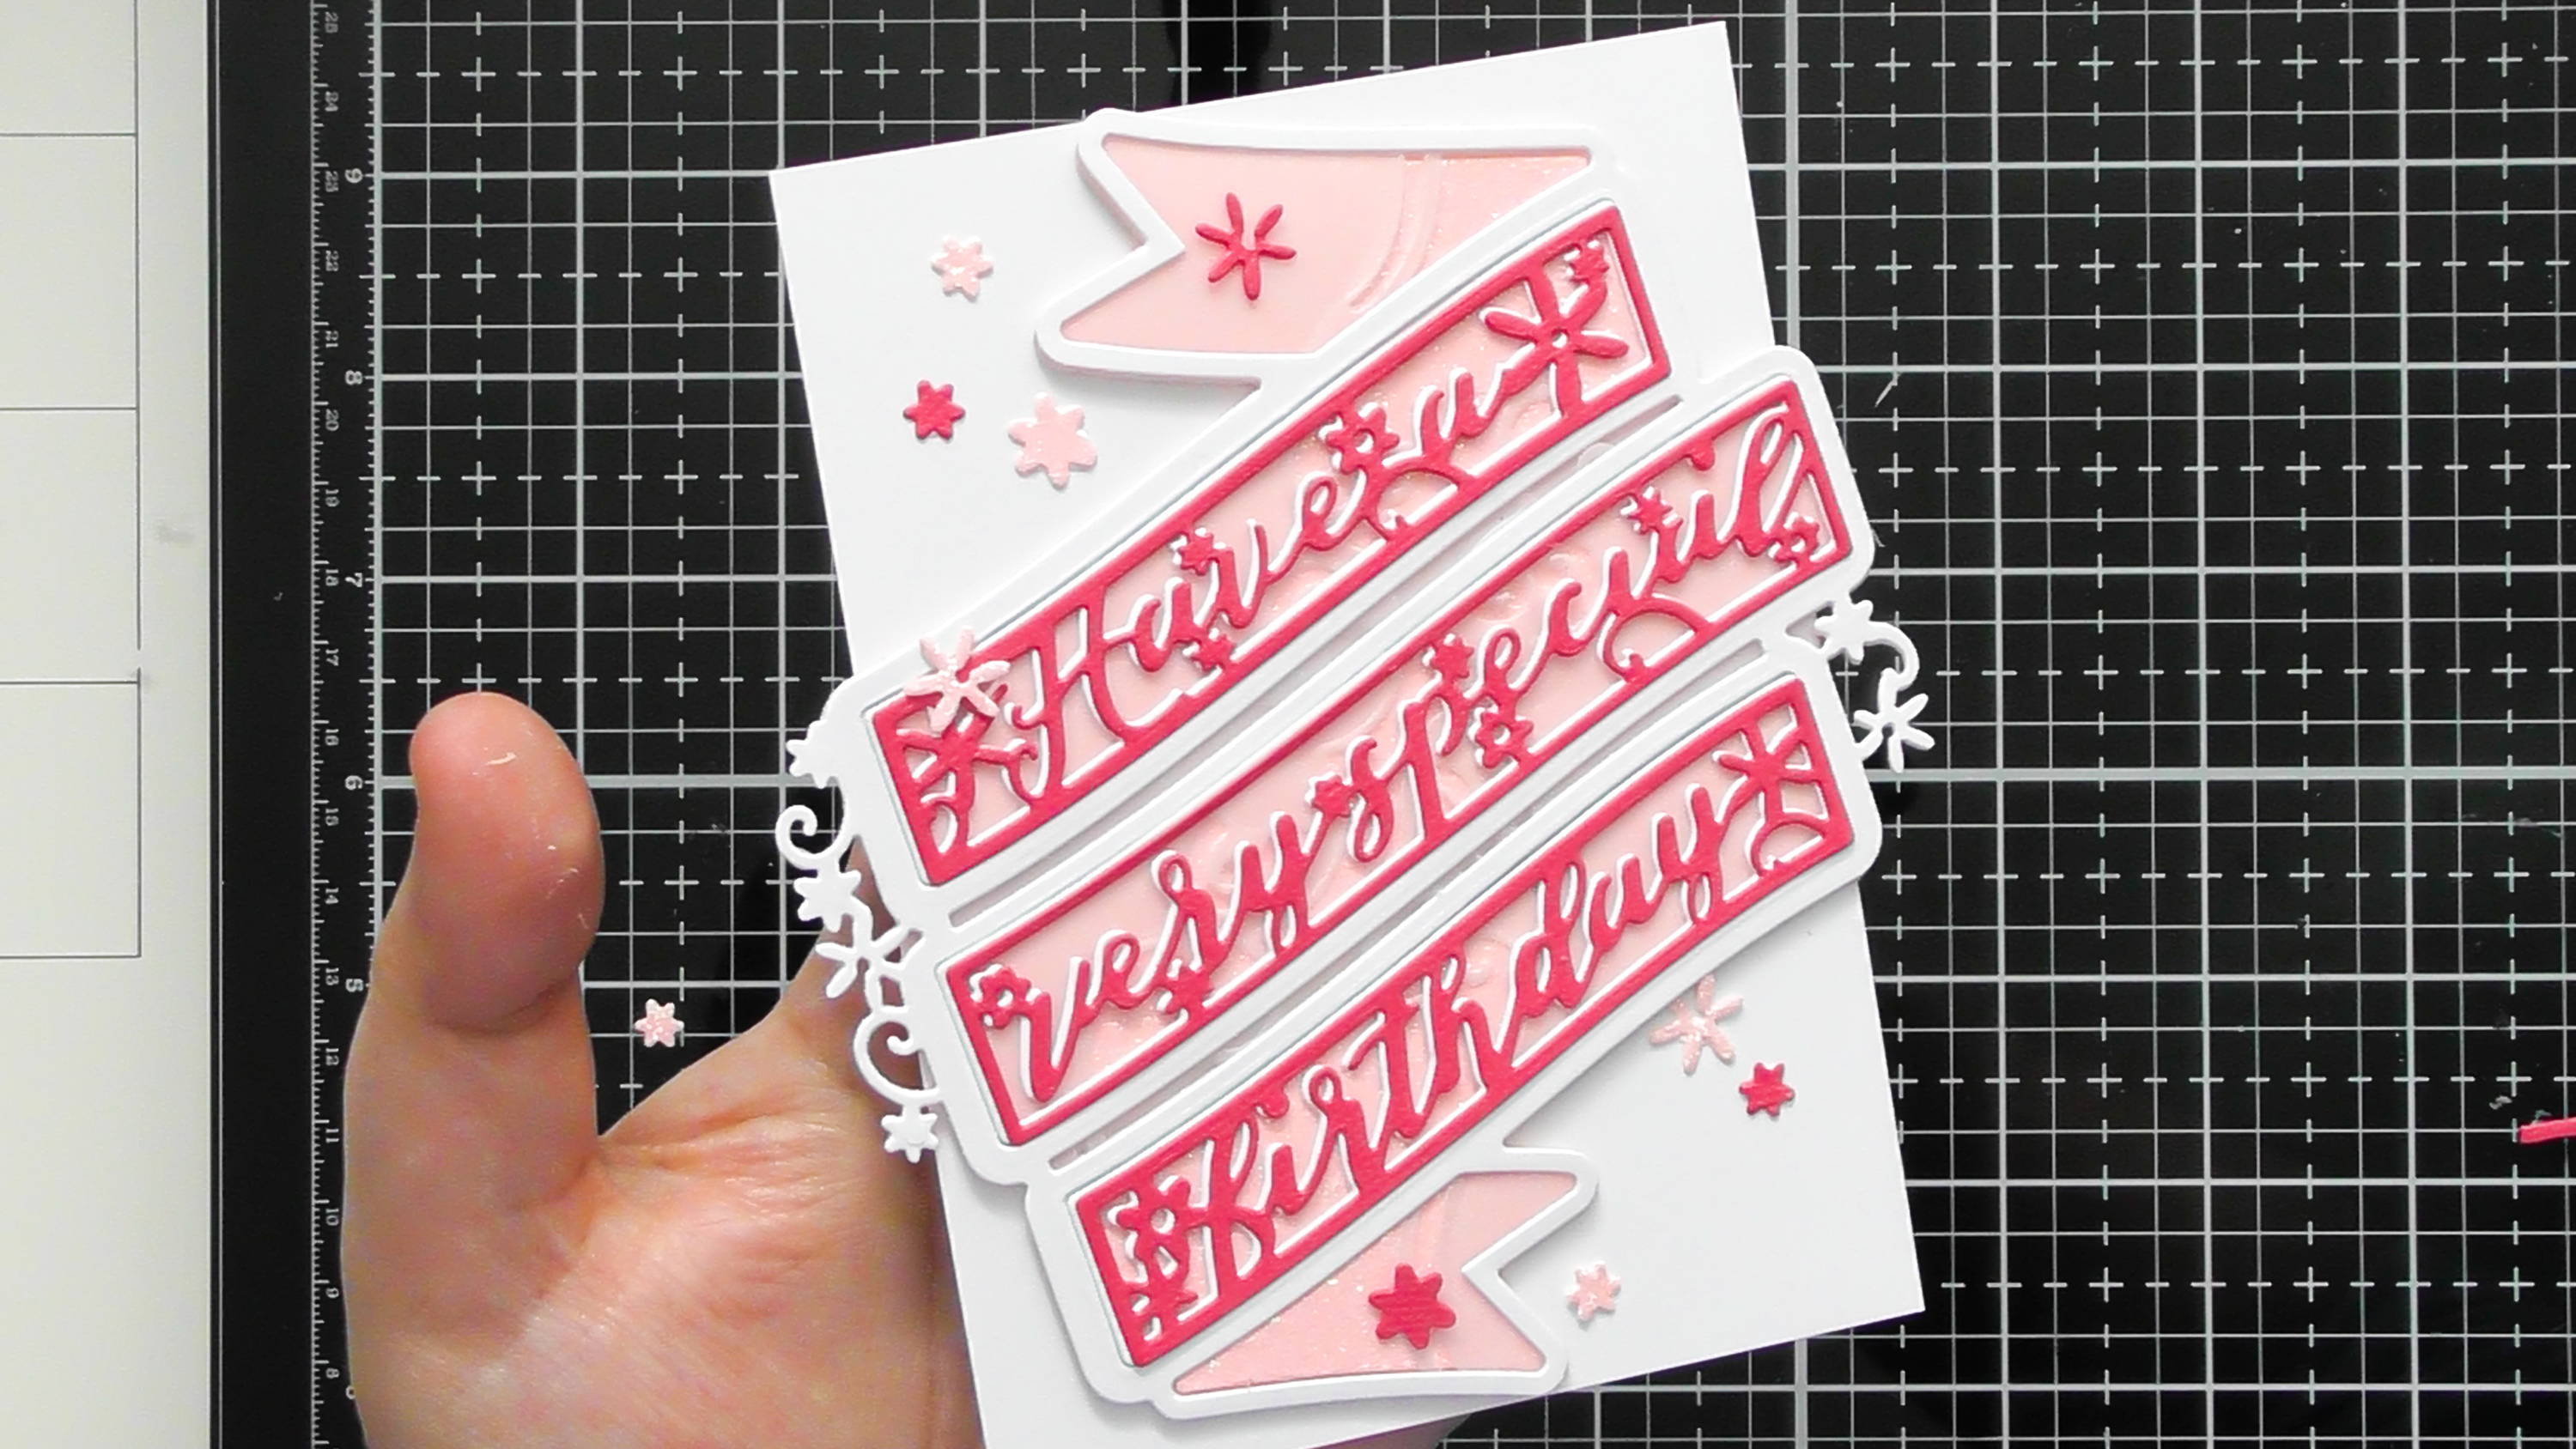
Card 2 - Birthday Wishes
Step 1

You will need… the red crackle paste, yellow glacier paste and glitter from the main bundle, and the golden stars from the supporting bundle, plus the birthday wishes sentiment die too.
Step 2

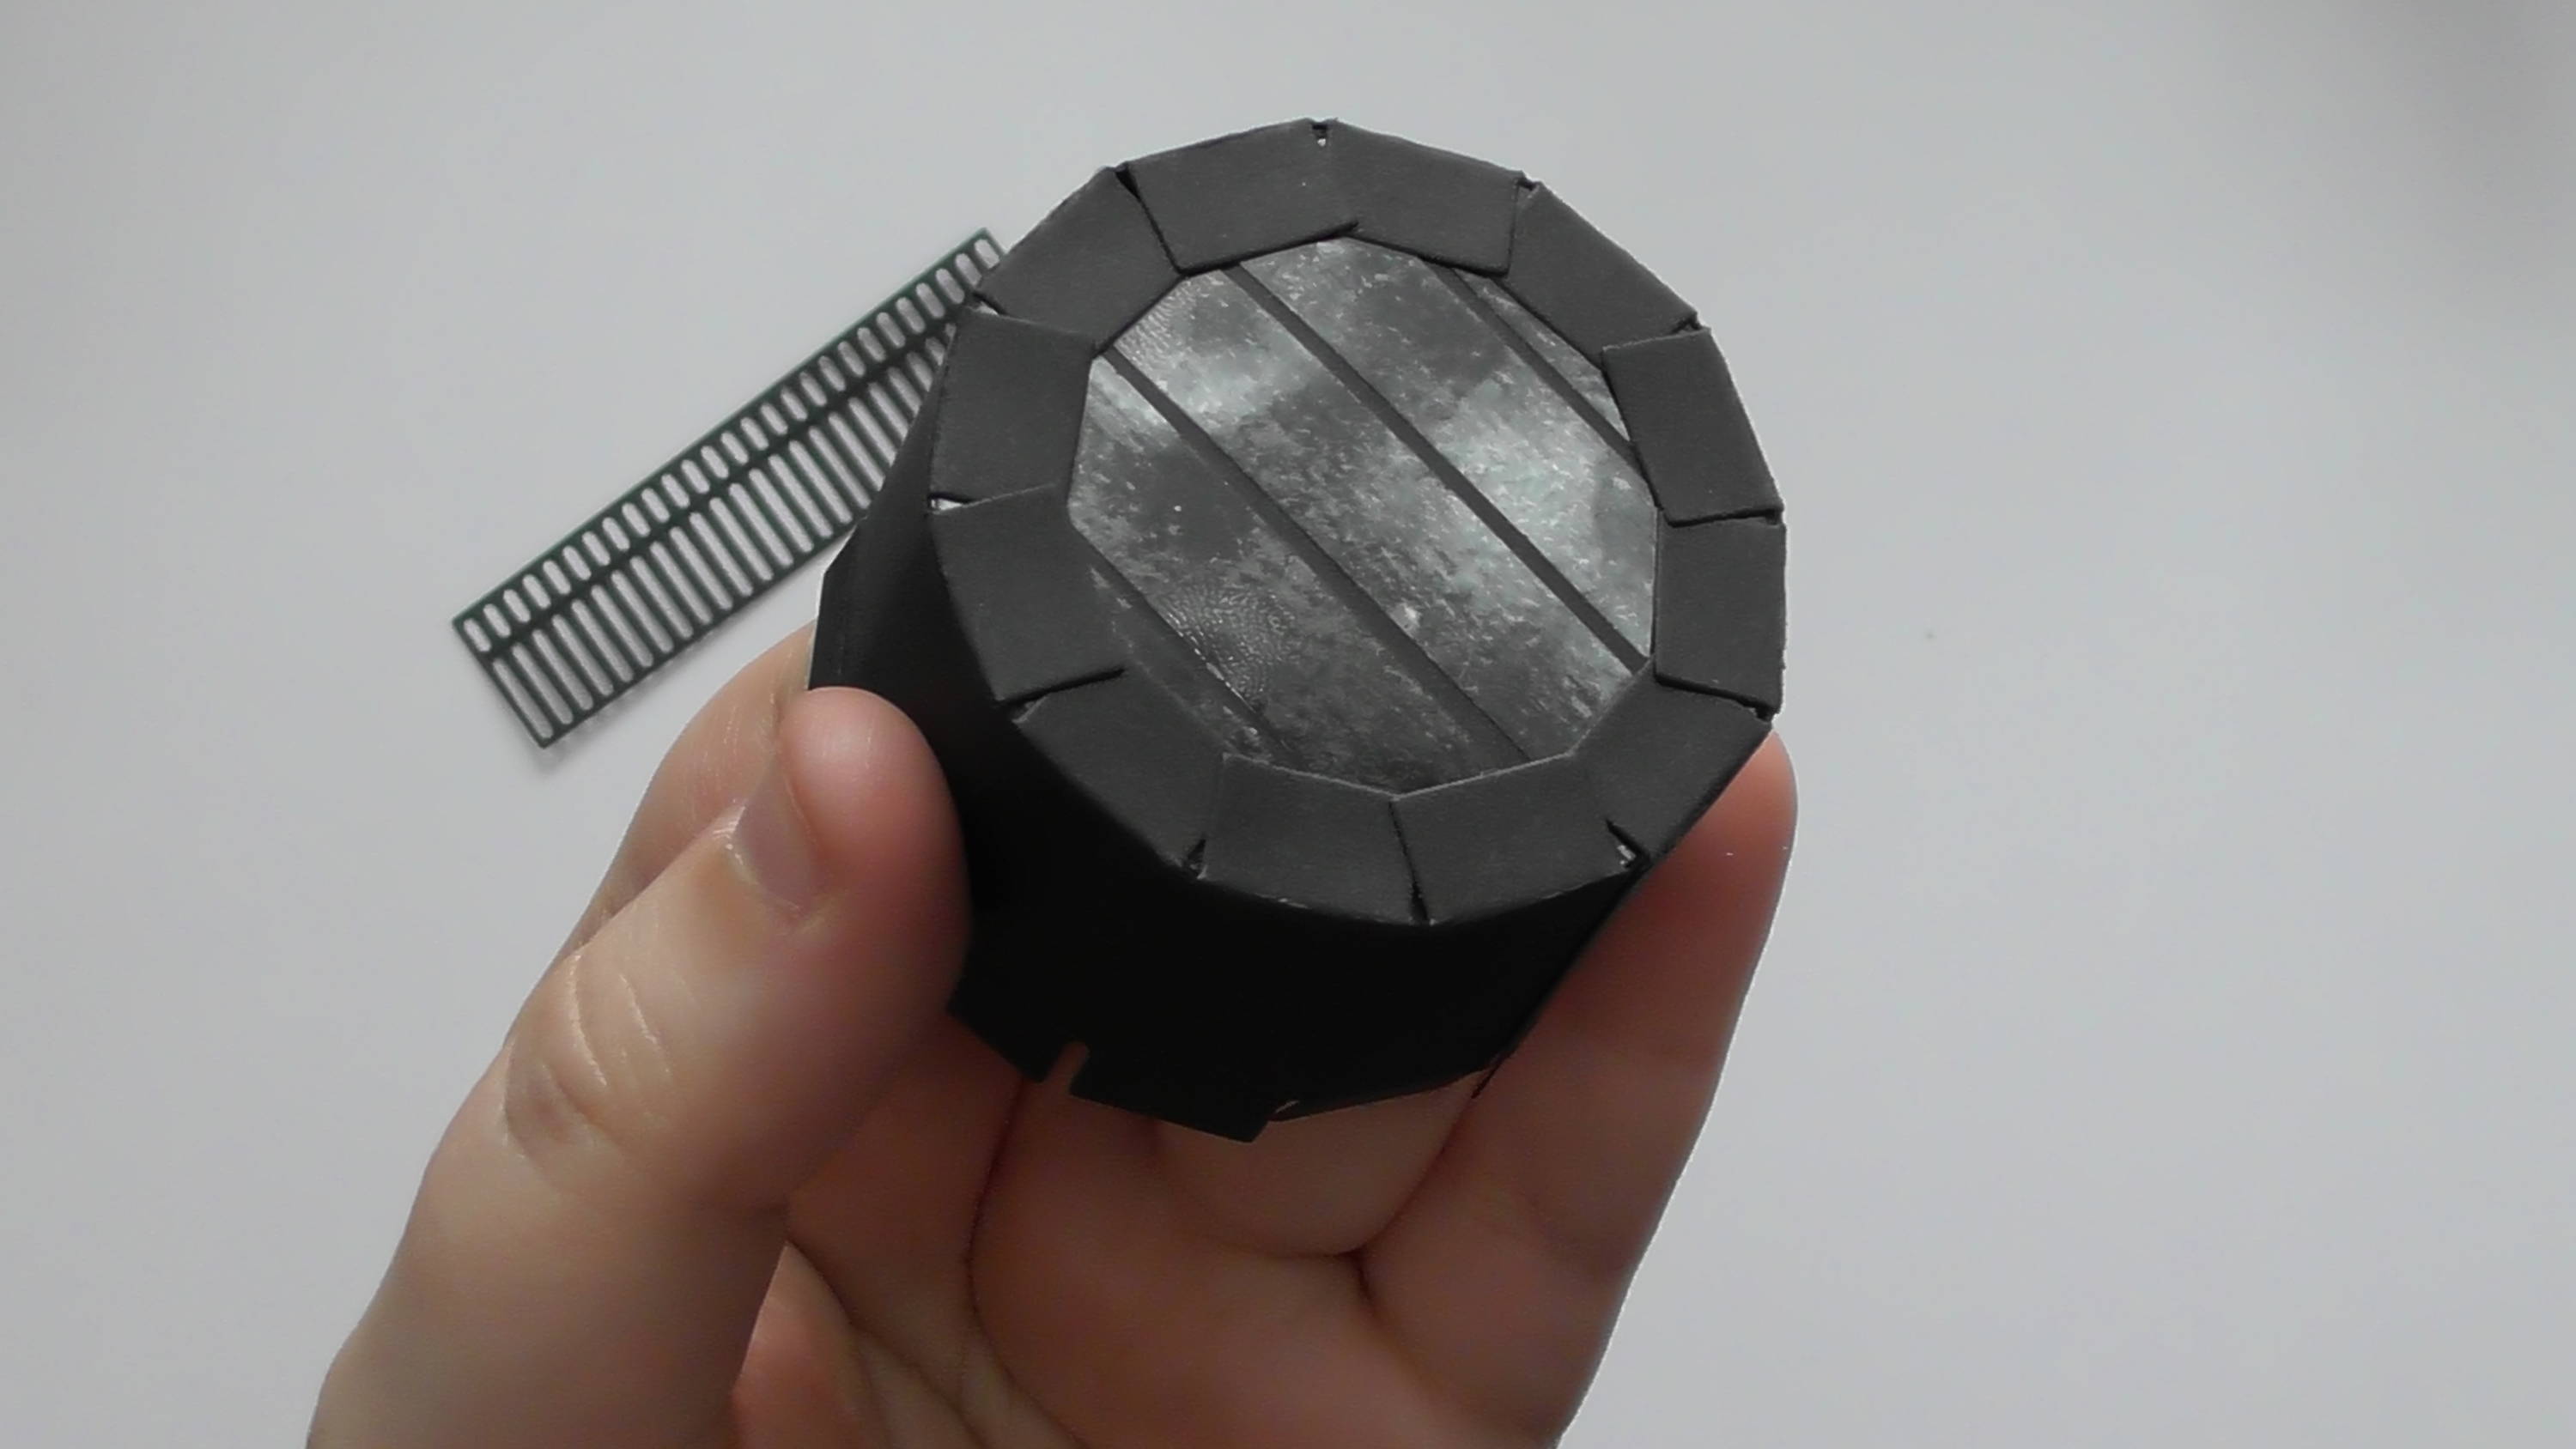
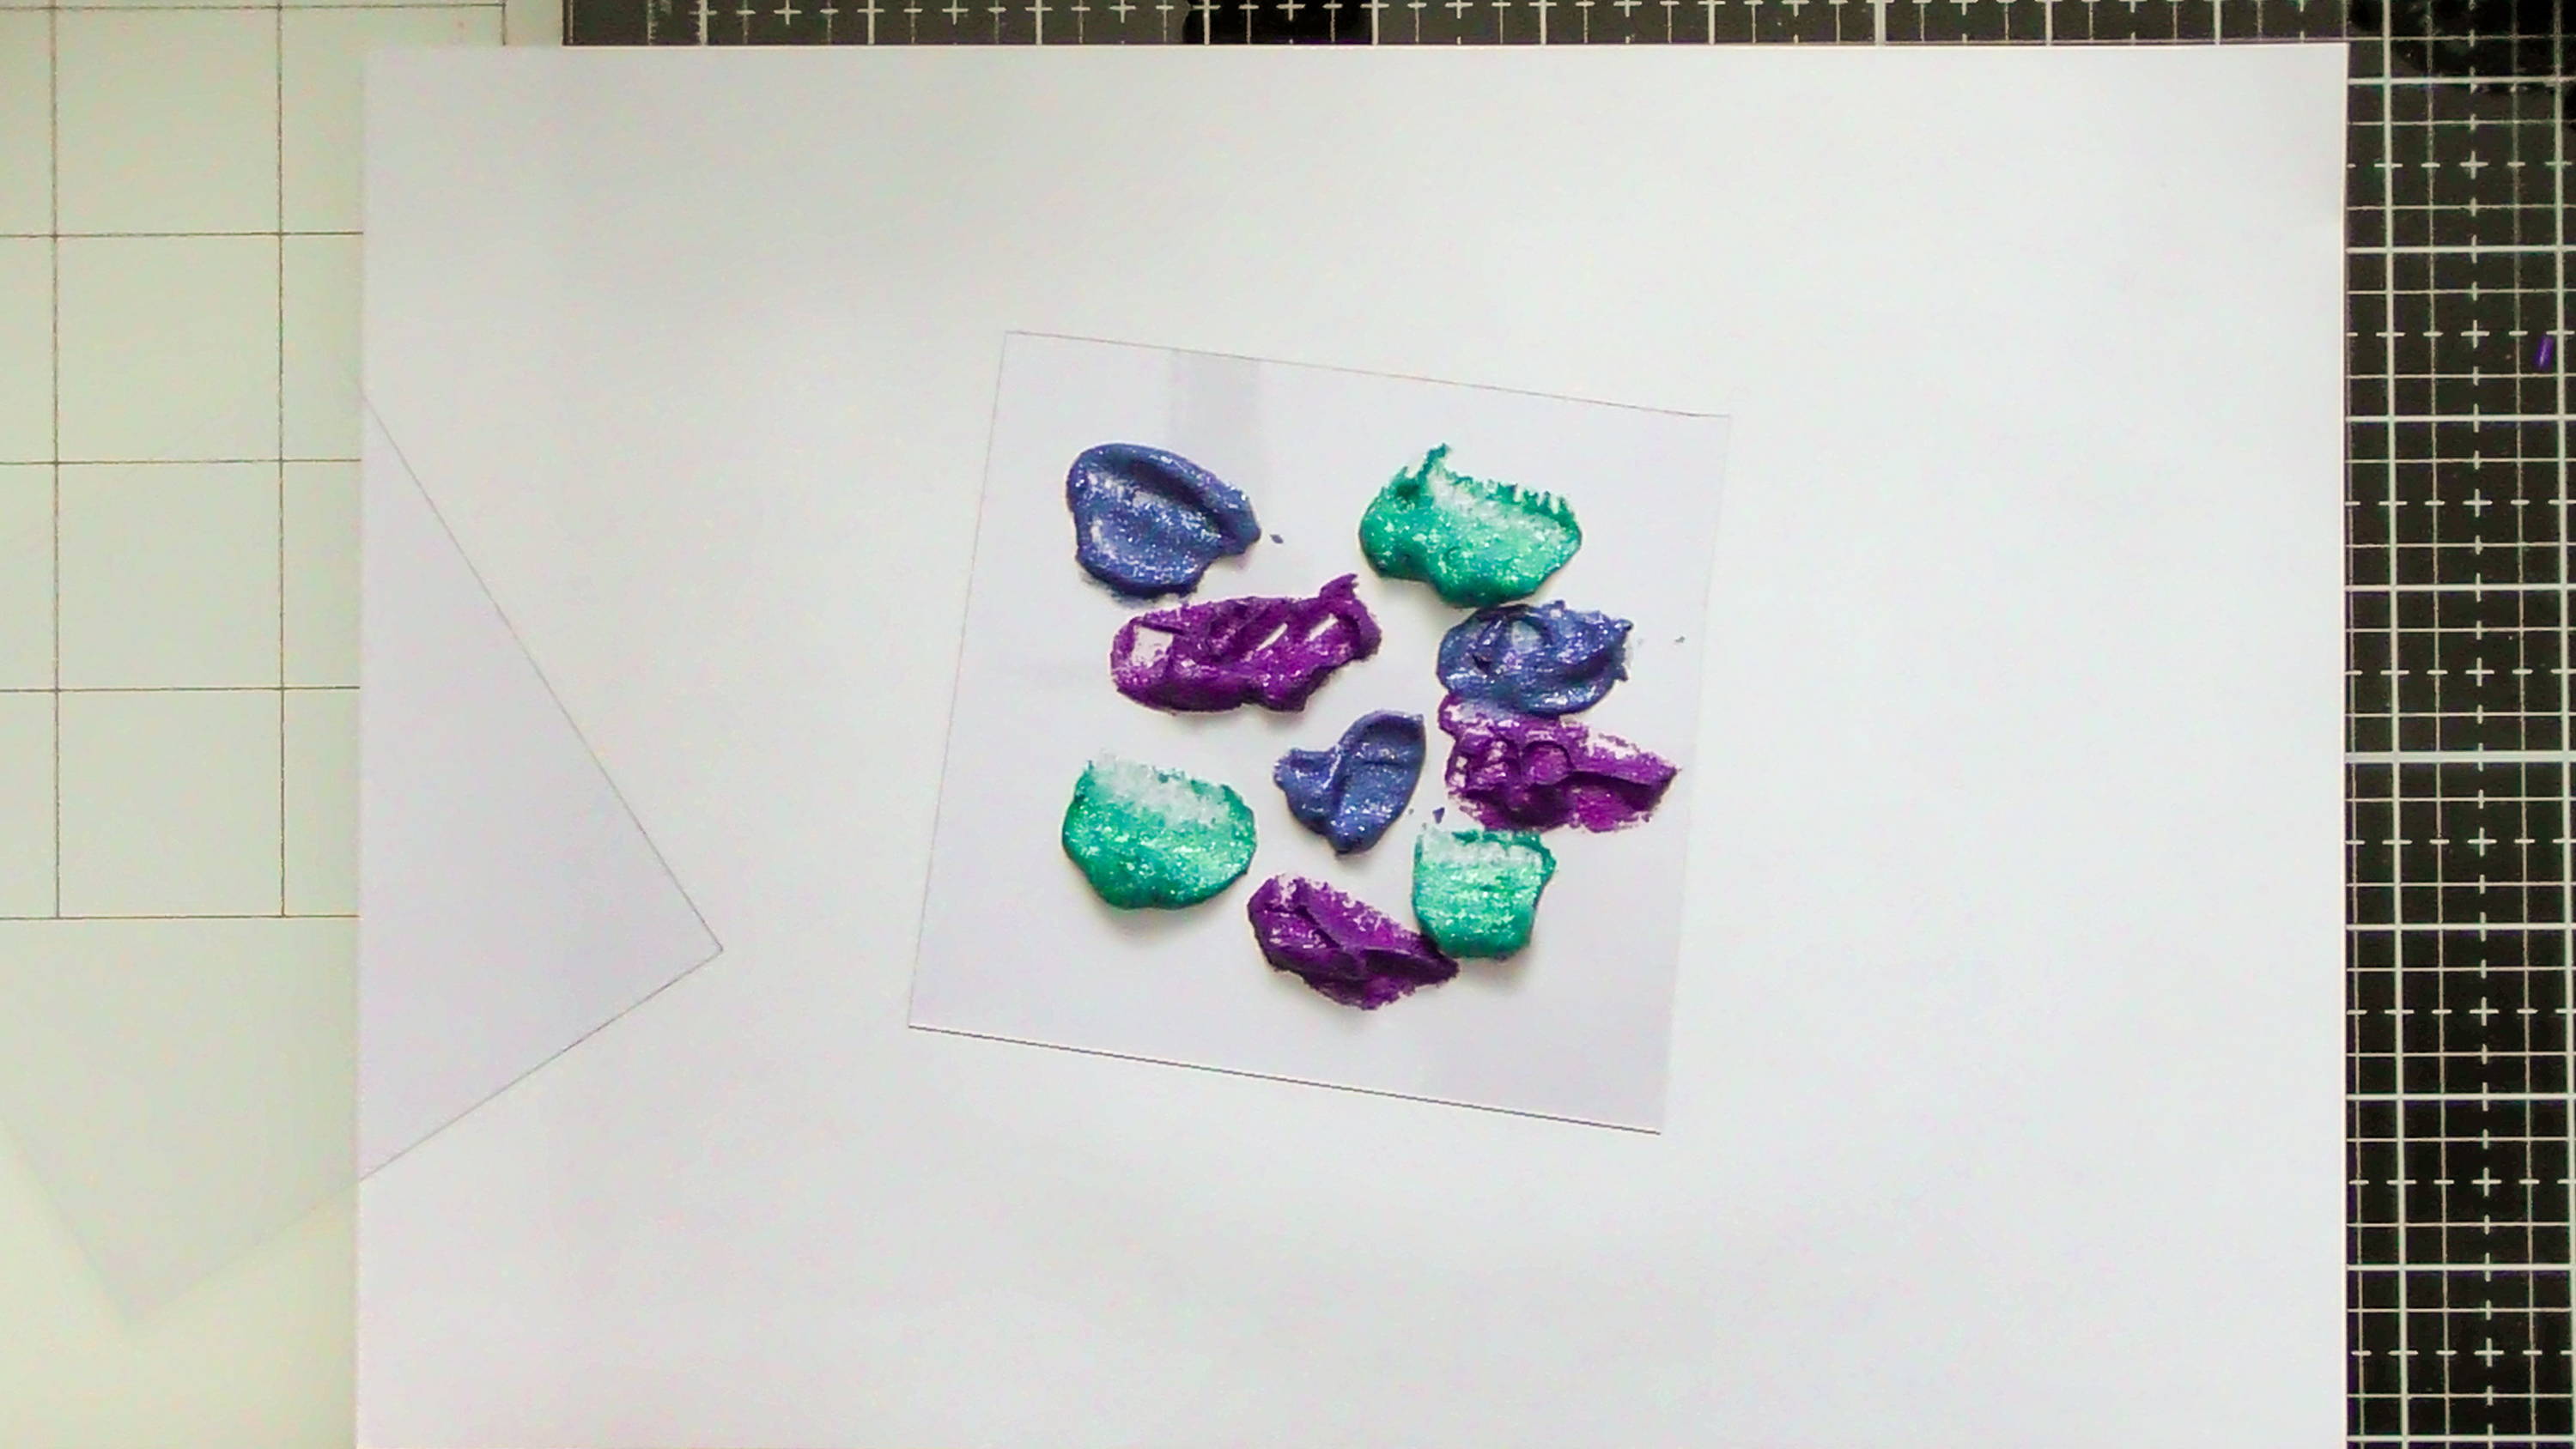
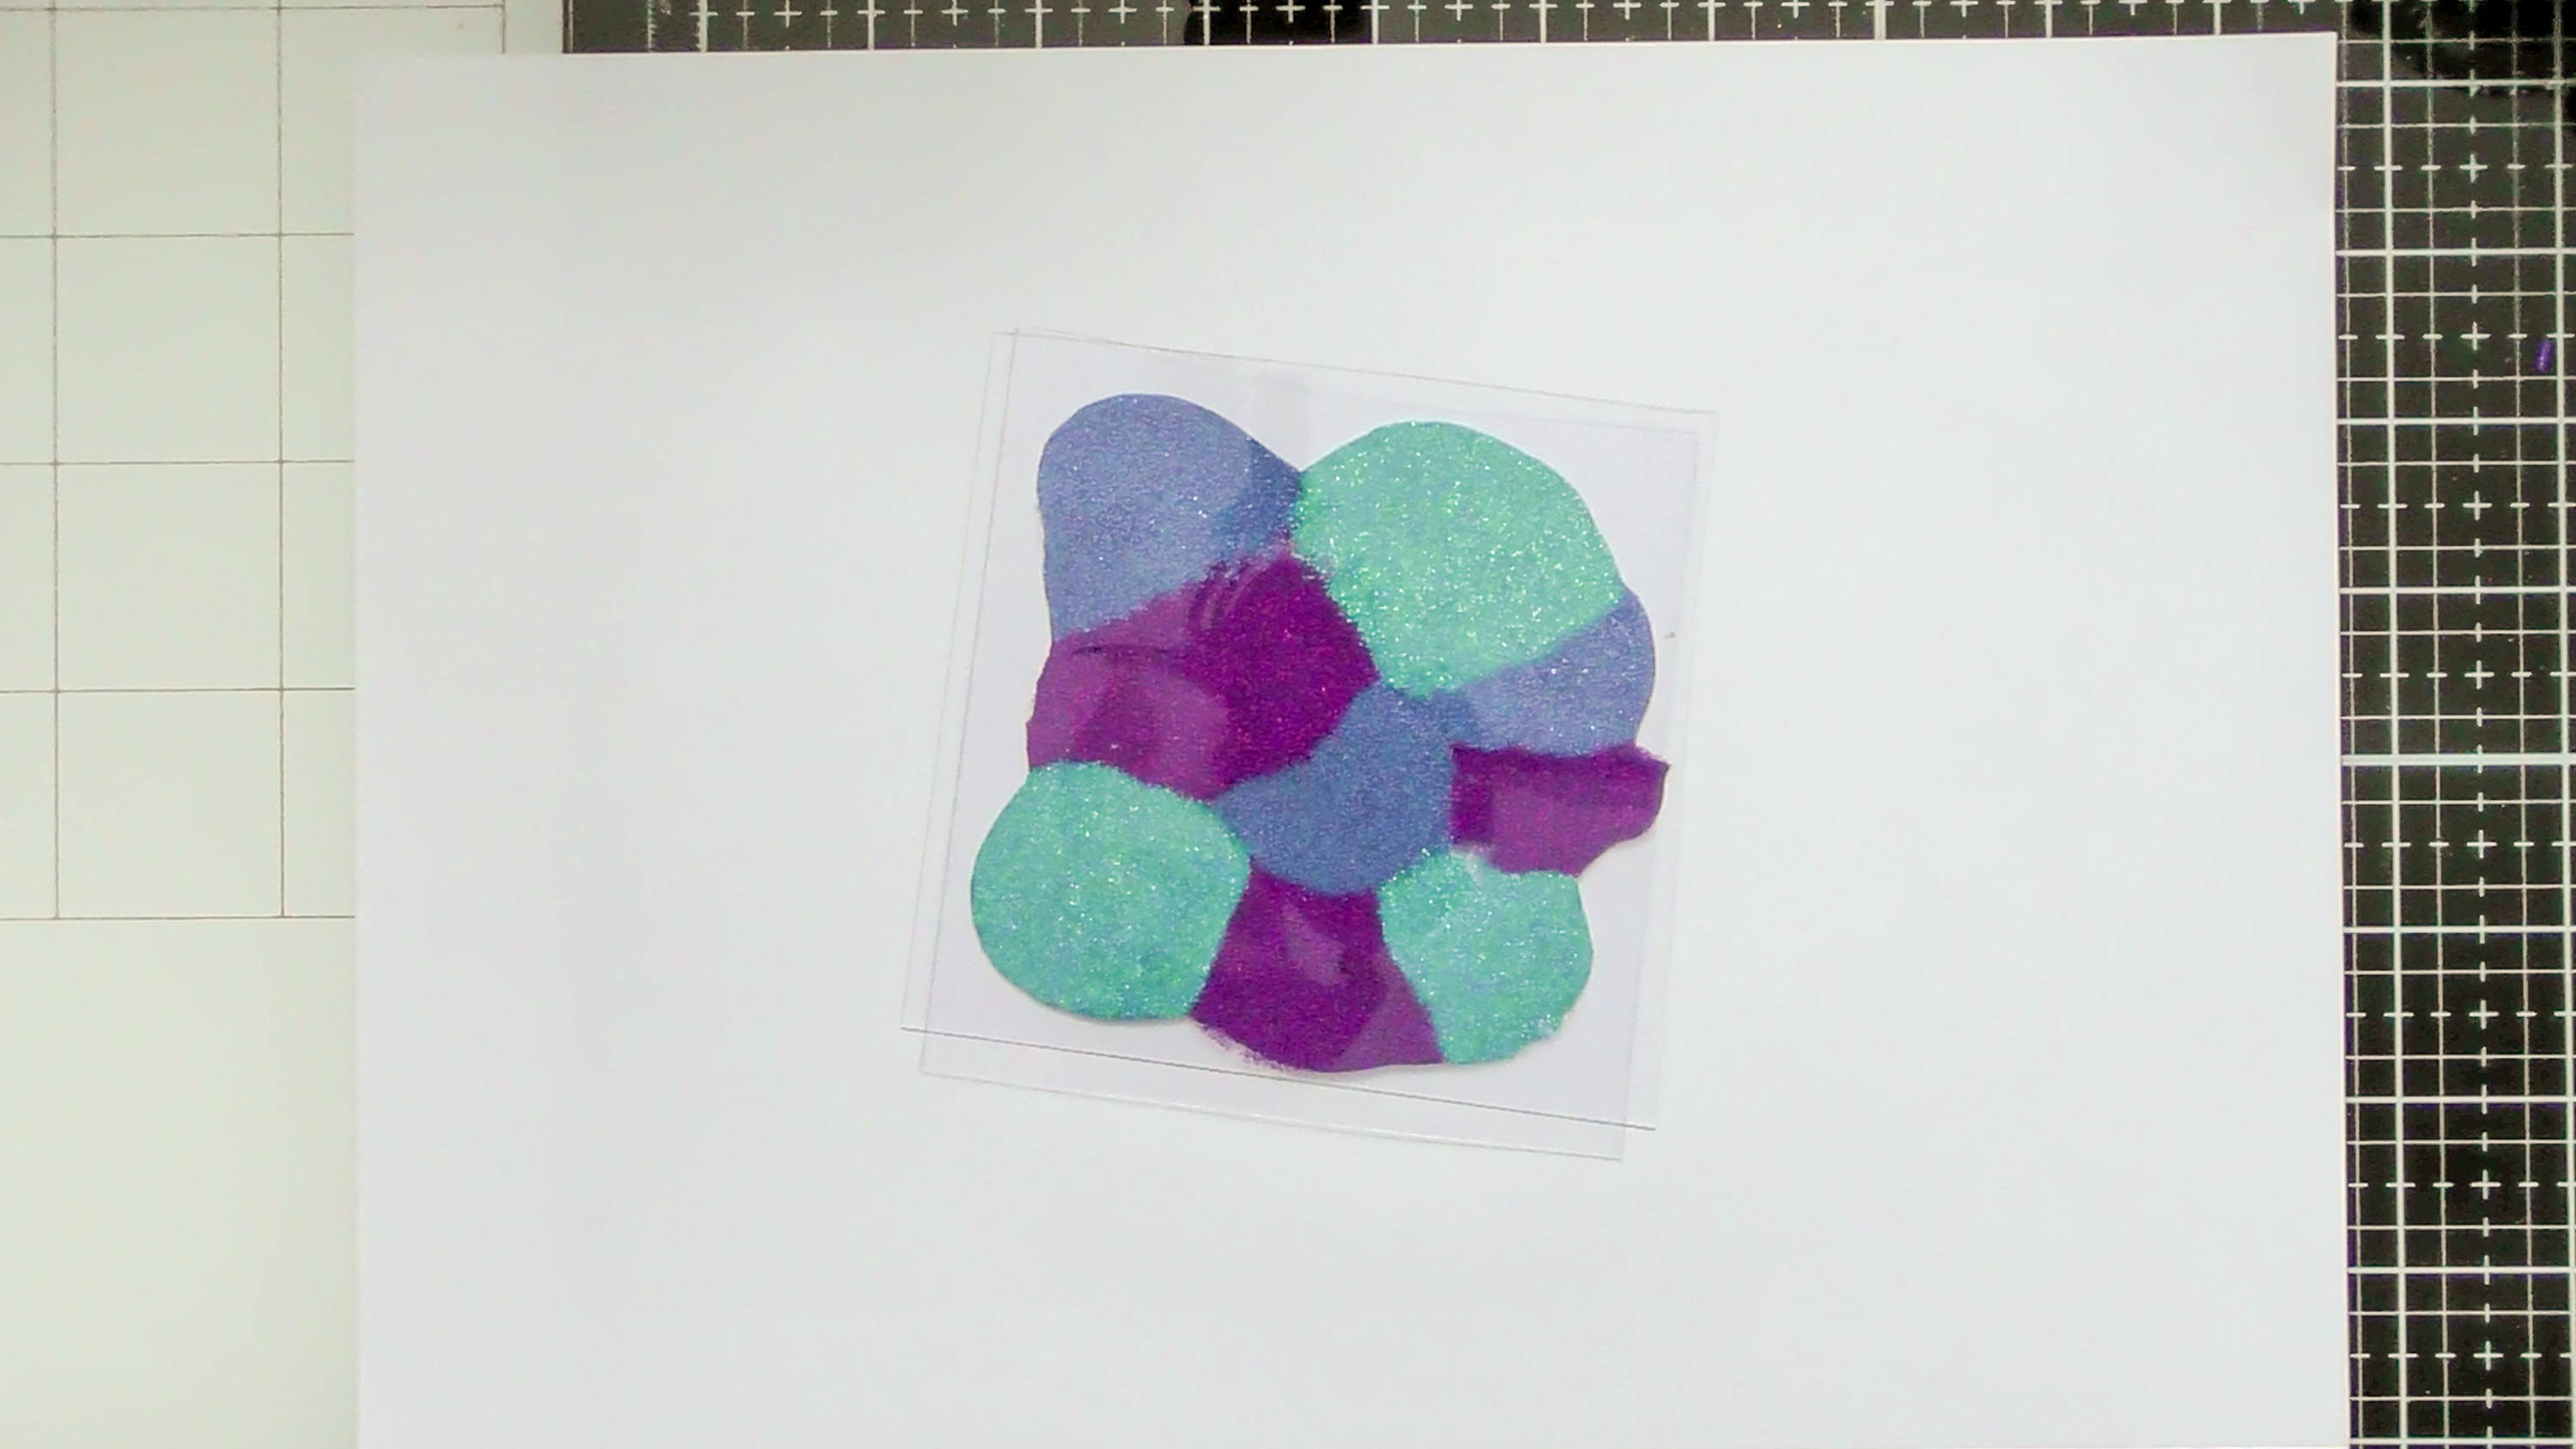
Take your crackle paste and a spatula and spread it onto a piece of a5 card as shown, you want about a 1mm thickness of product on your card to achieve a decent crackle.
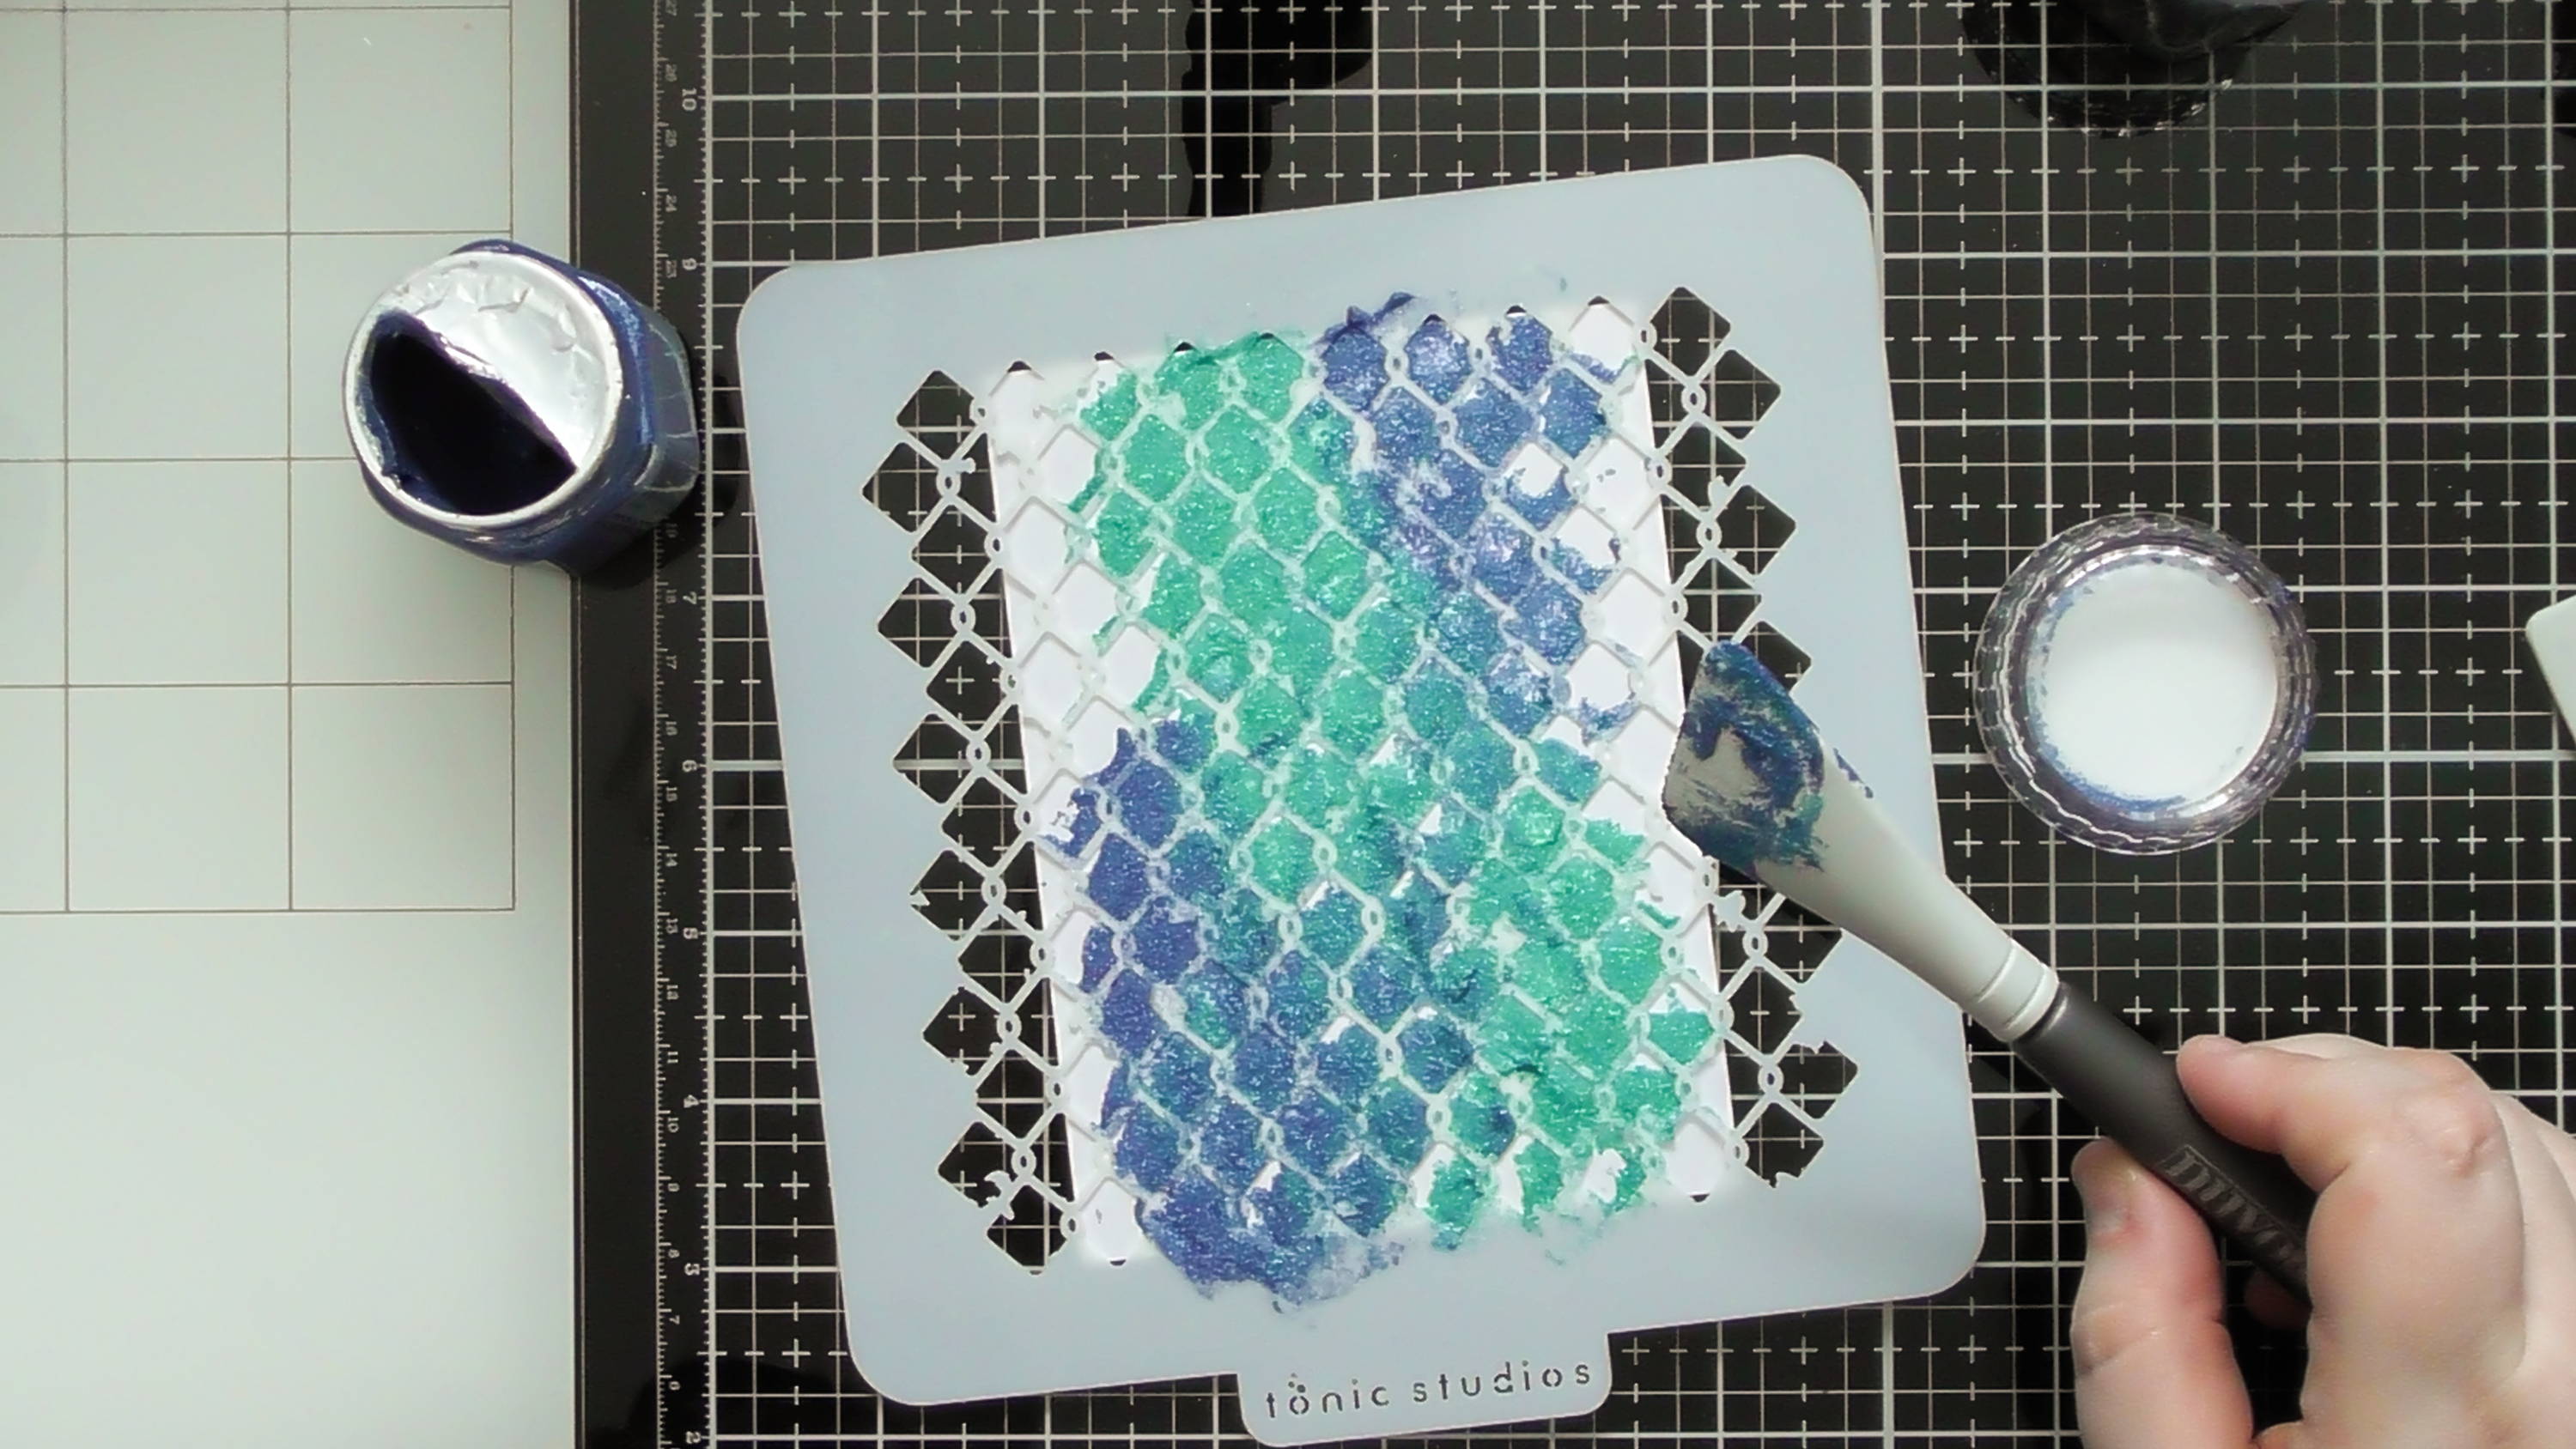
Step 3

Repeat with glacier paste, but in the other 2 corners, deliberately letting the two pastes mix a little as you swipe the glacier paste on.
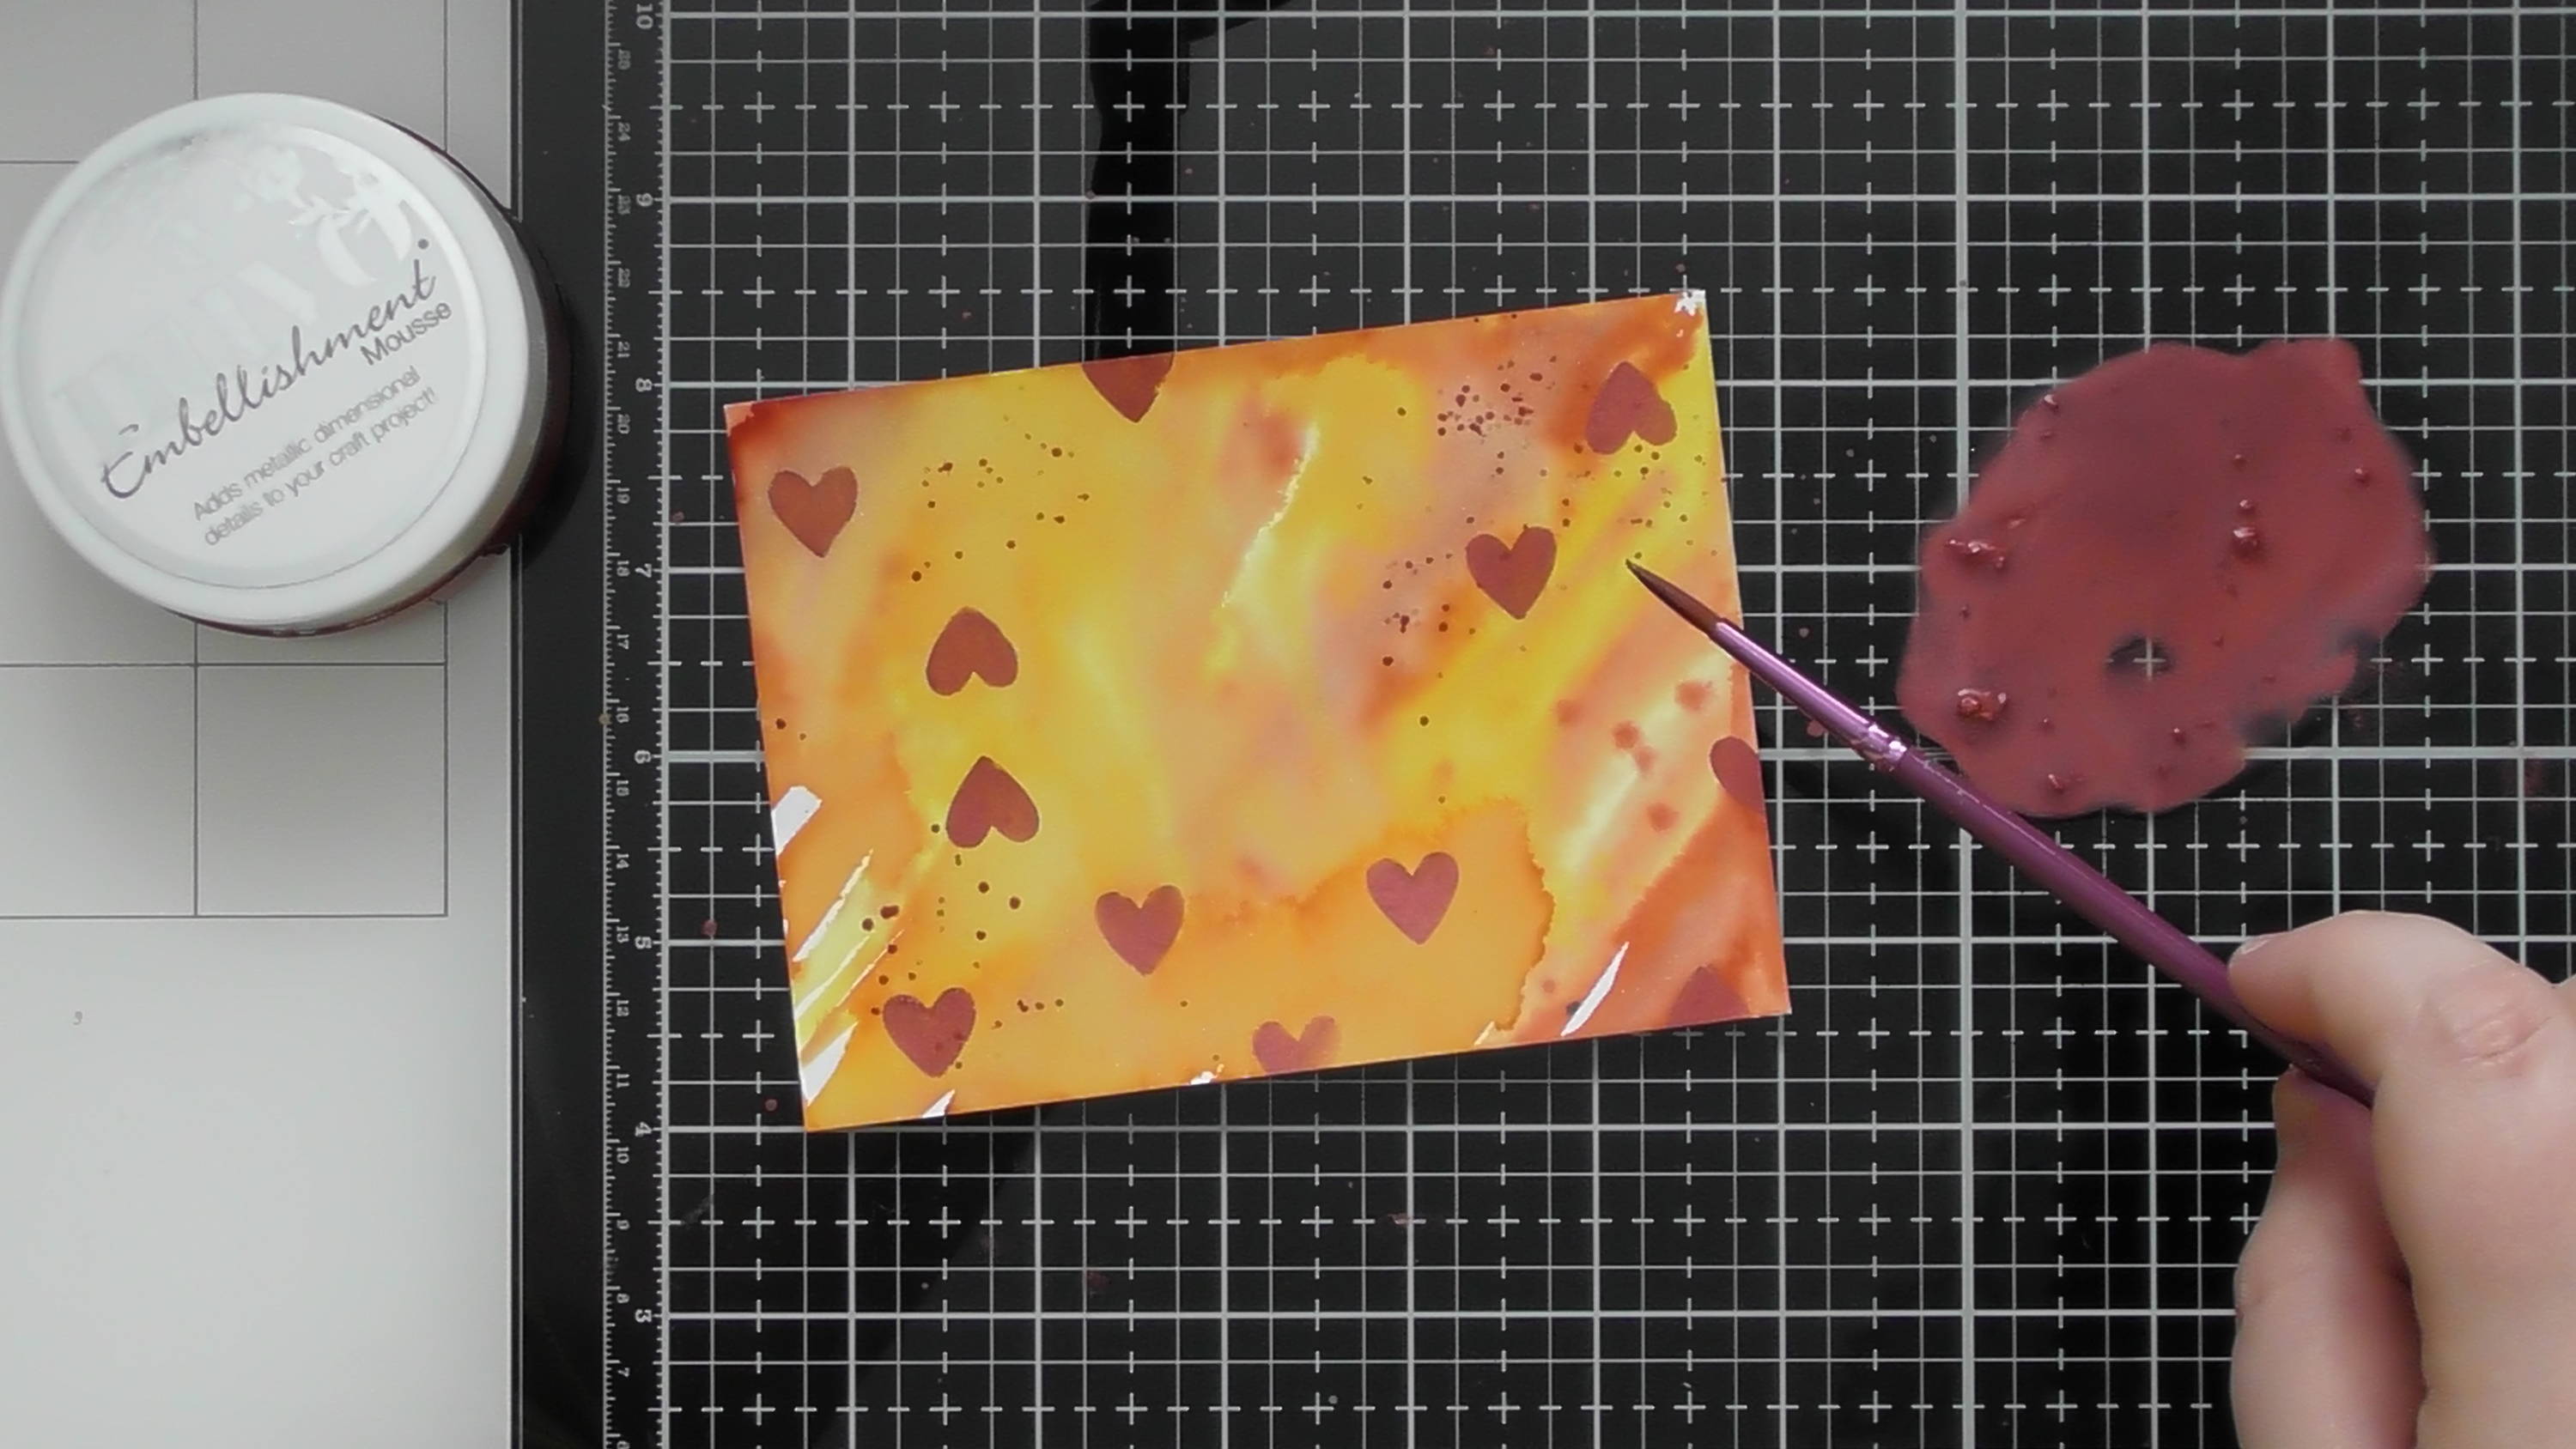
Step 4

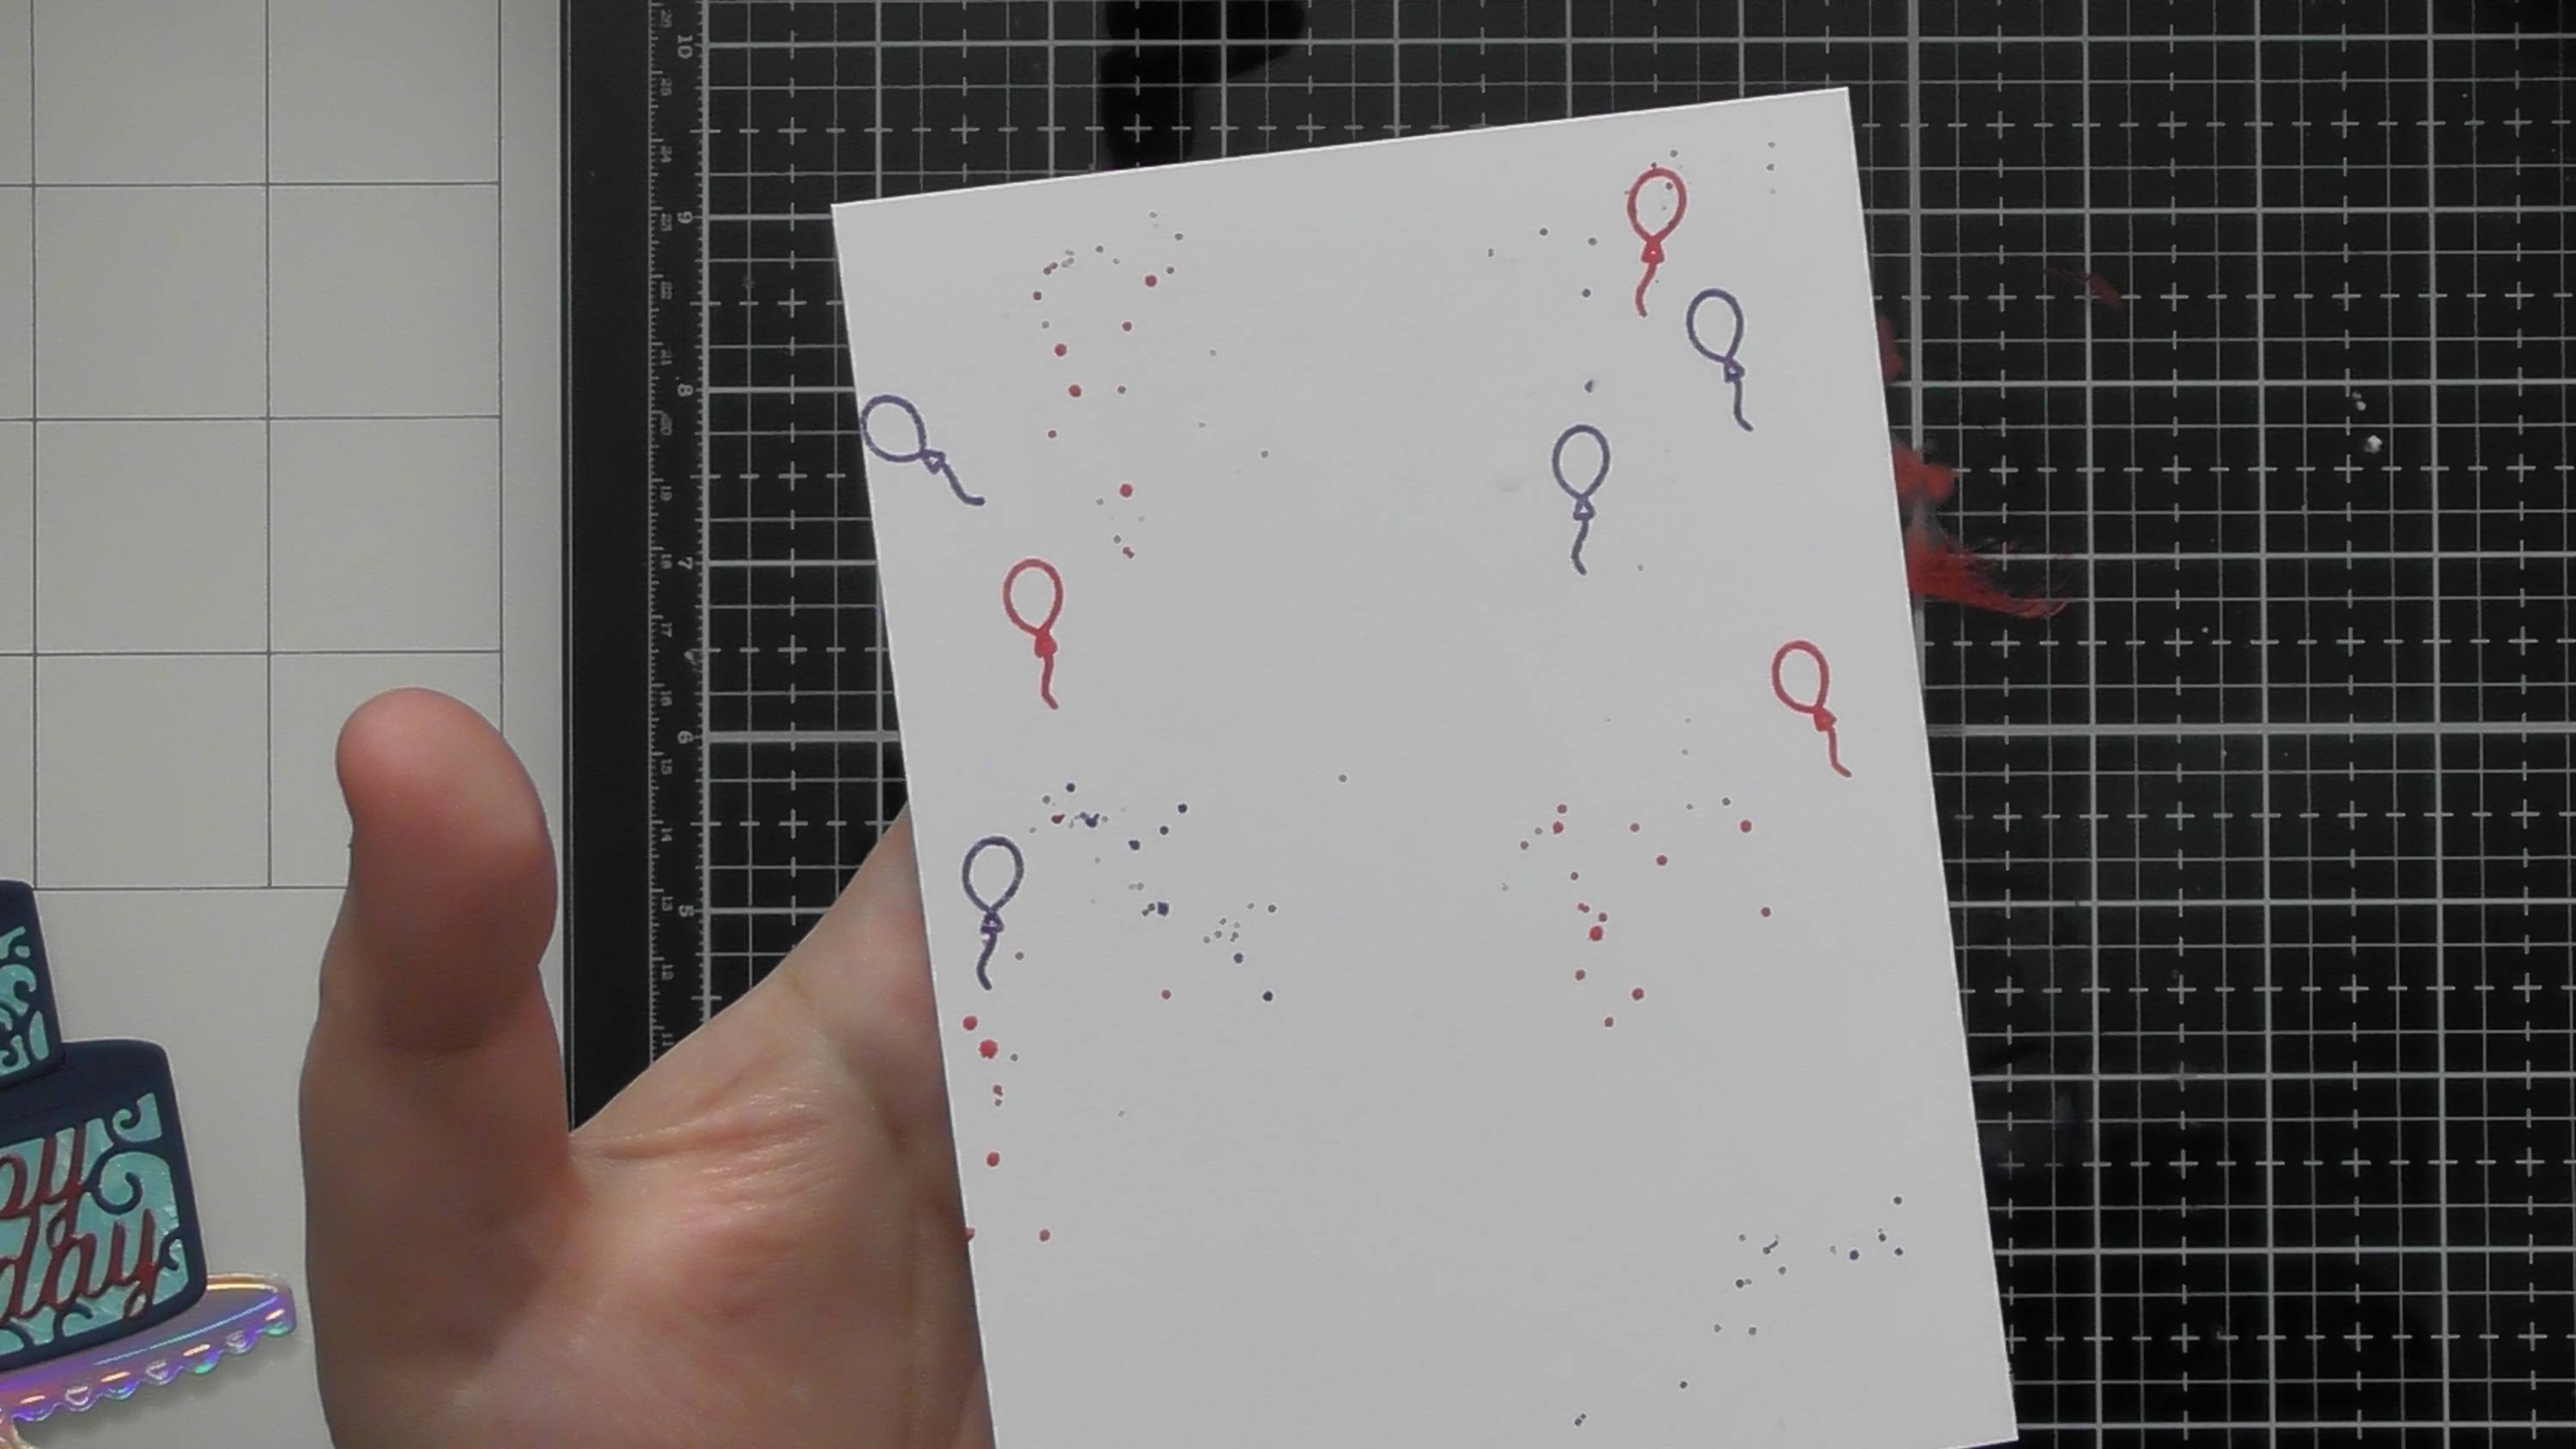
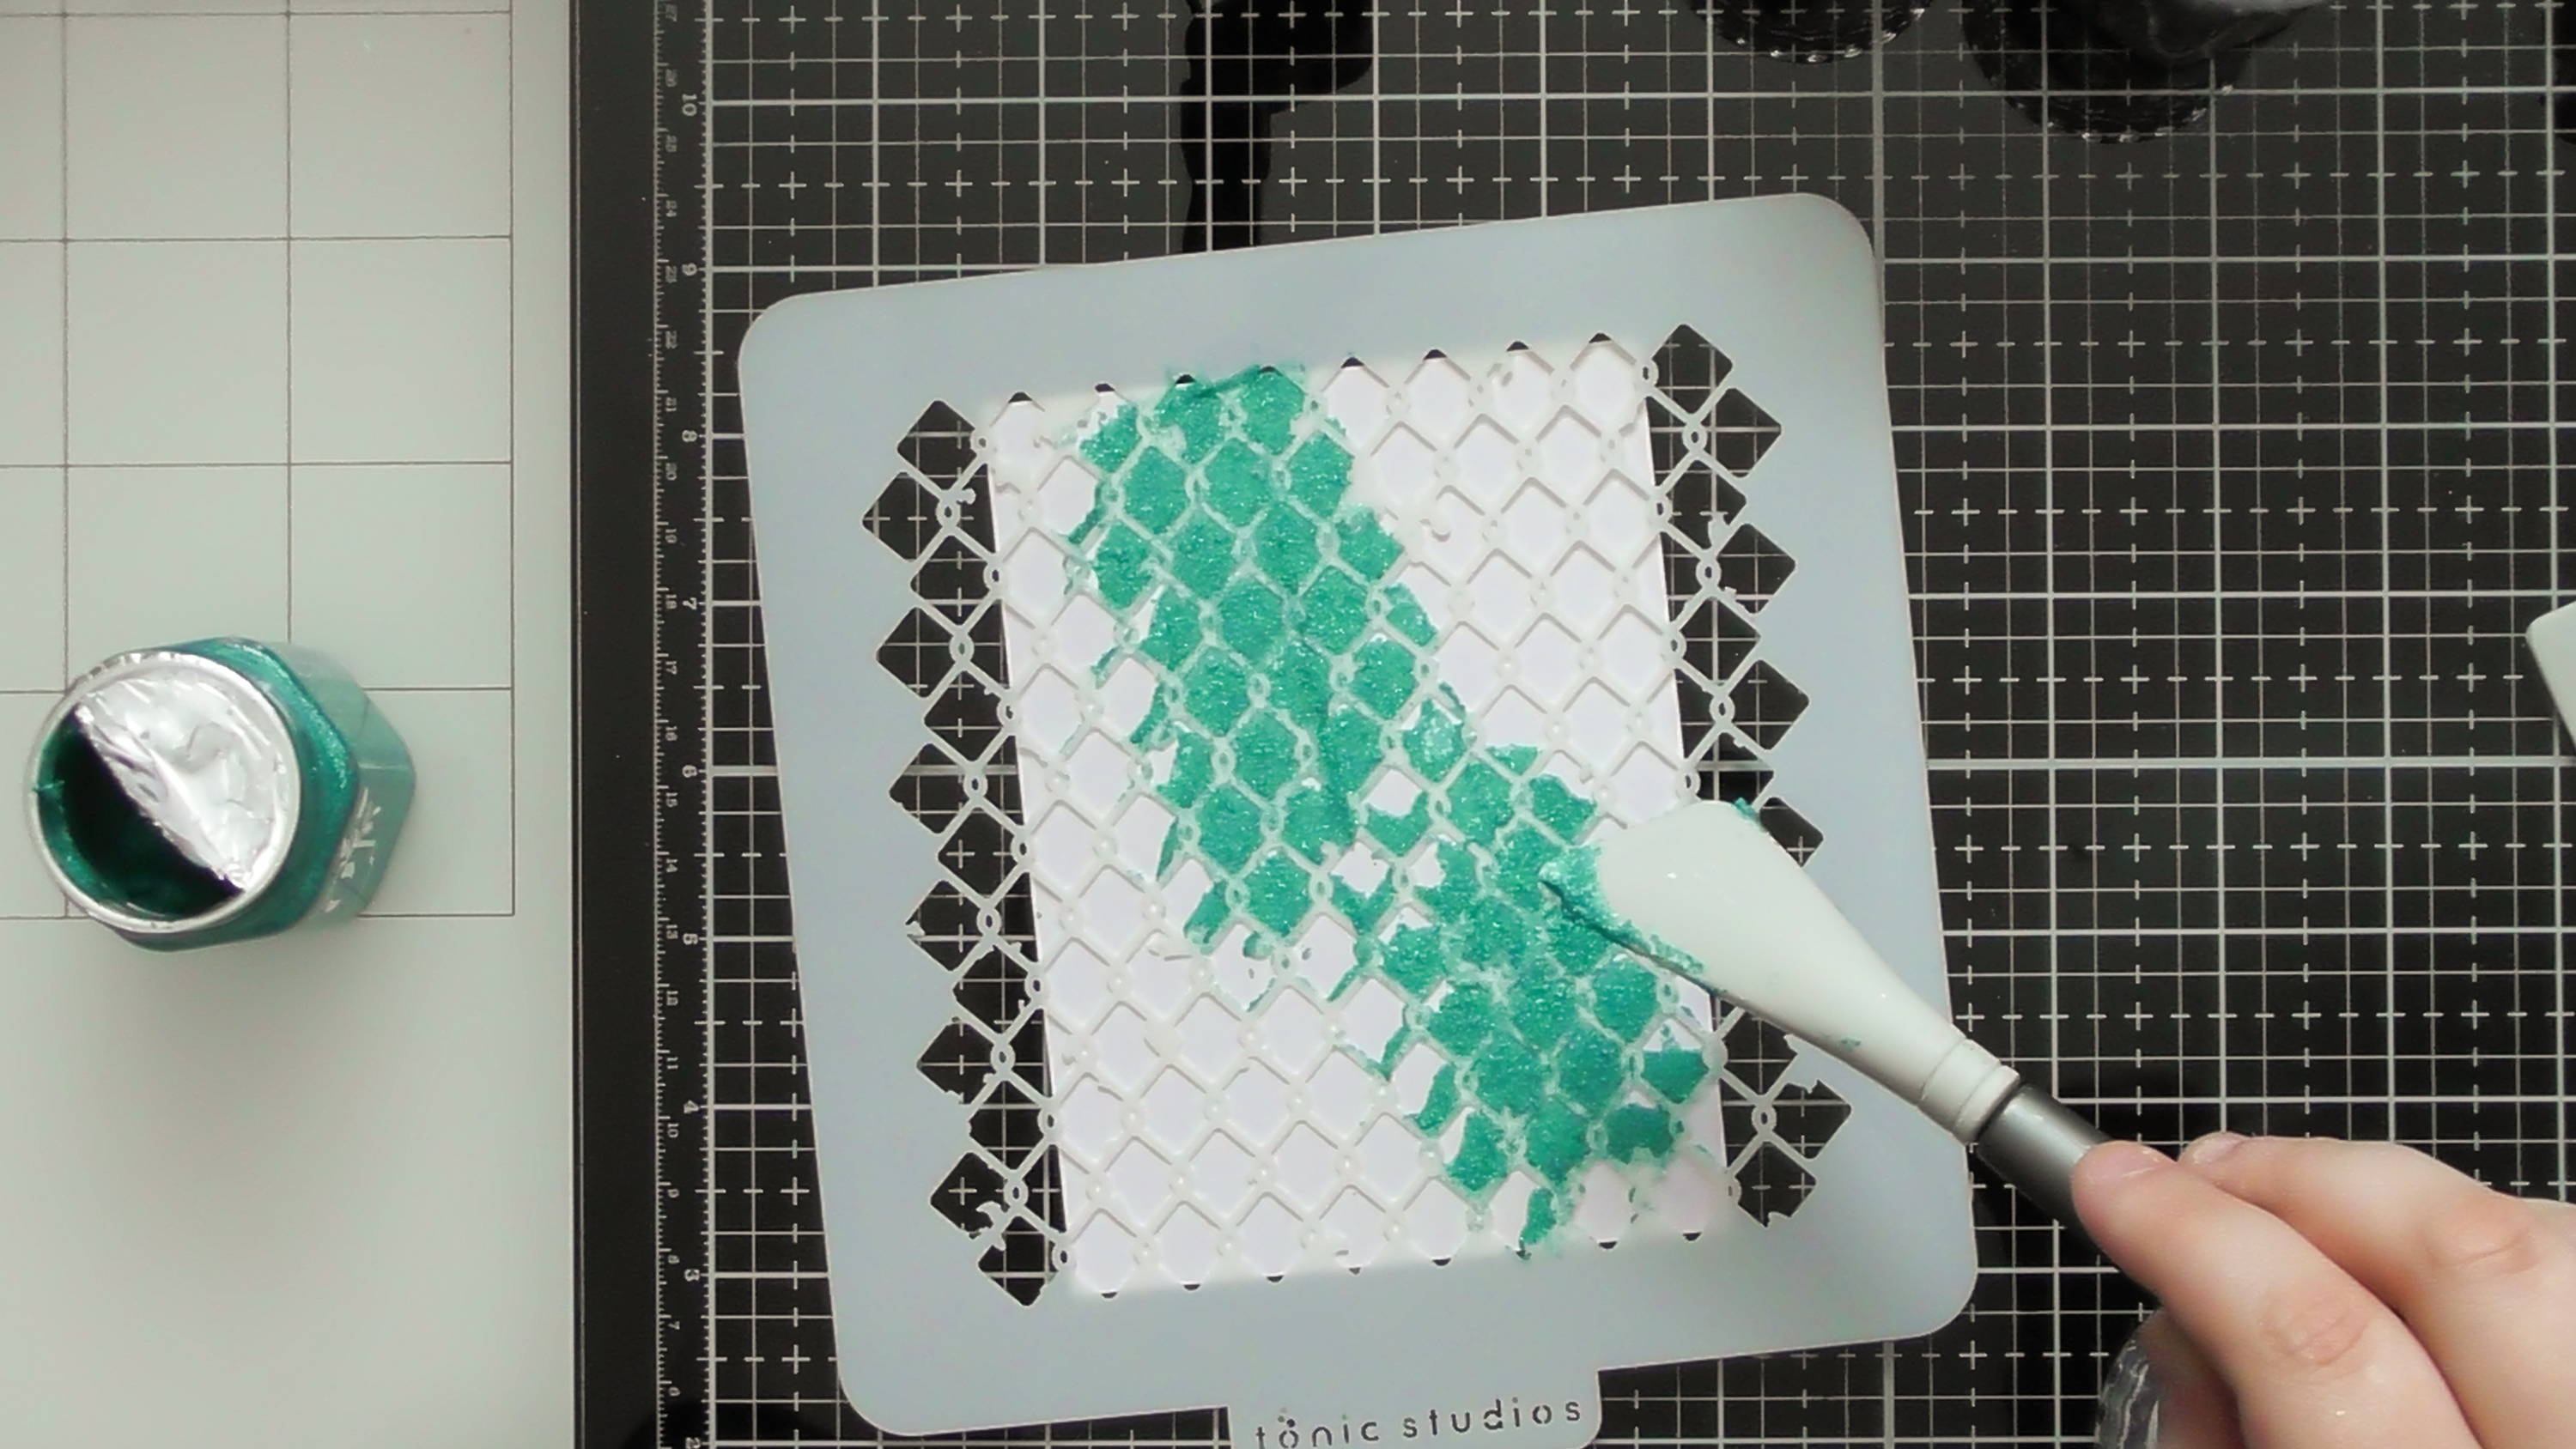
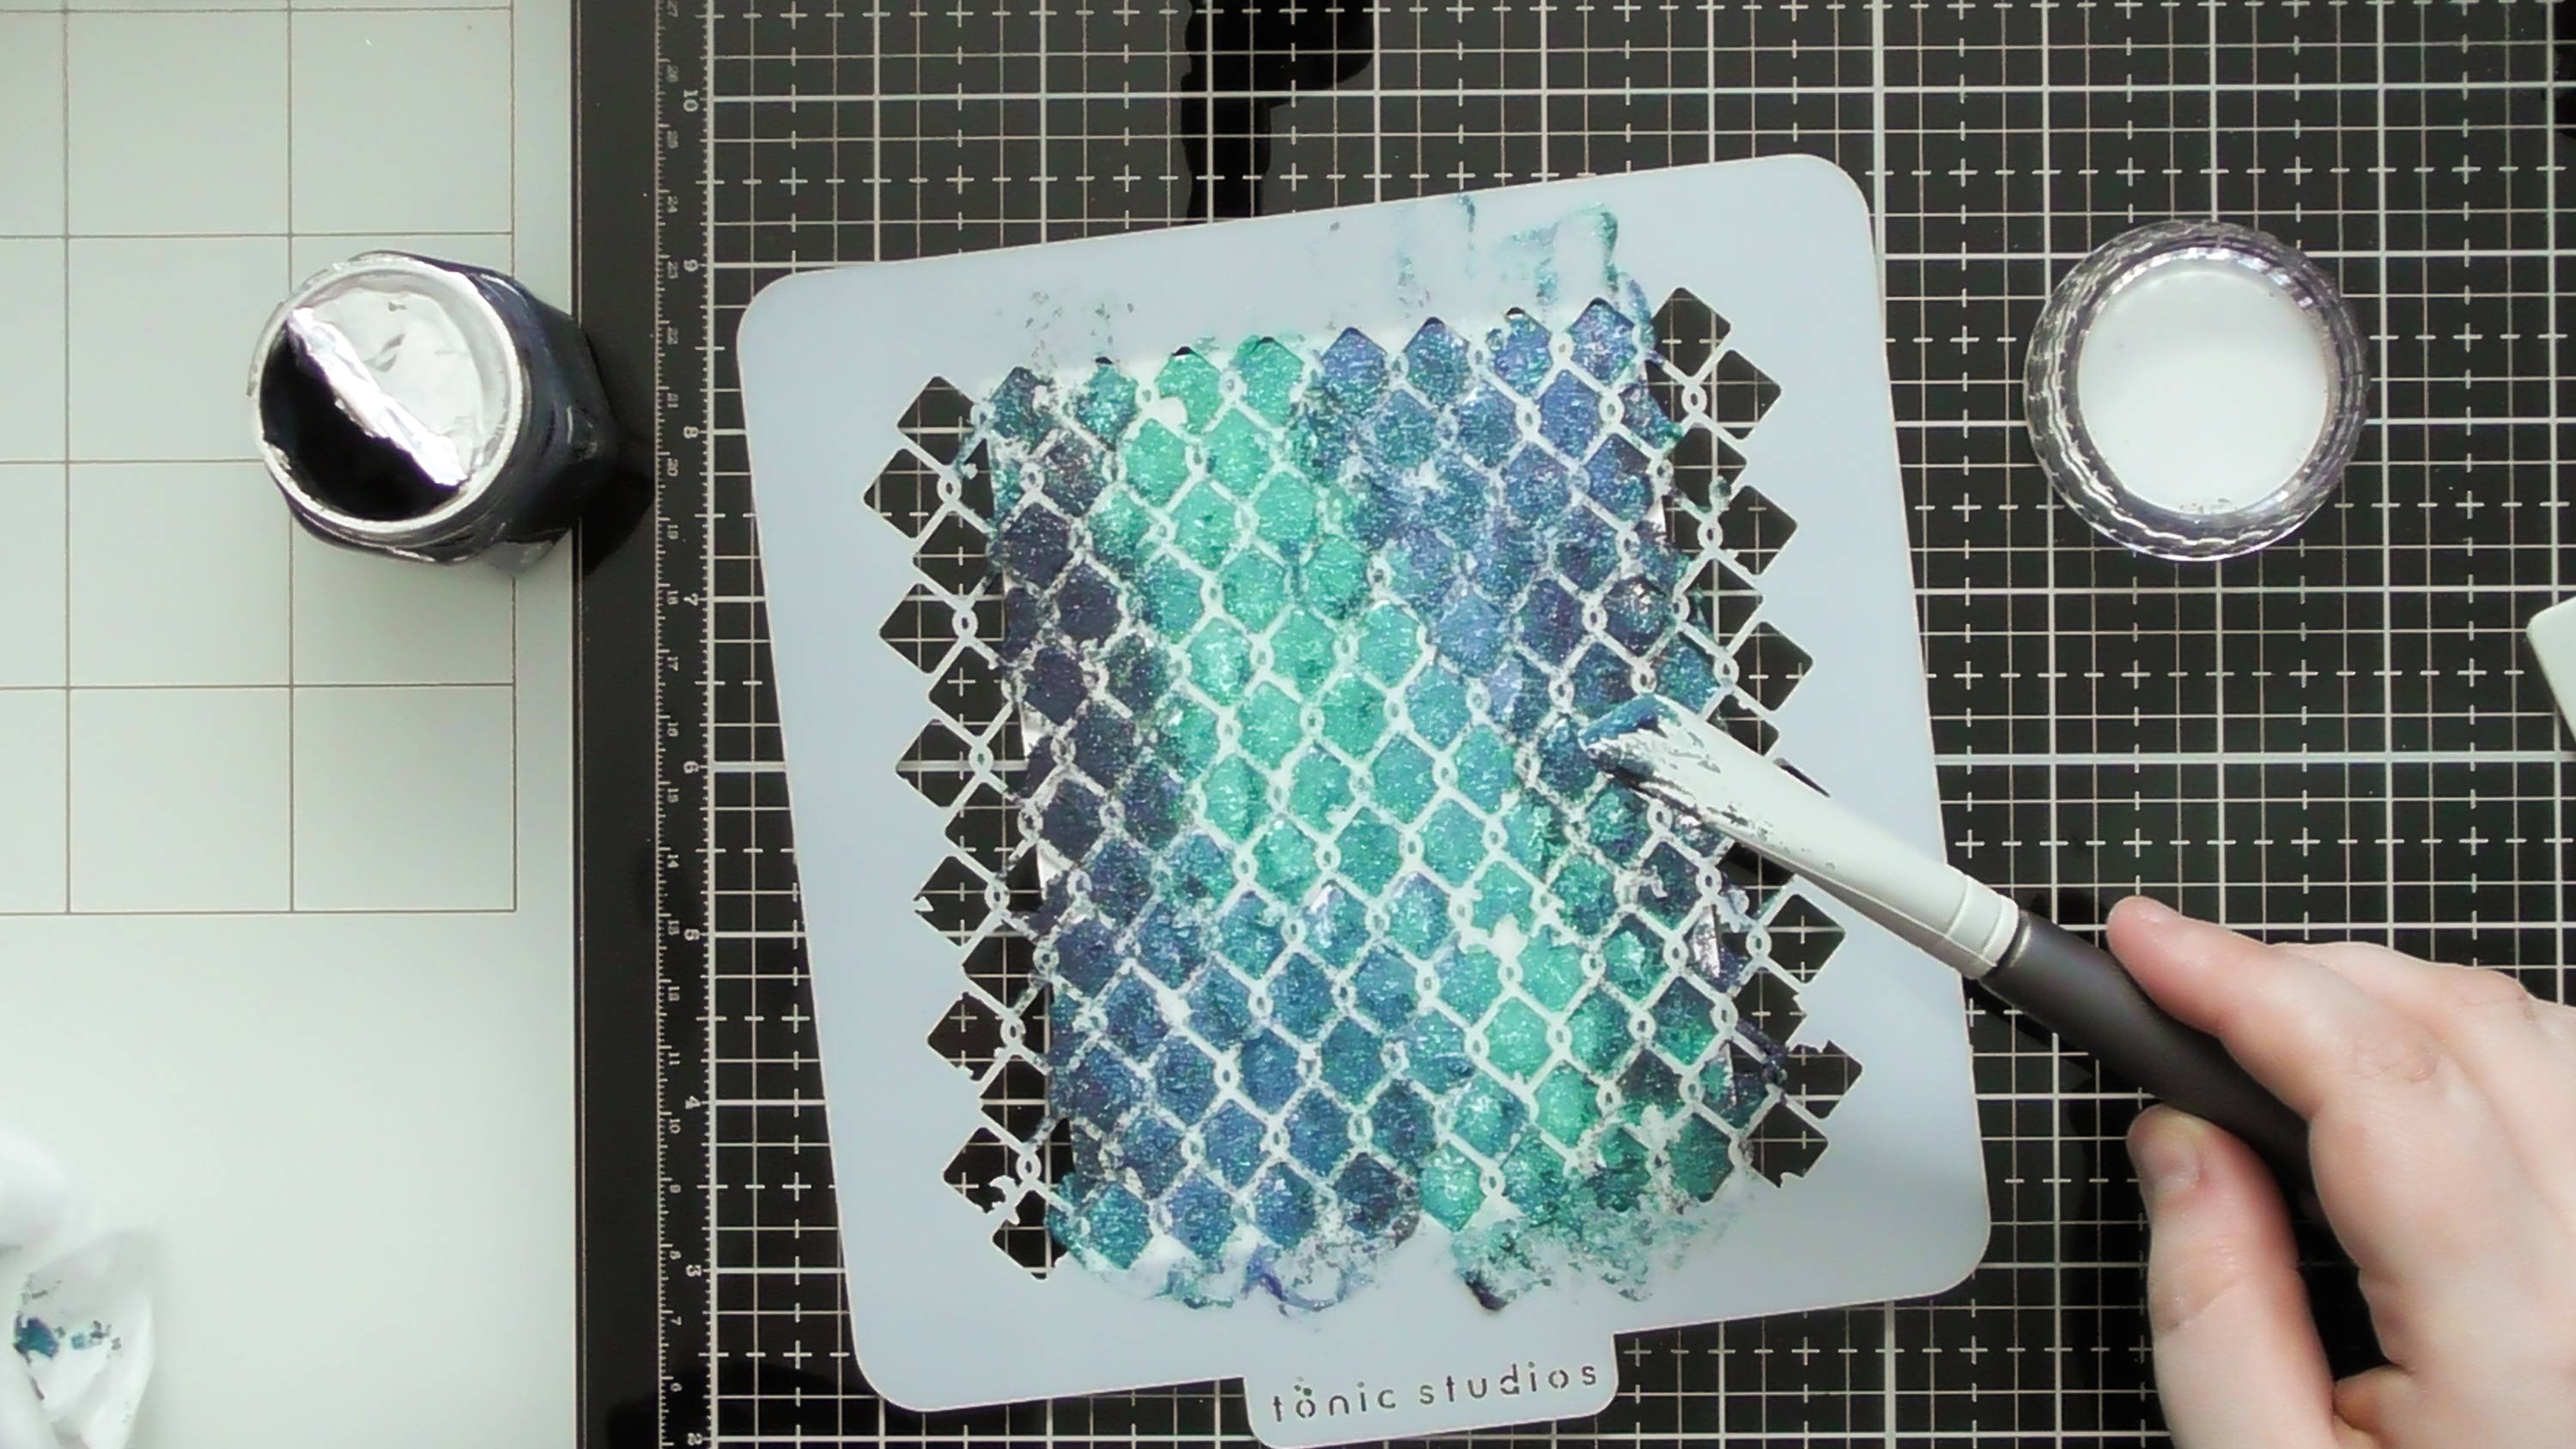
For an added touch, while everything is wet, sprinkle in some glitter and golden star confetti.
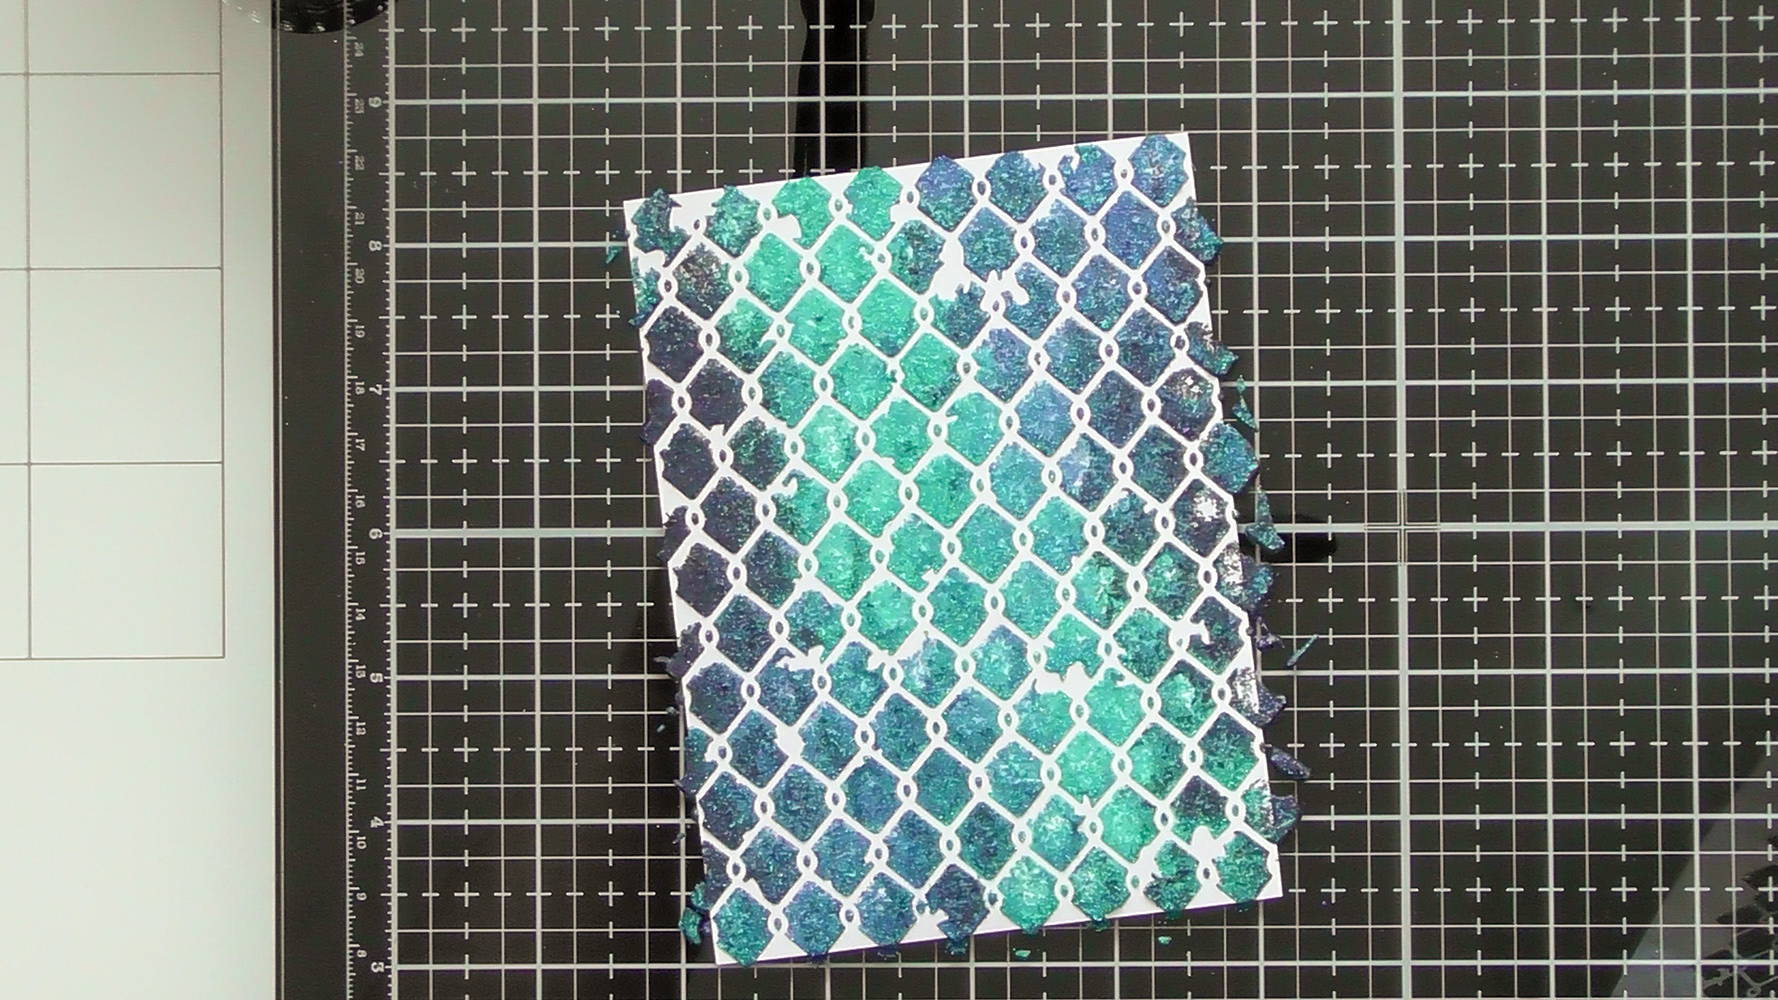
Step 5

Once dry, brush off the excess using the nuvo surface sweep, and you’ll be left with a gorgeous crackle and sparkle background like this.
Step 6

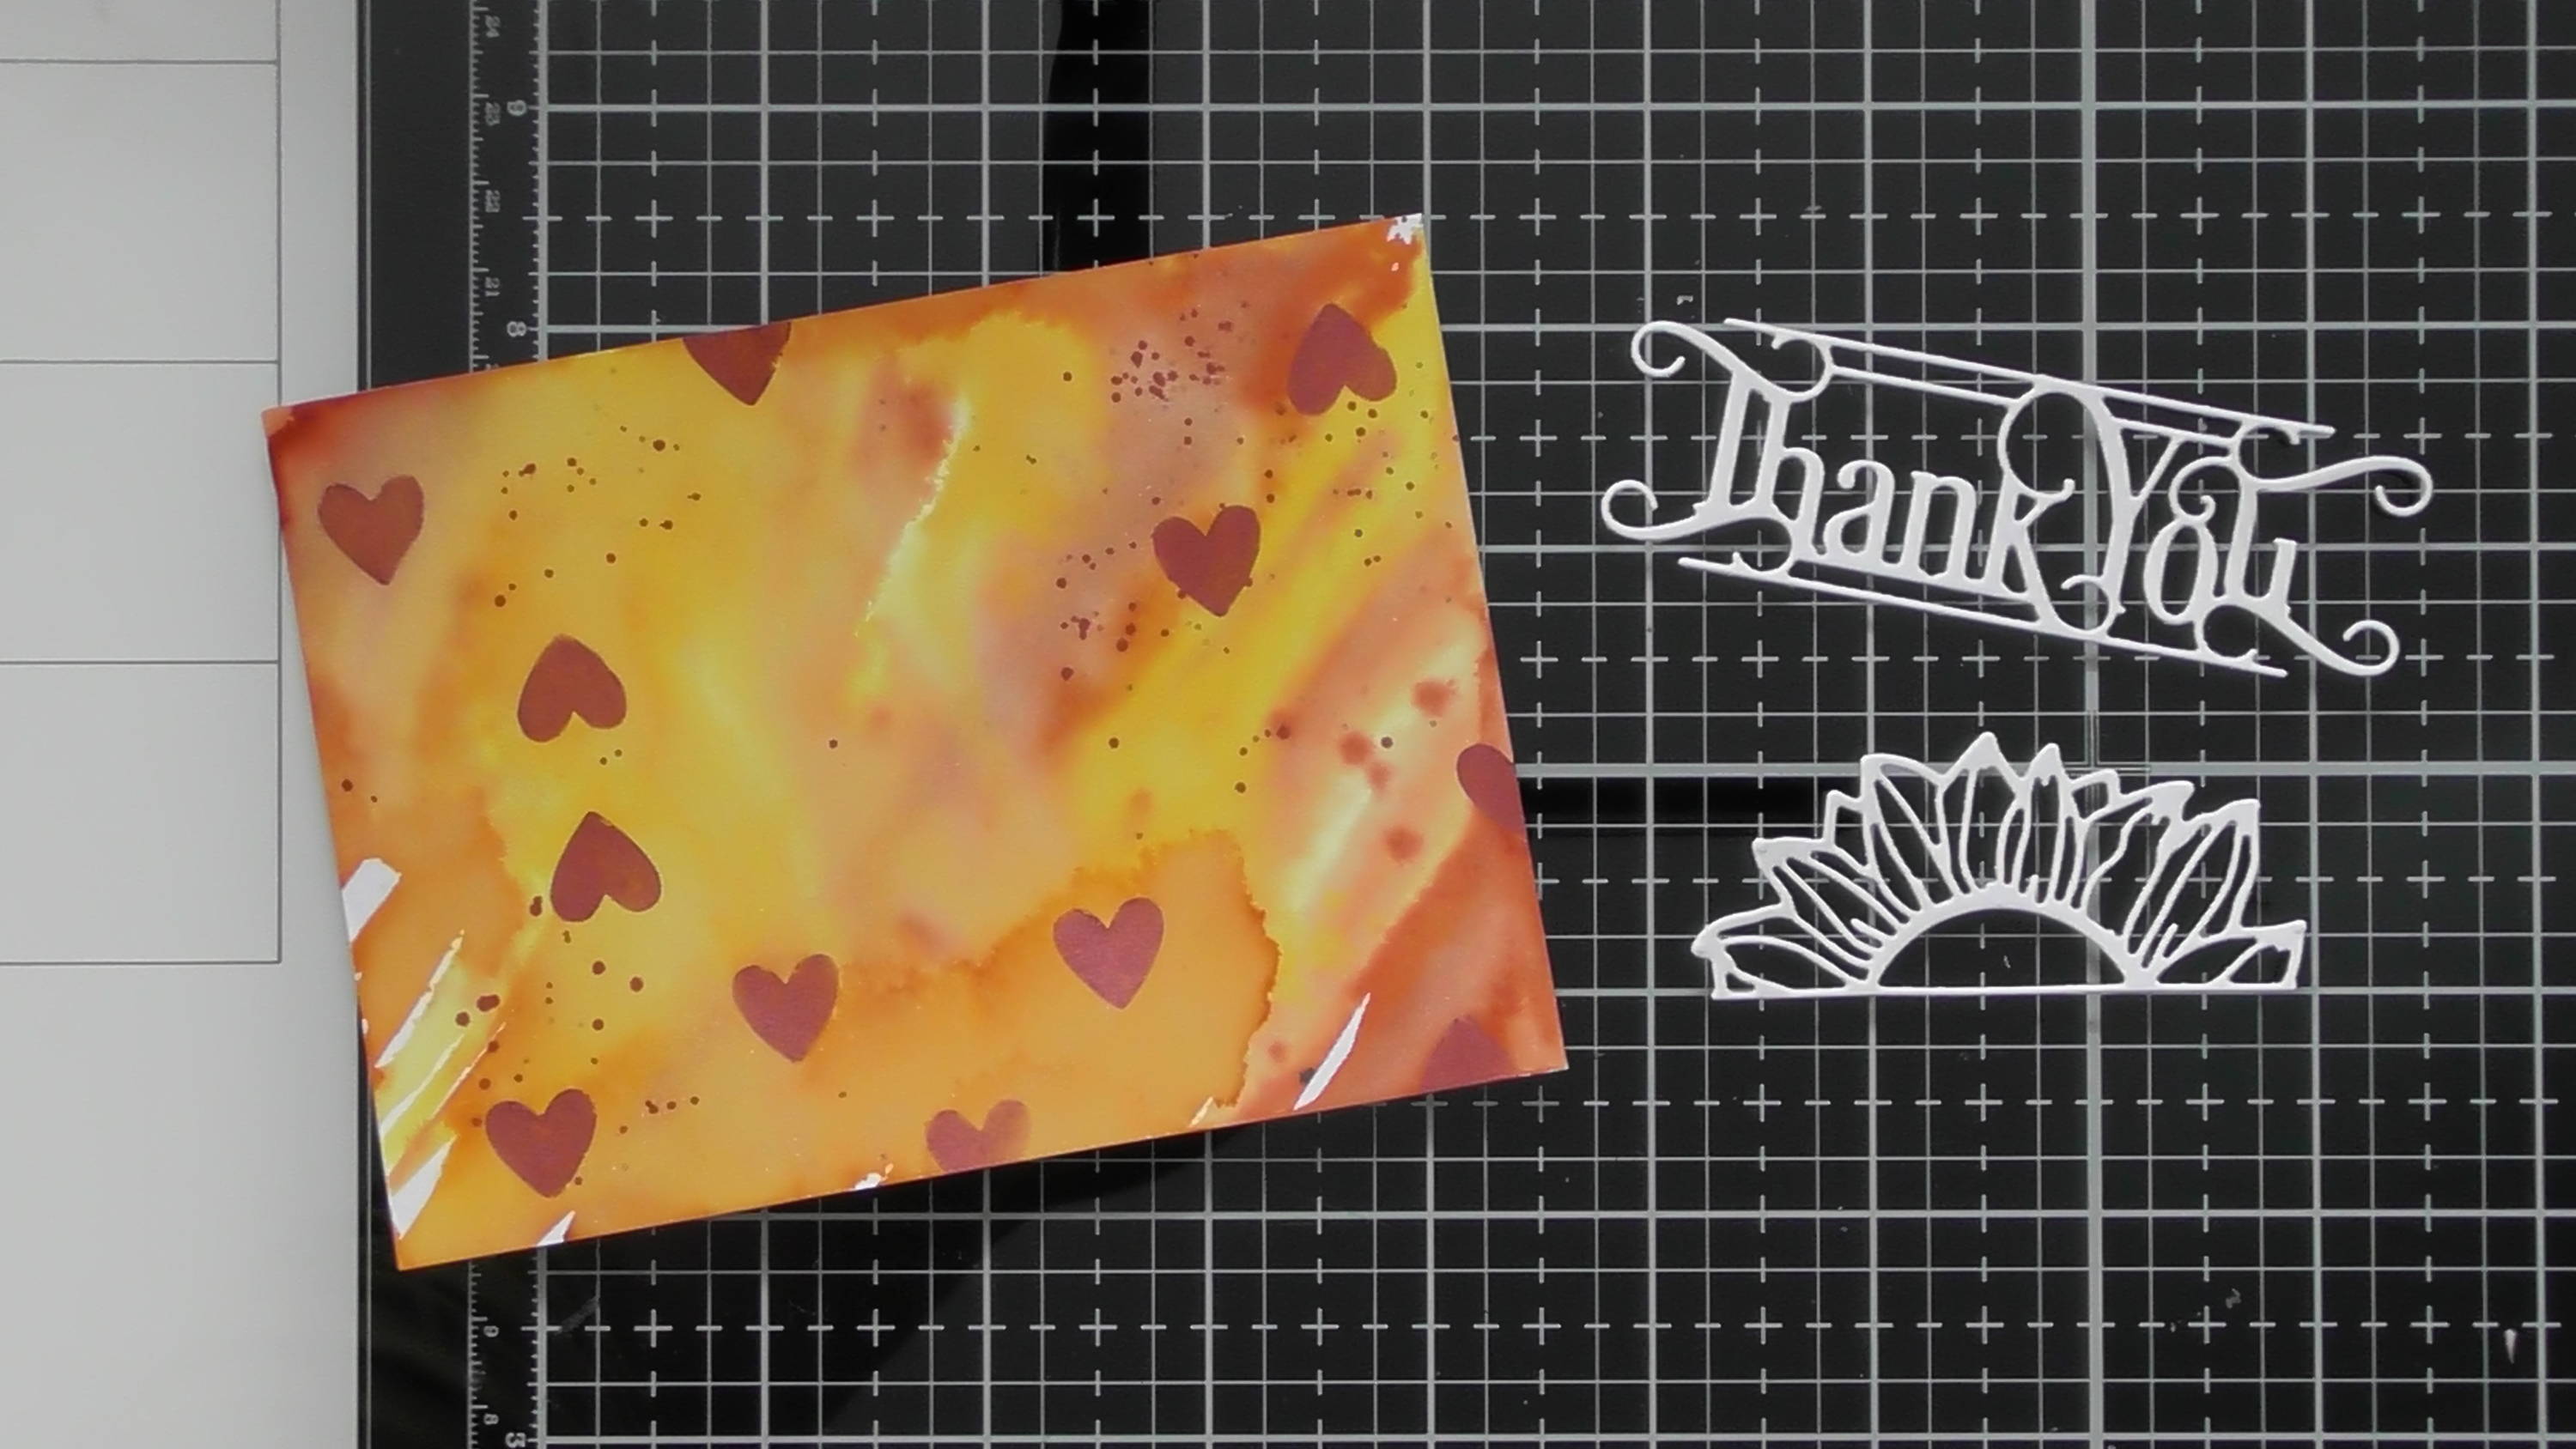
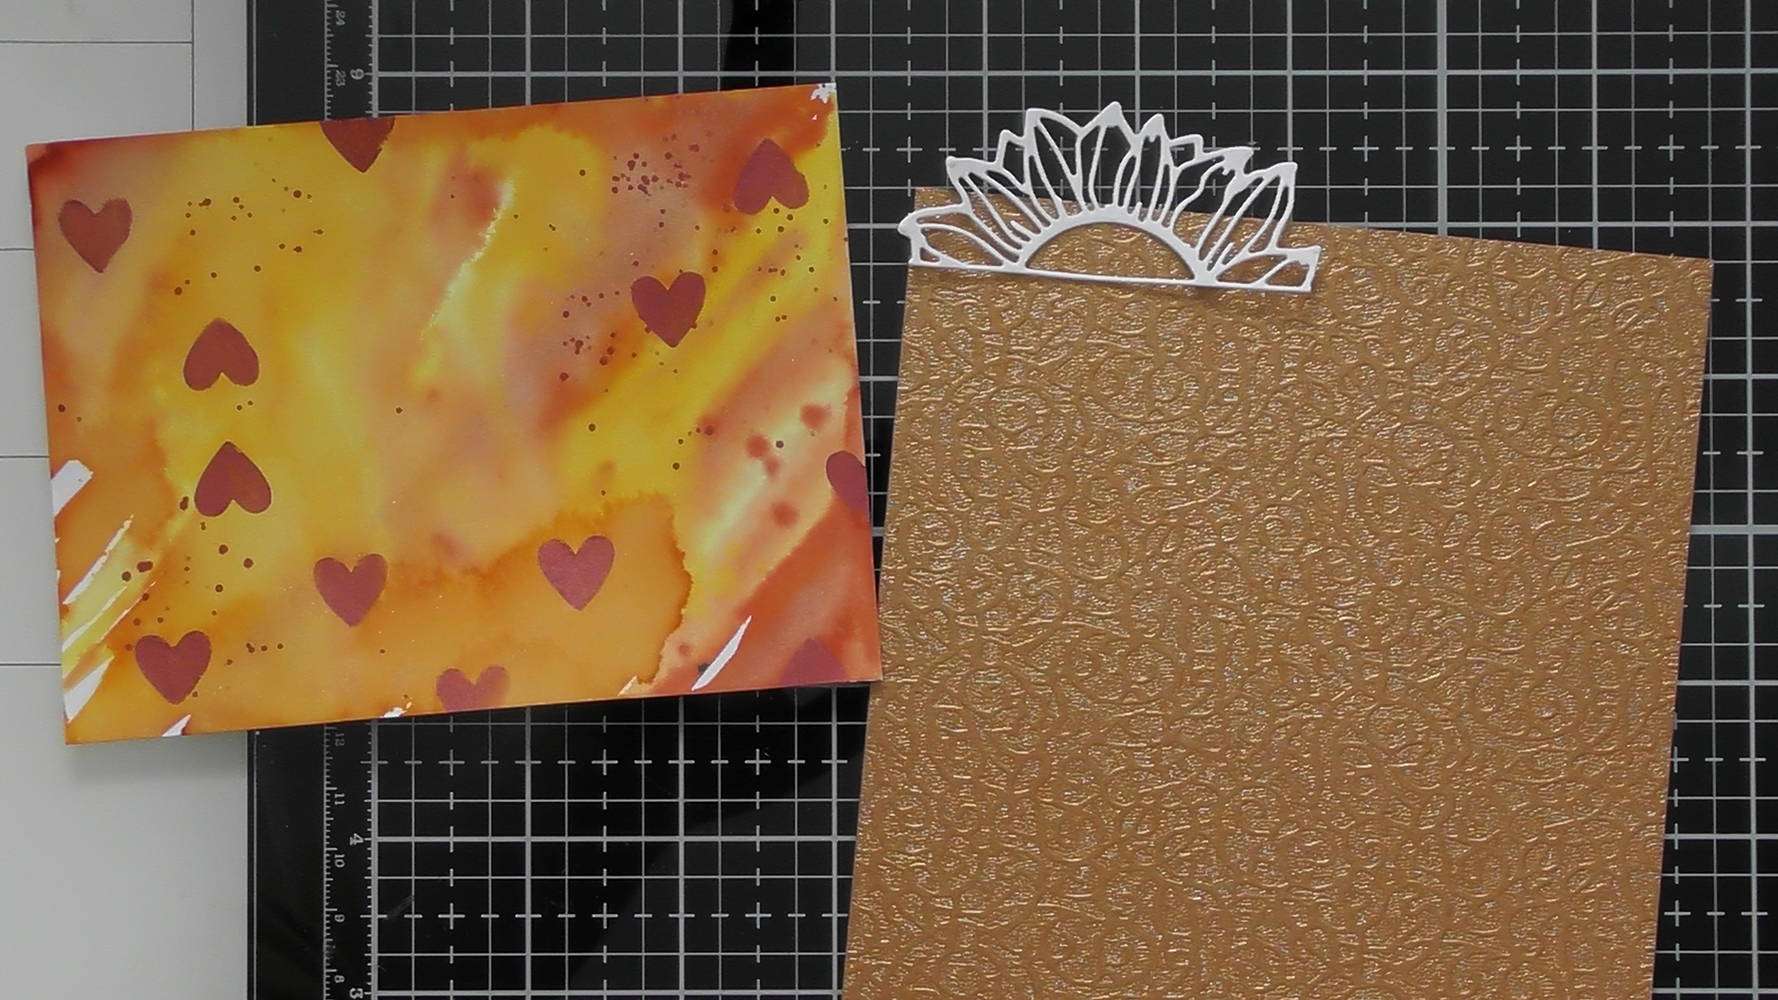
Trim your background down to 10 x 13 cm
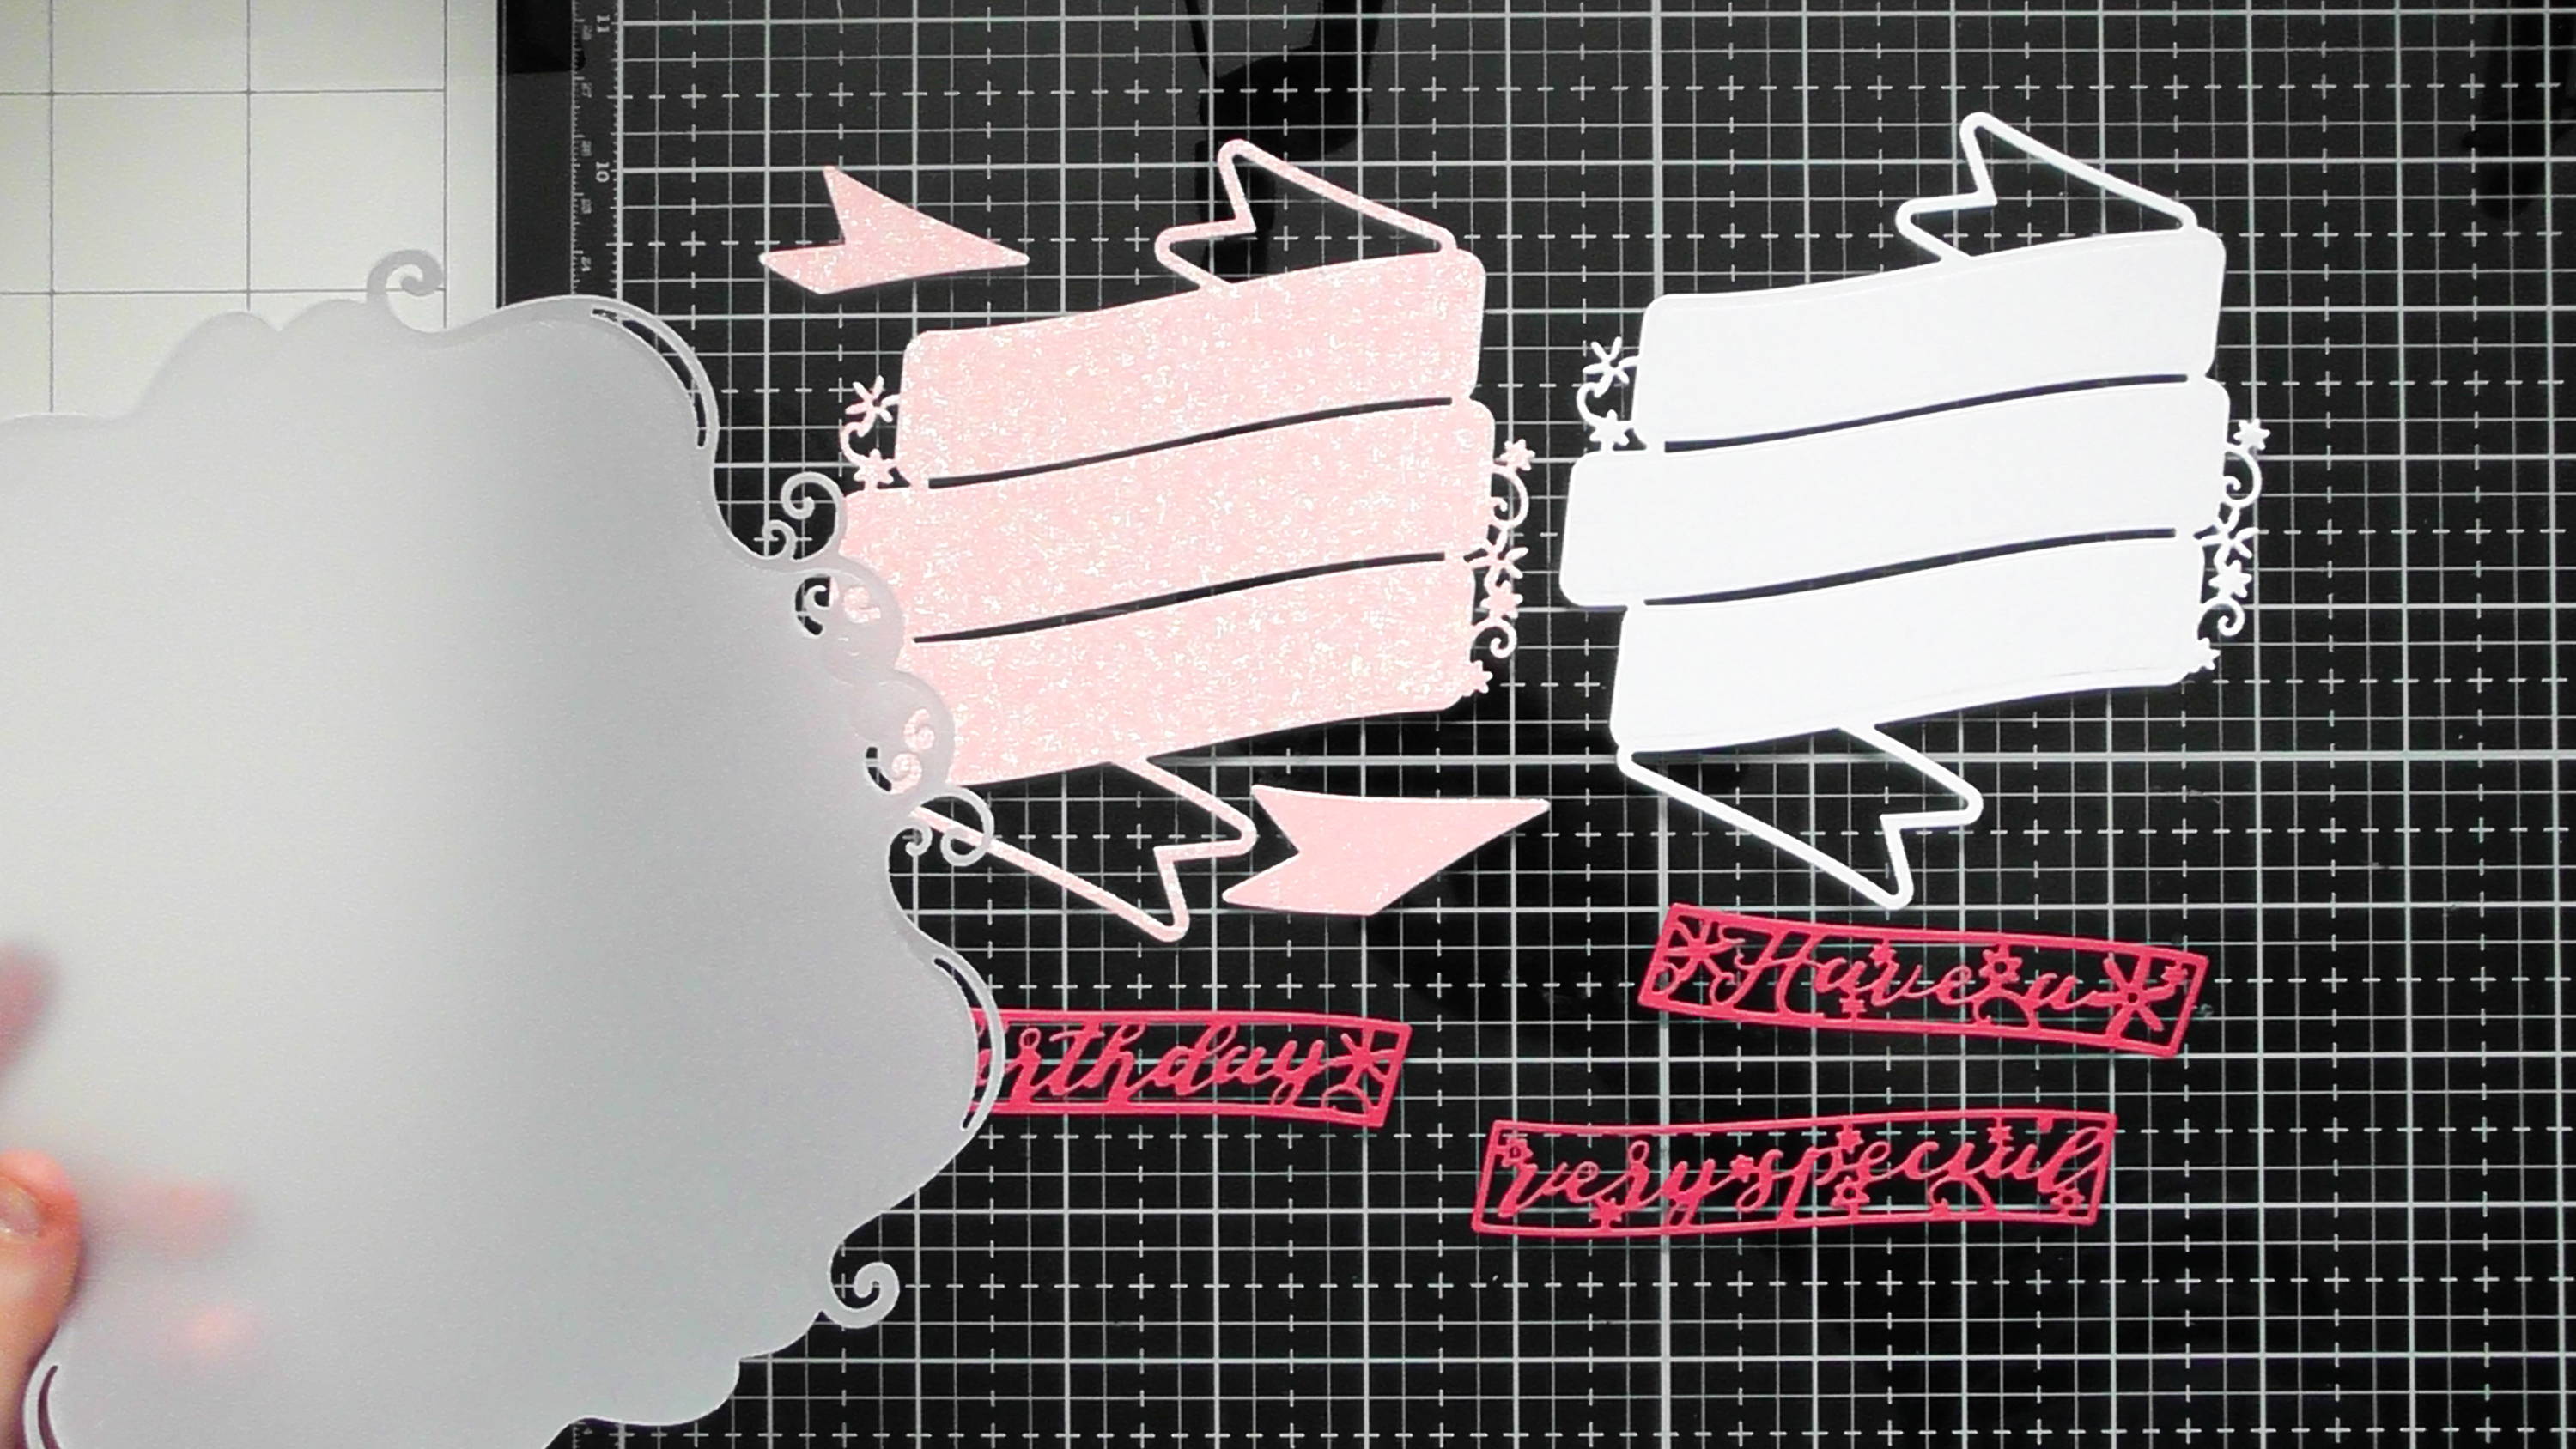
Step 7

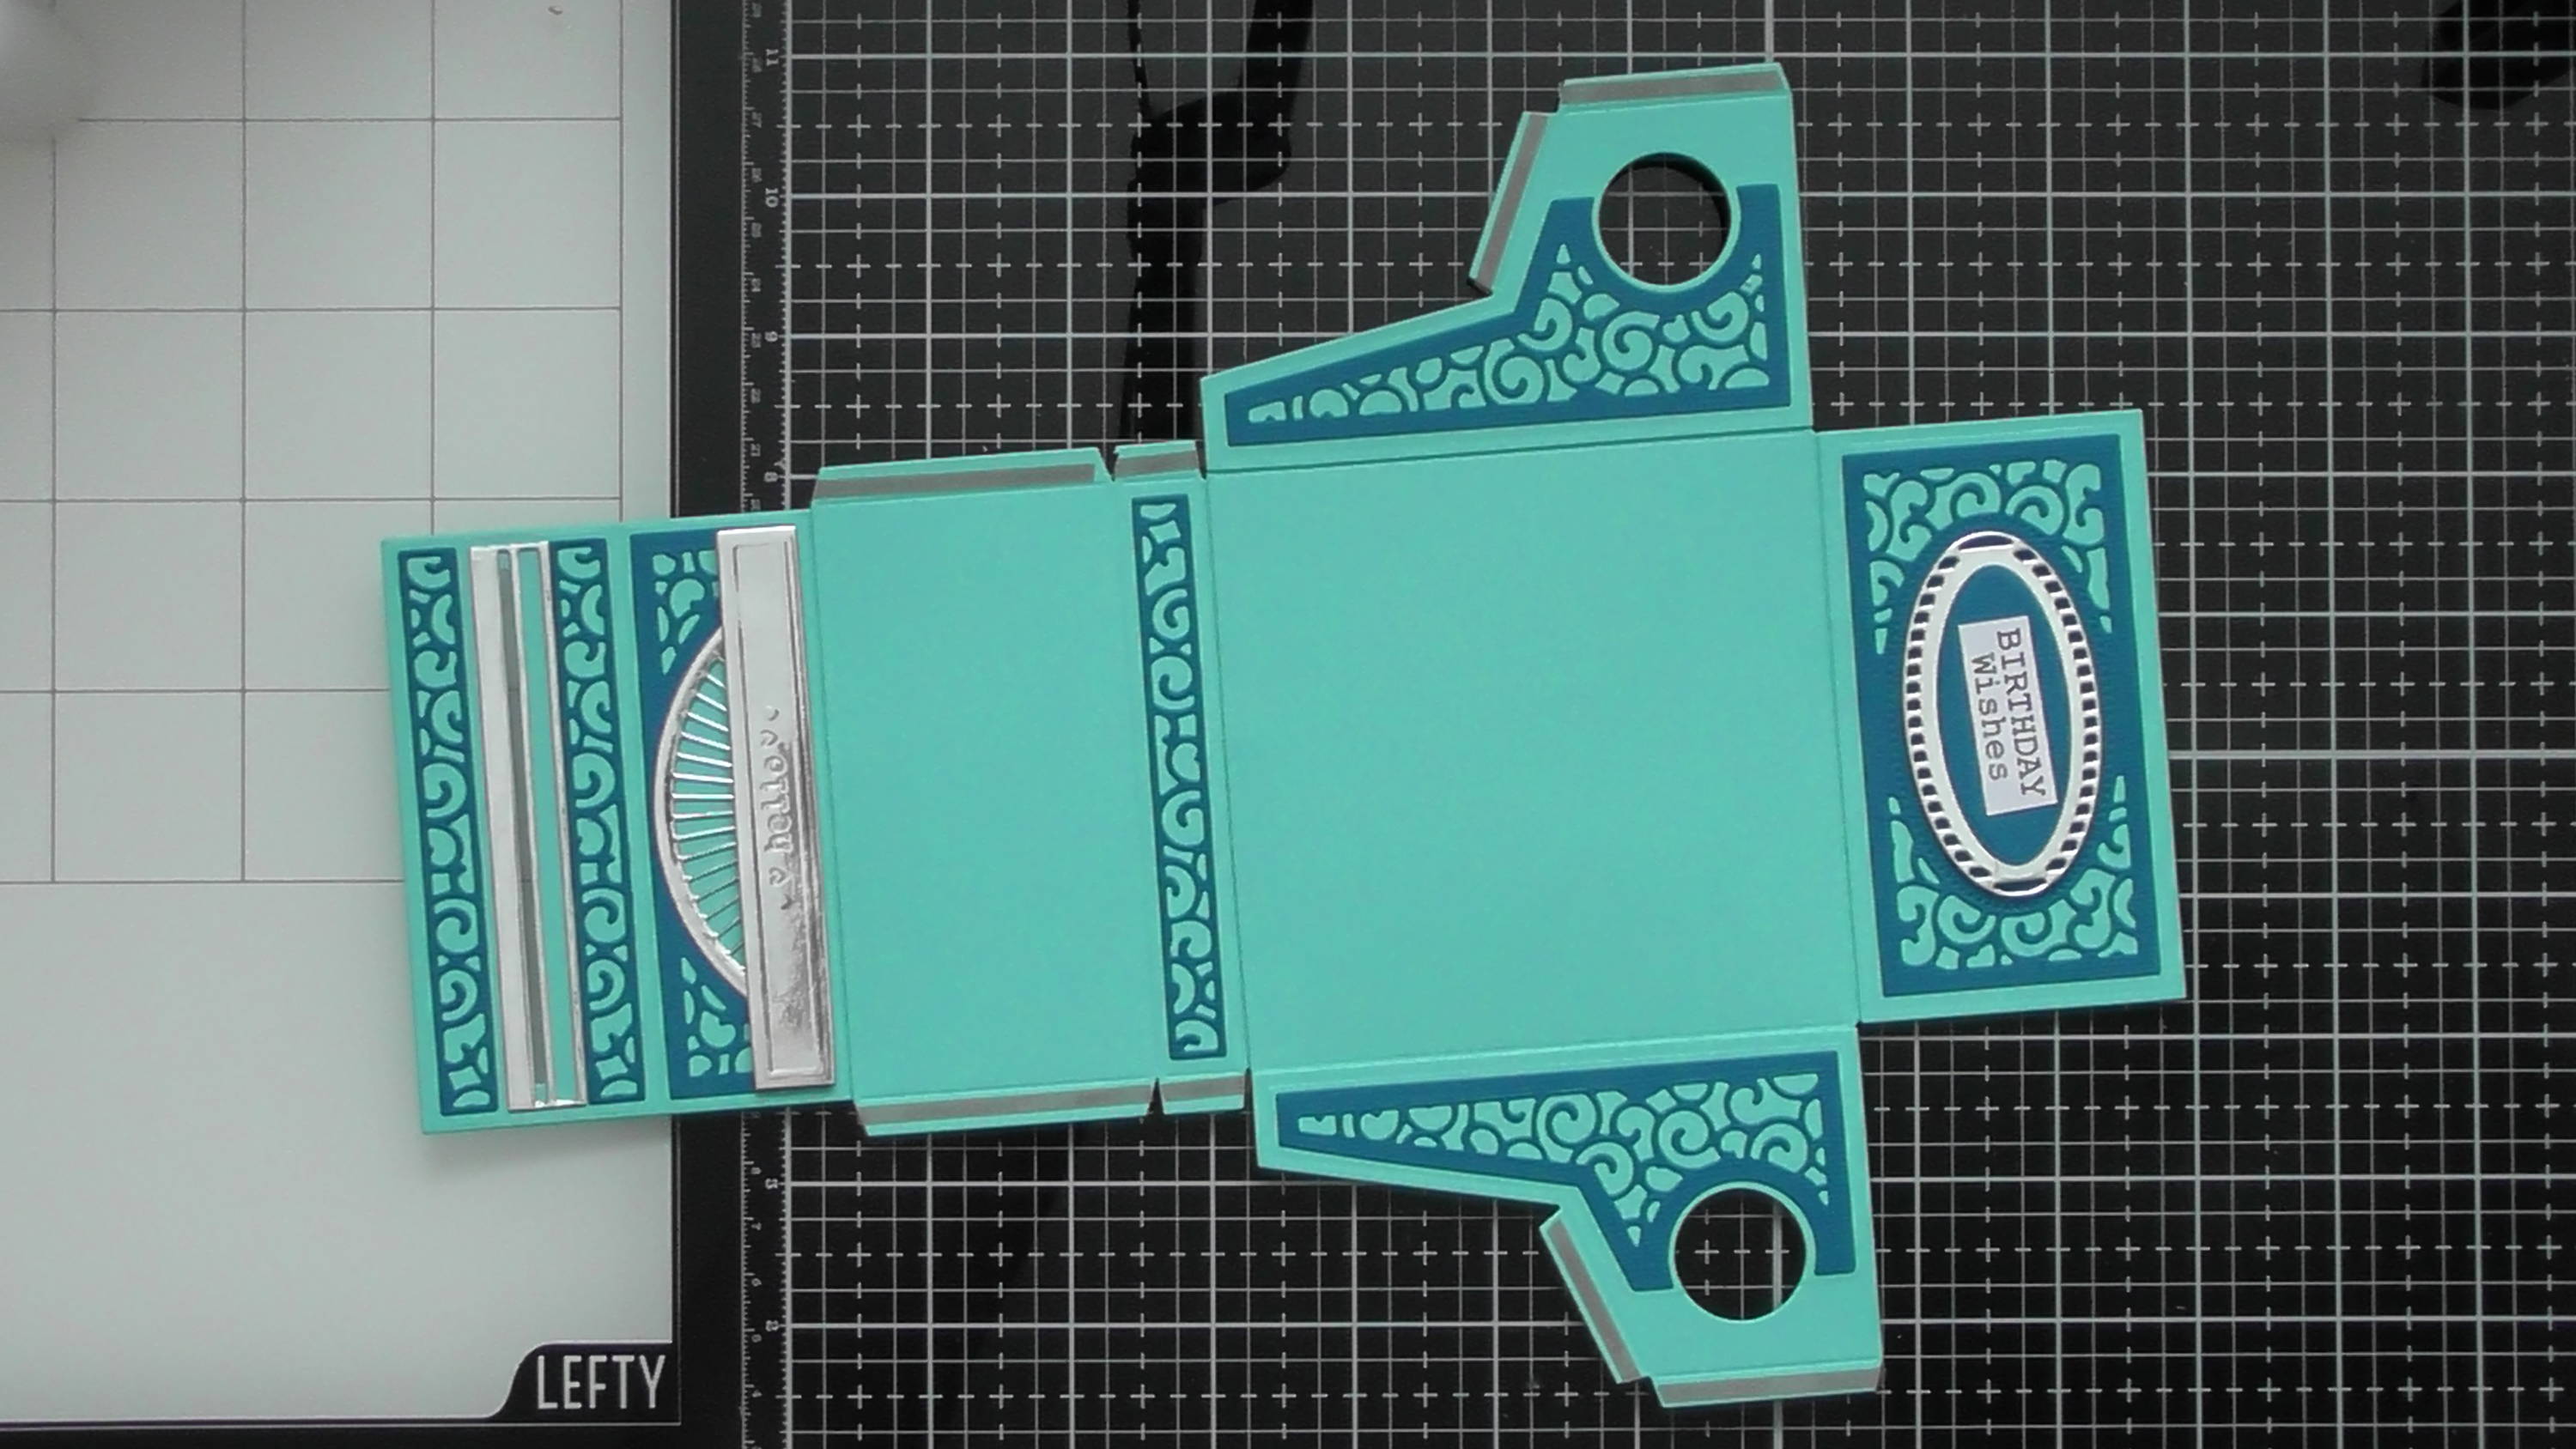
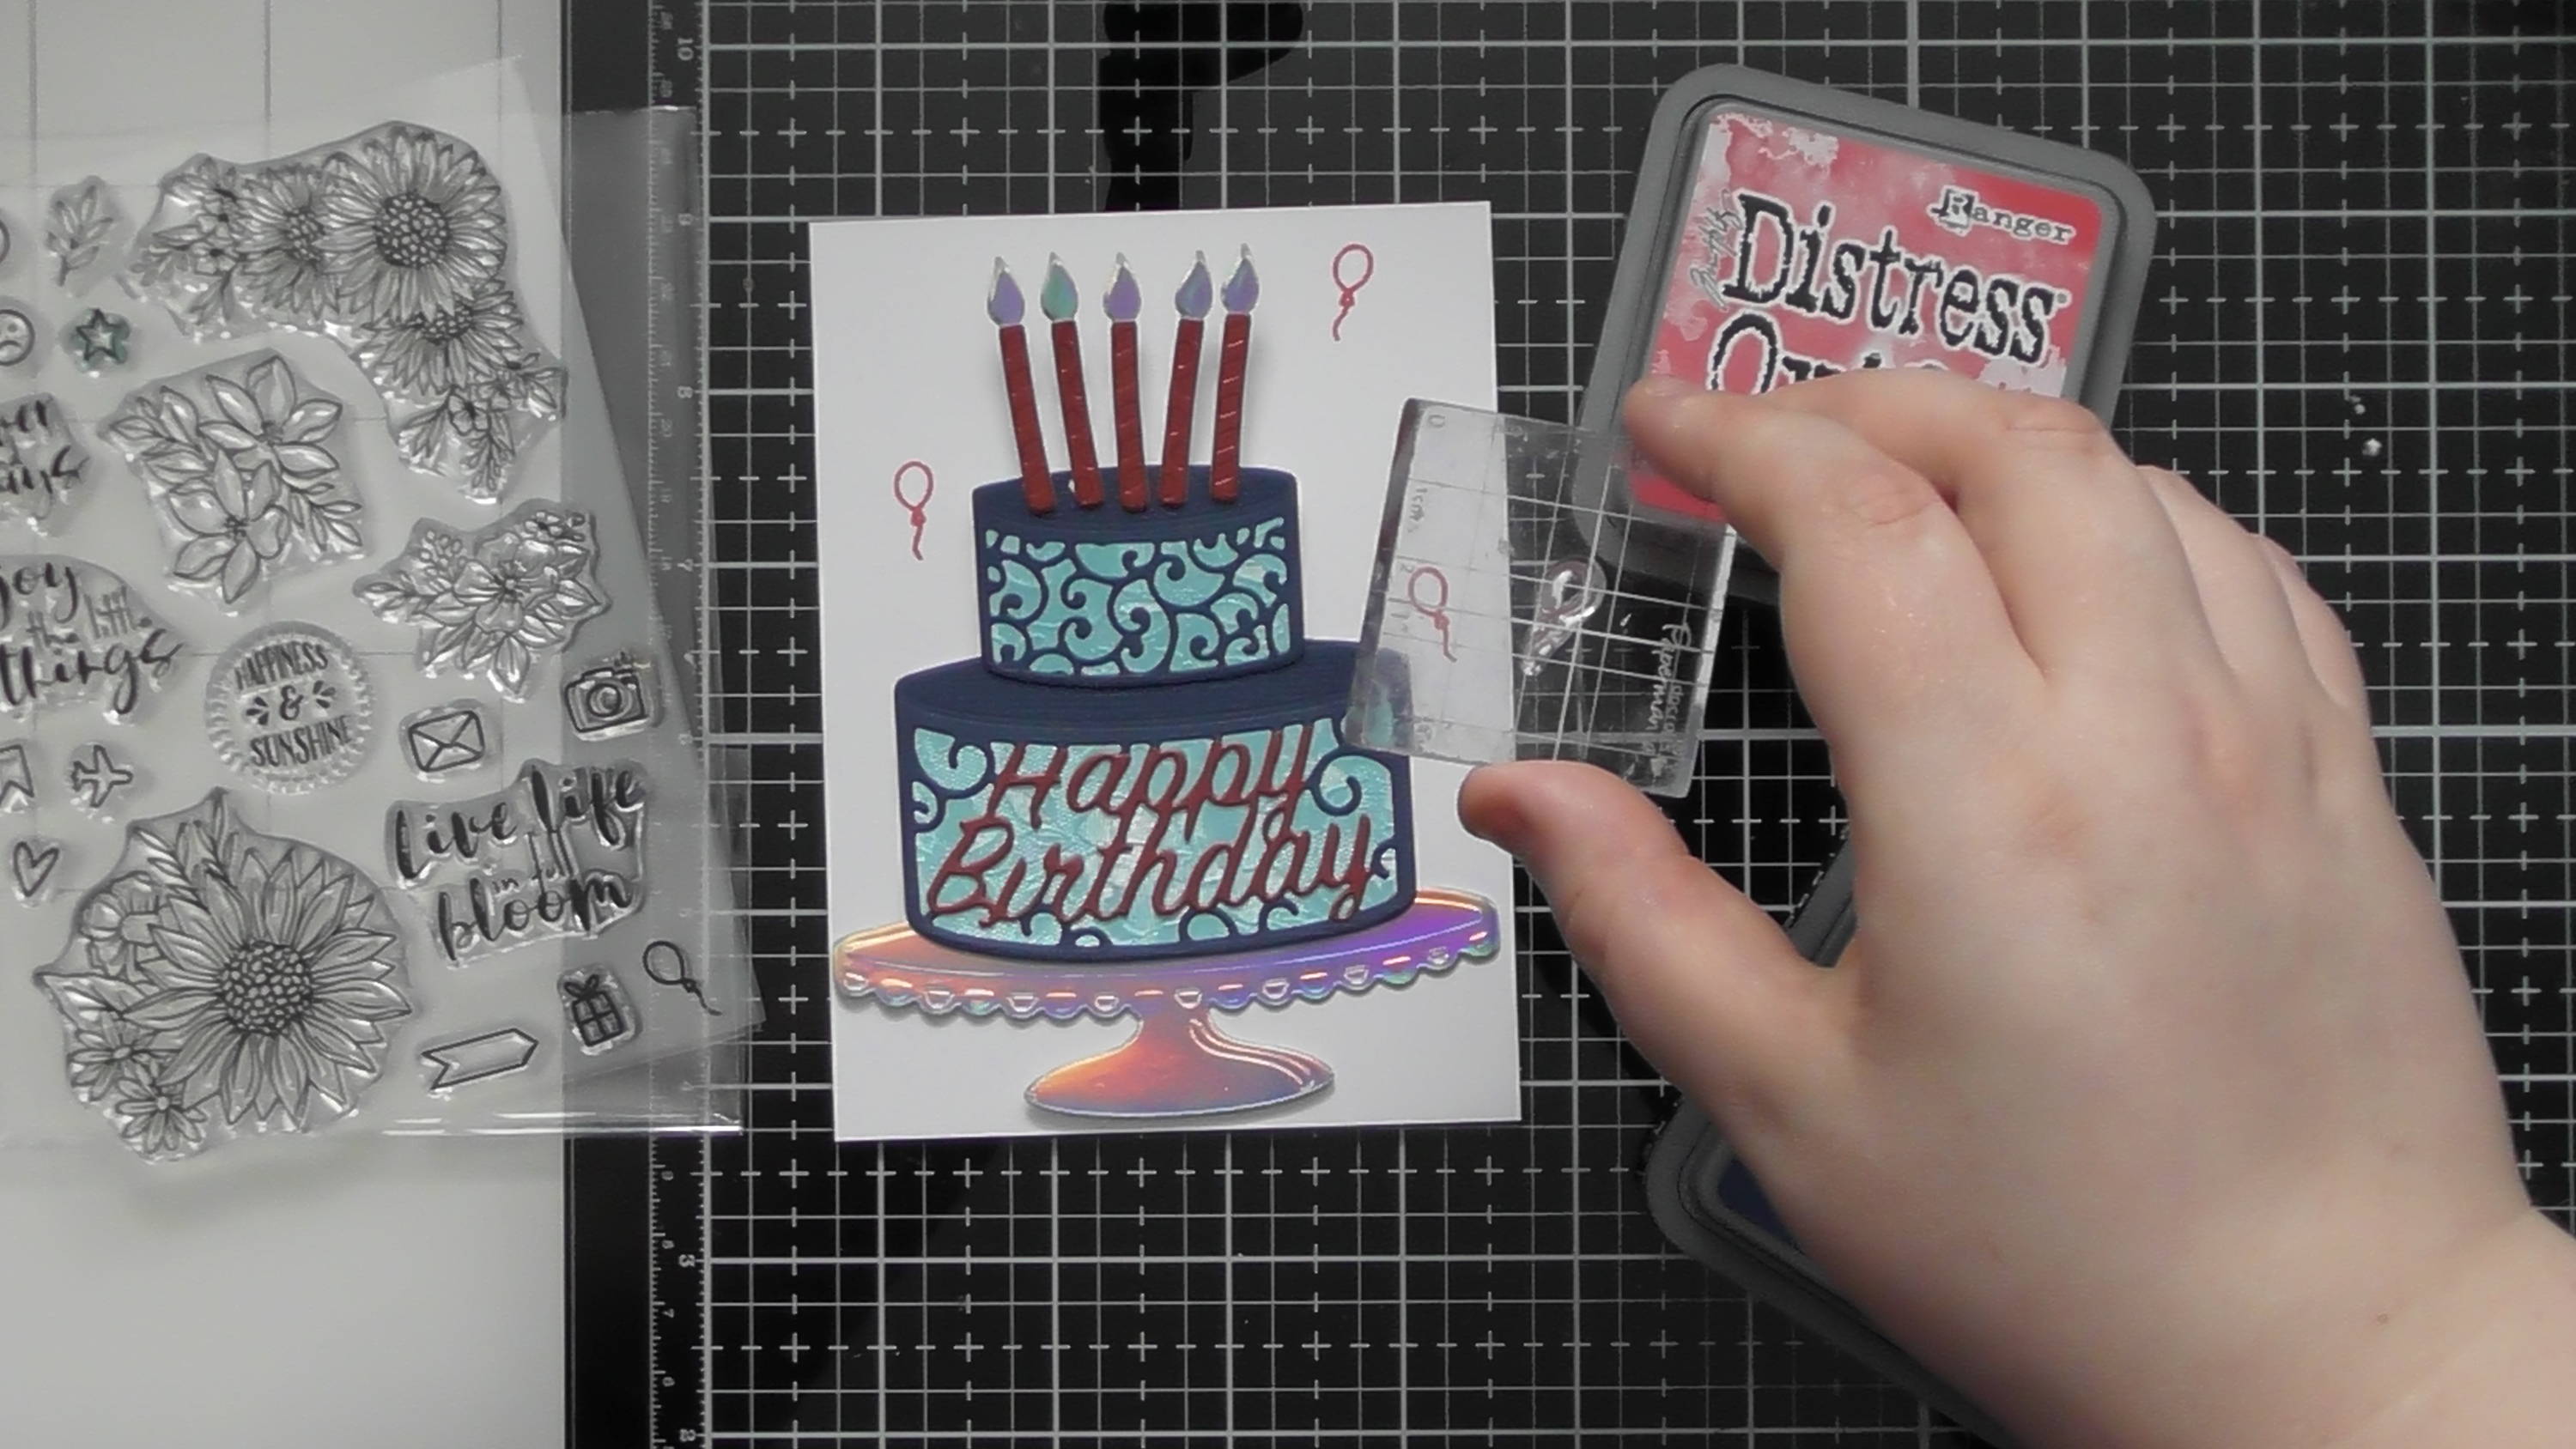
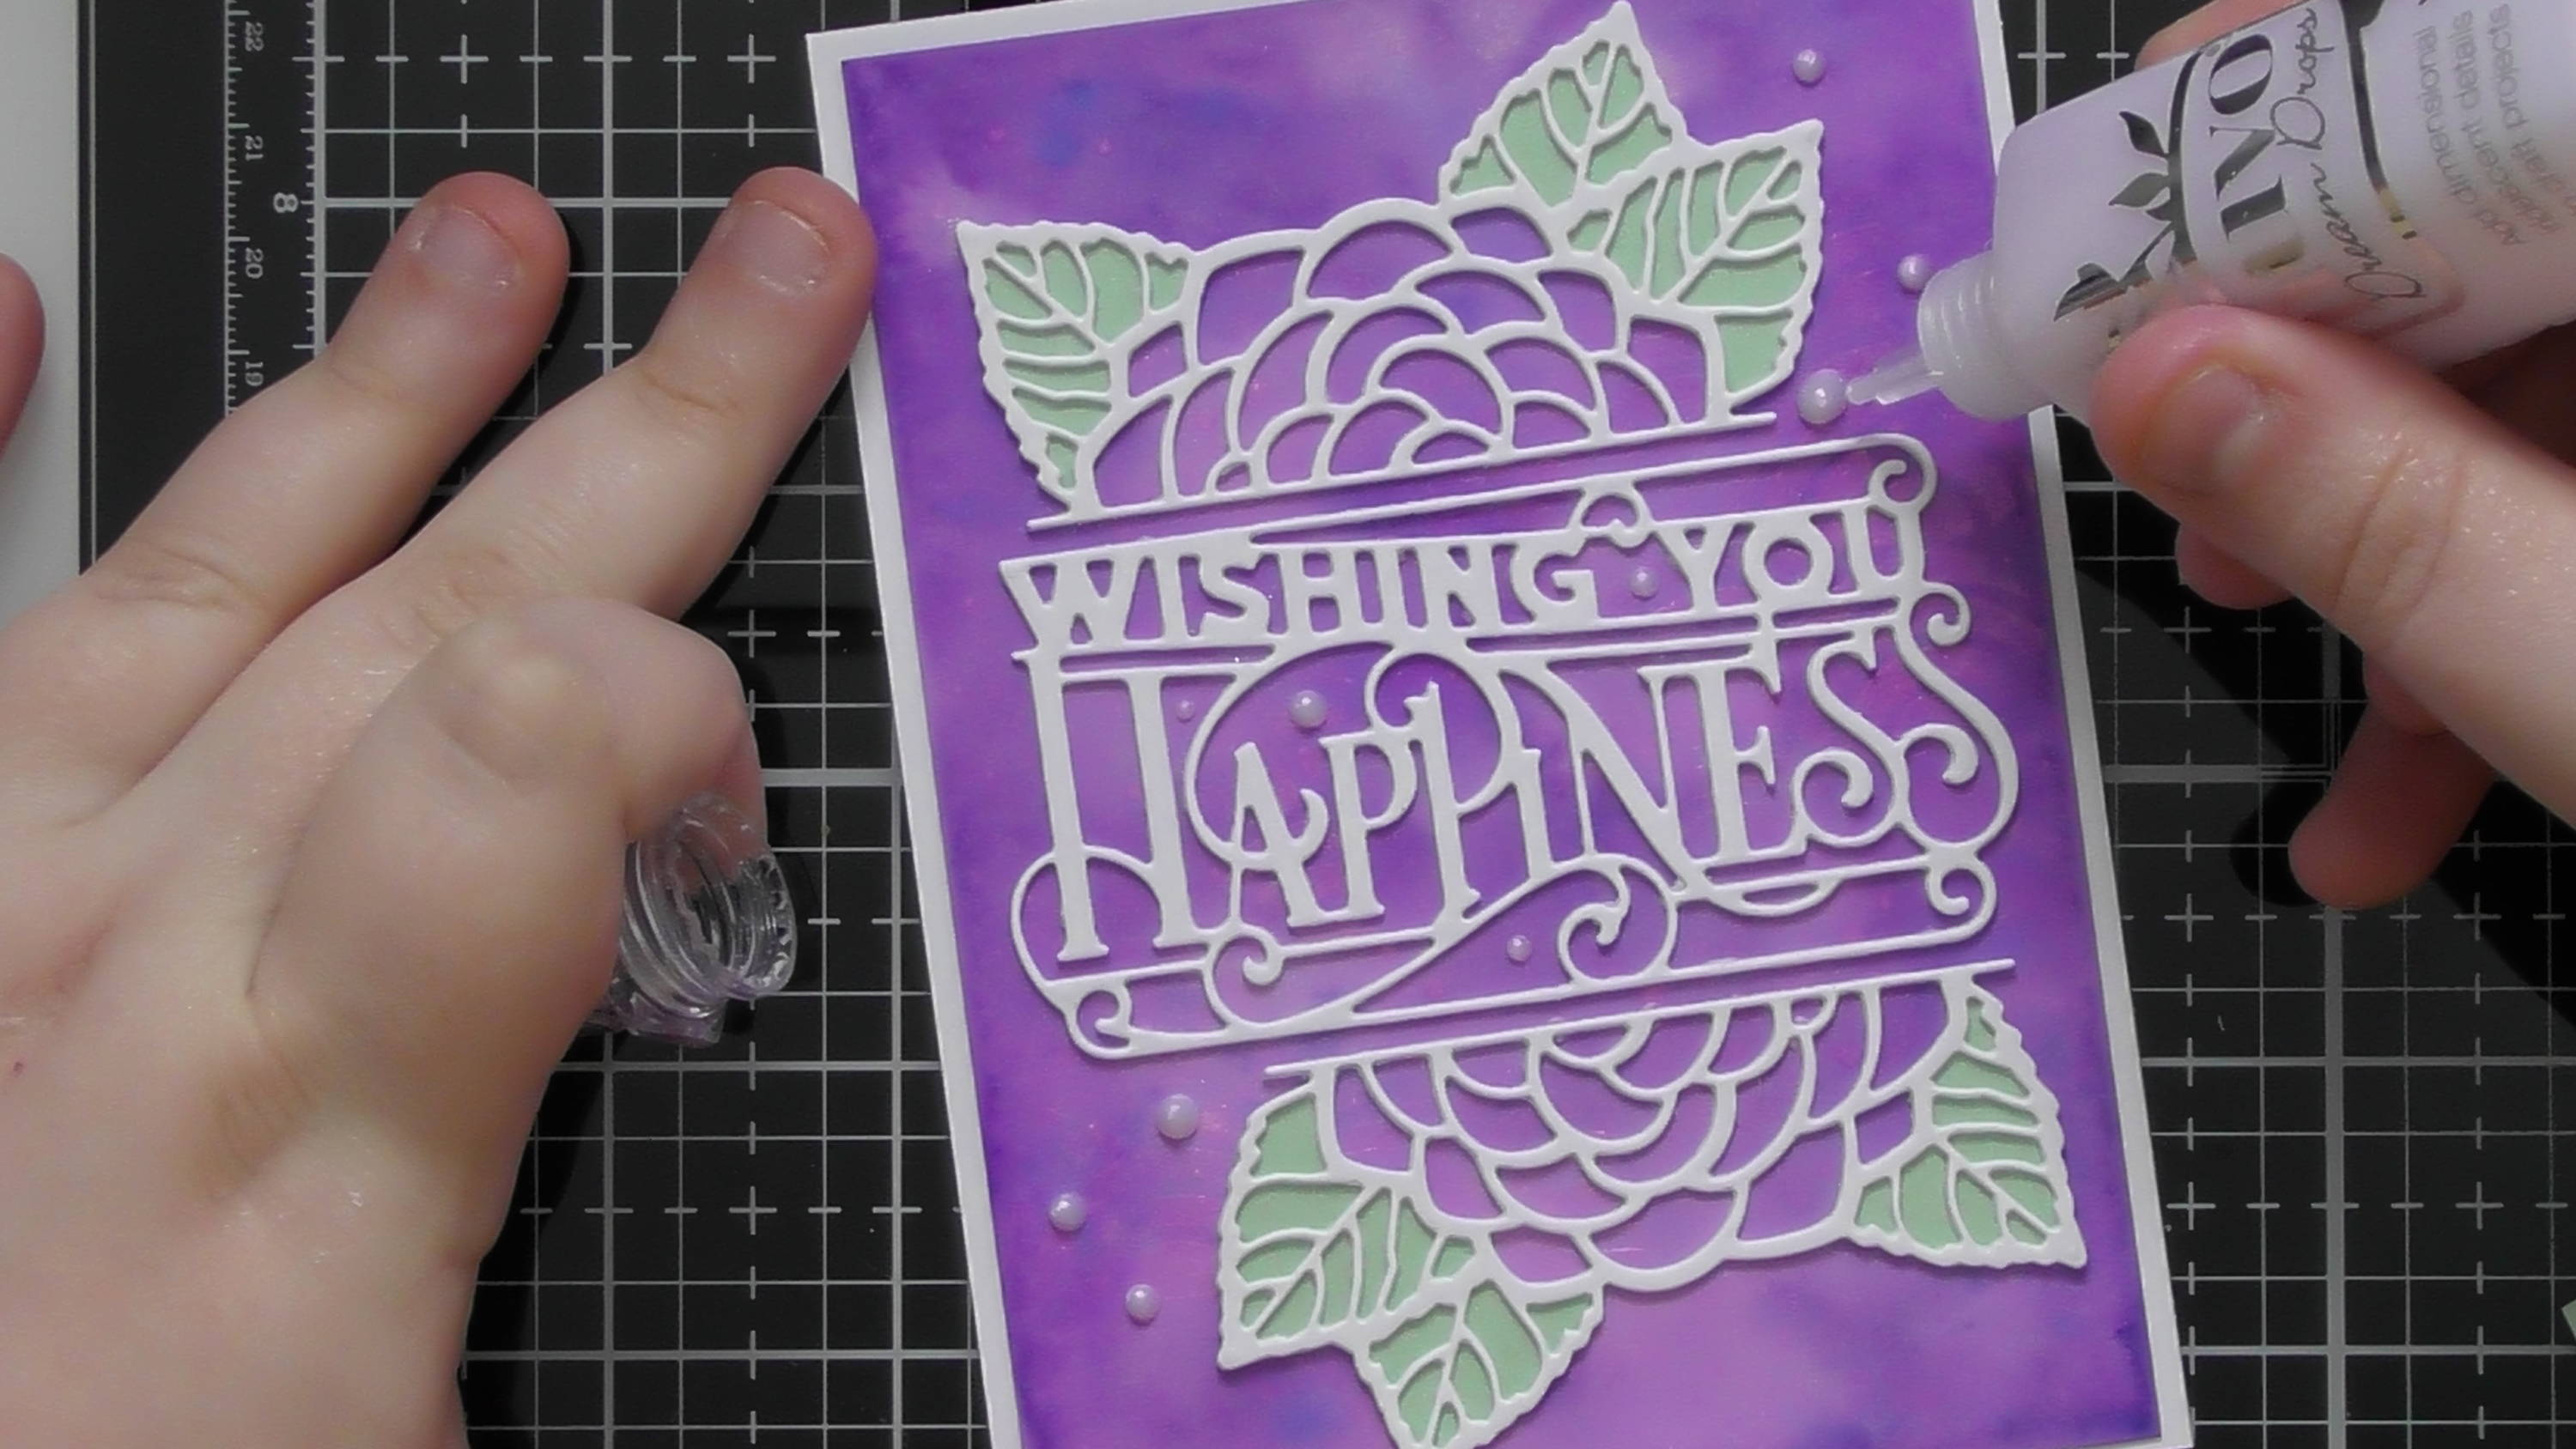
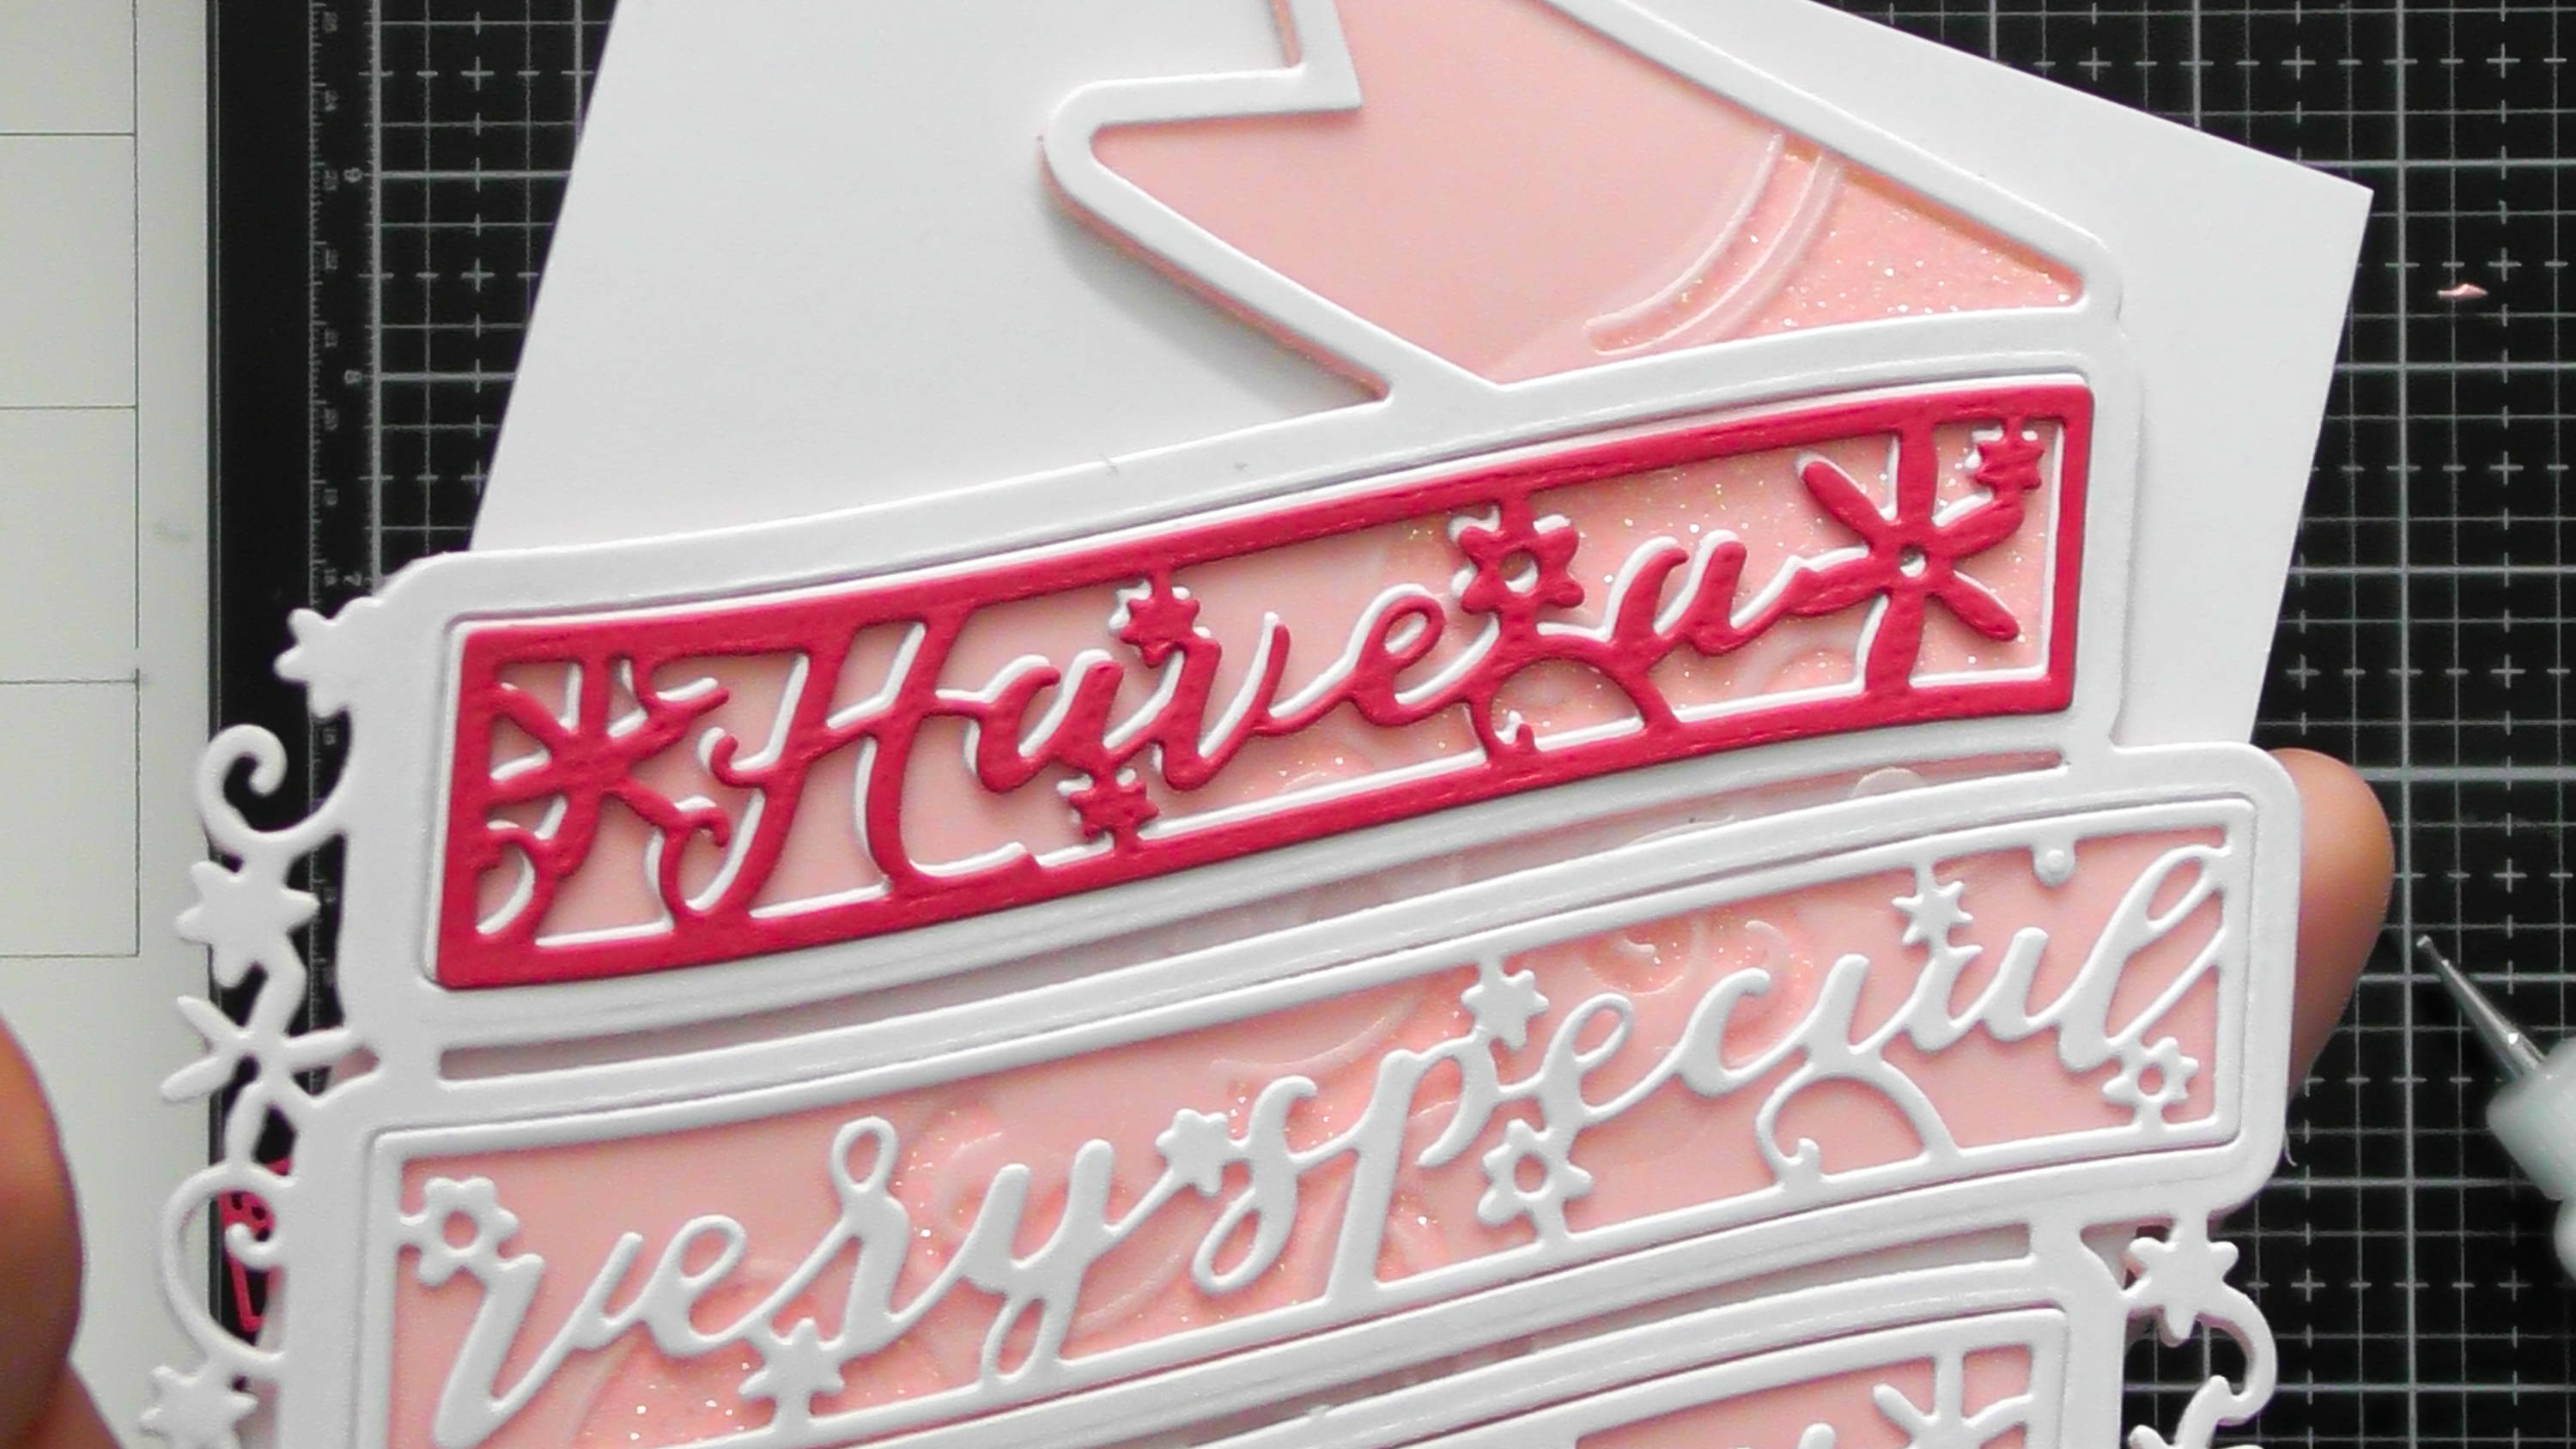
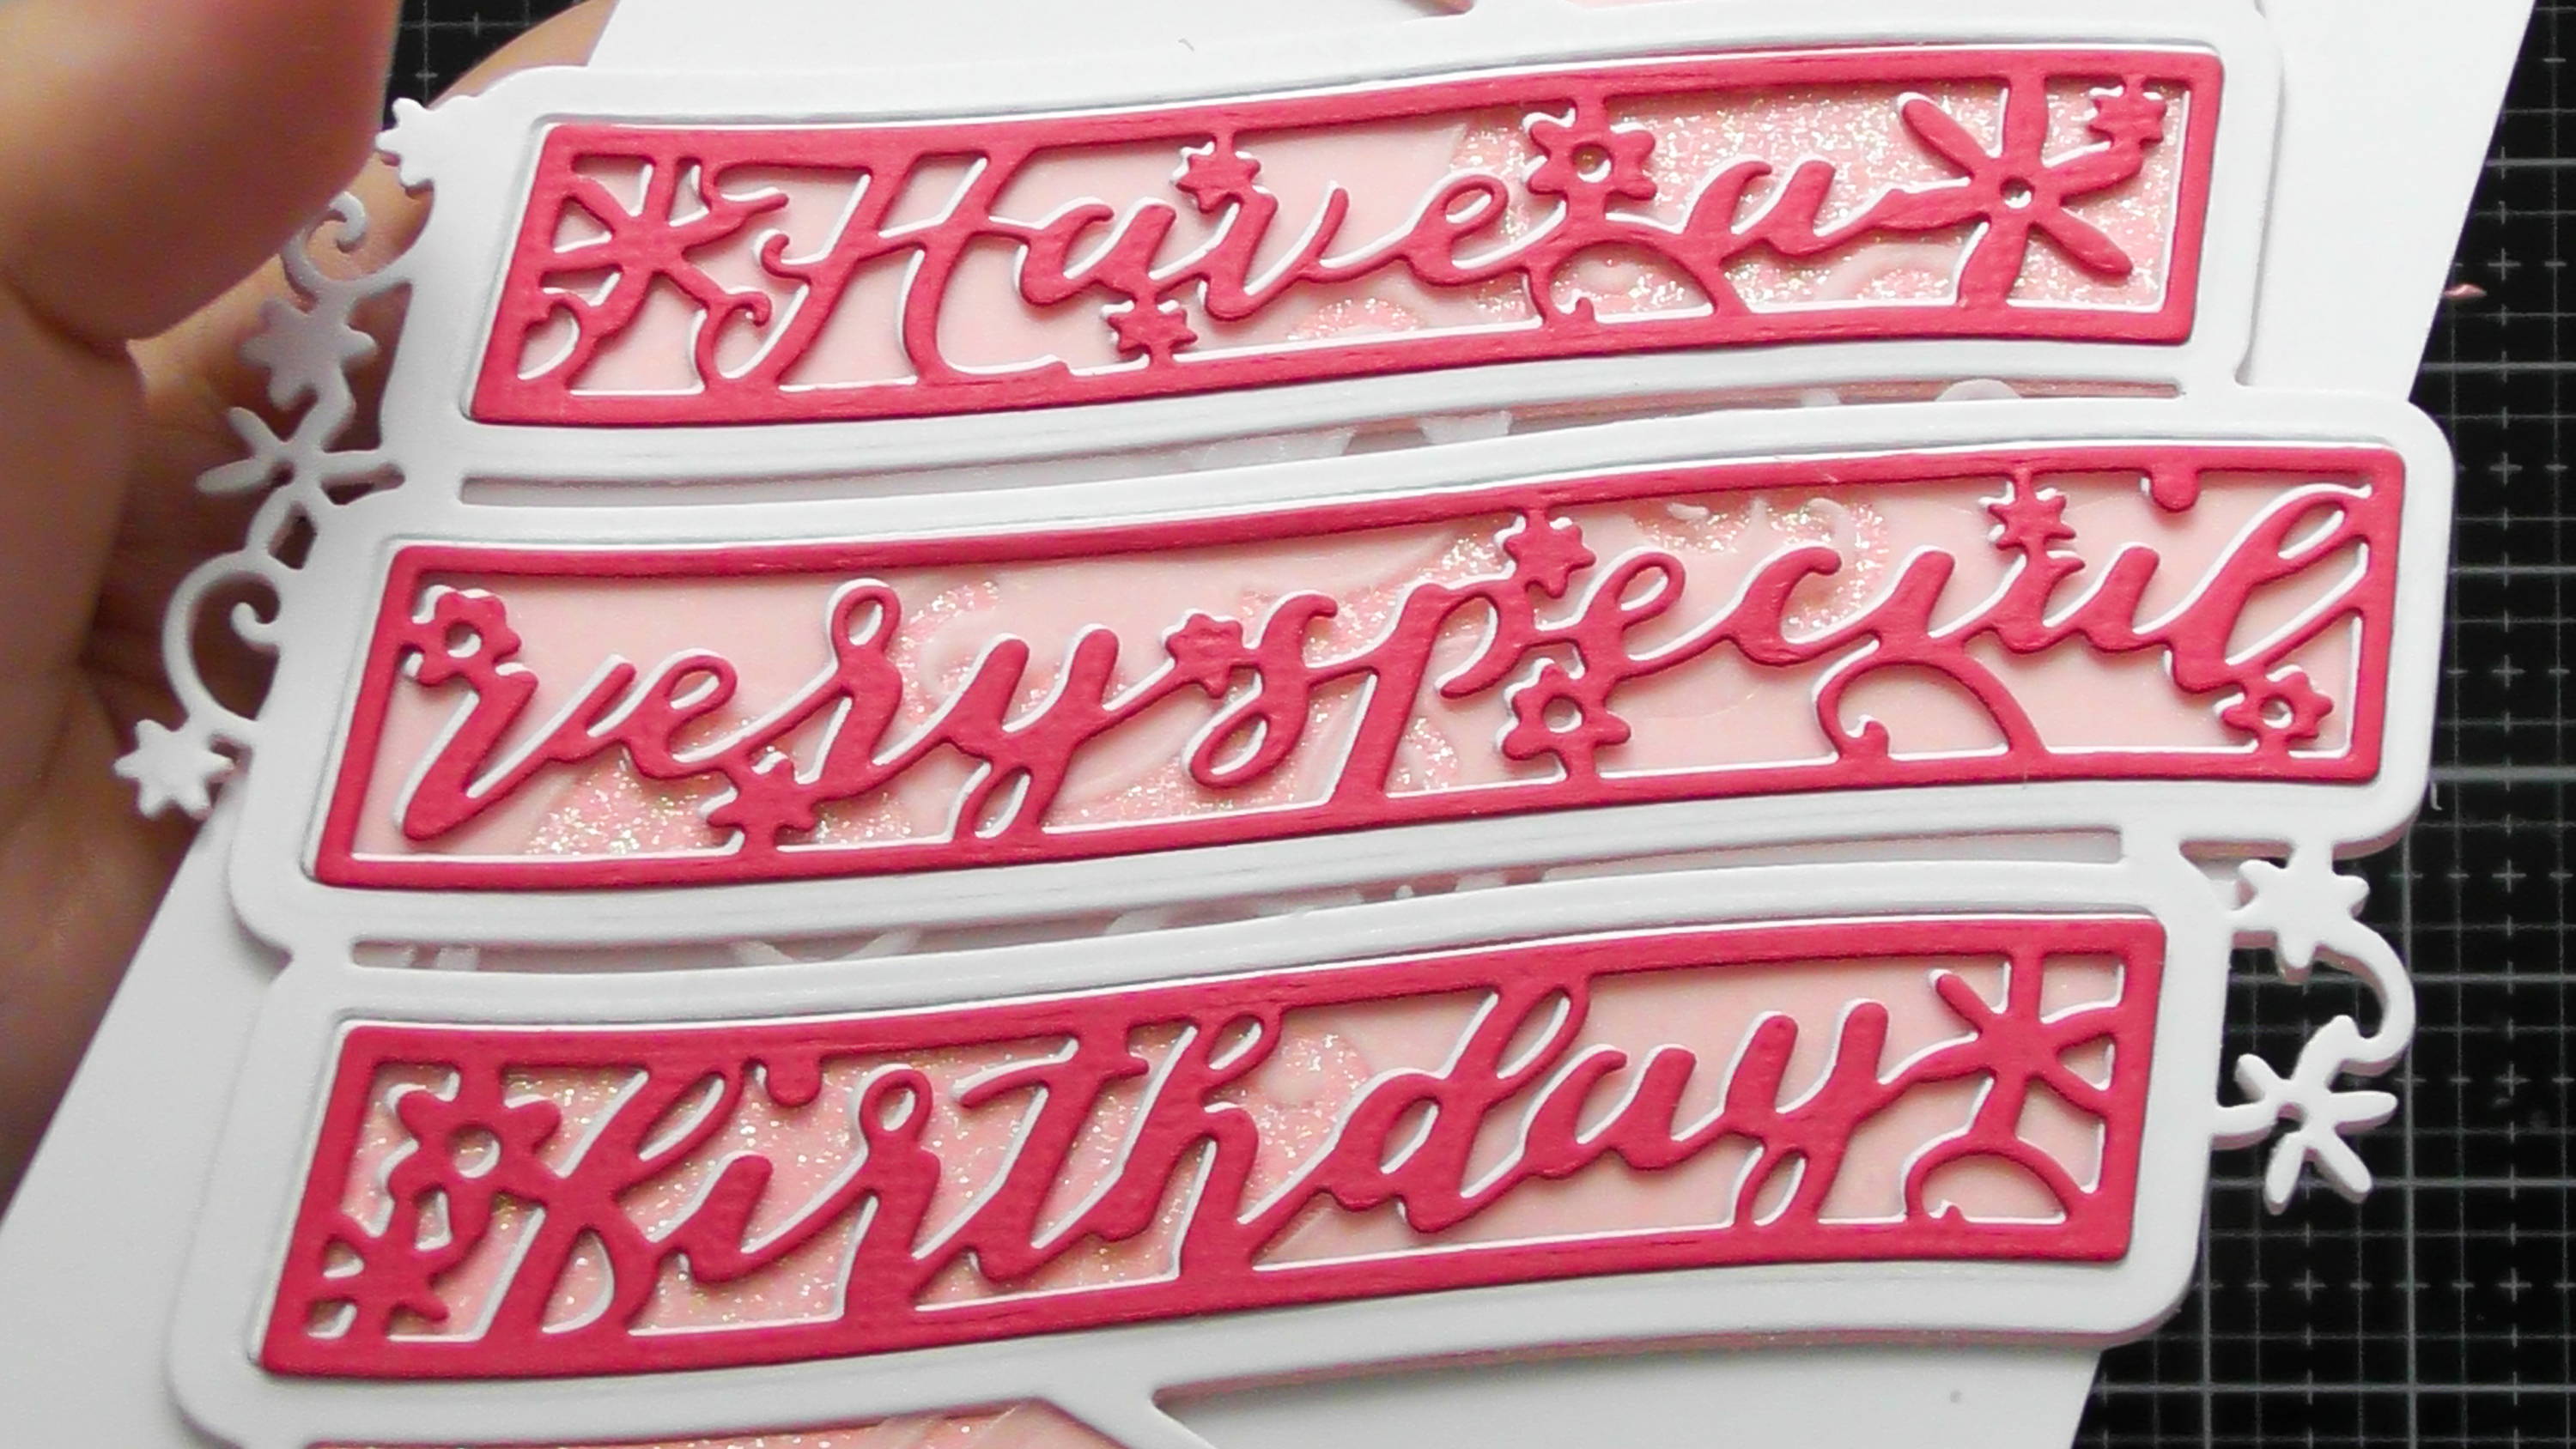
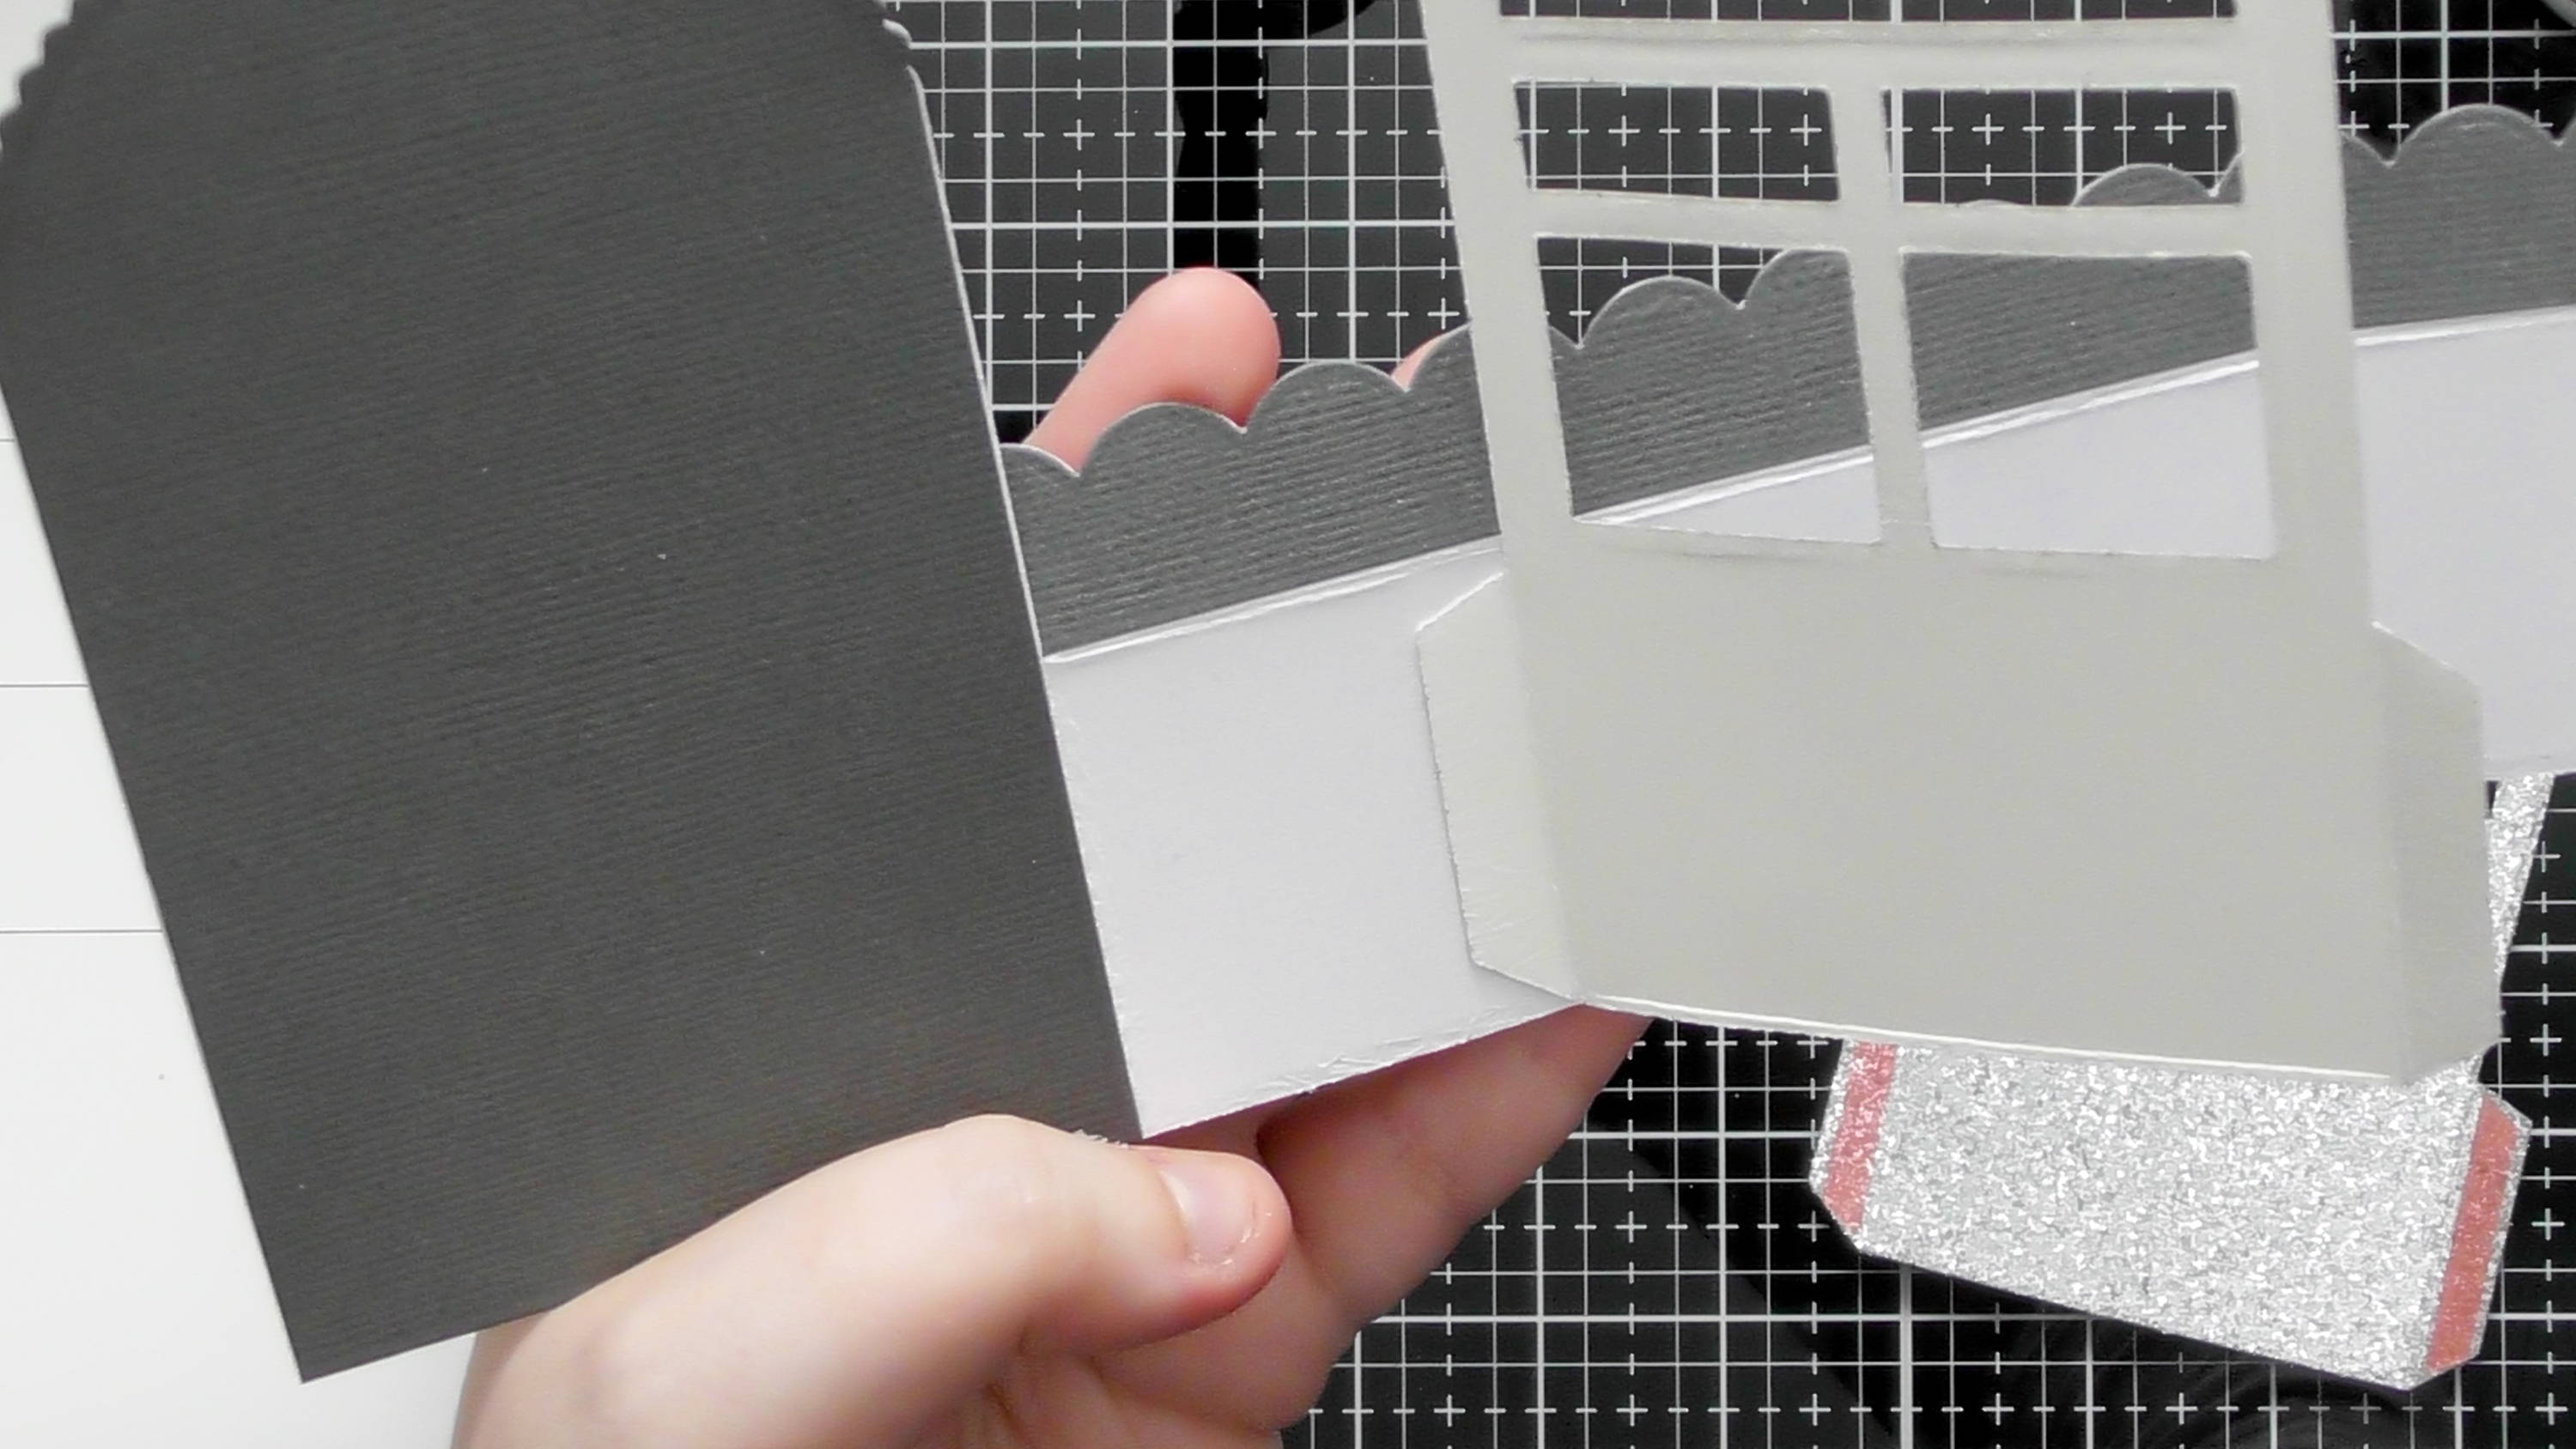
Then die-cut the birthday wishes sentiment twice from blue and ones from white.
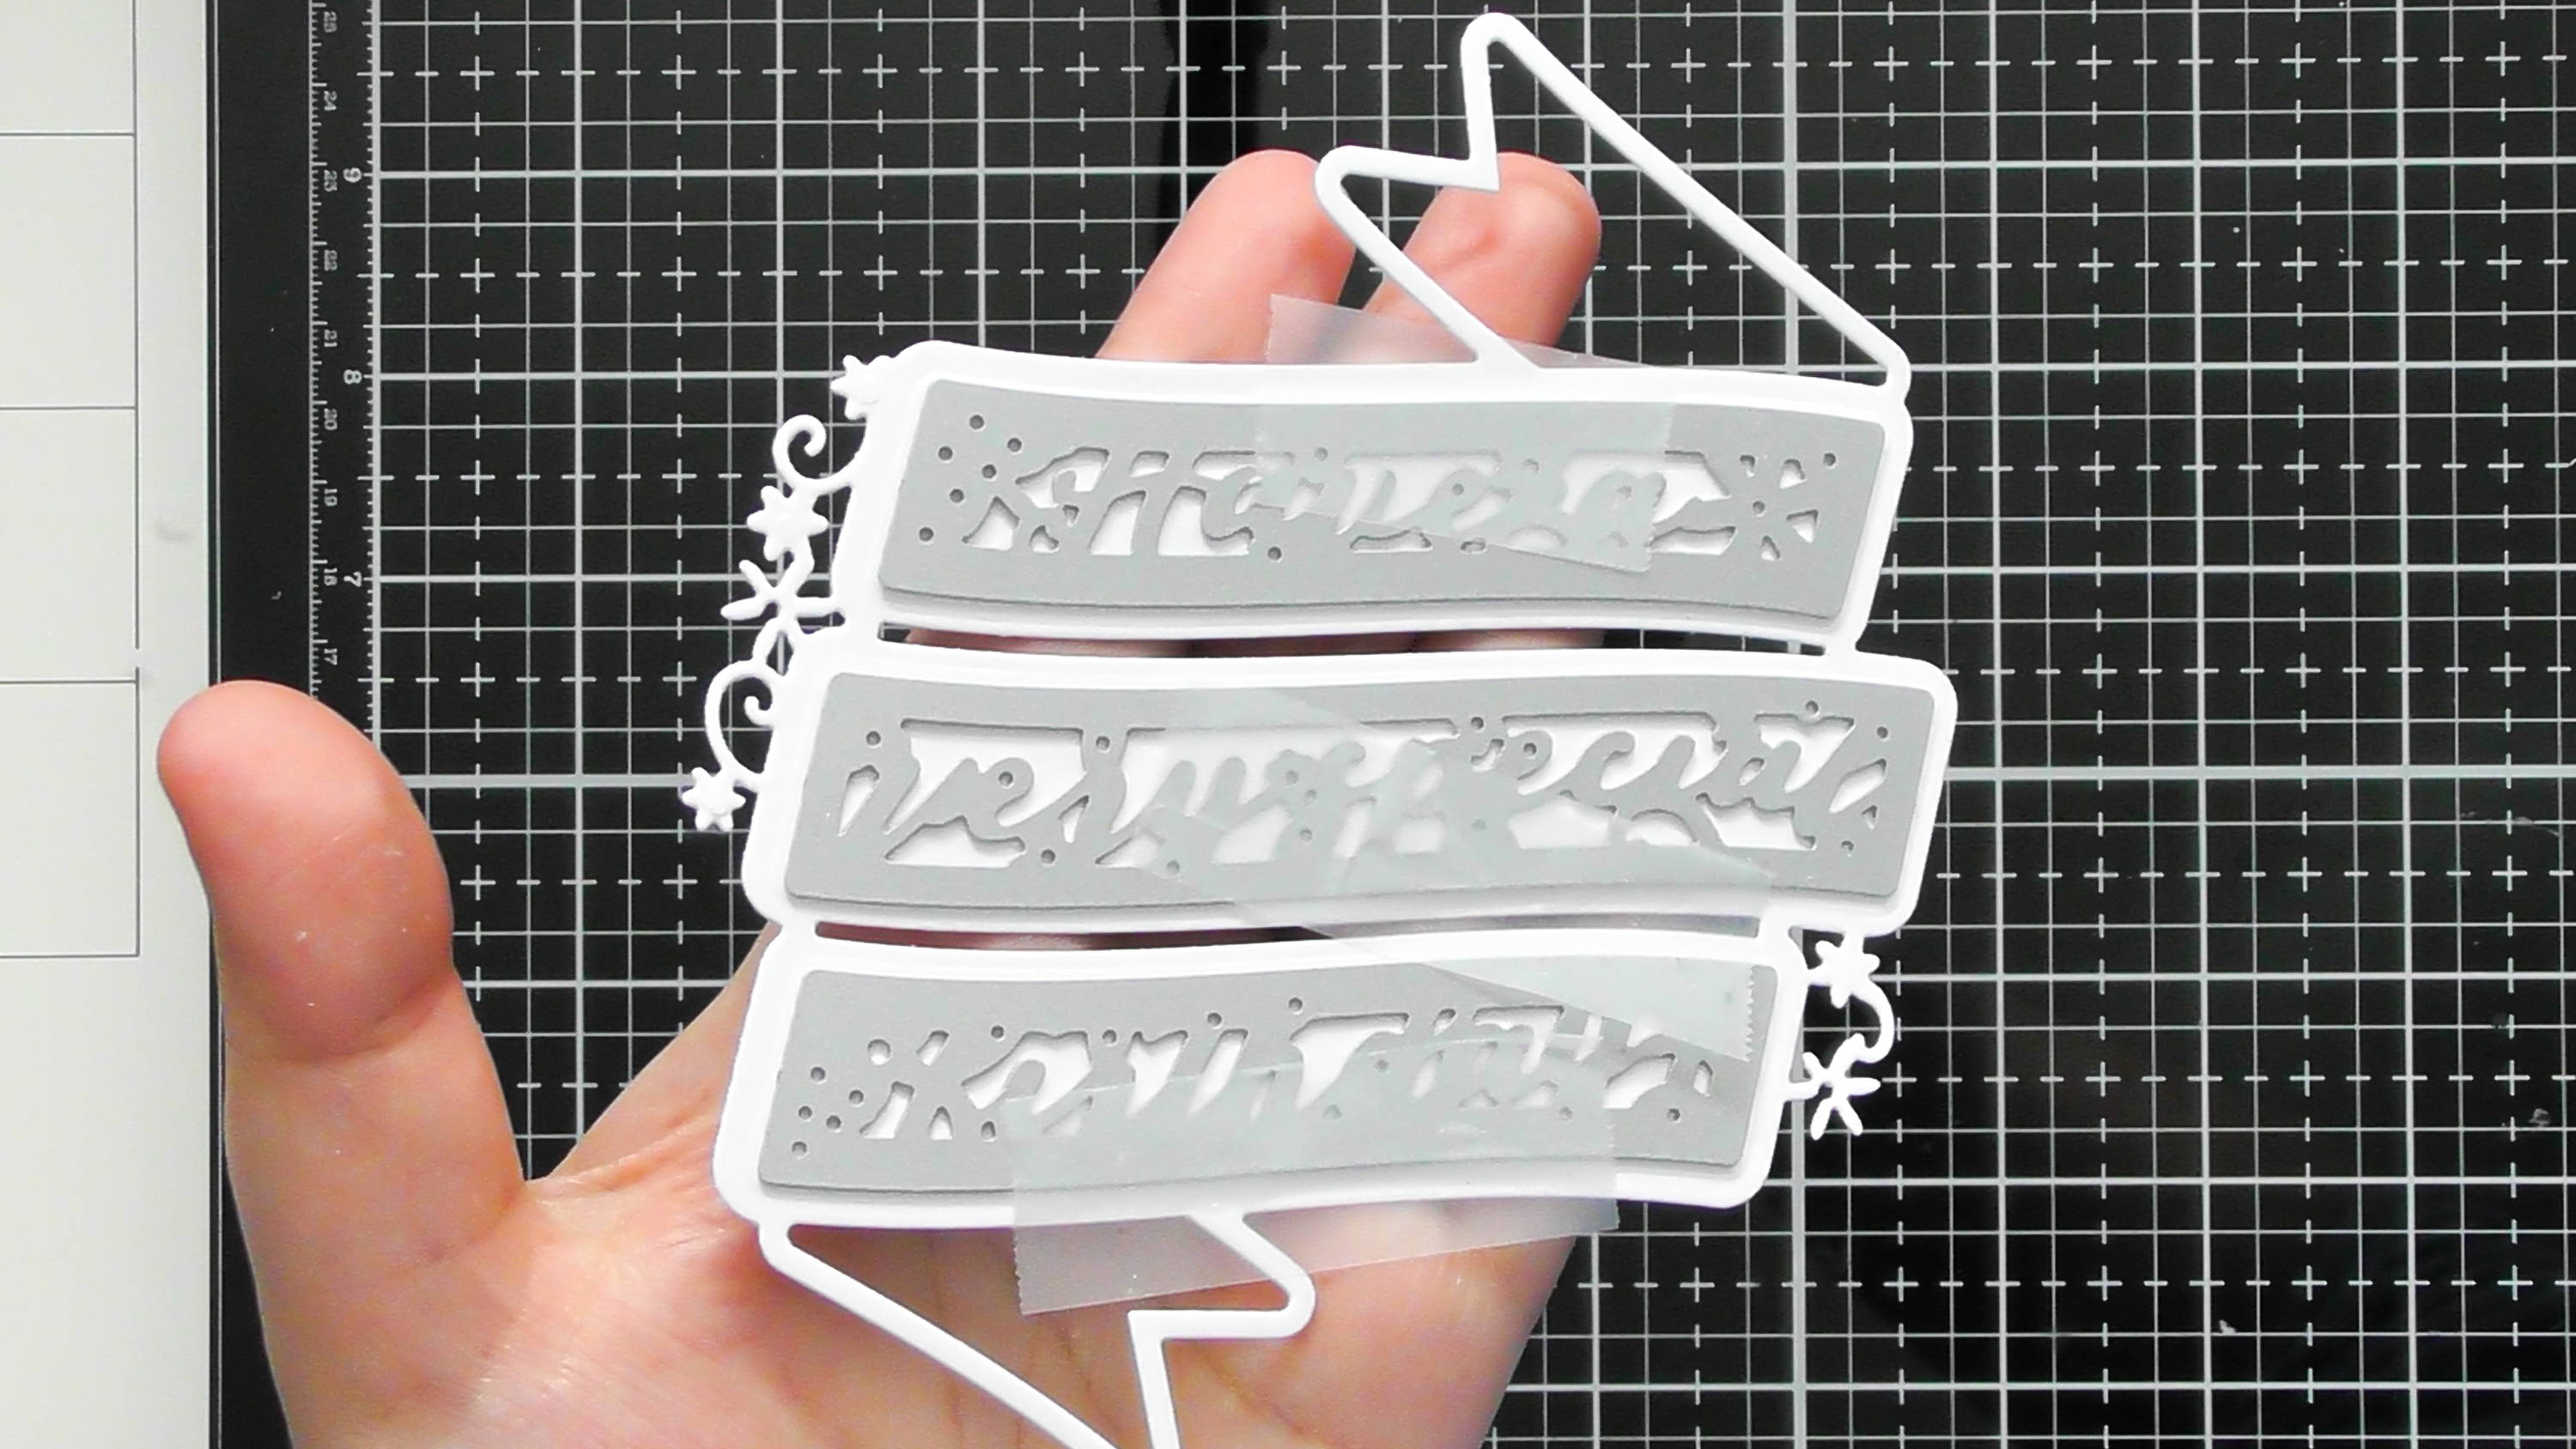
Step 8

Stack the 2 blue die-cuts together, but this time add the white die-cut on top, to show the blue shadow underneath.
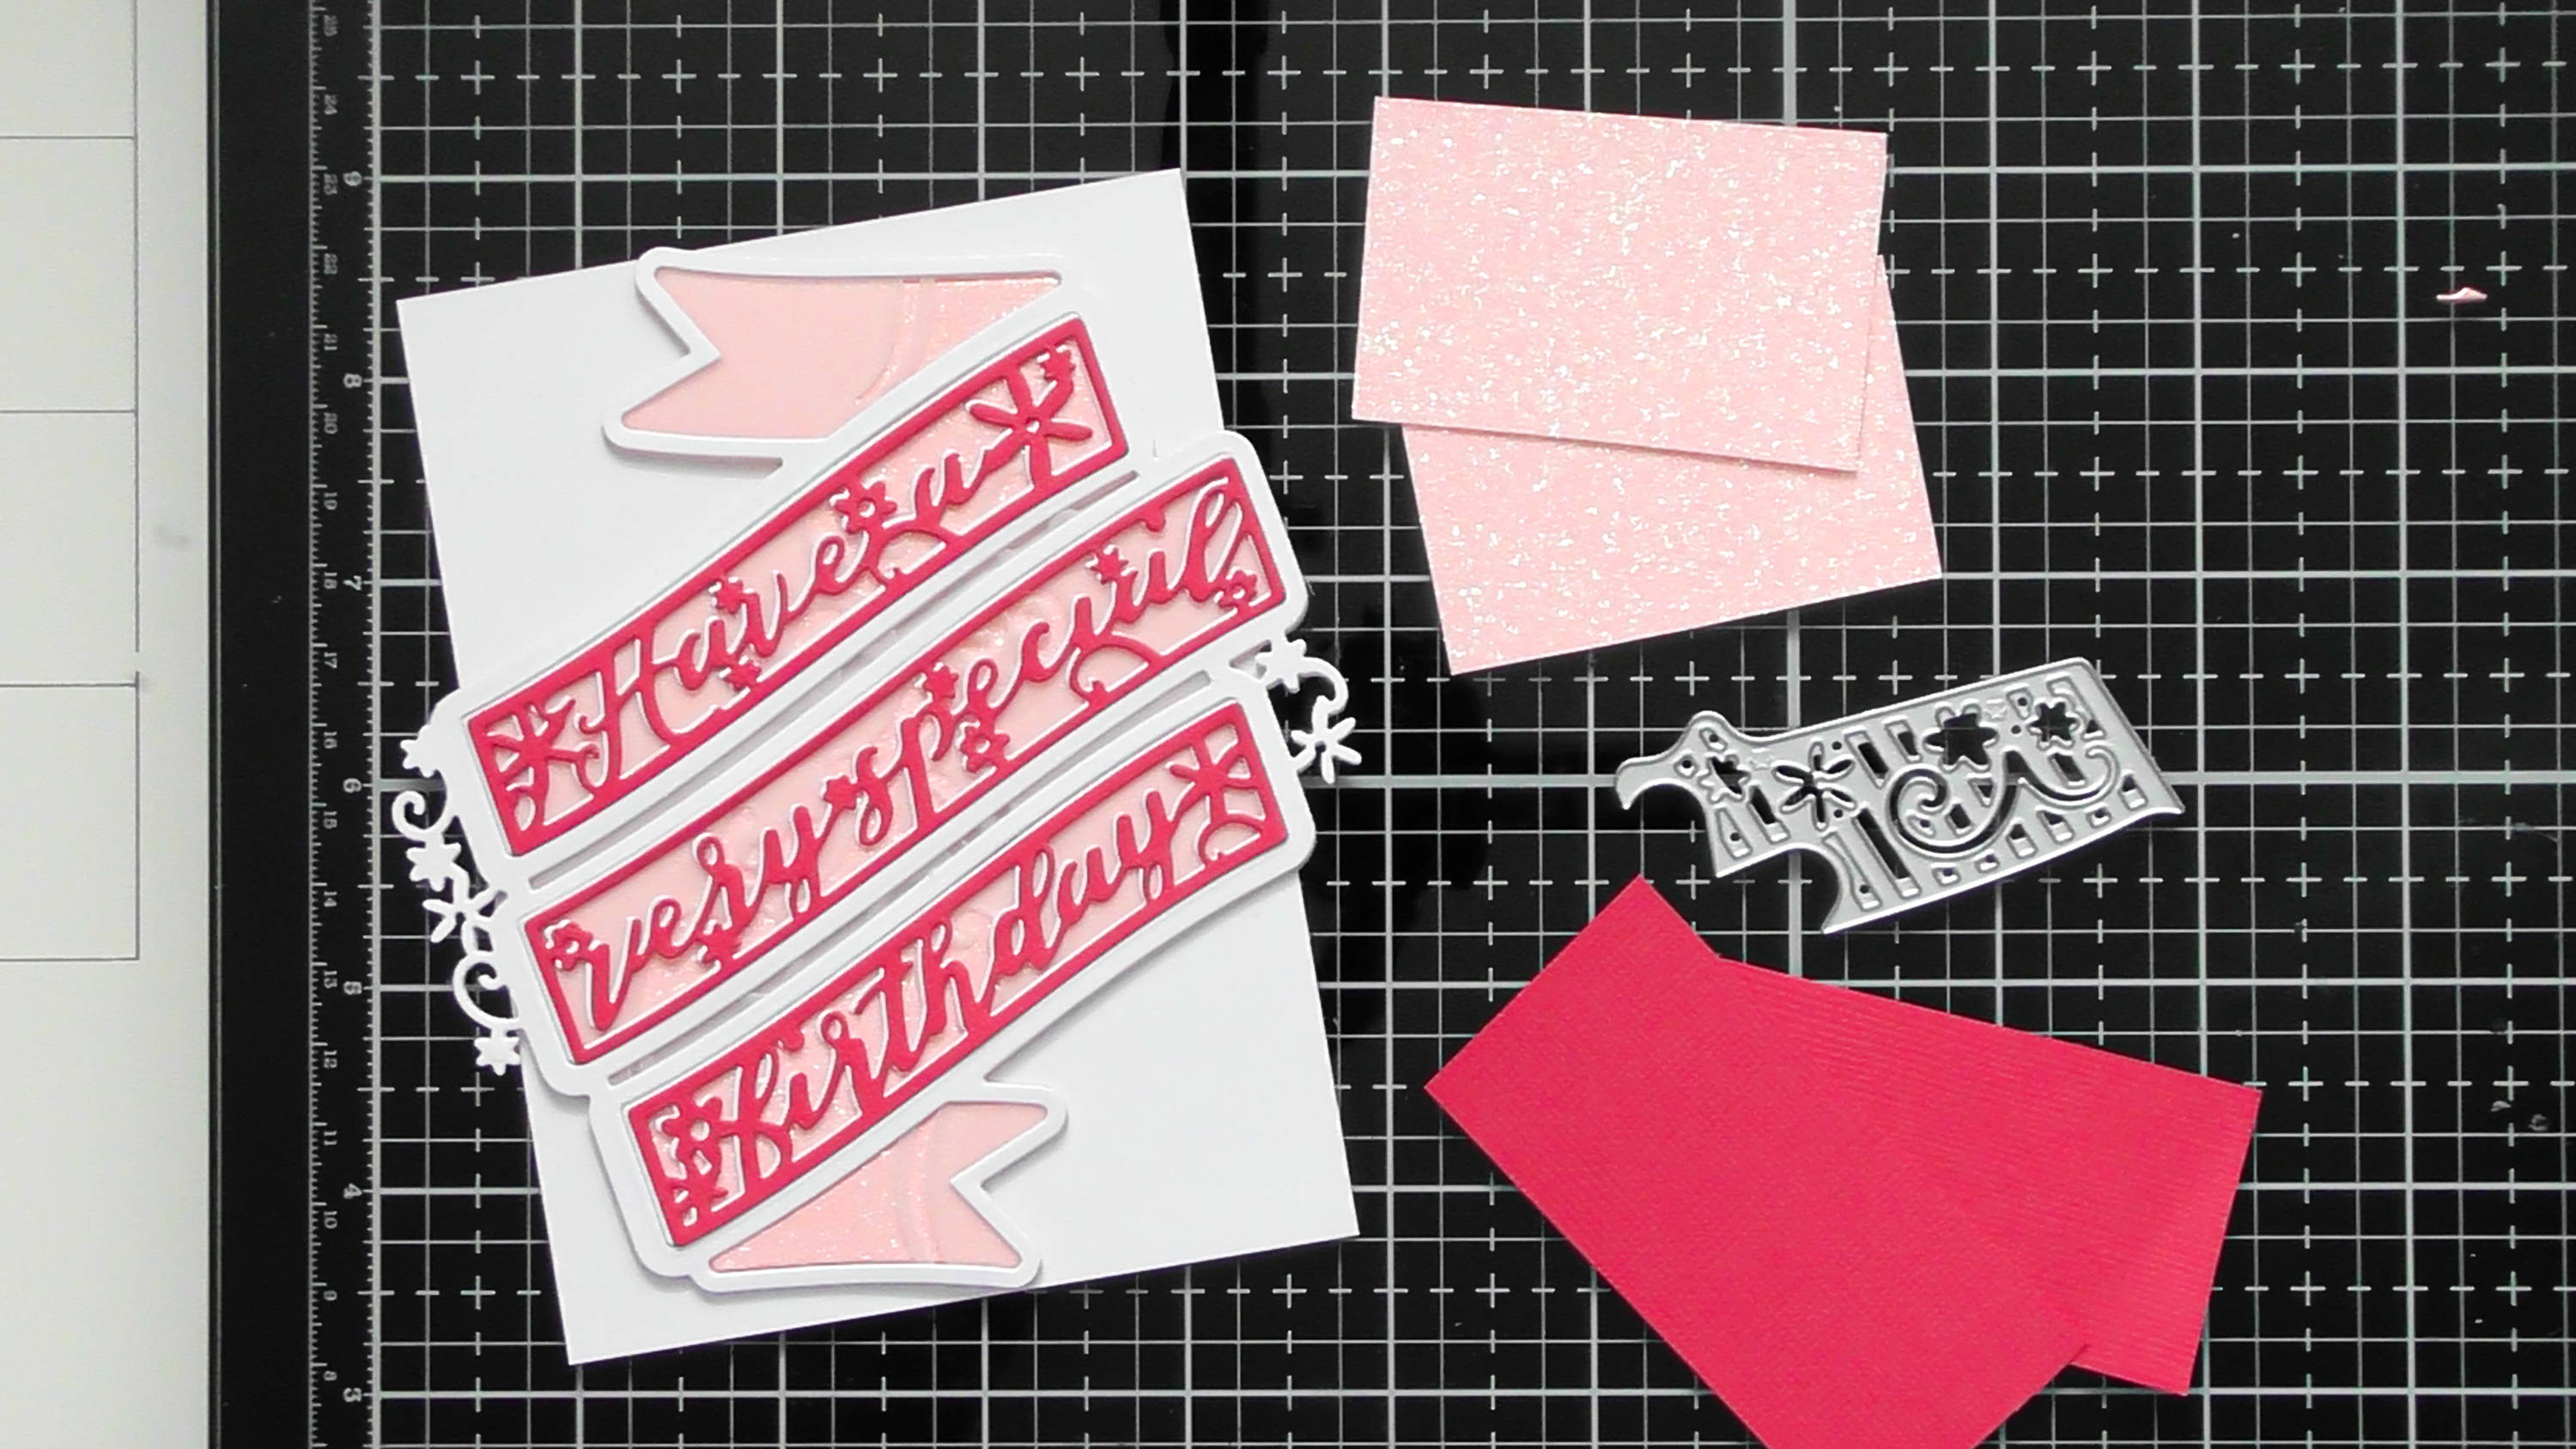
Step 9

Adhere your sentiment, then simply add your finished panel to your card blank (10.5 cm x 13.5 cm)
Step 10

Finished card with main products used.
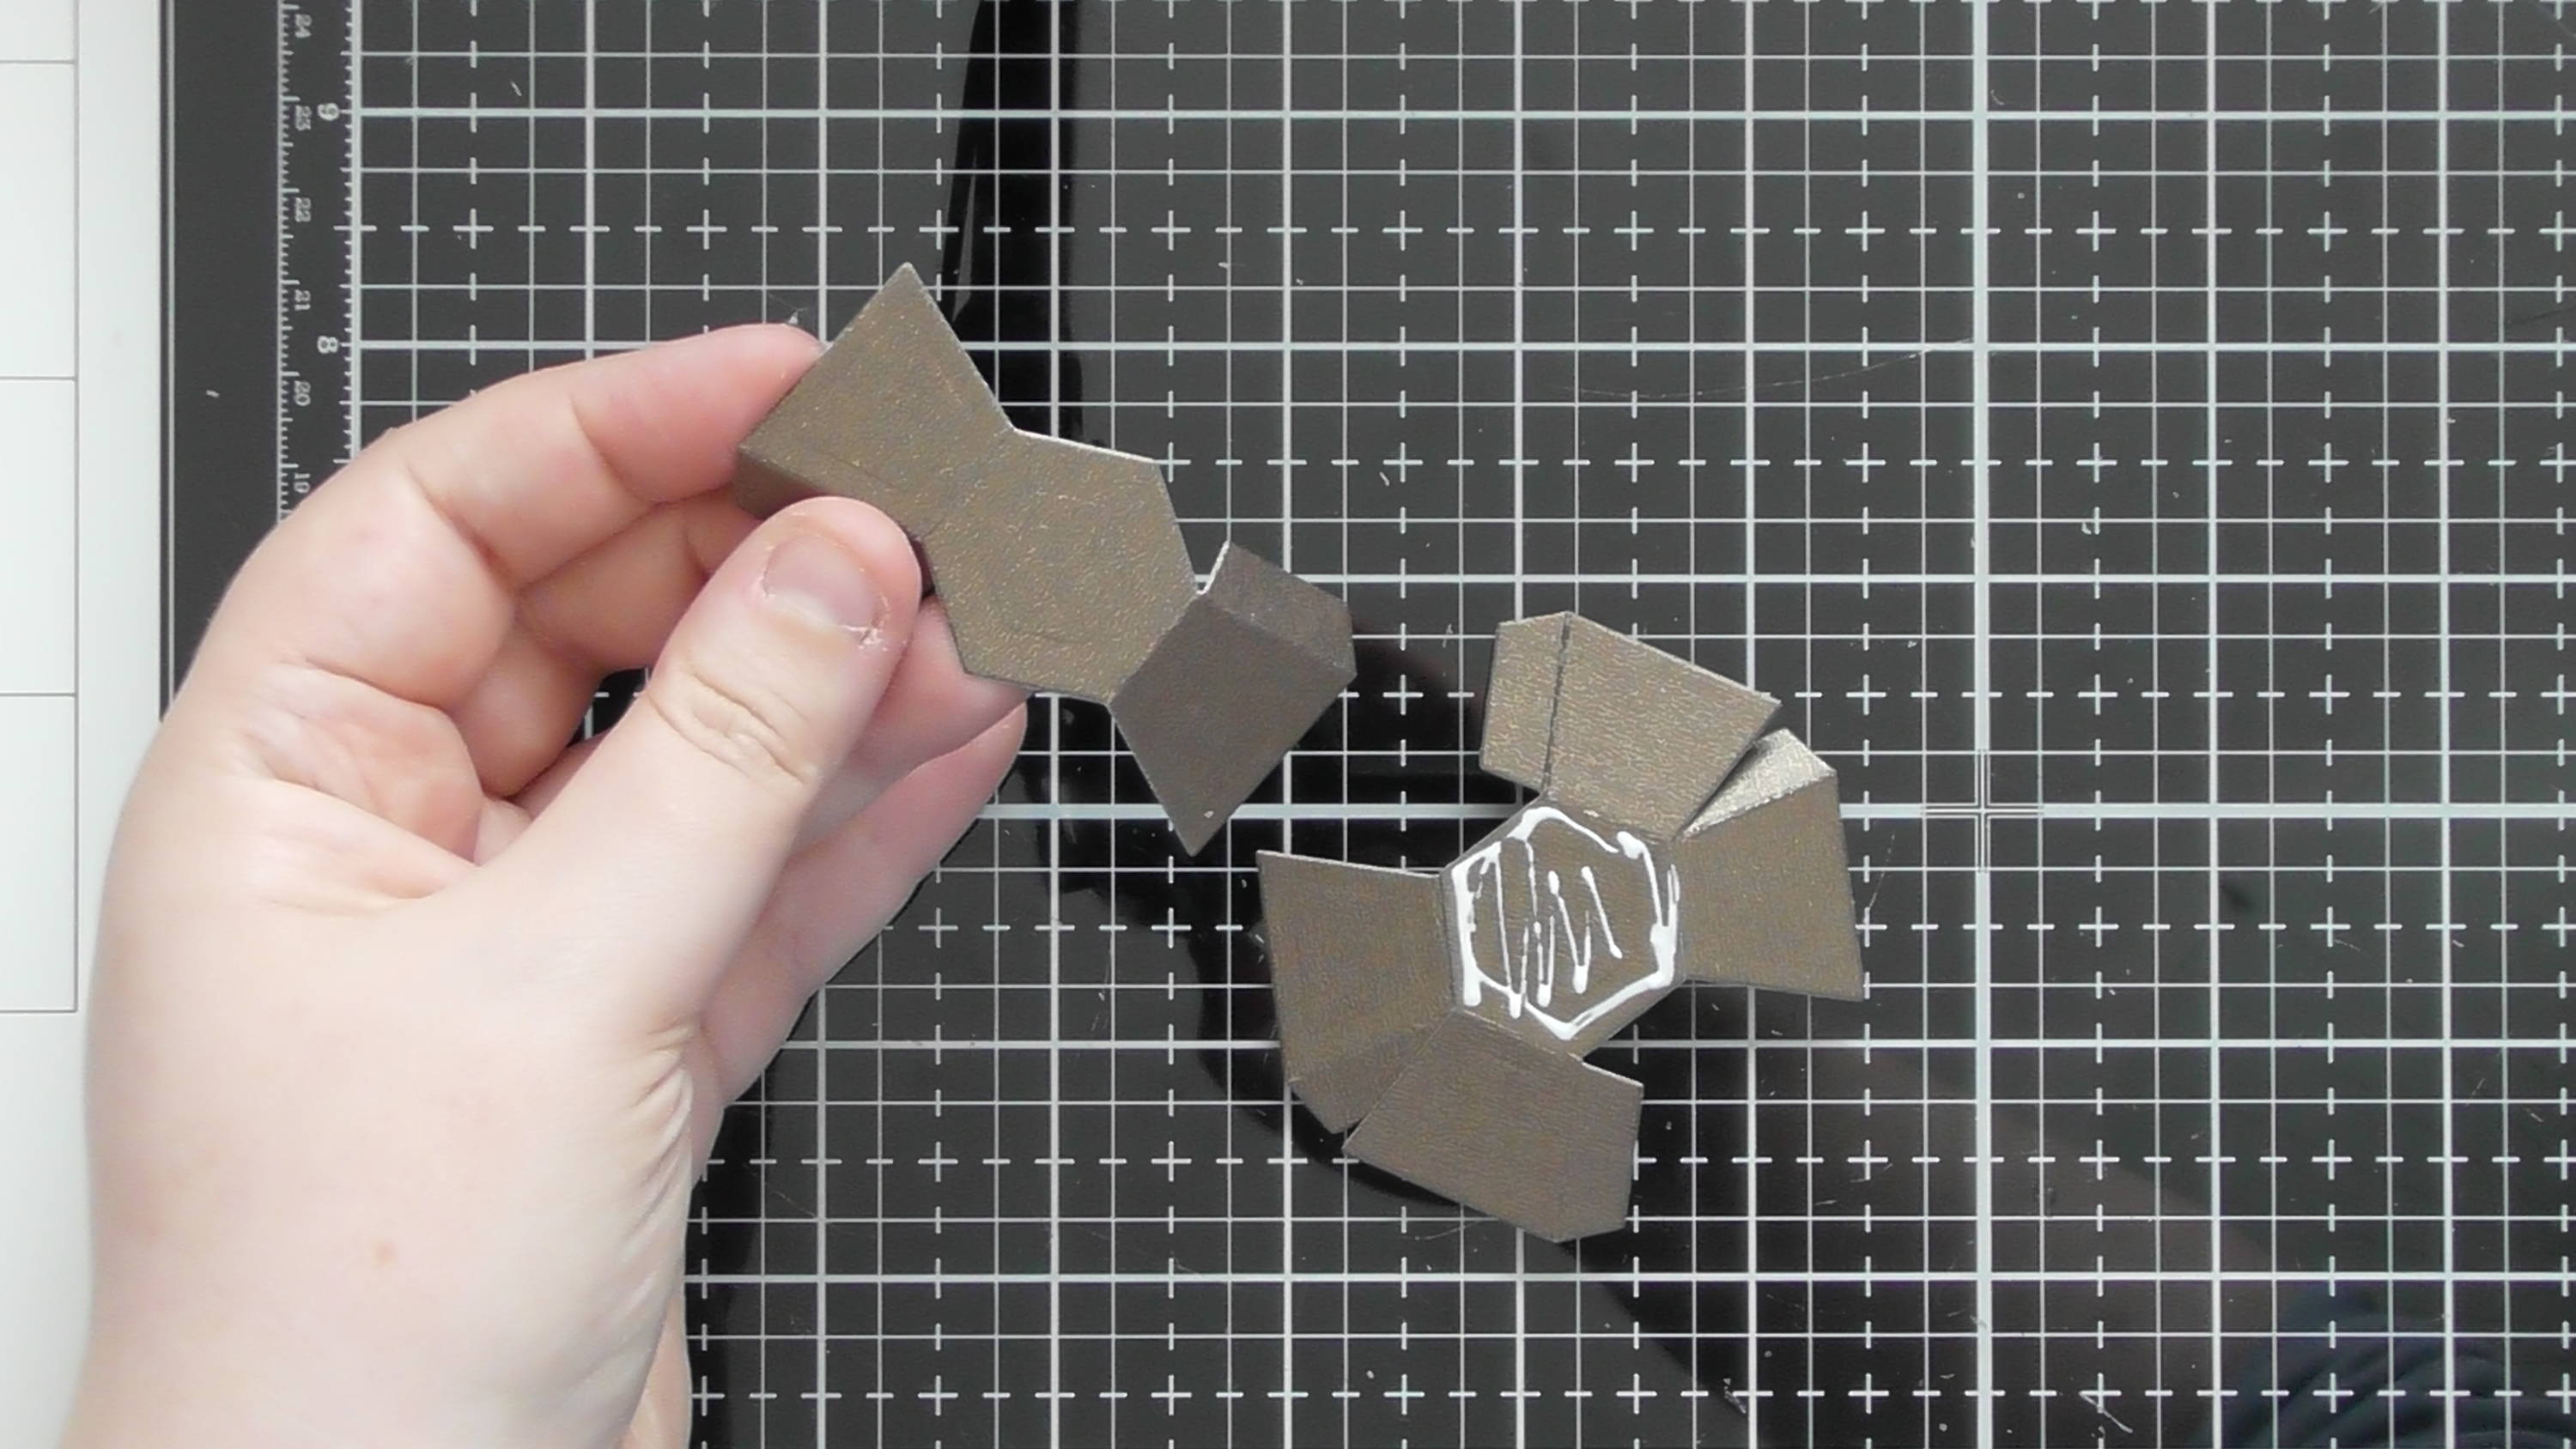
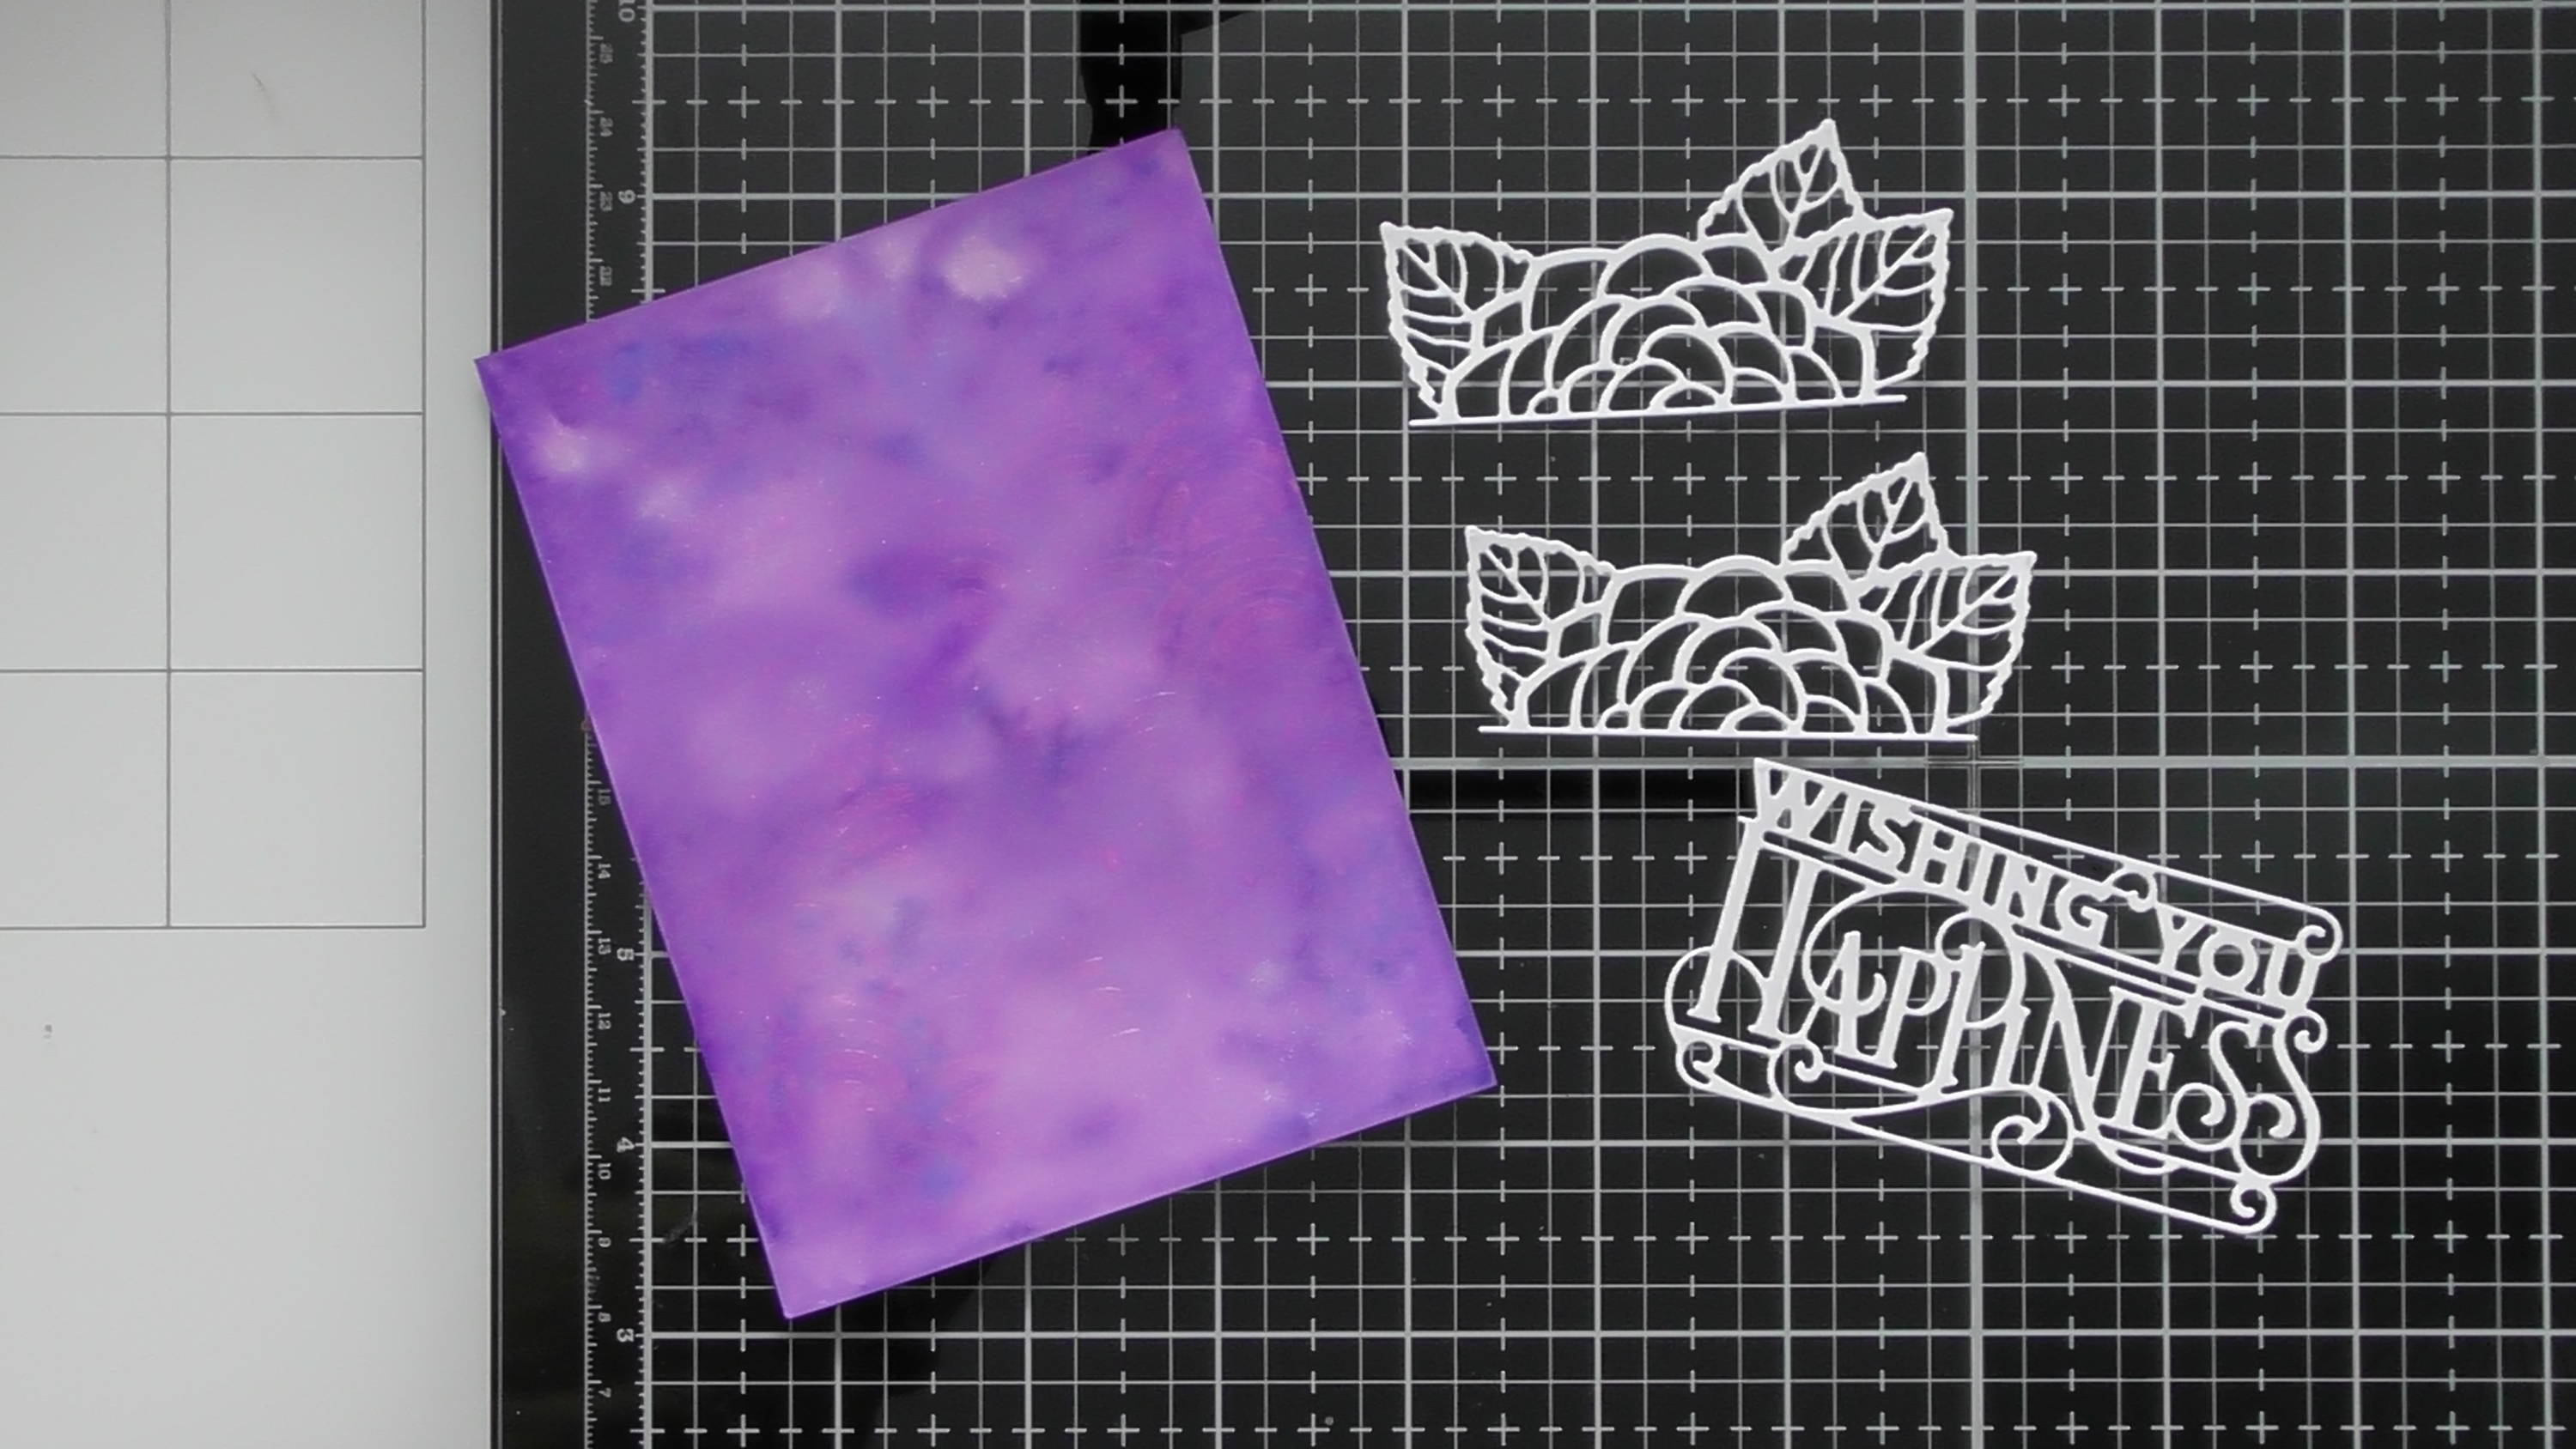
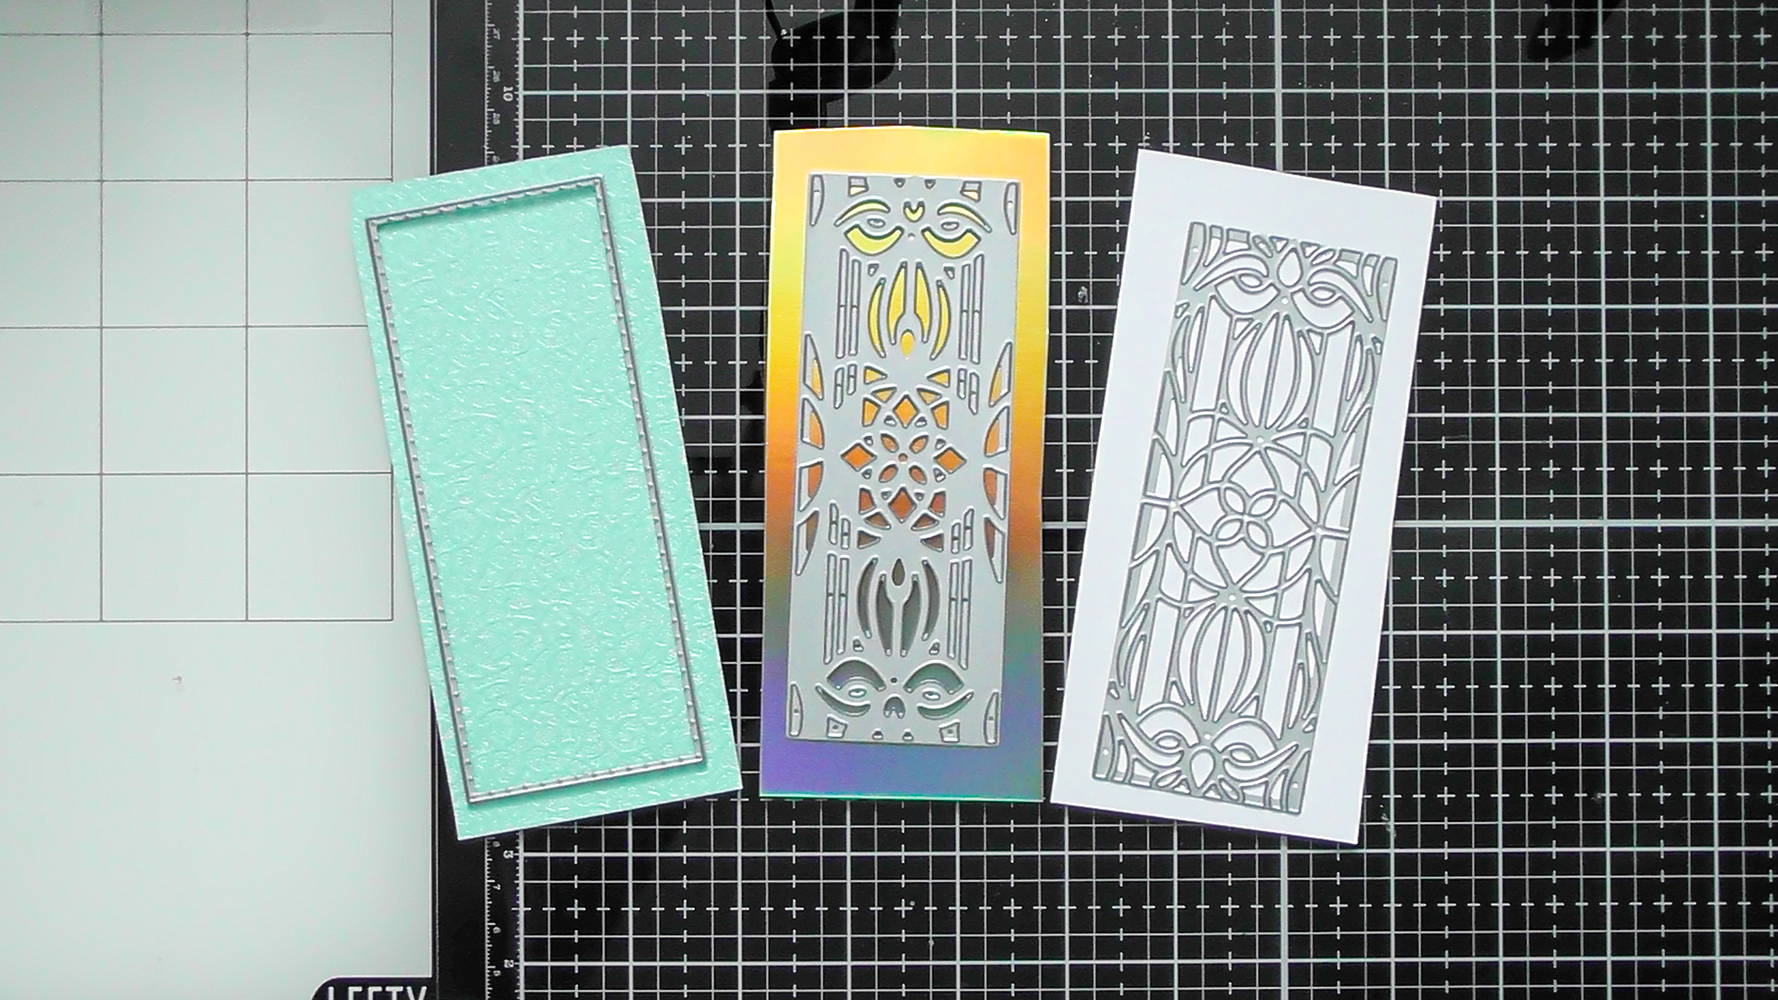
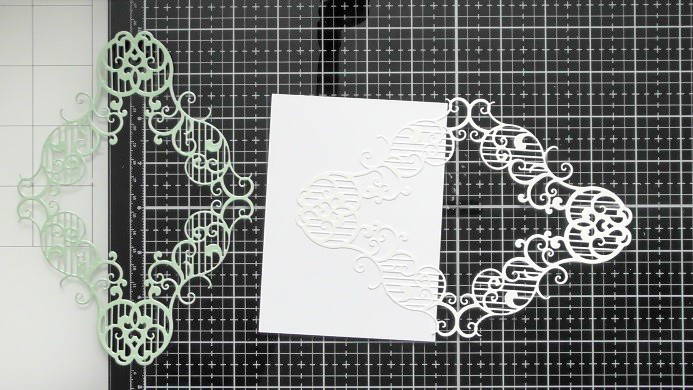
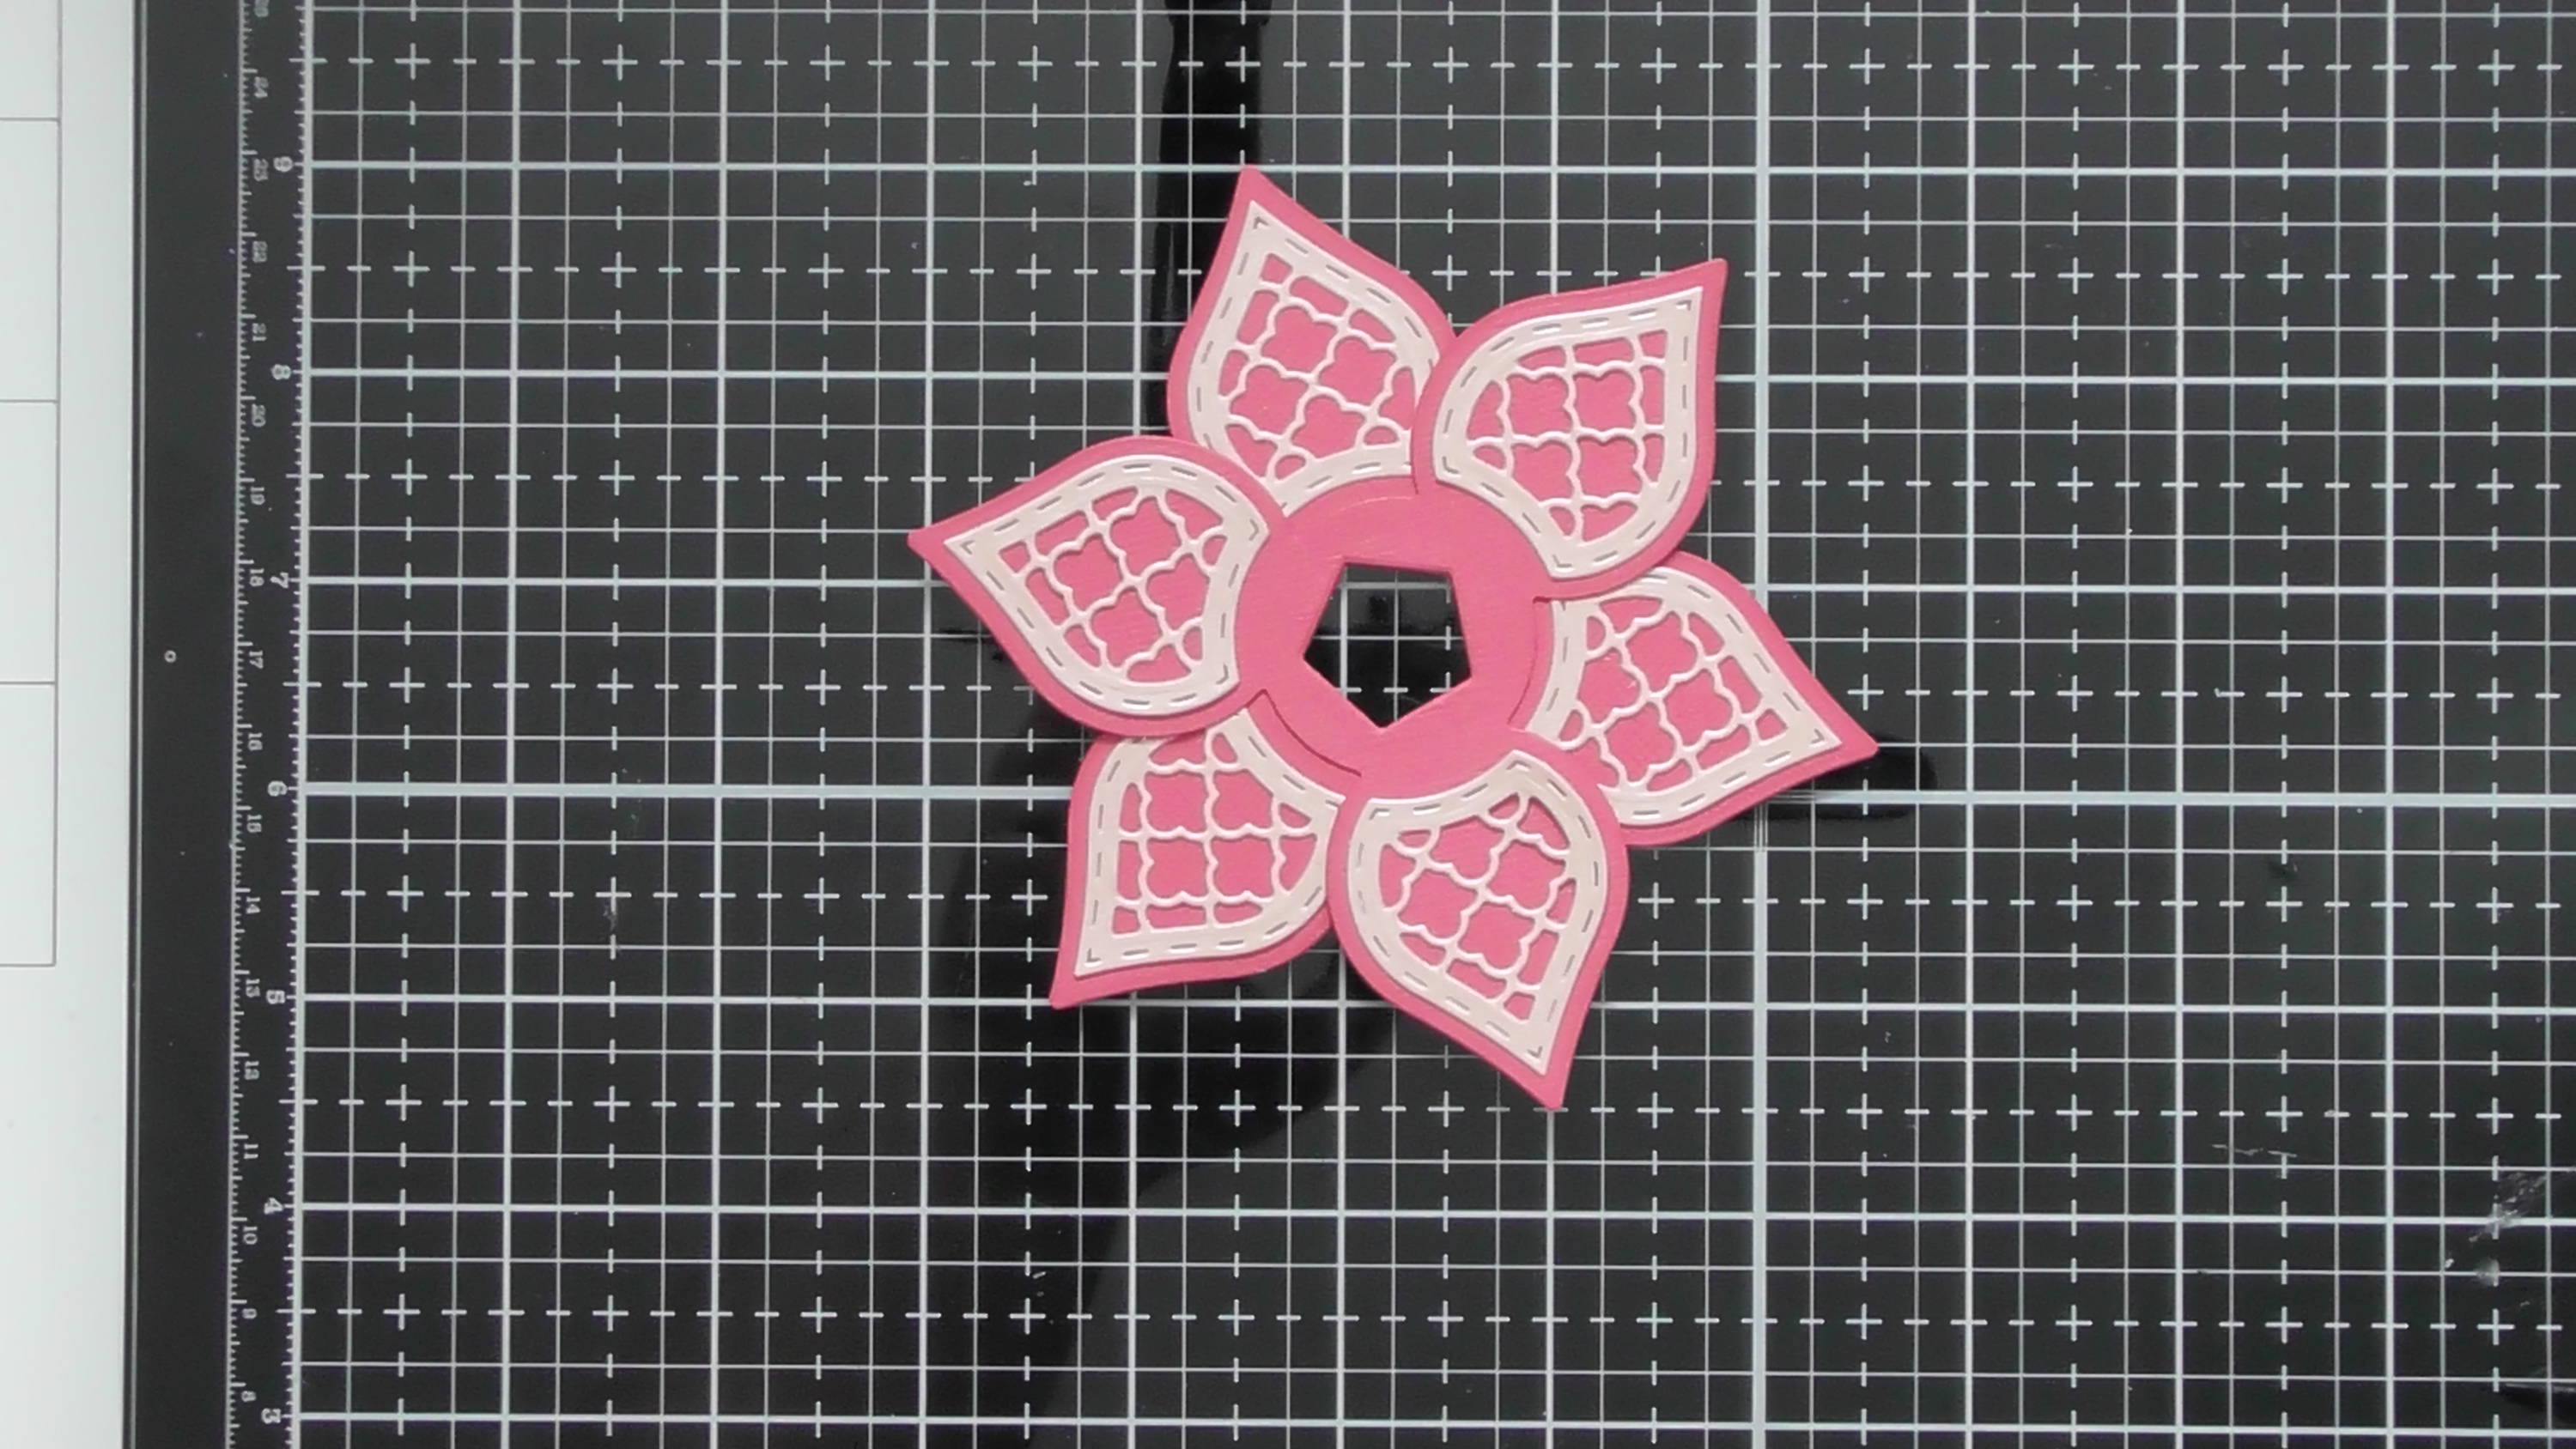
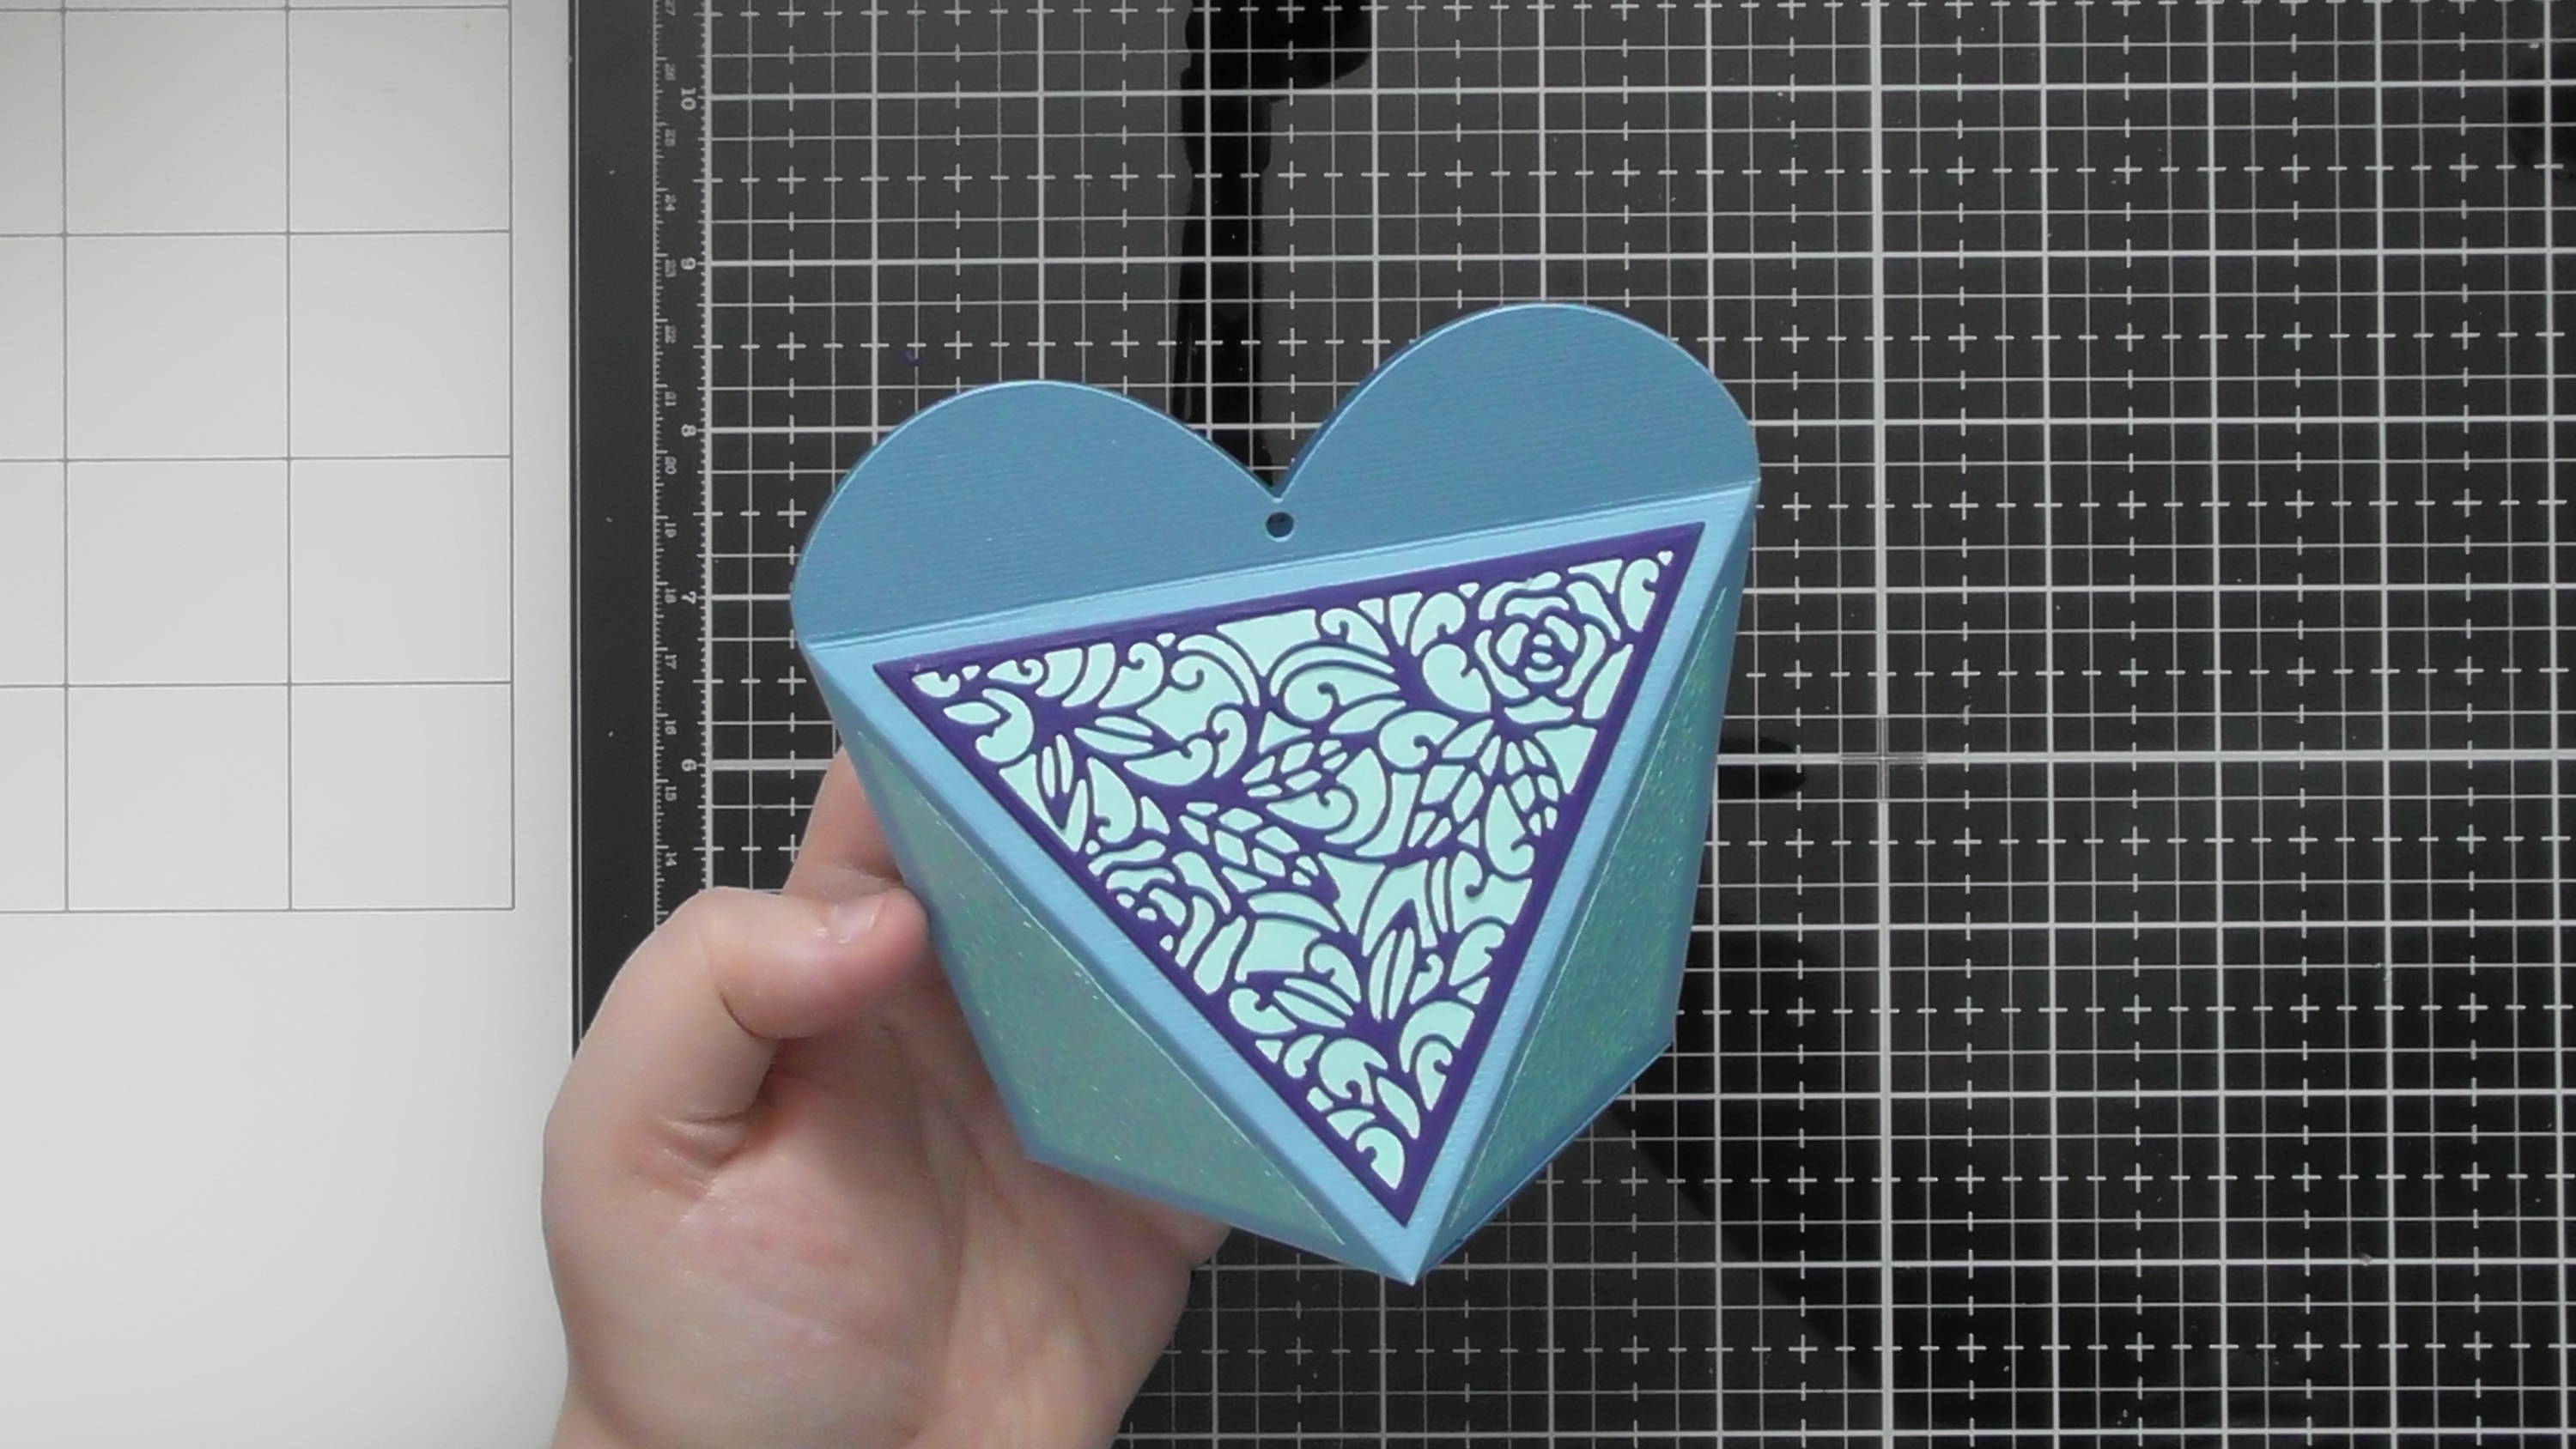
Card 3 - Blank Card
Step 1
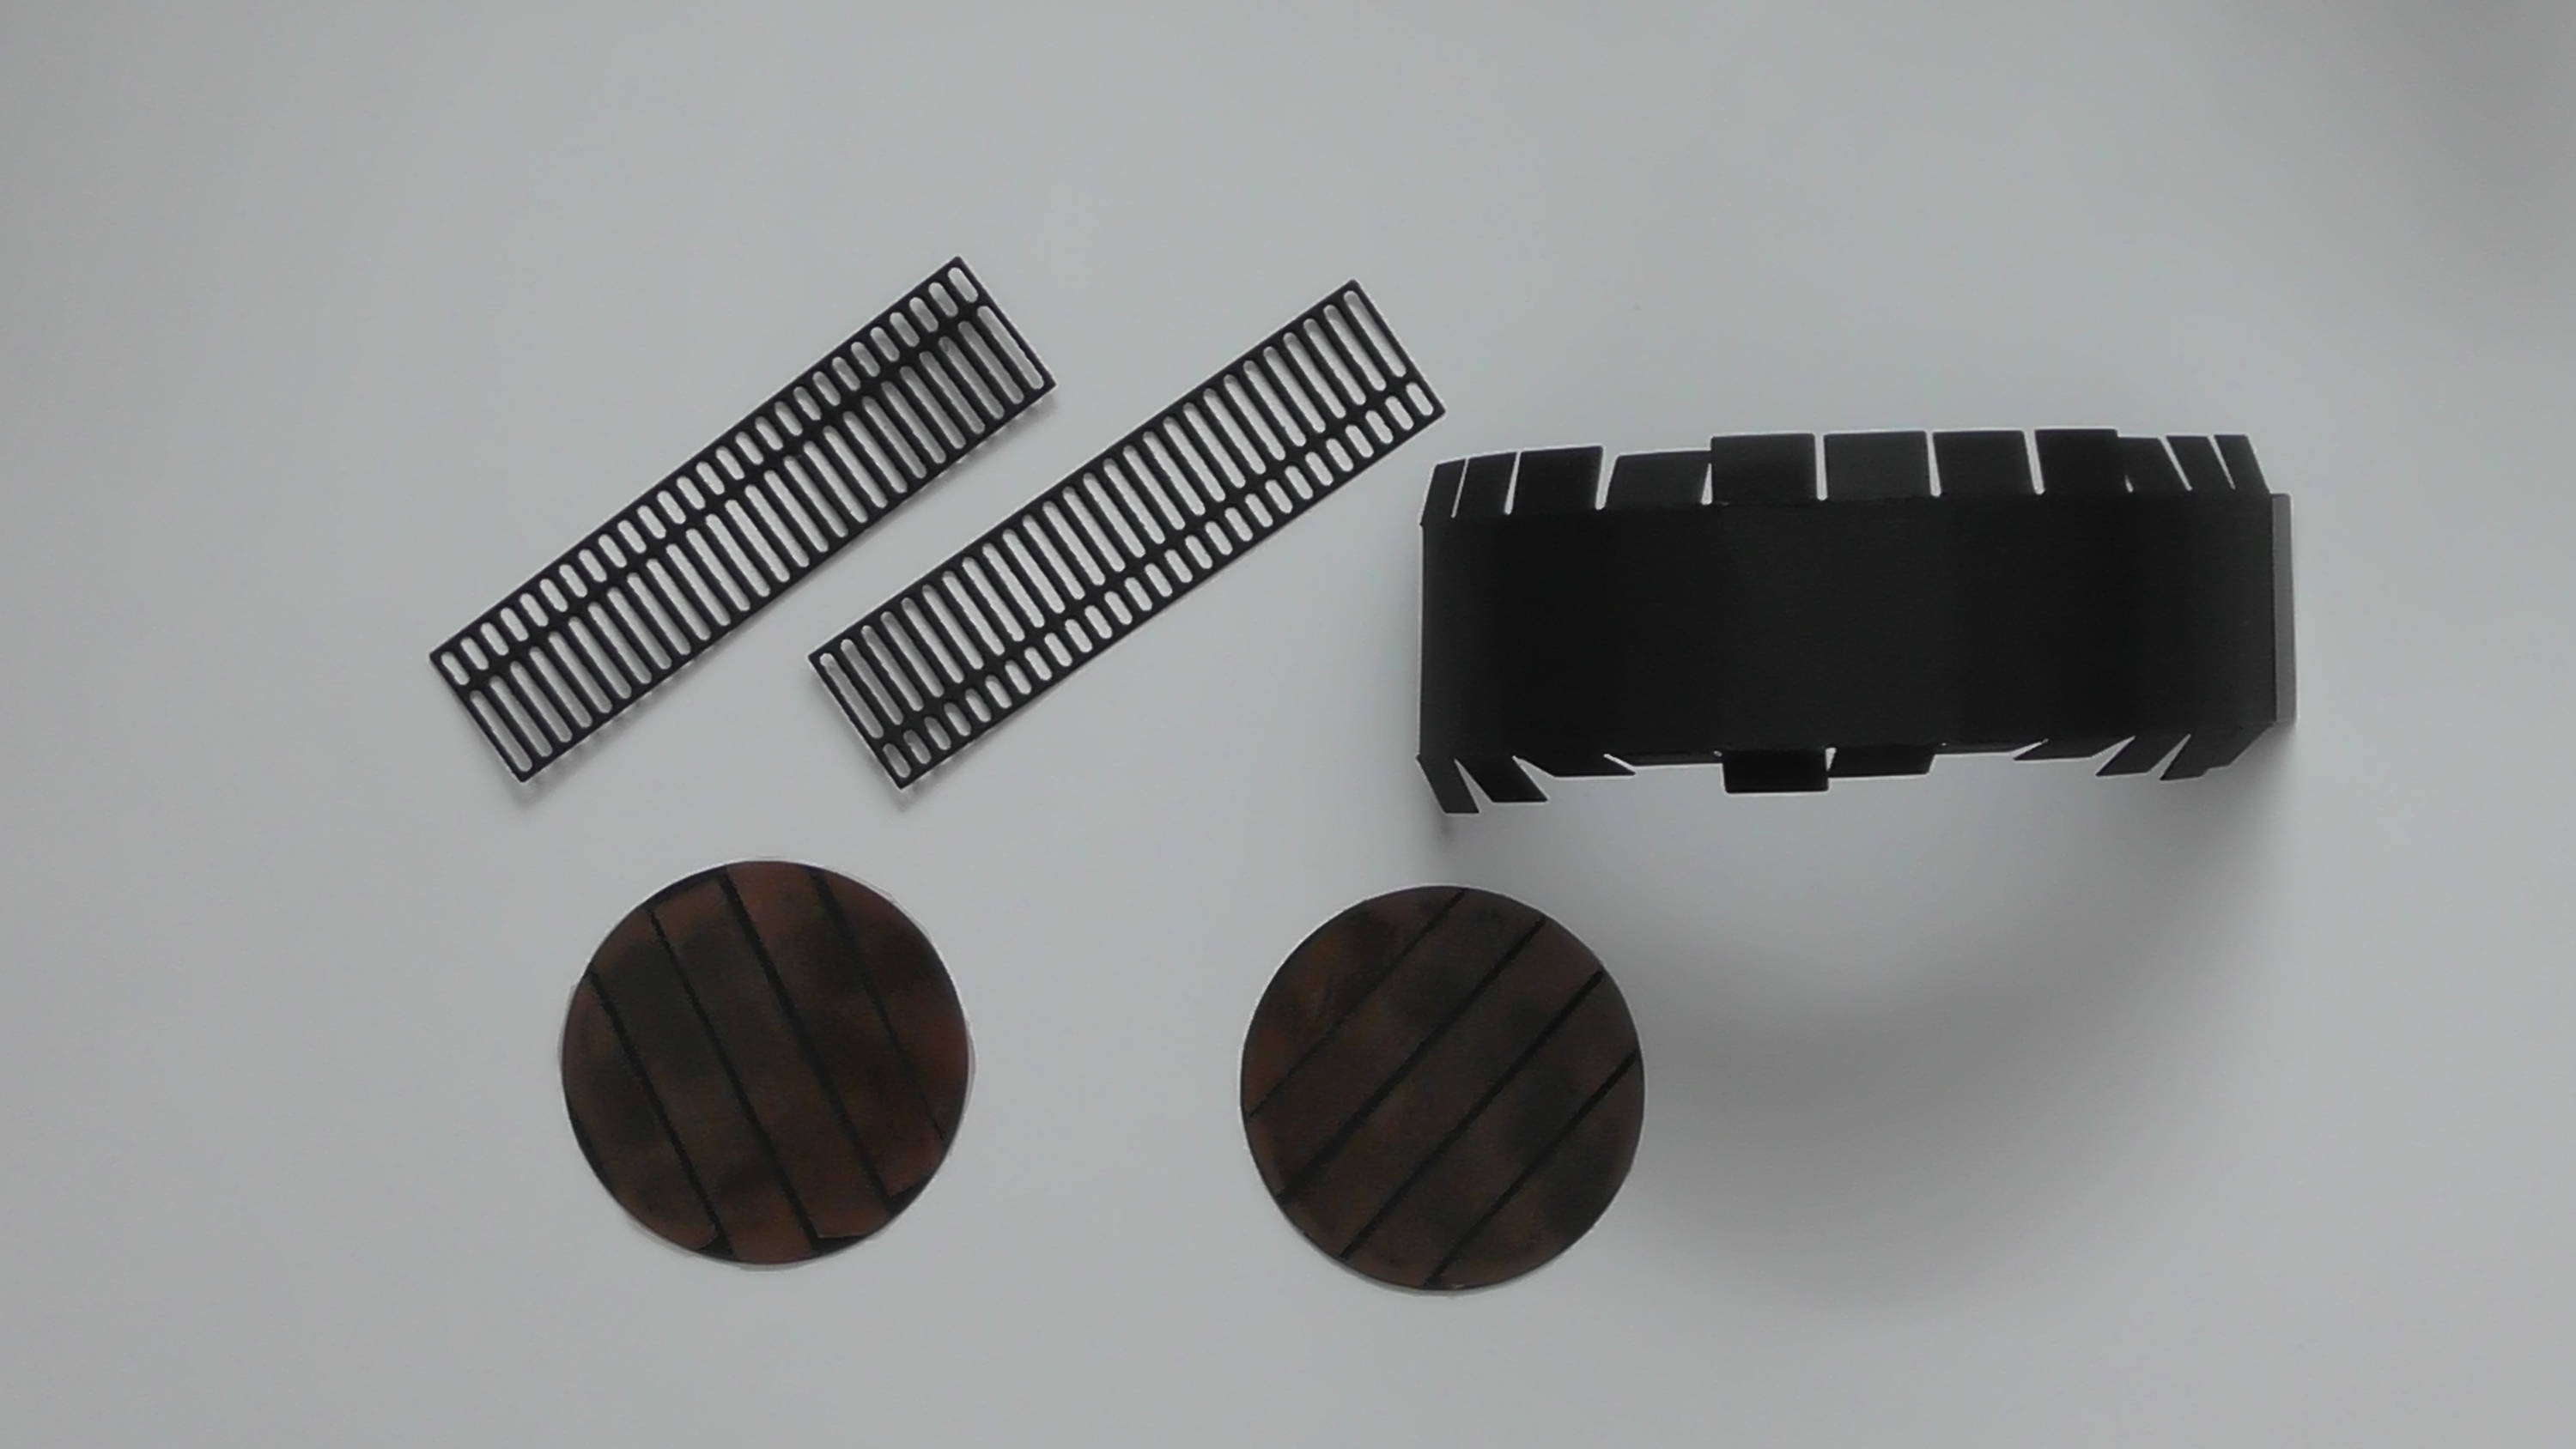
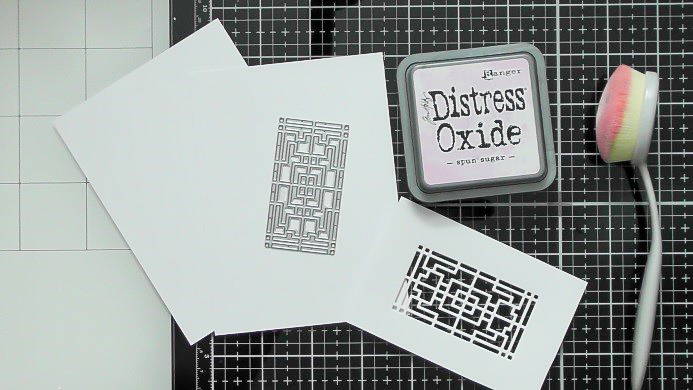
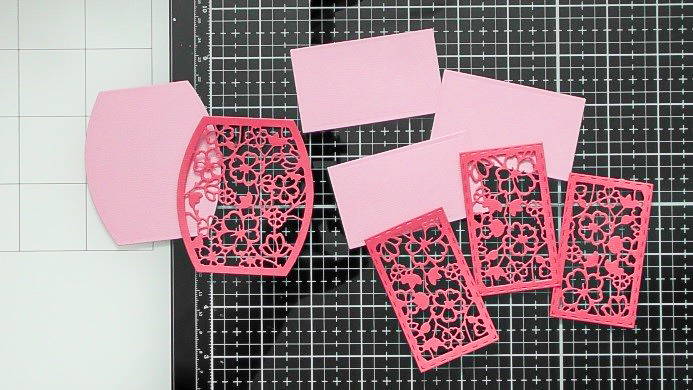
You will need, the blue and yellow card and the red crackle paste from the bundle, plus the decorative die set.
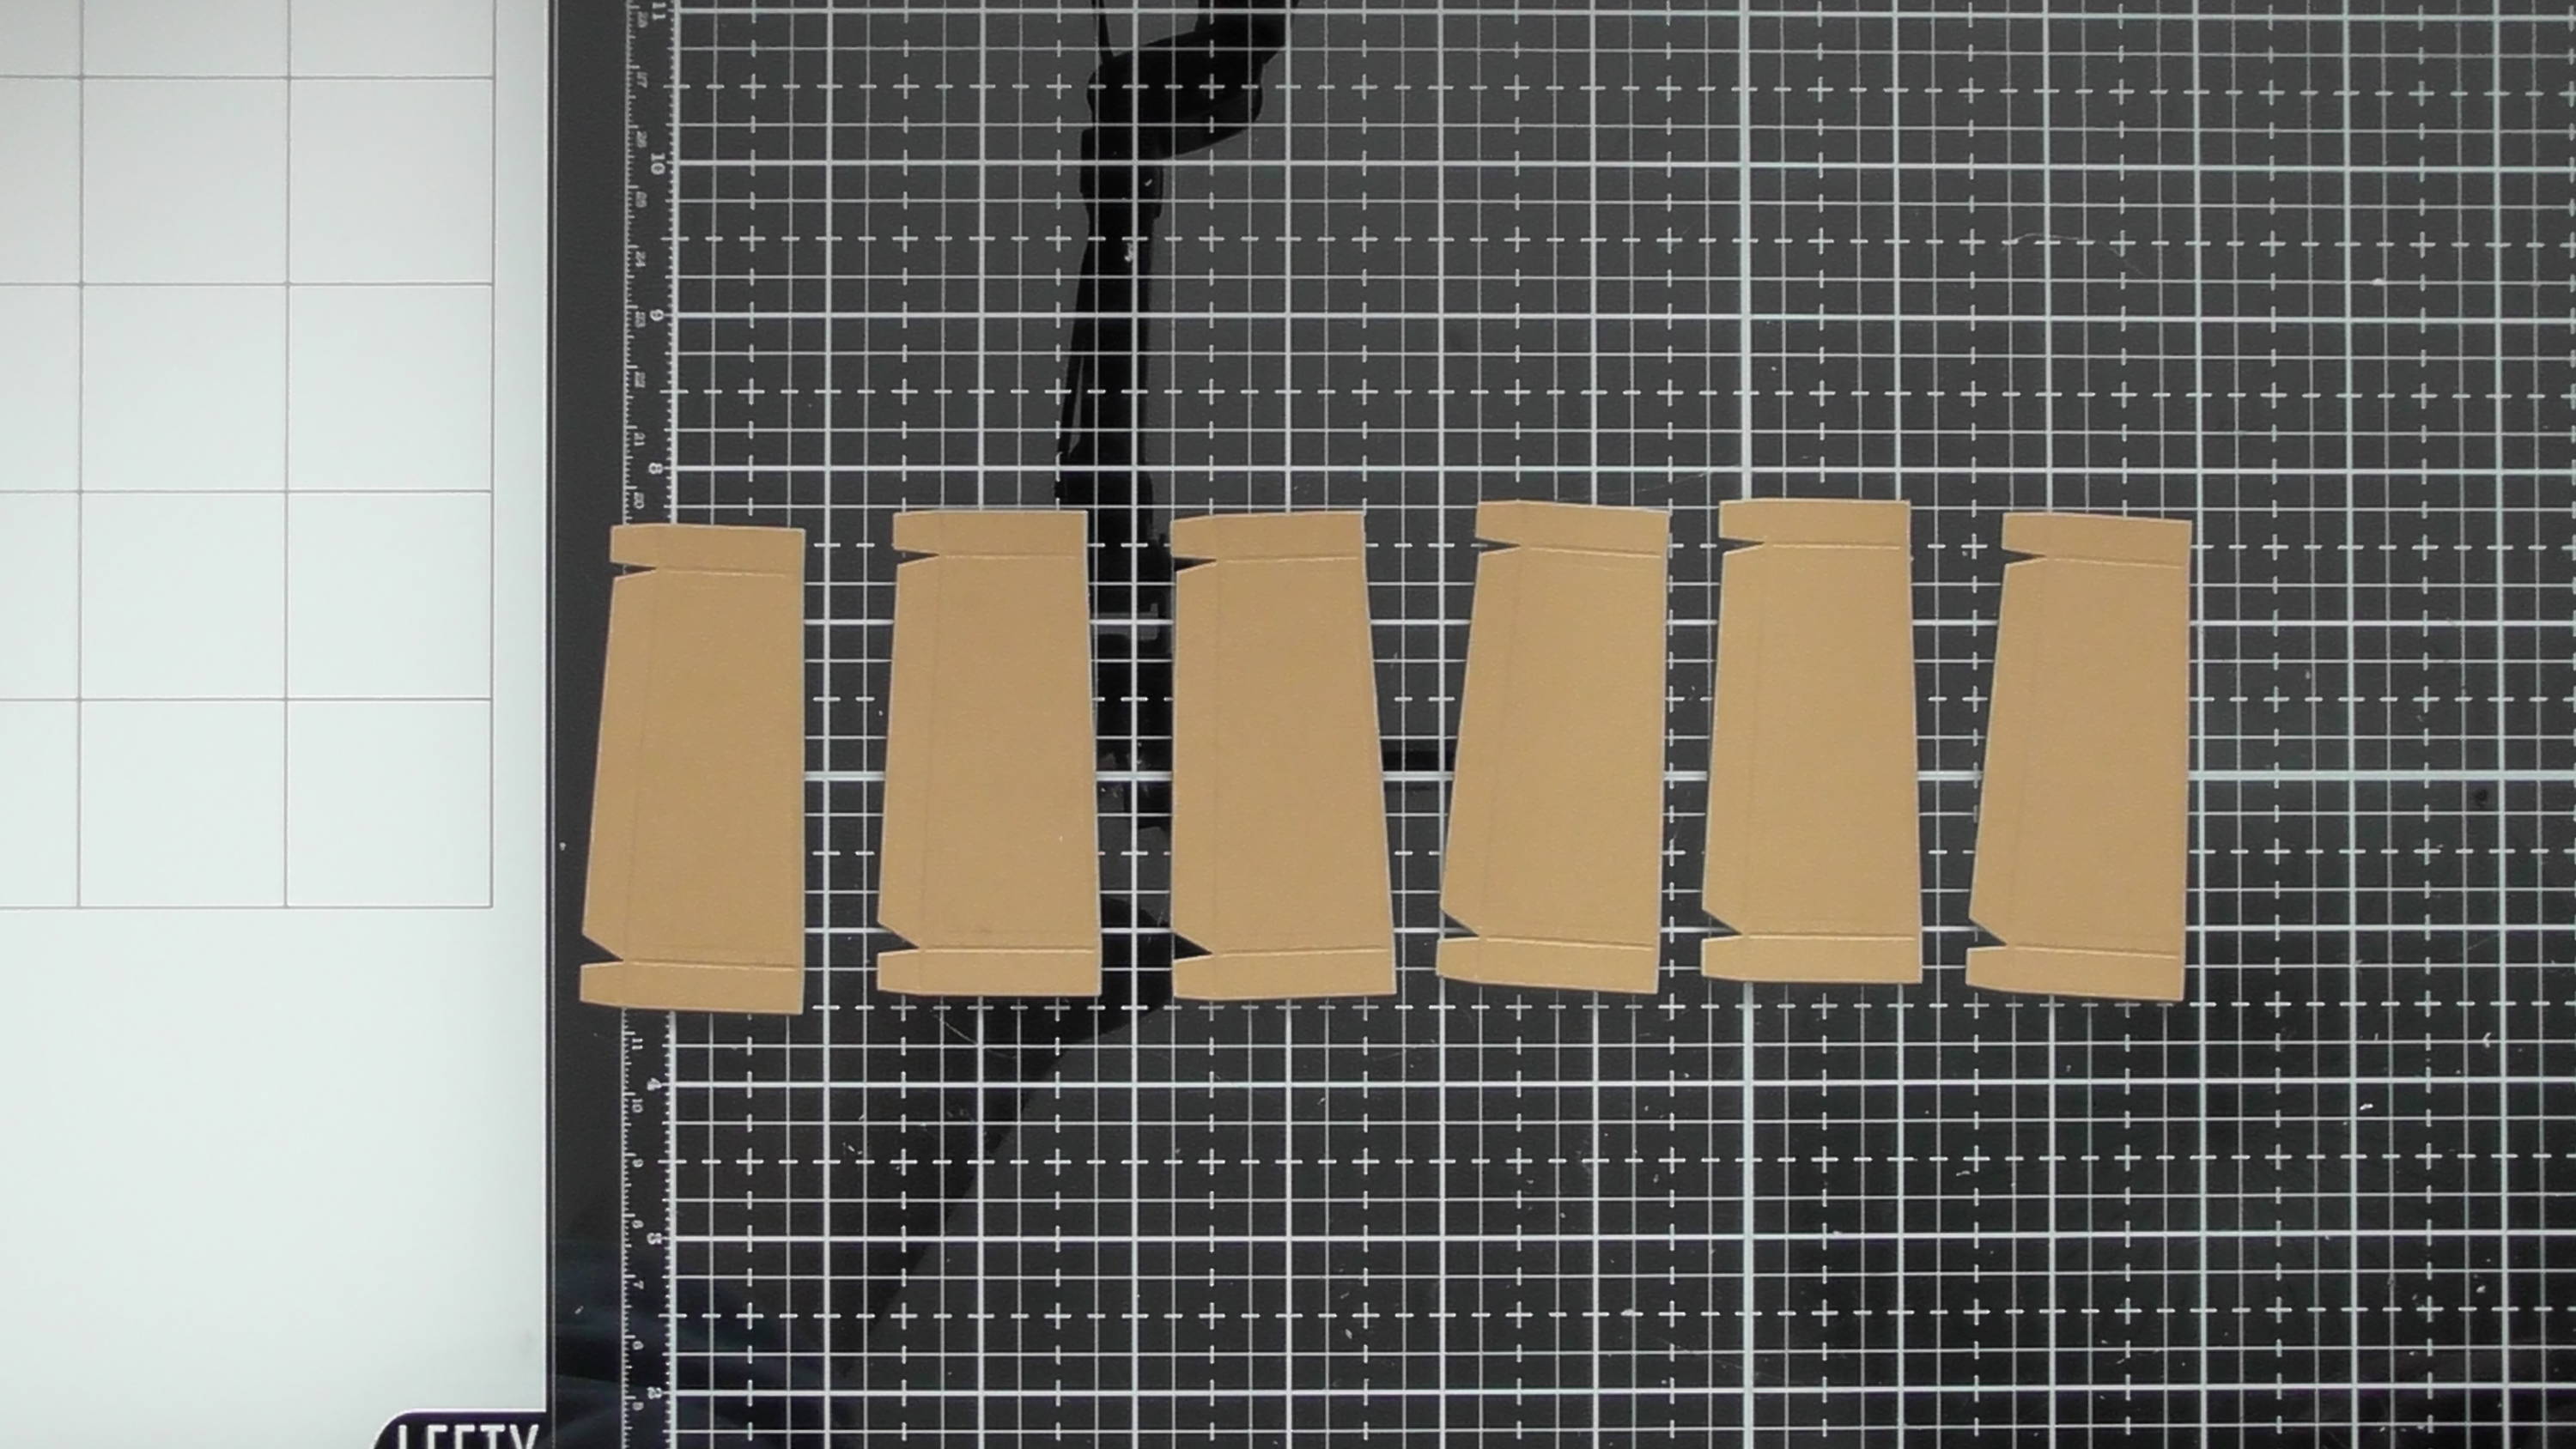
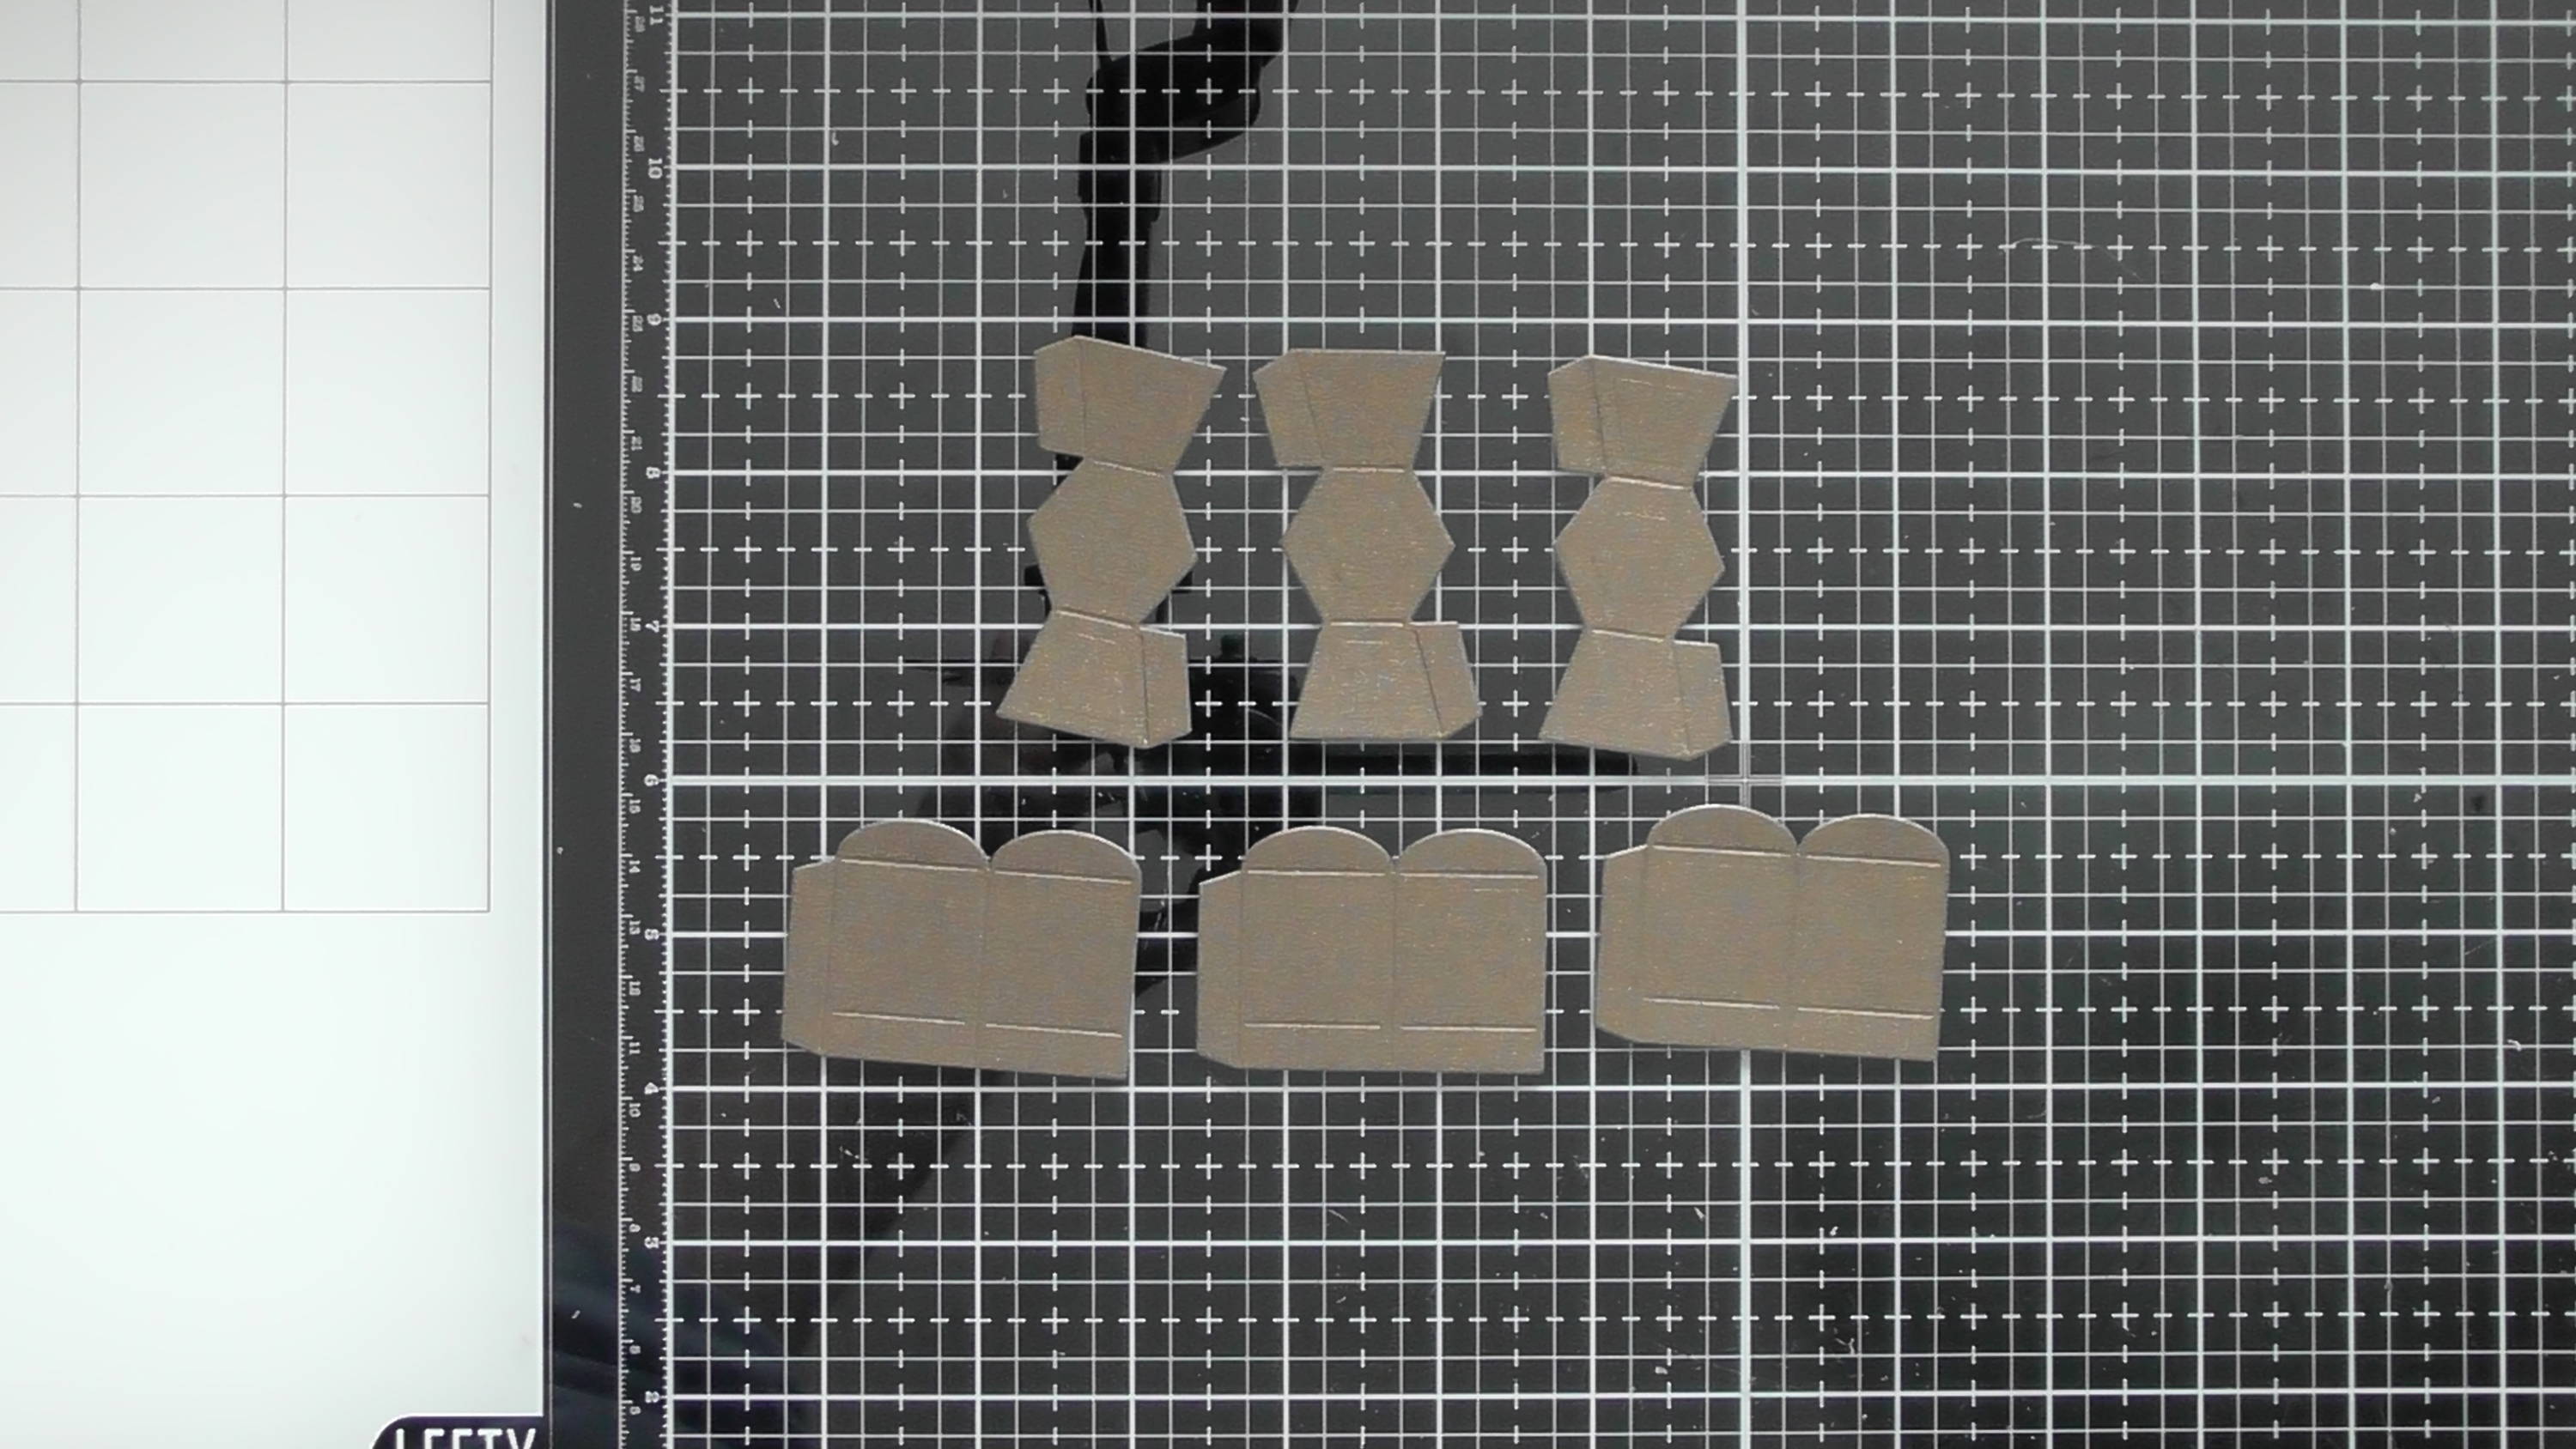
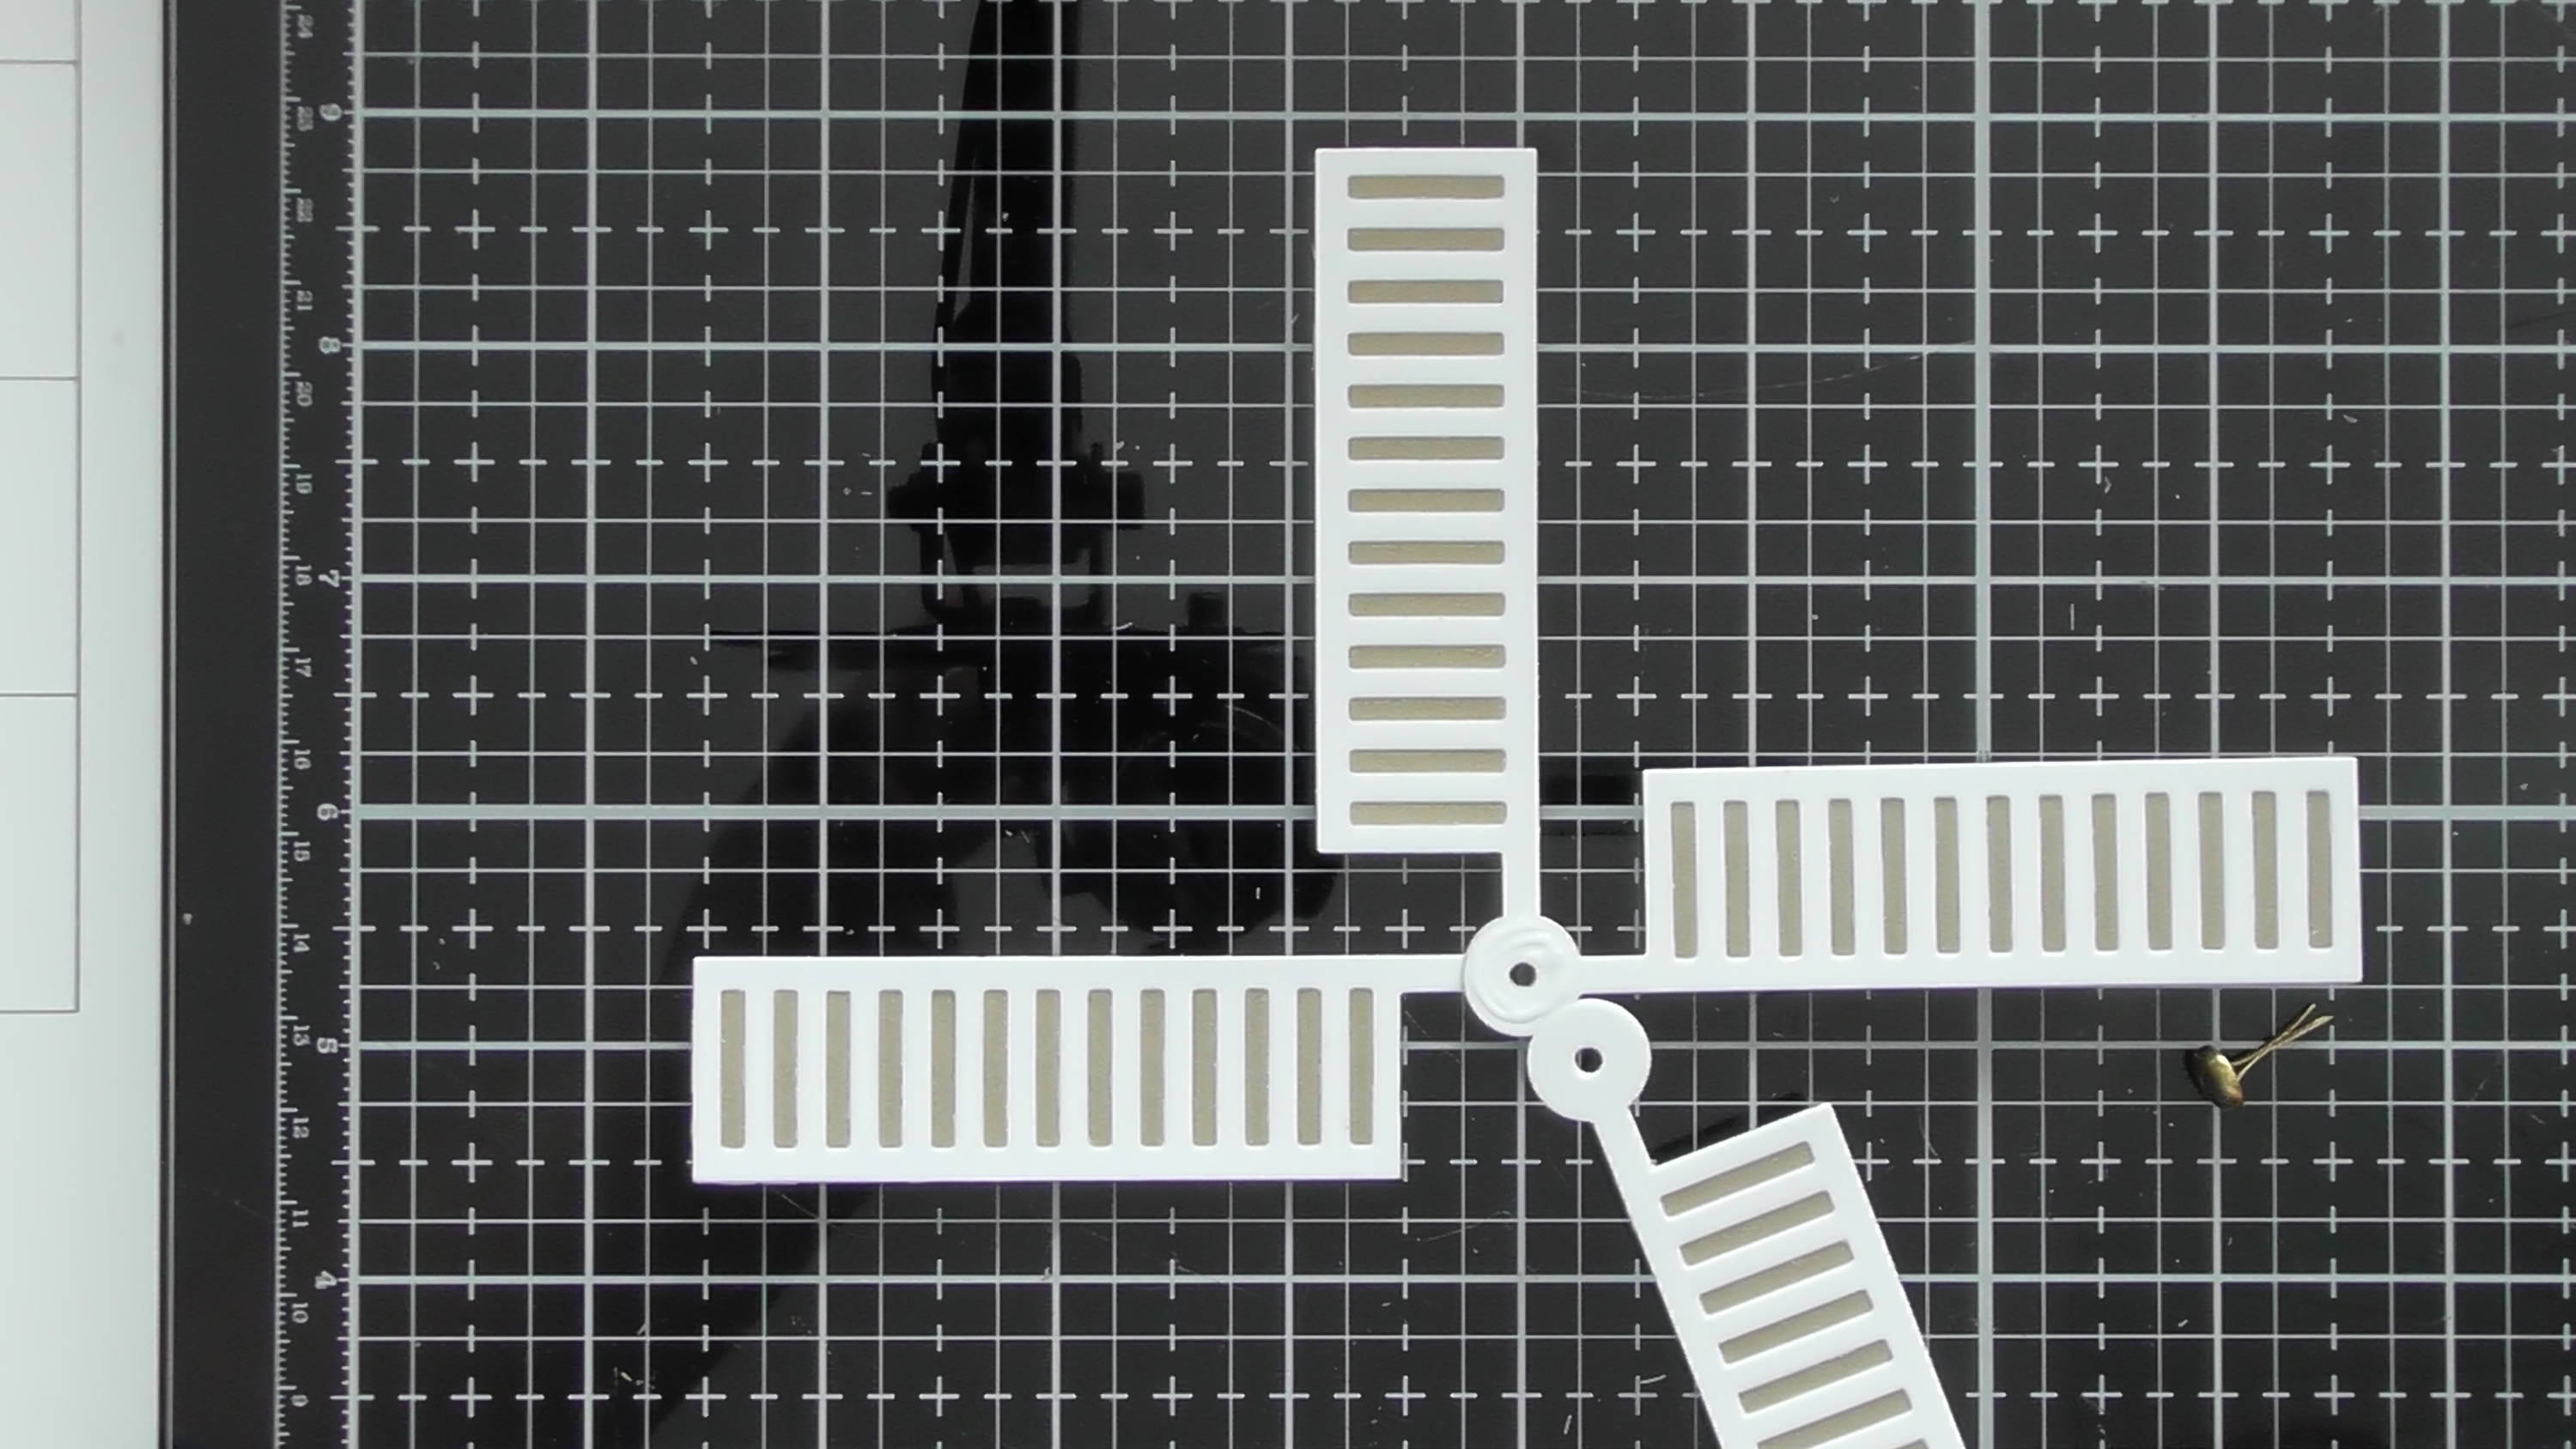
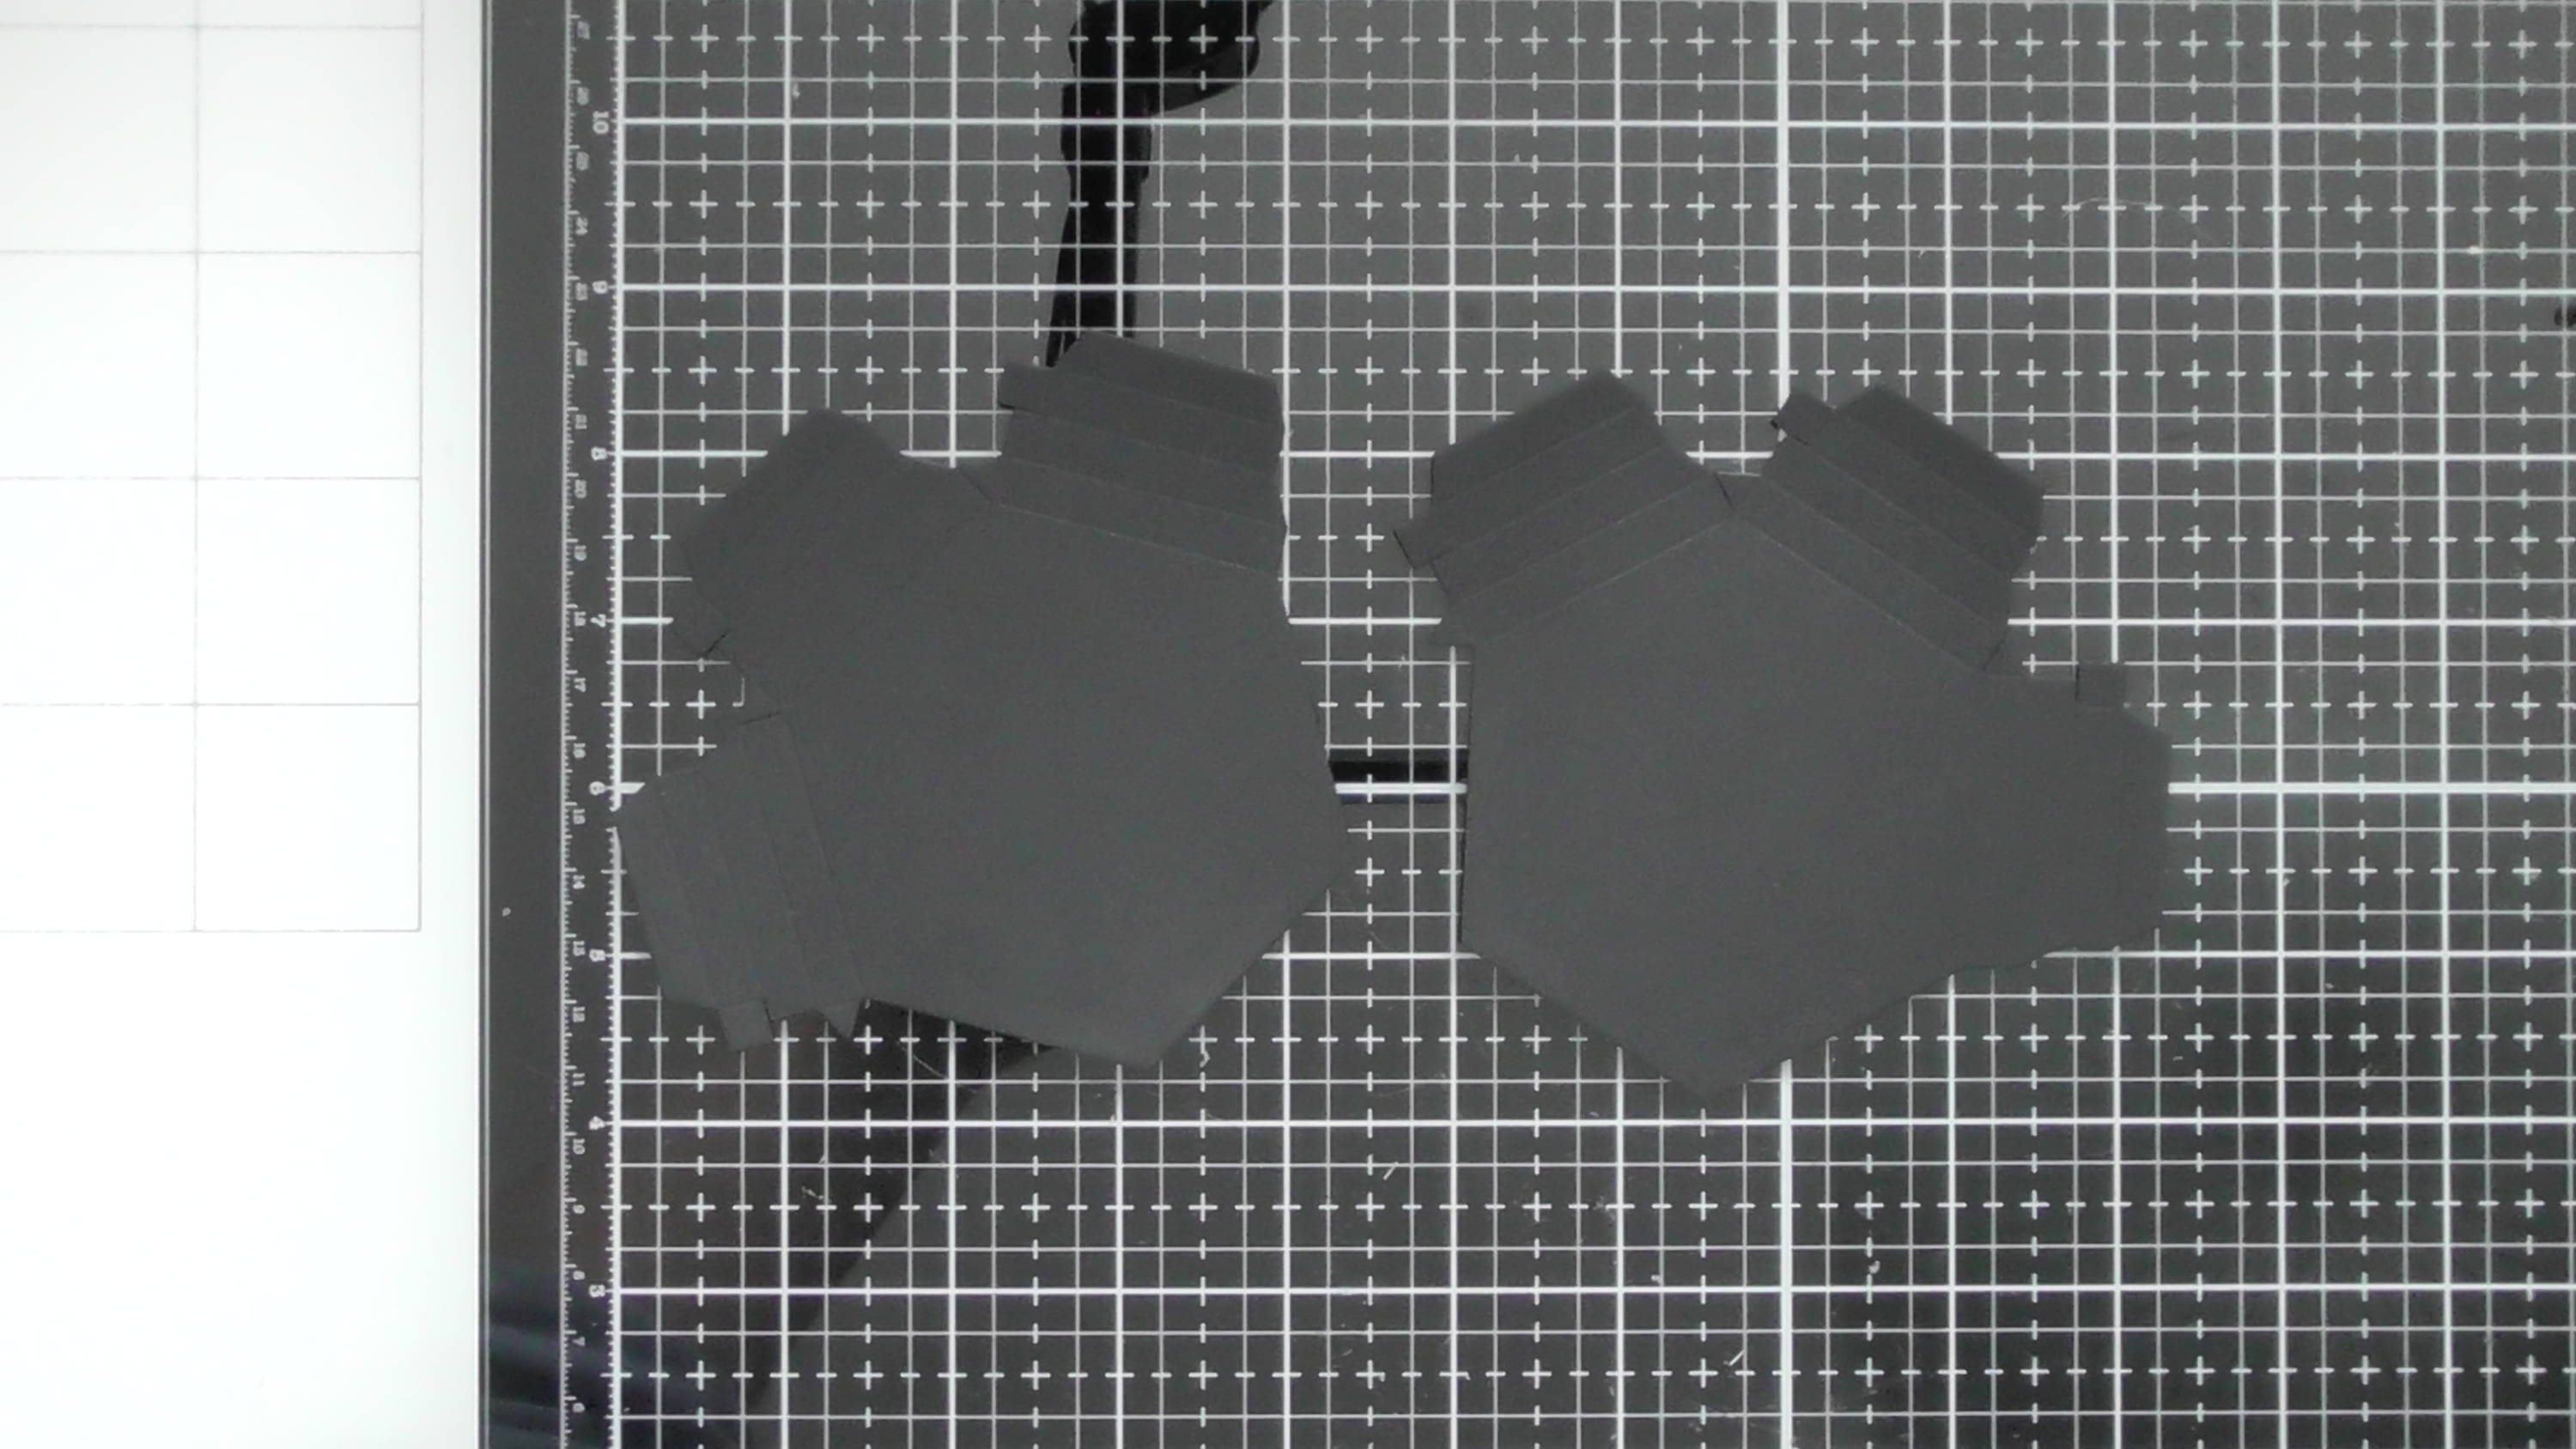
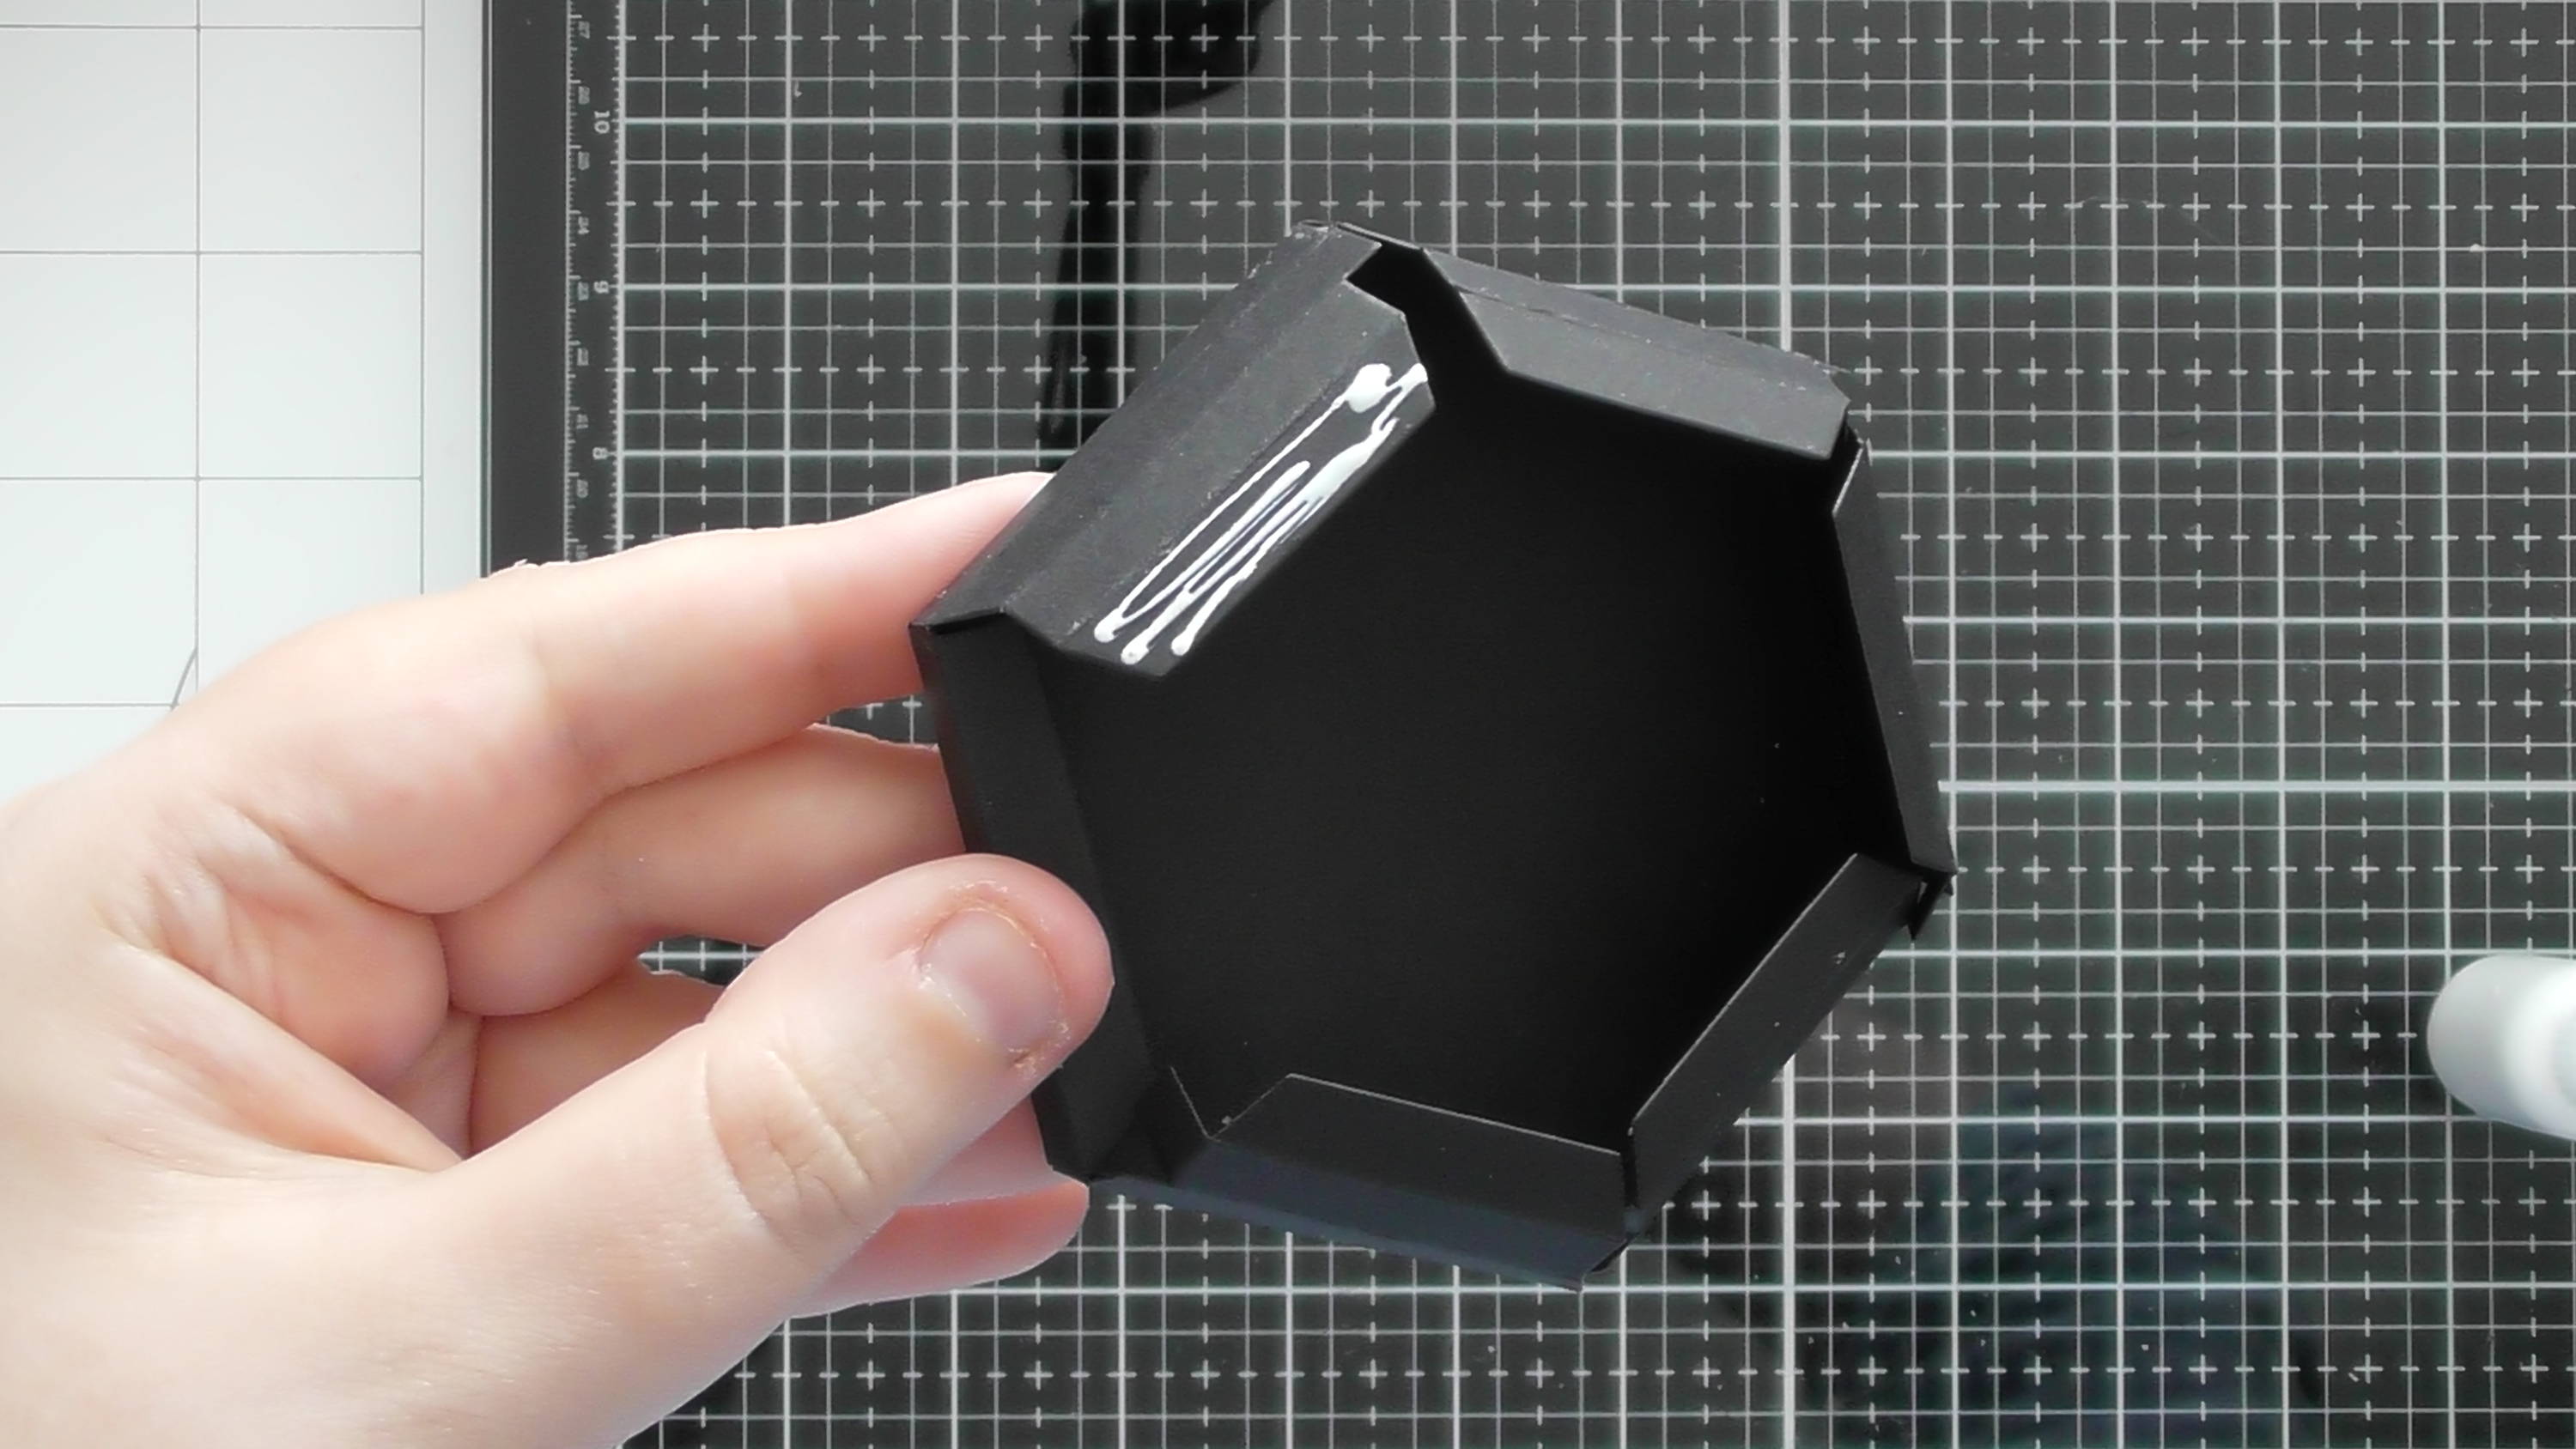
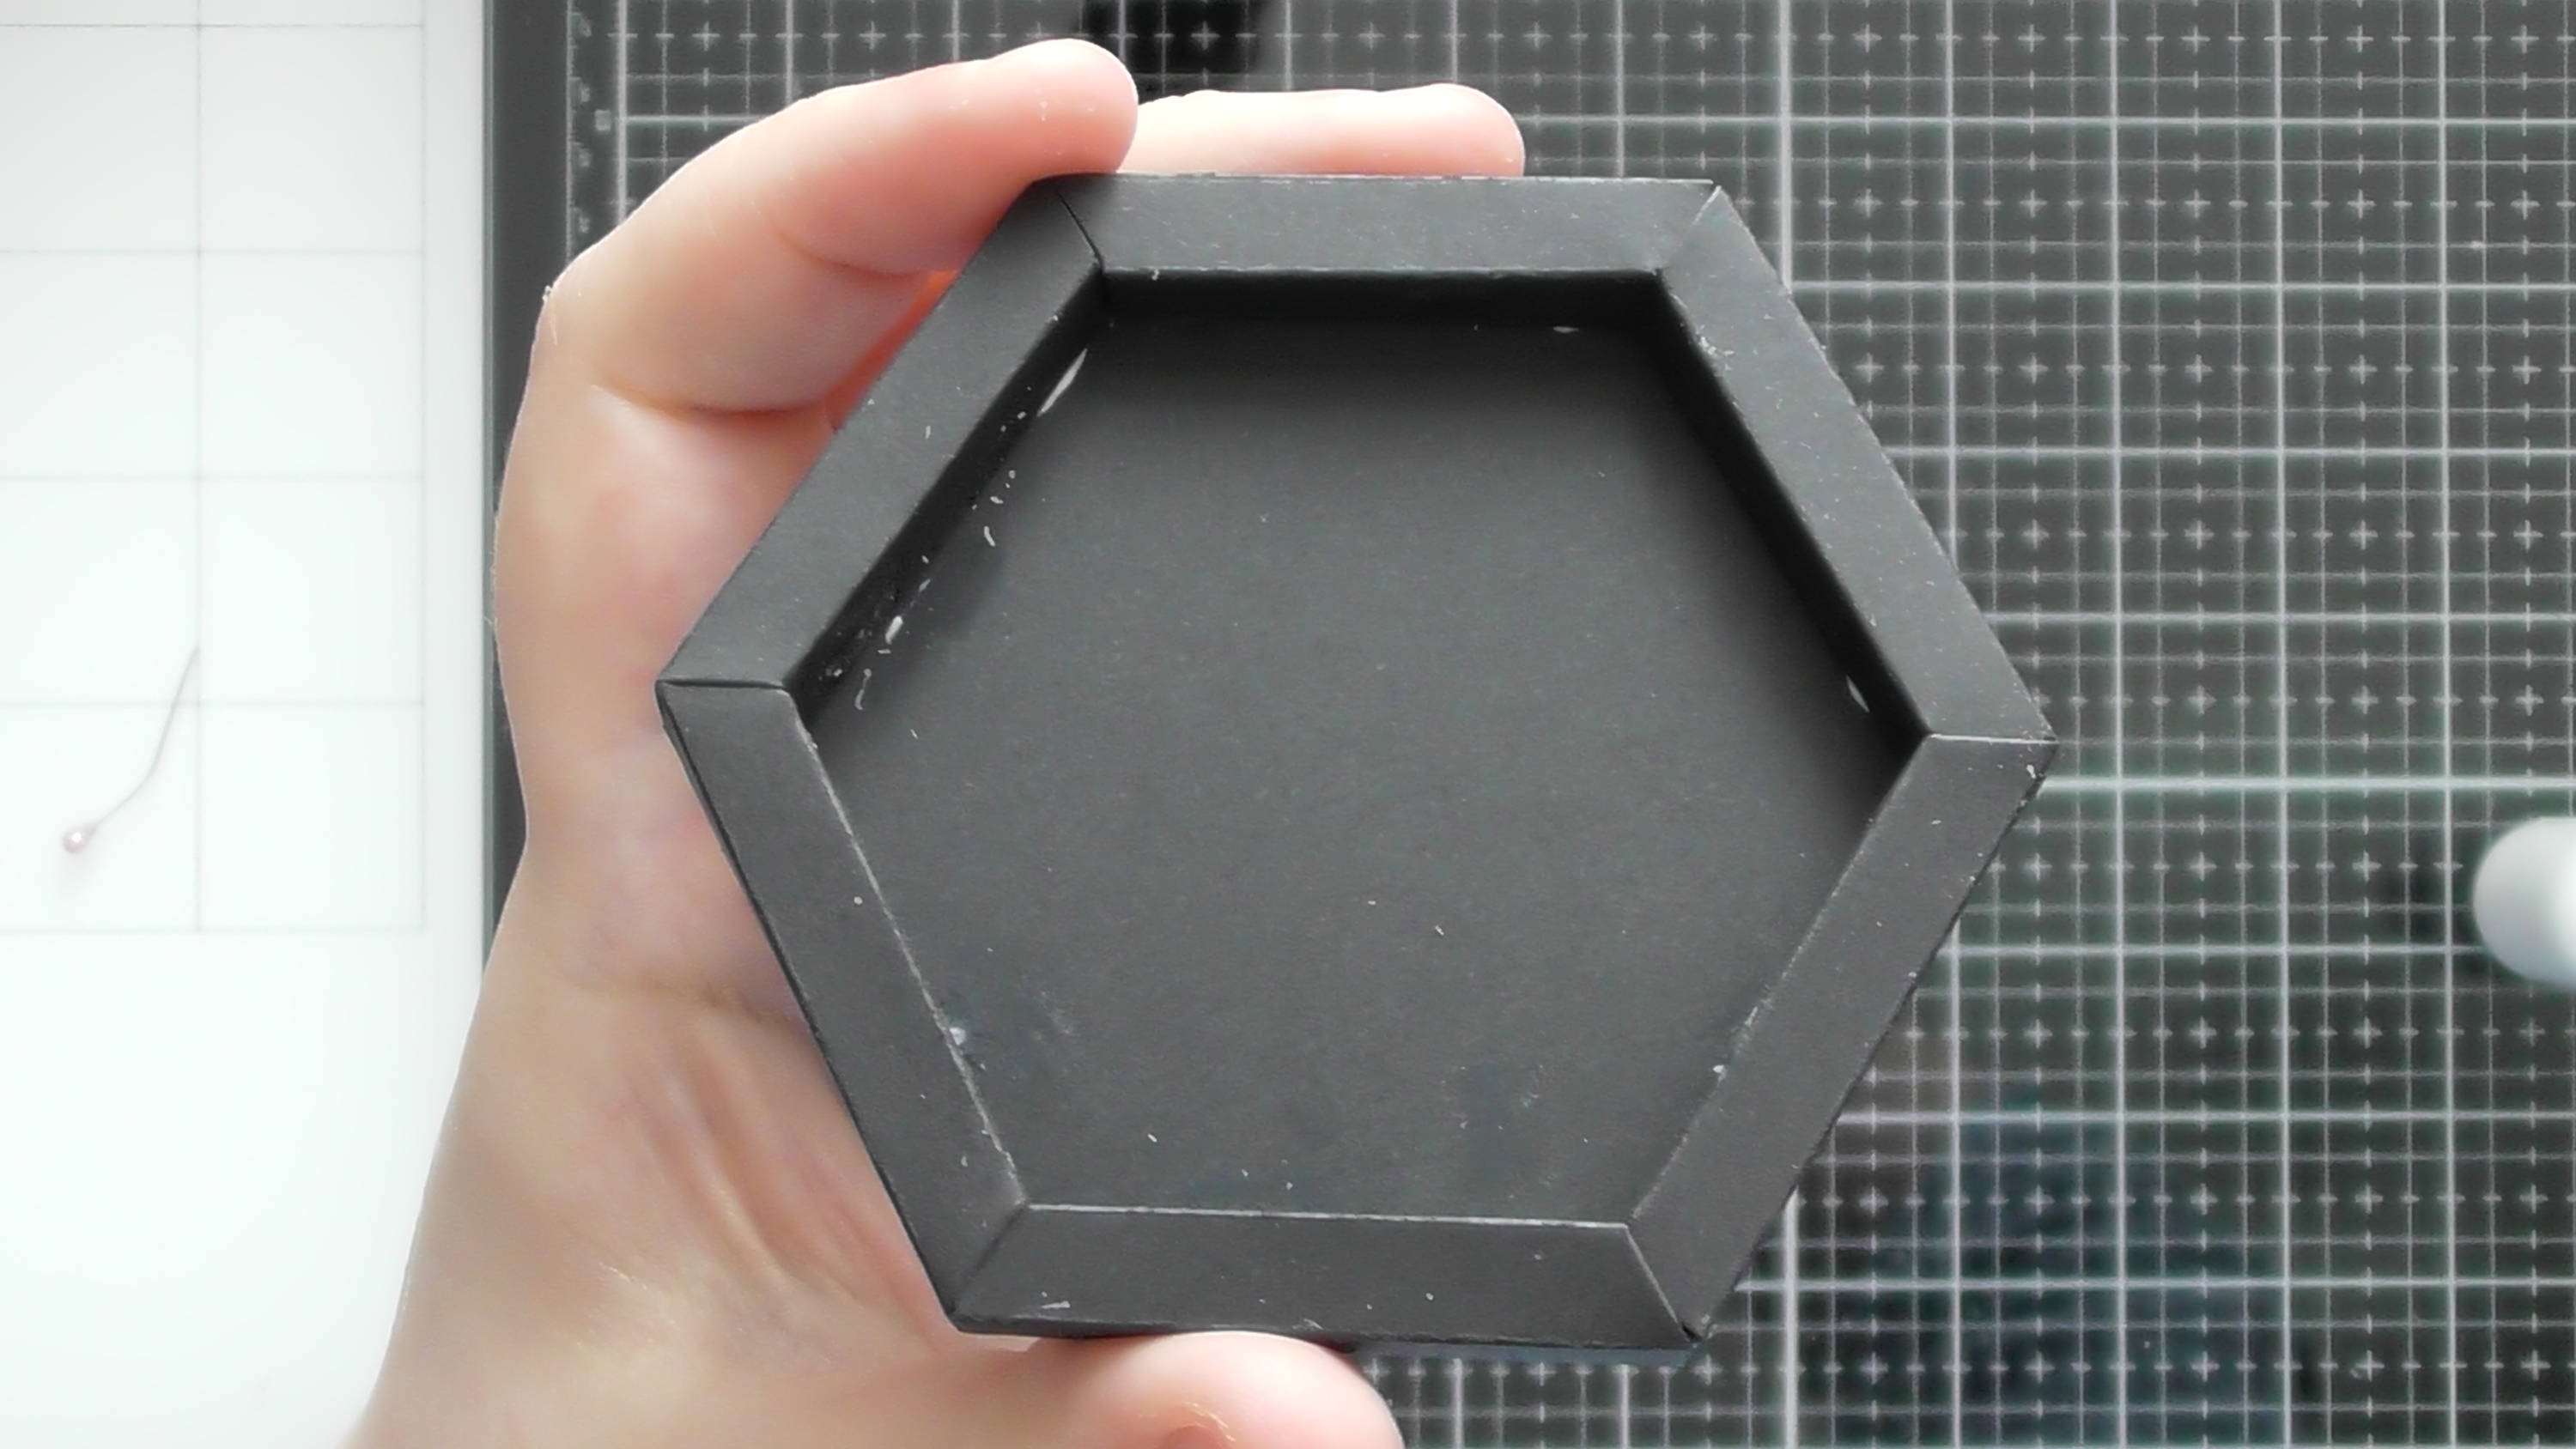
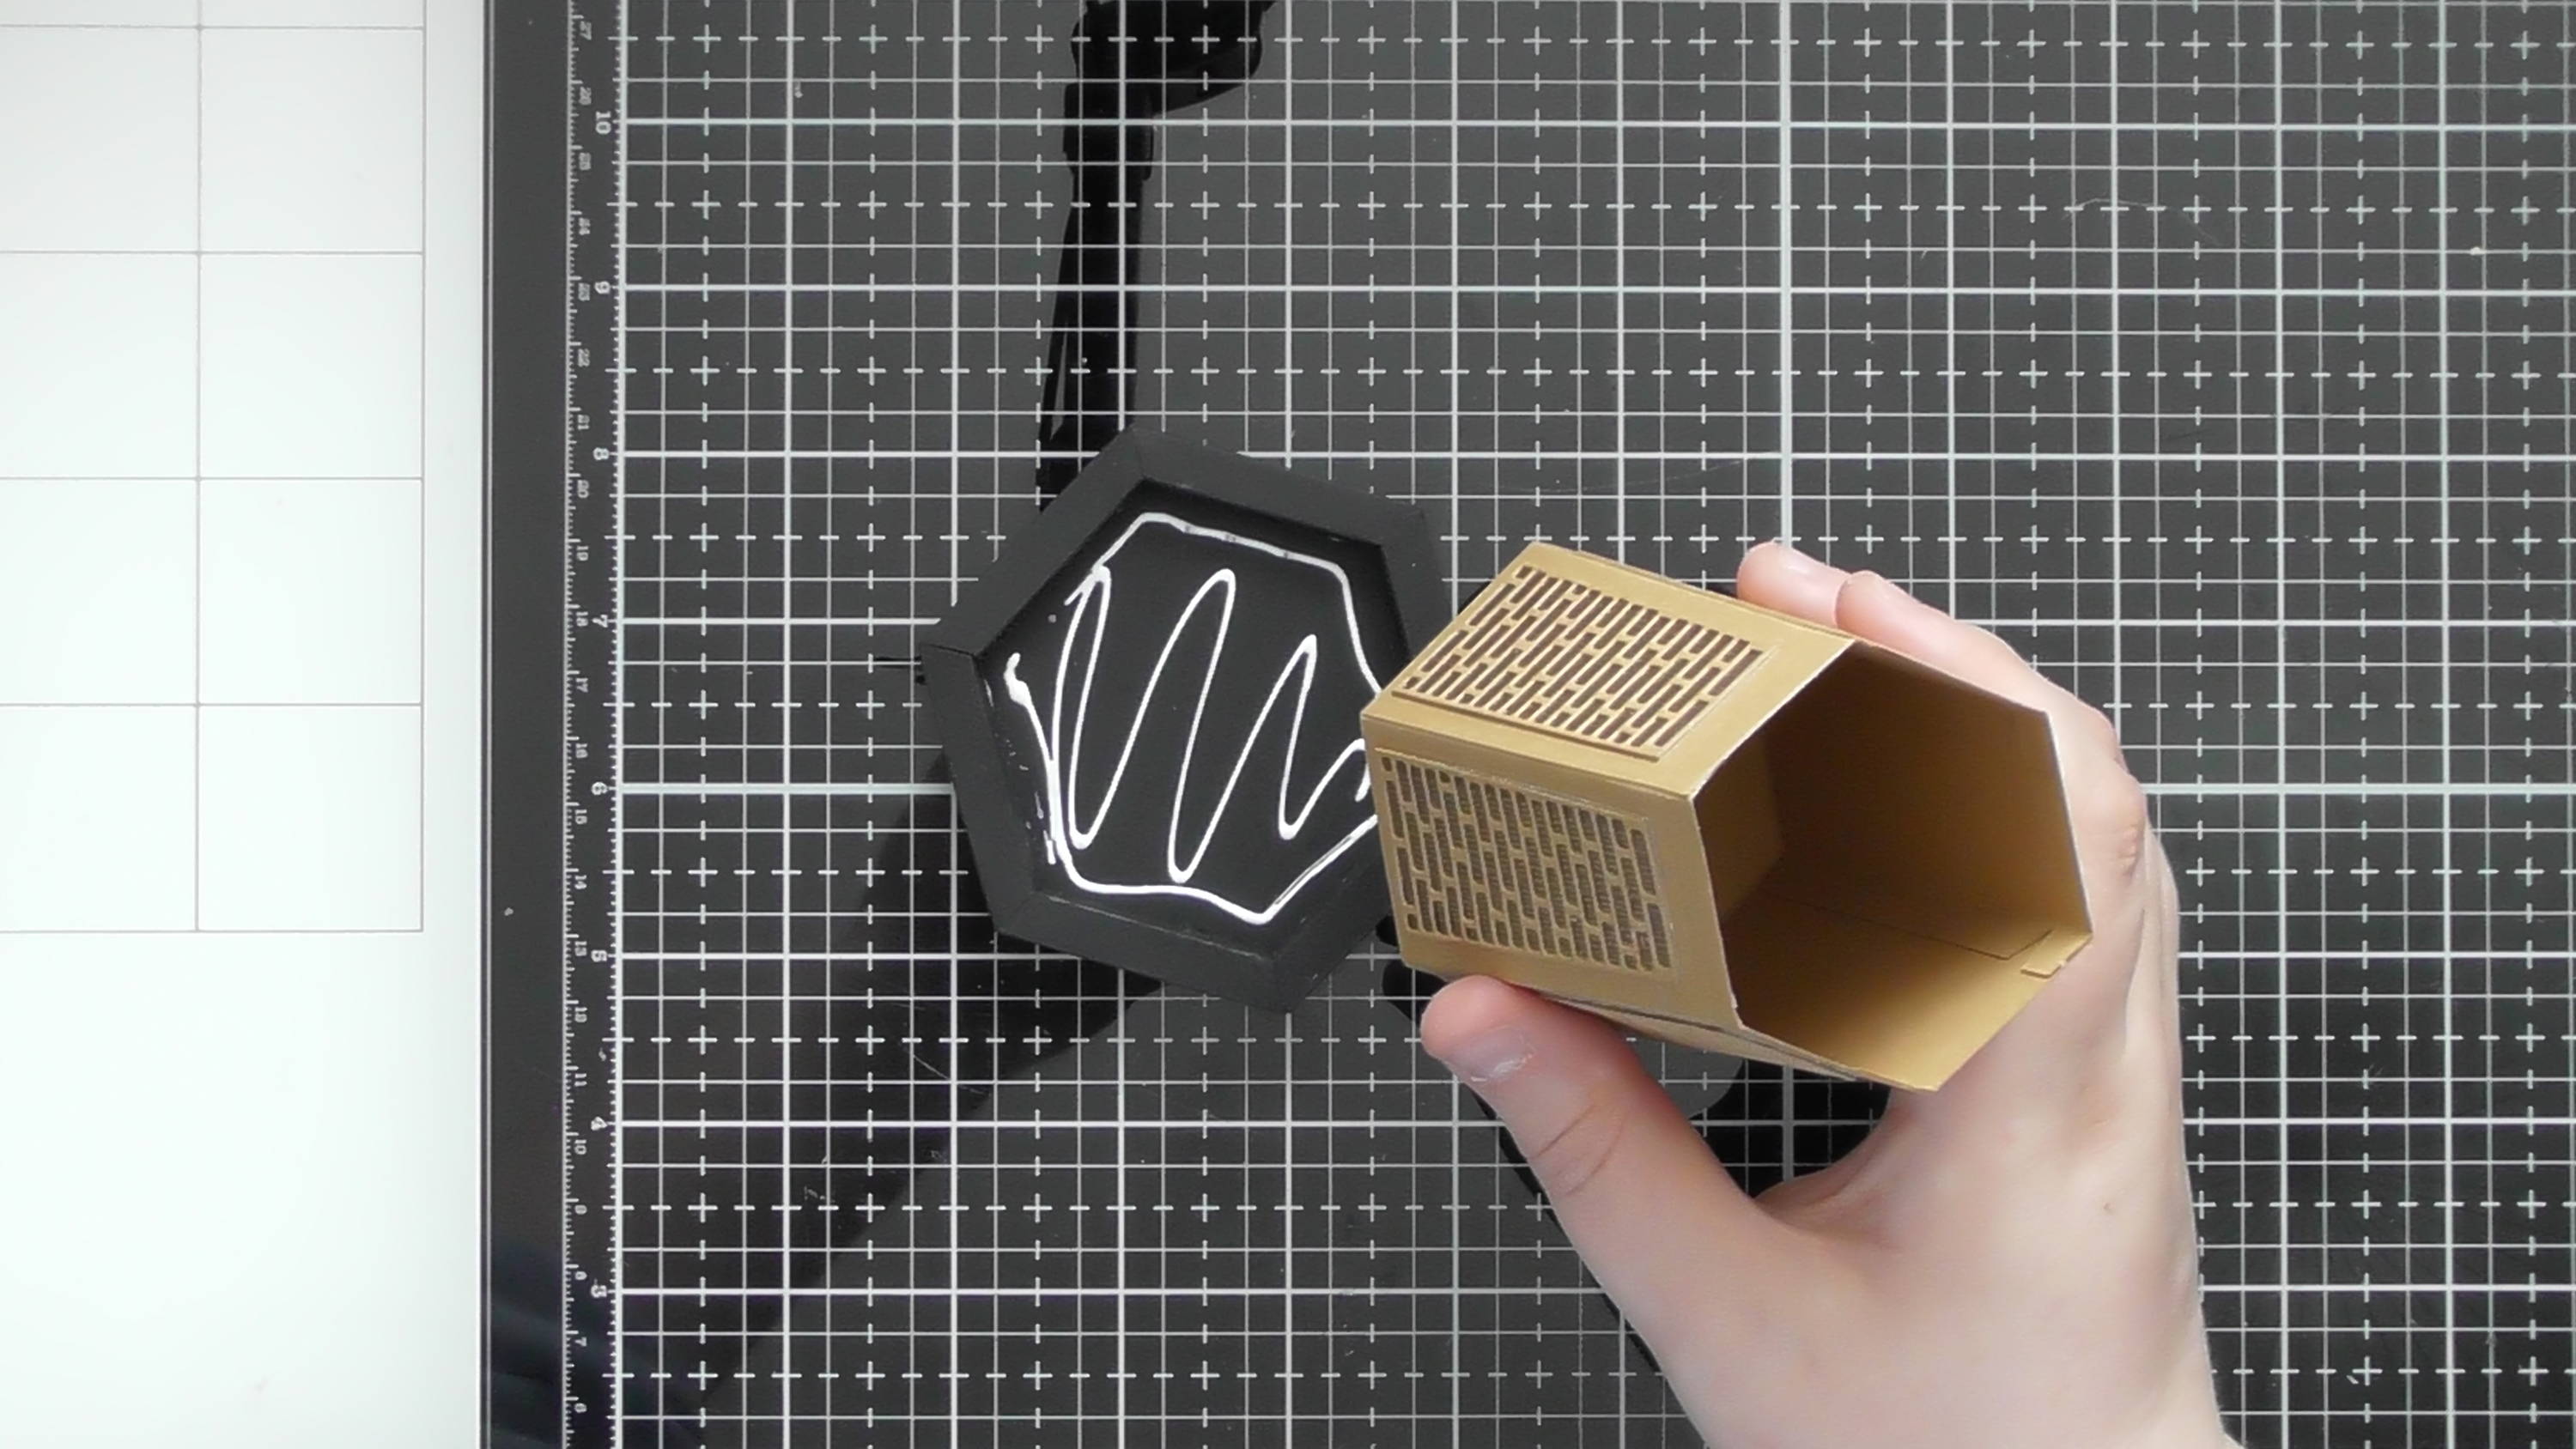
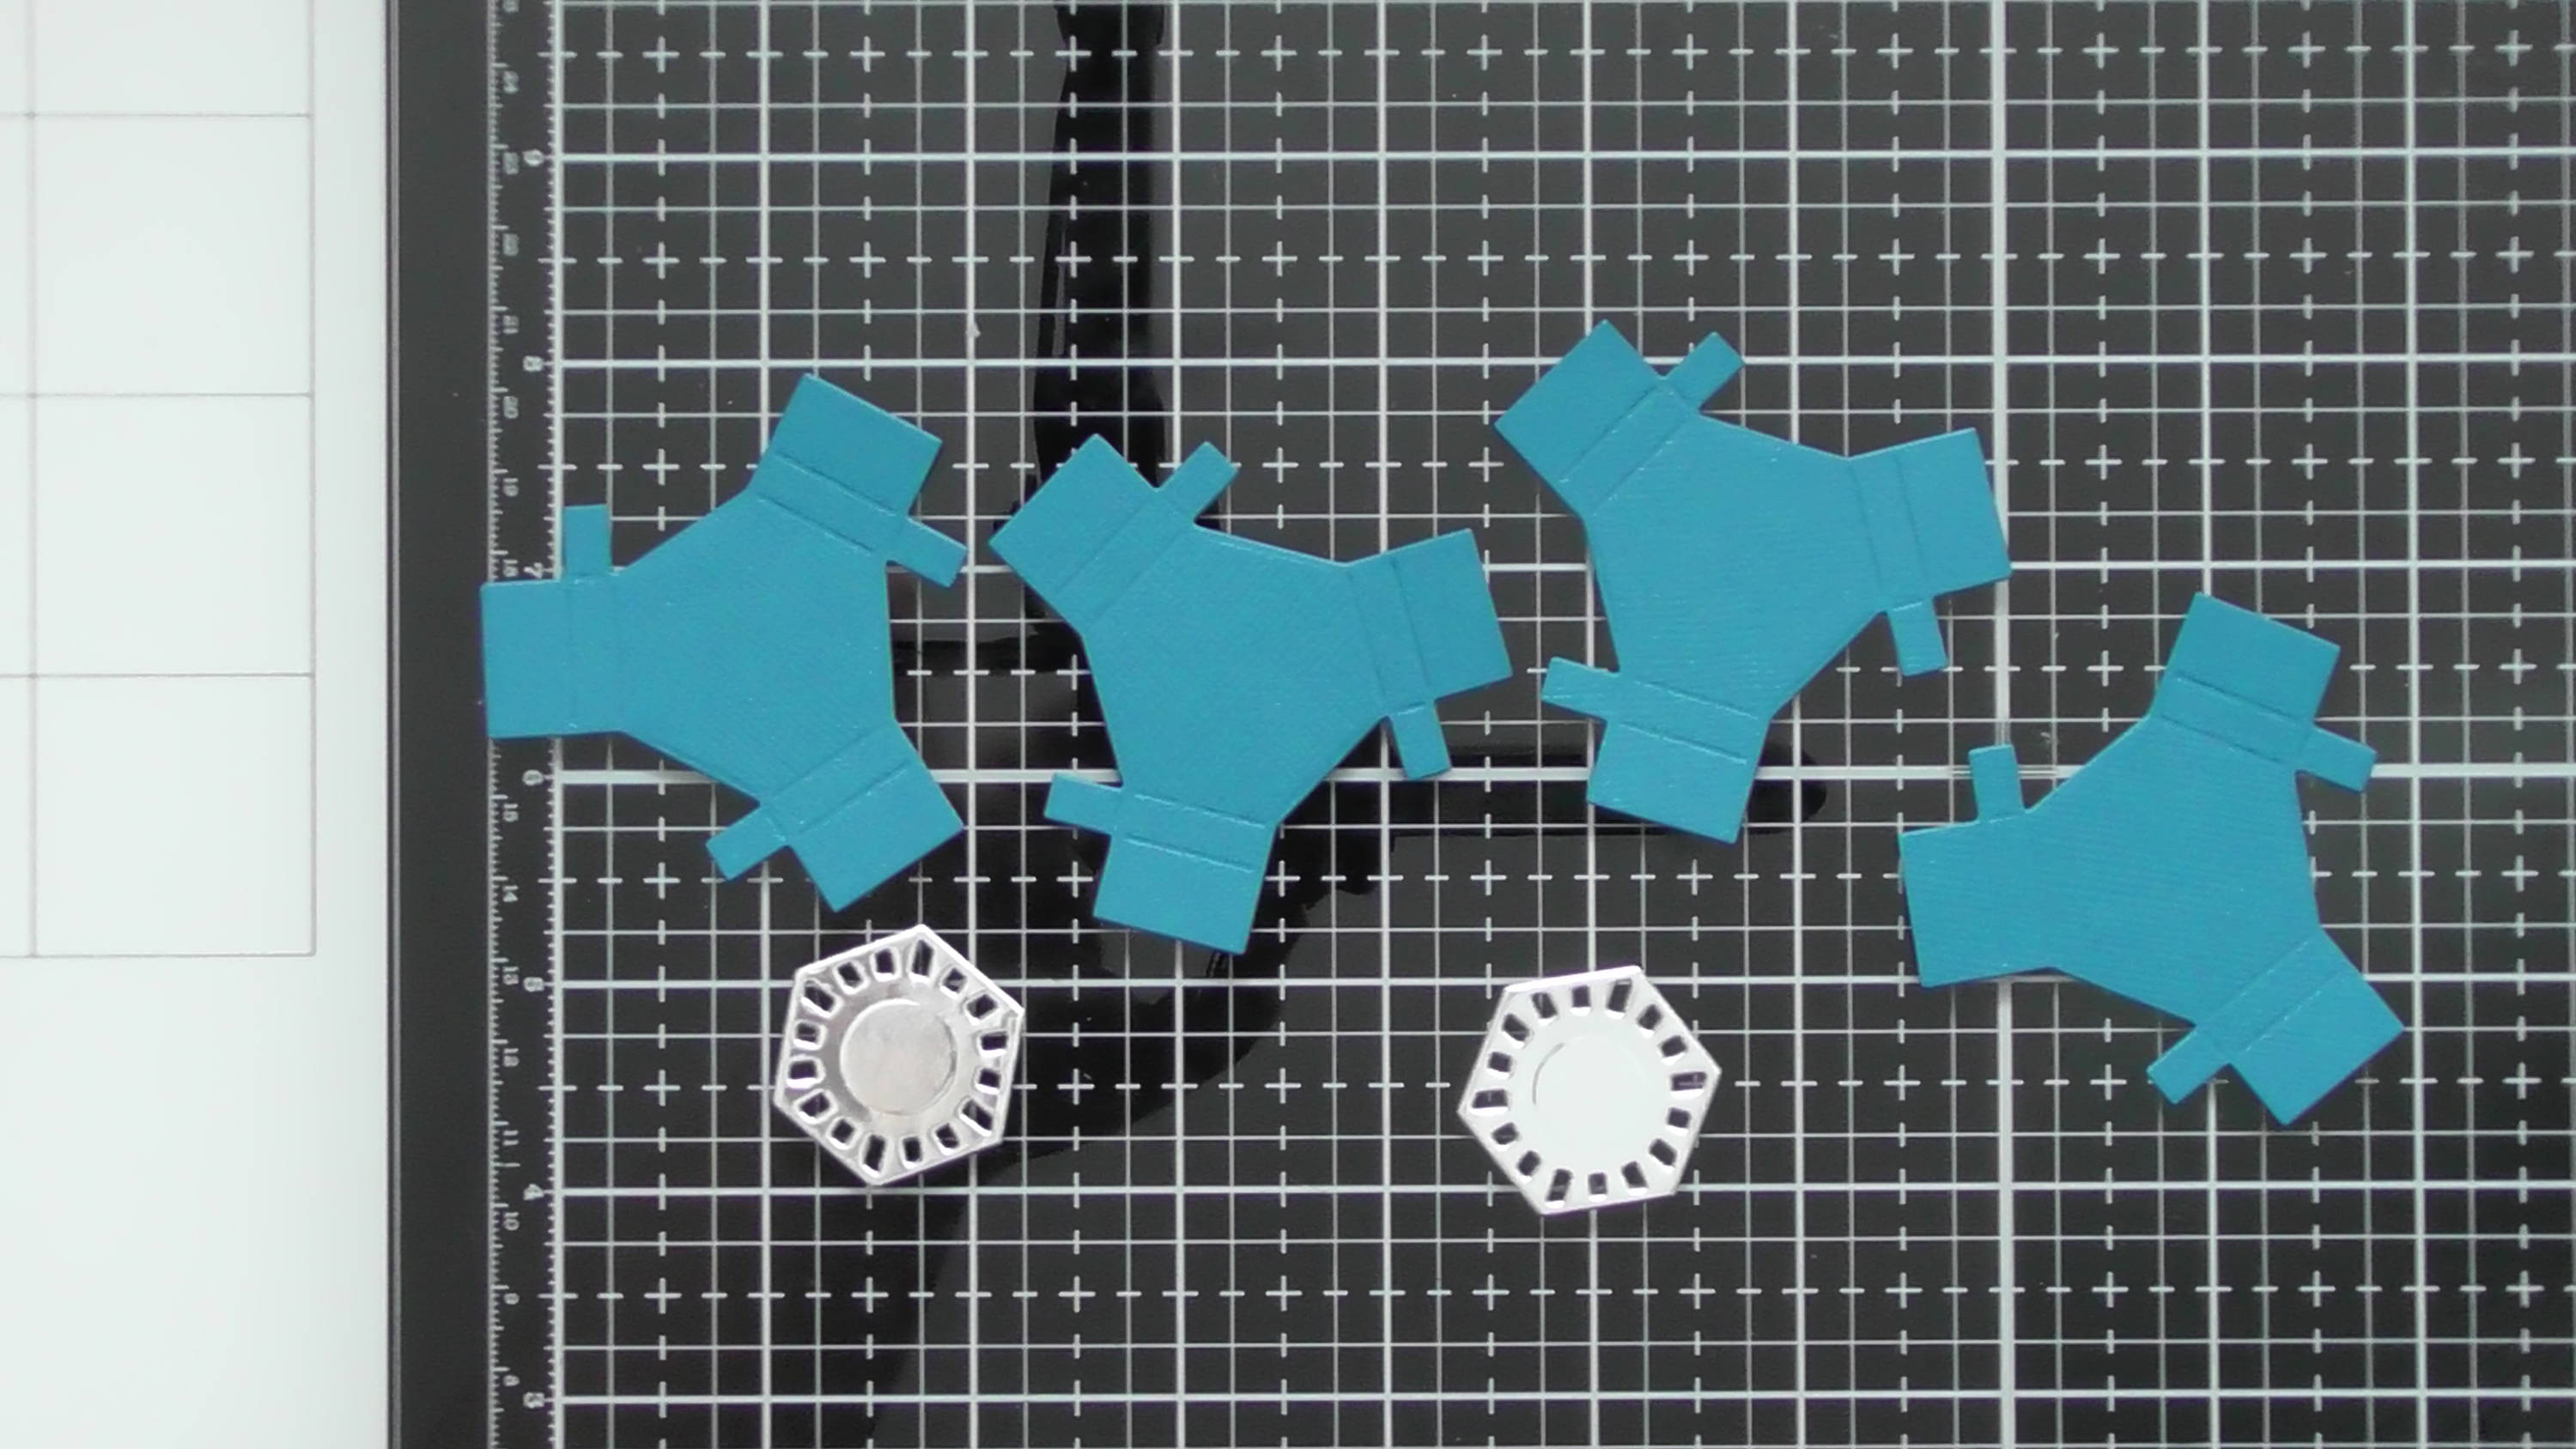
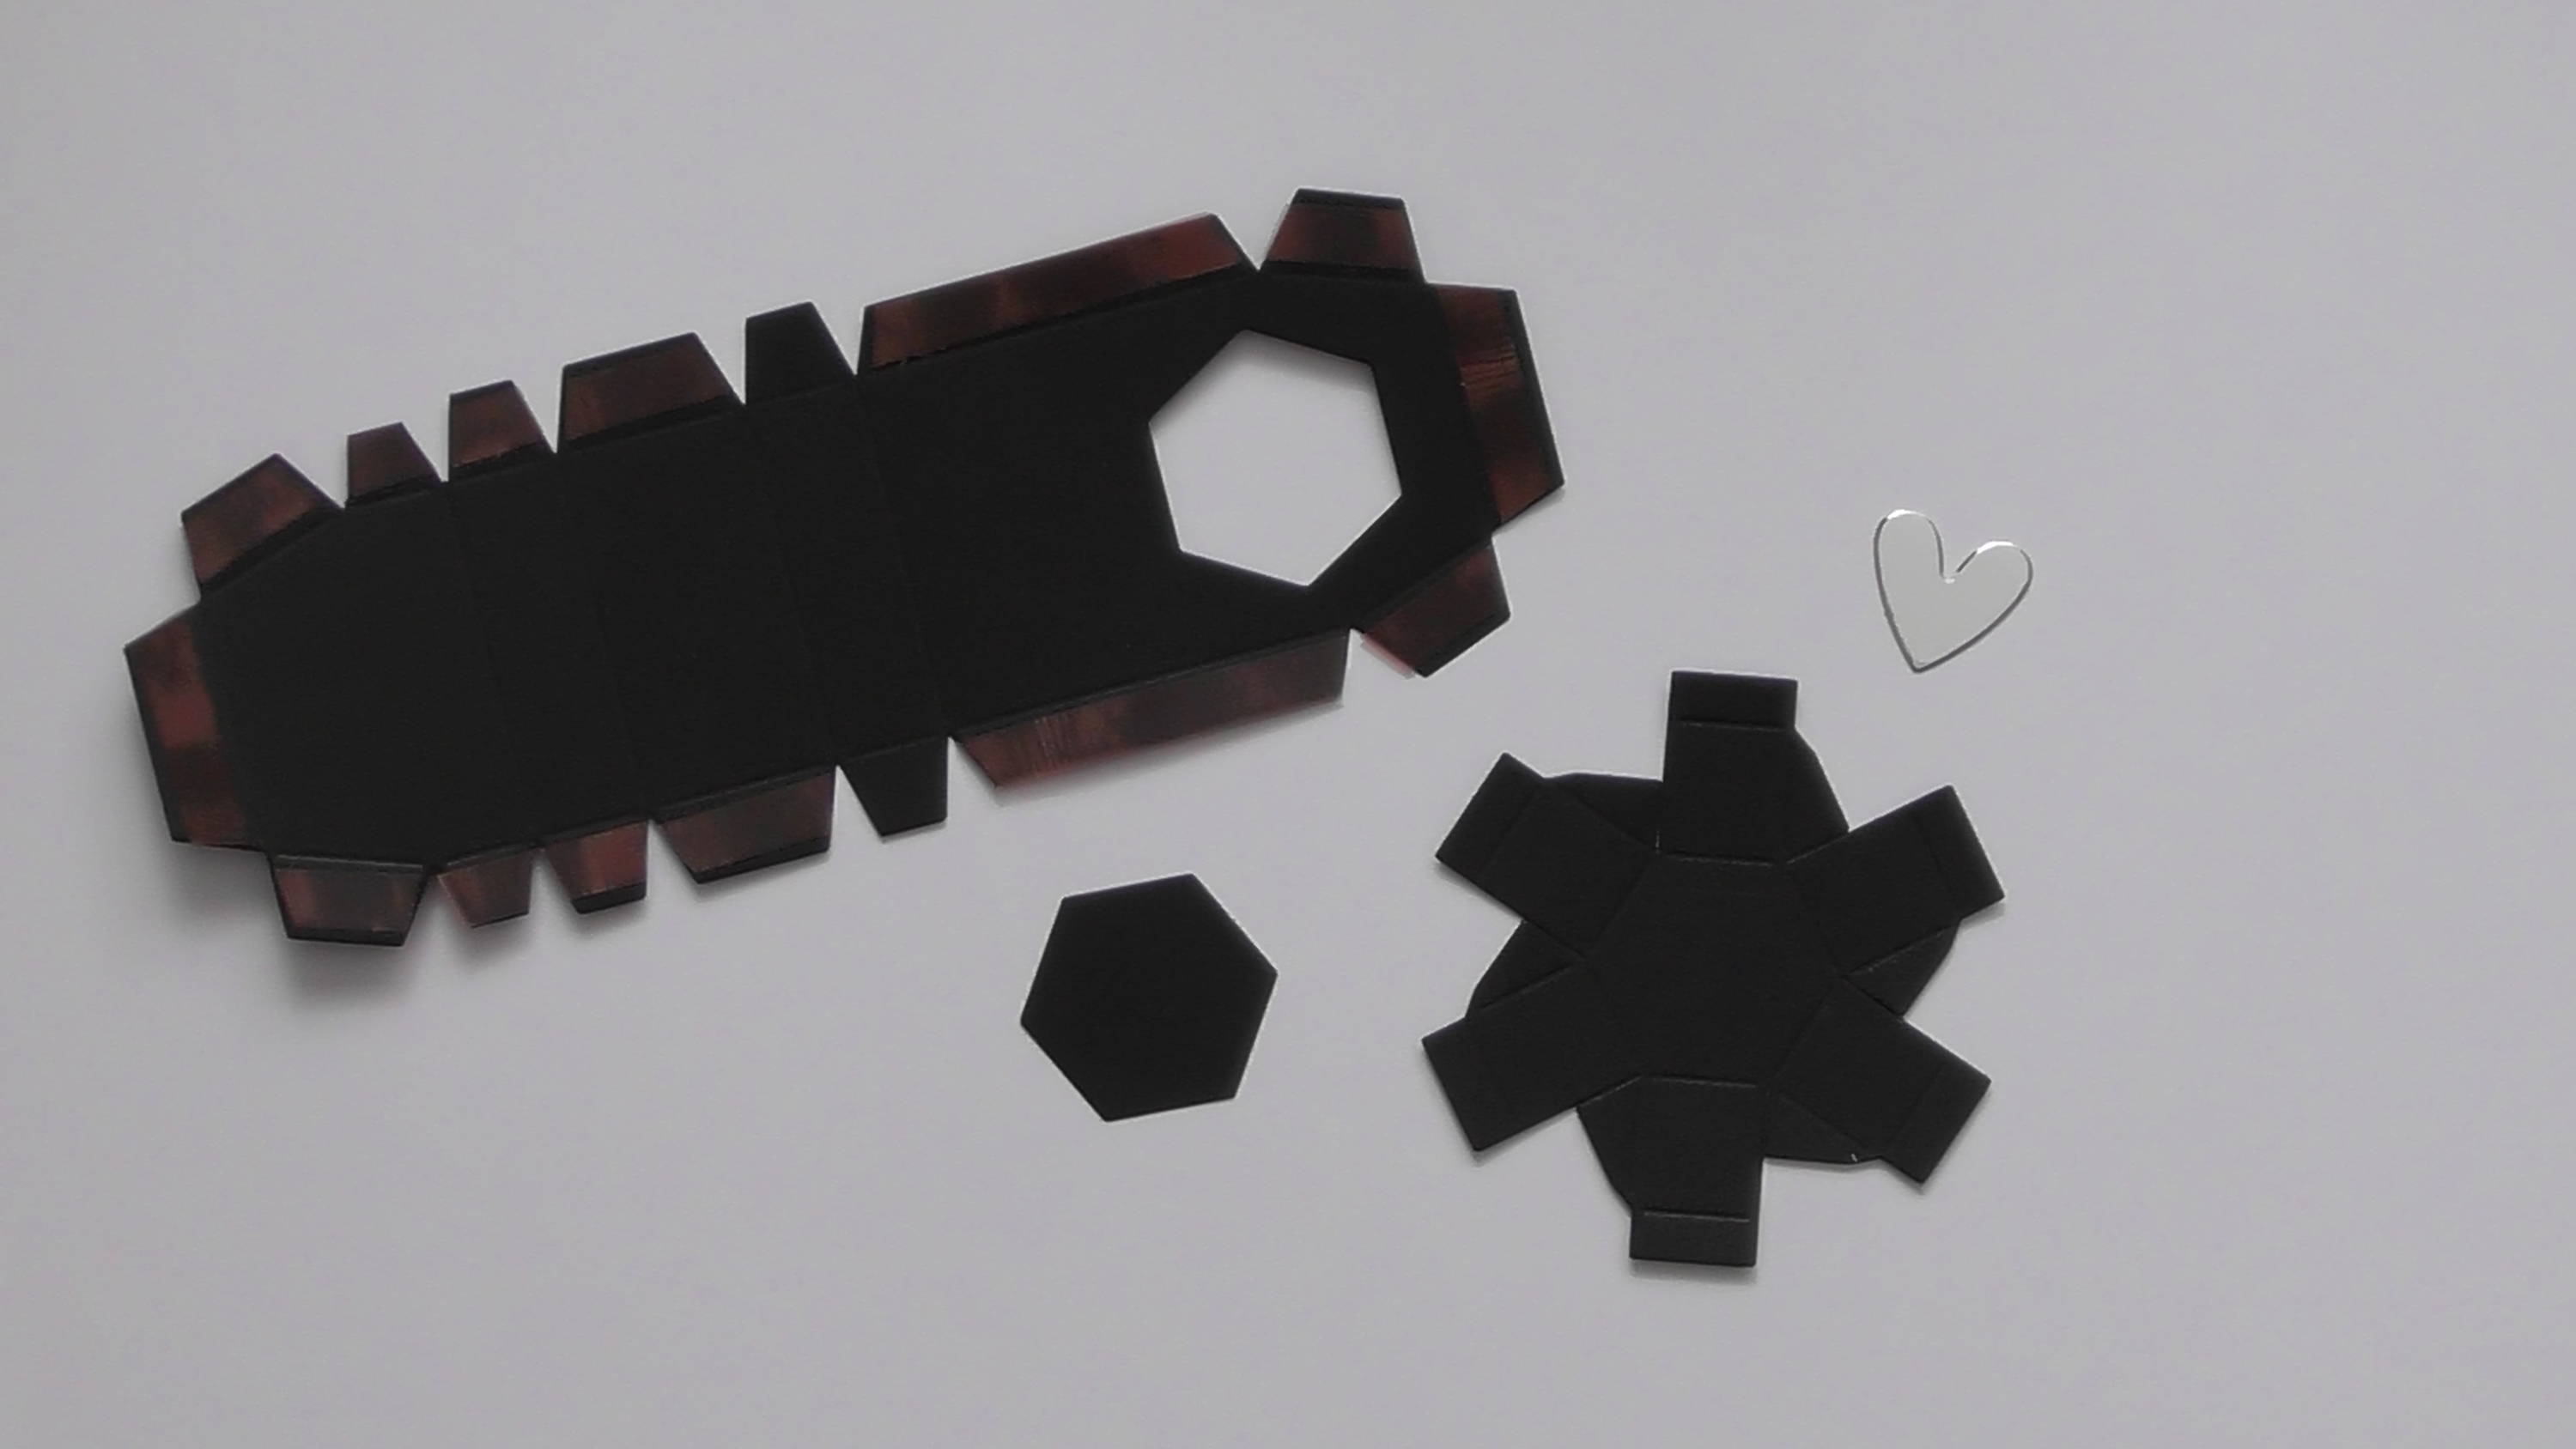
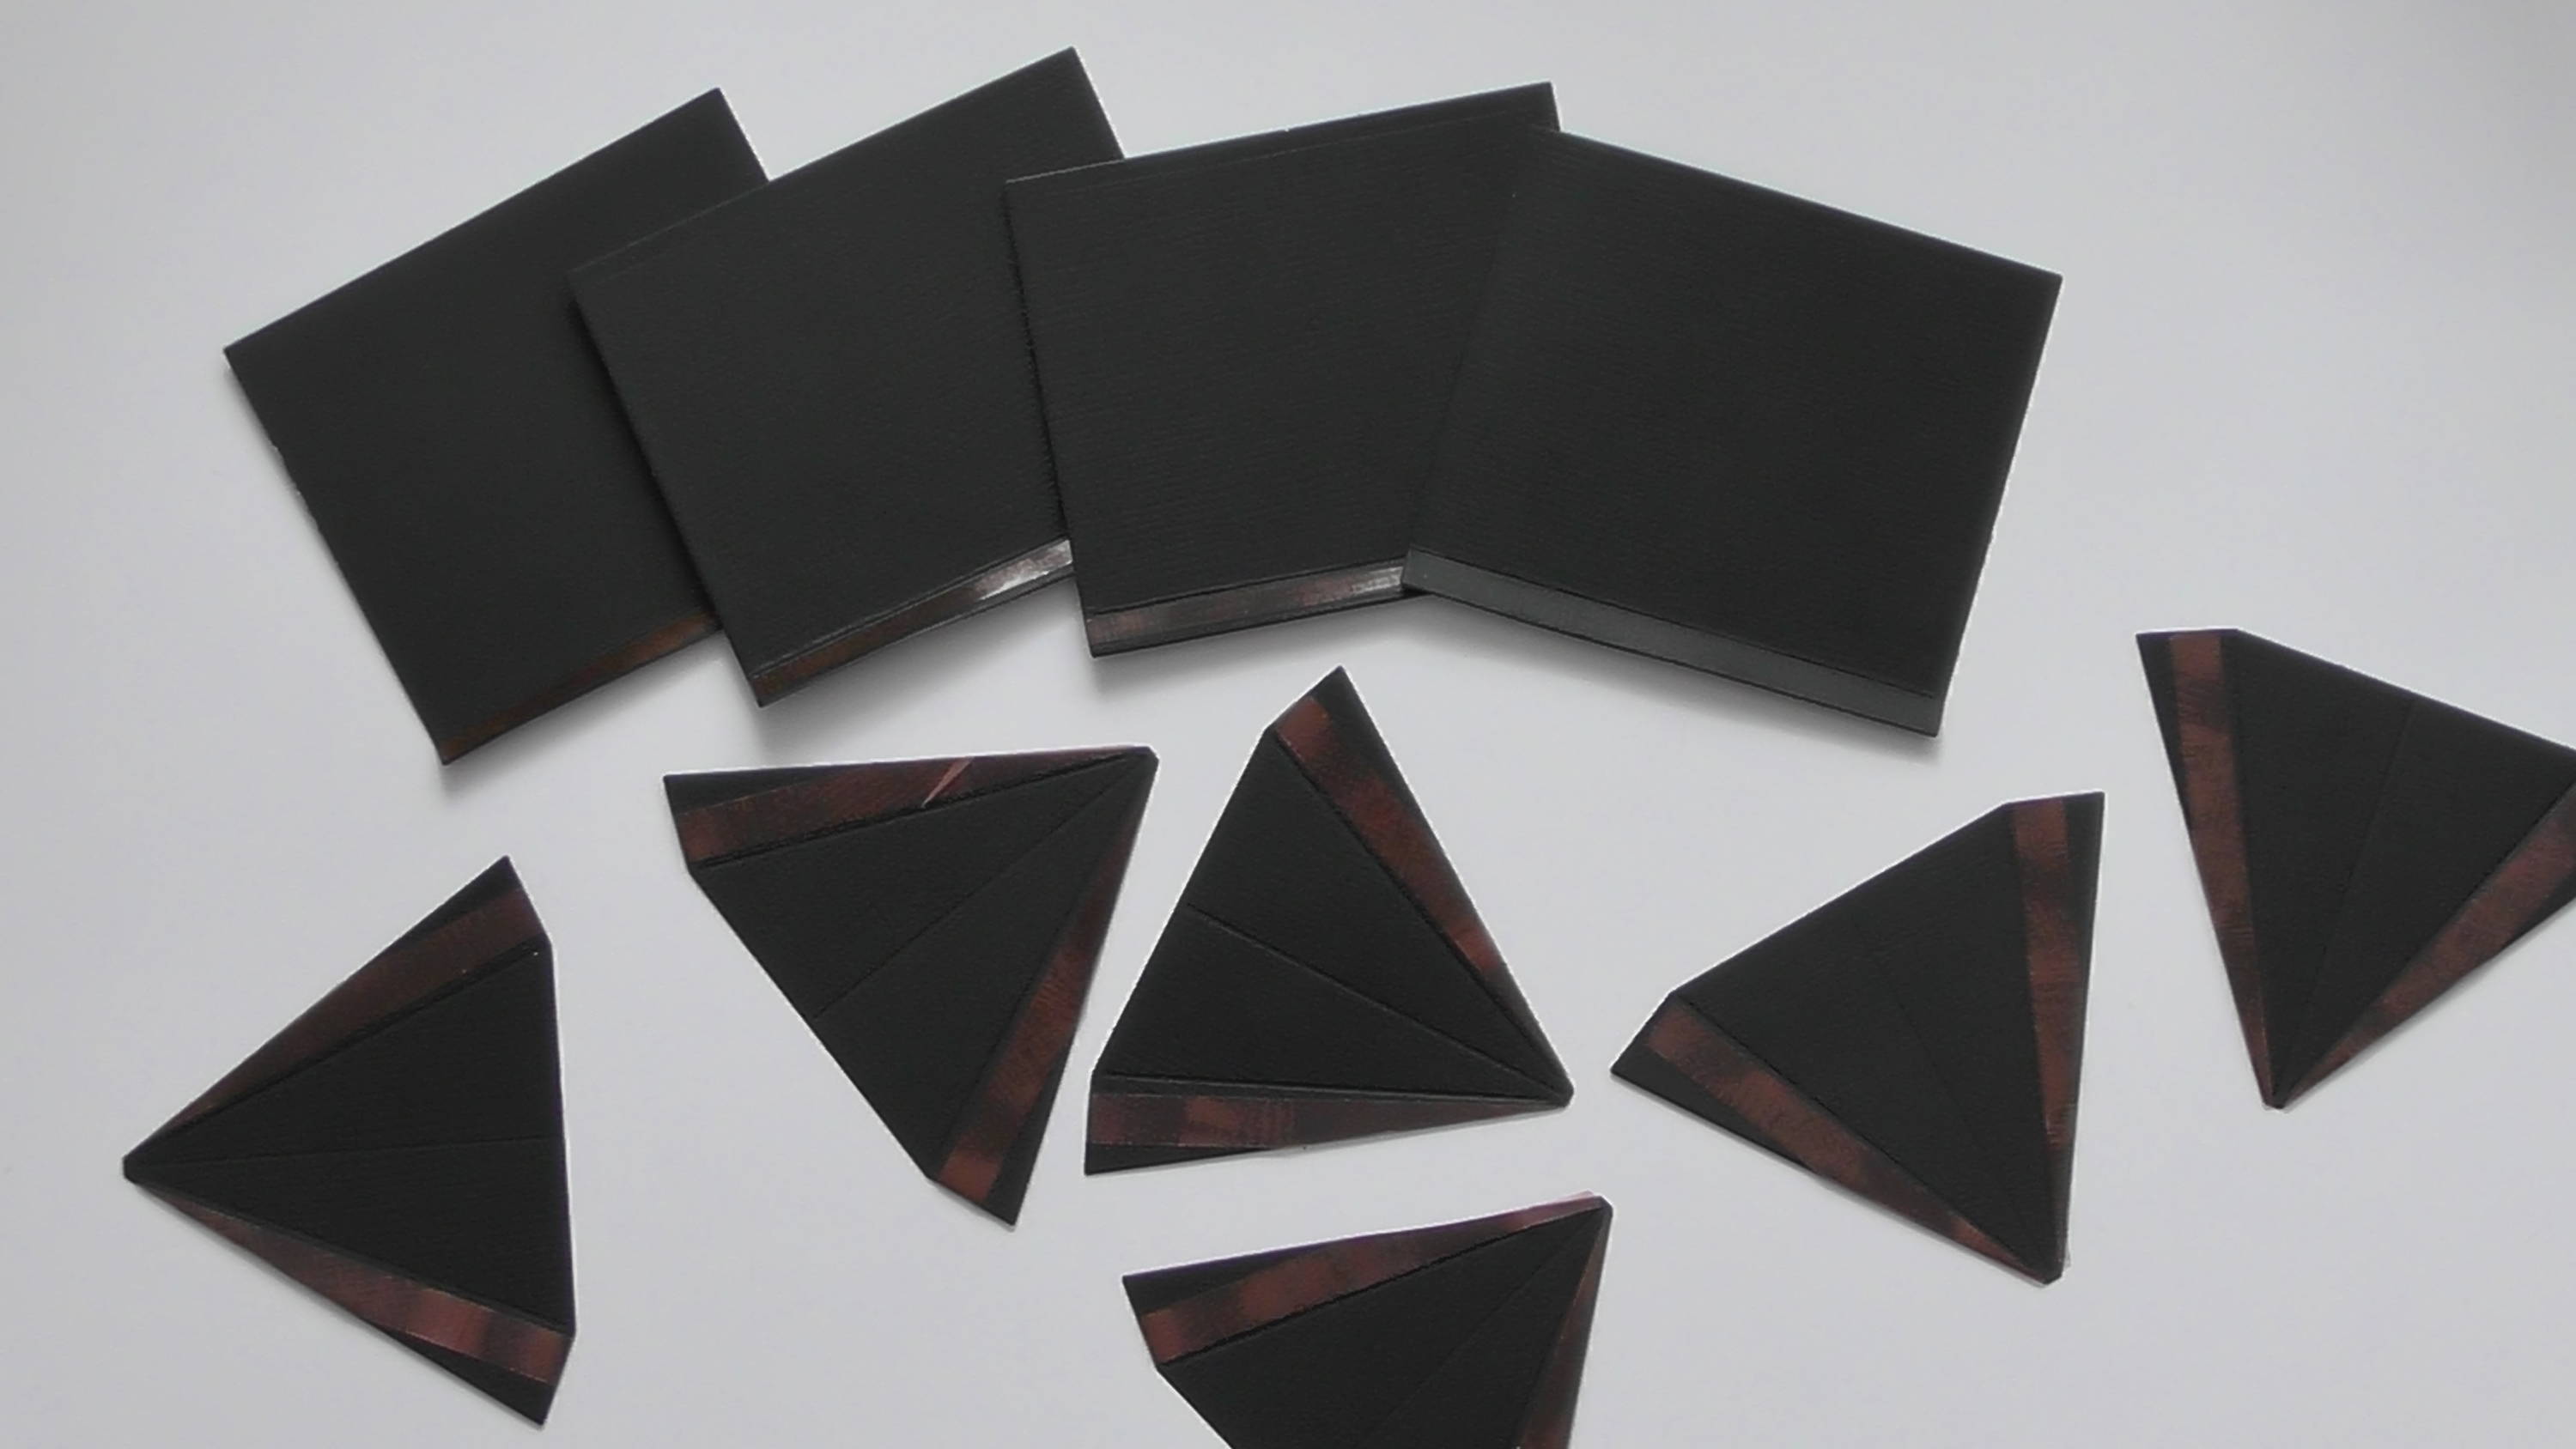
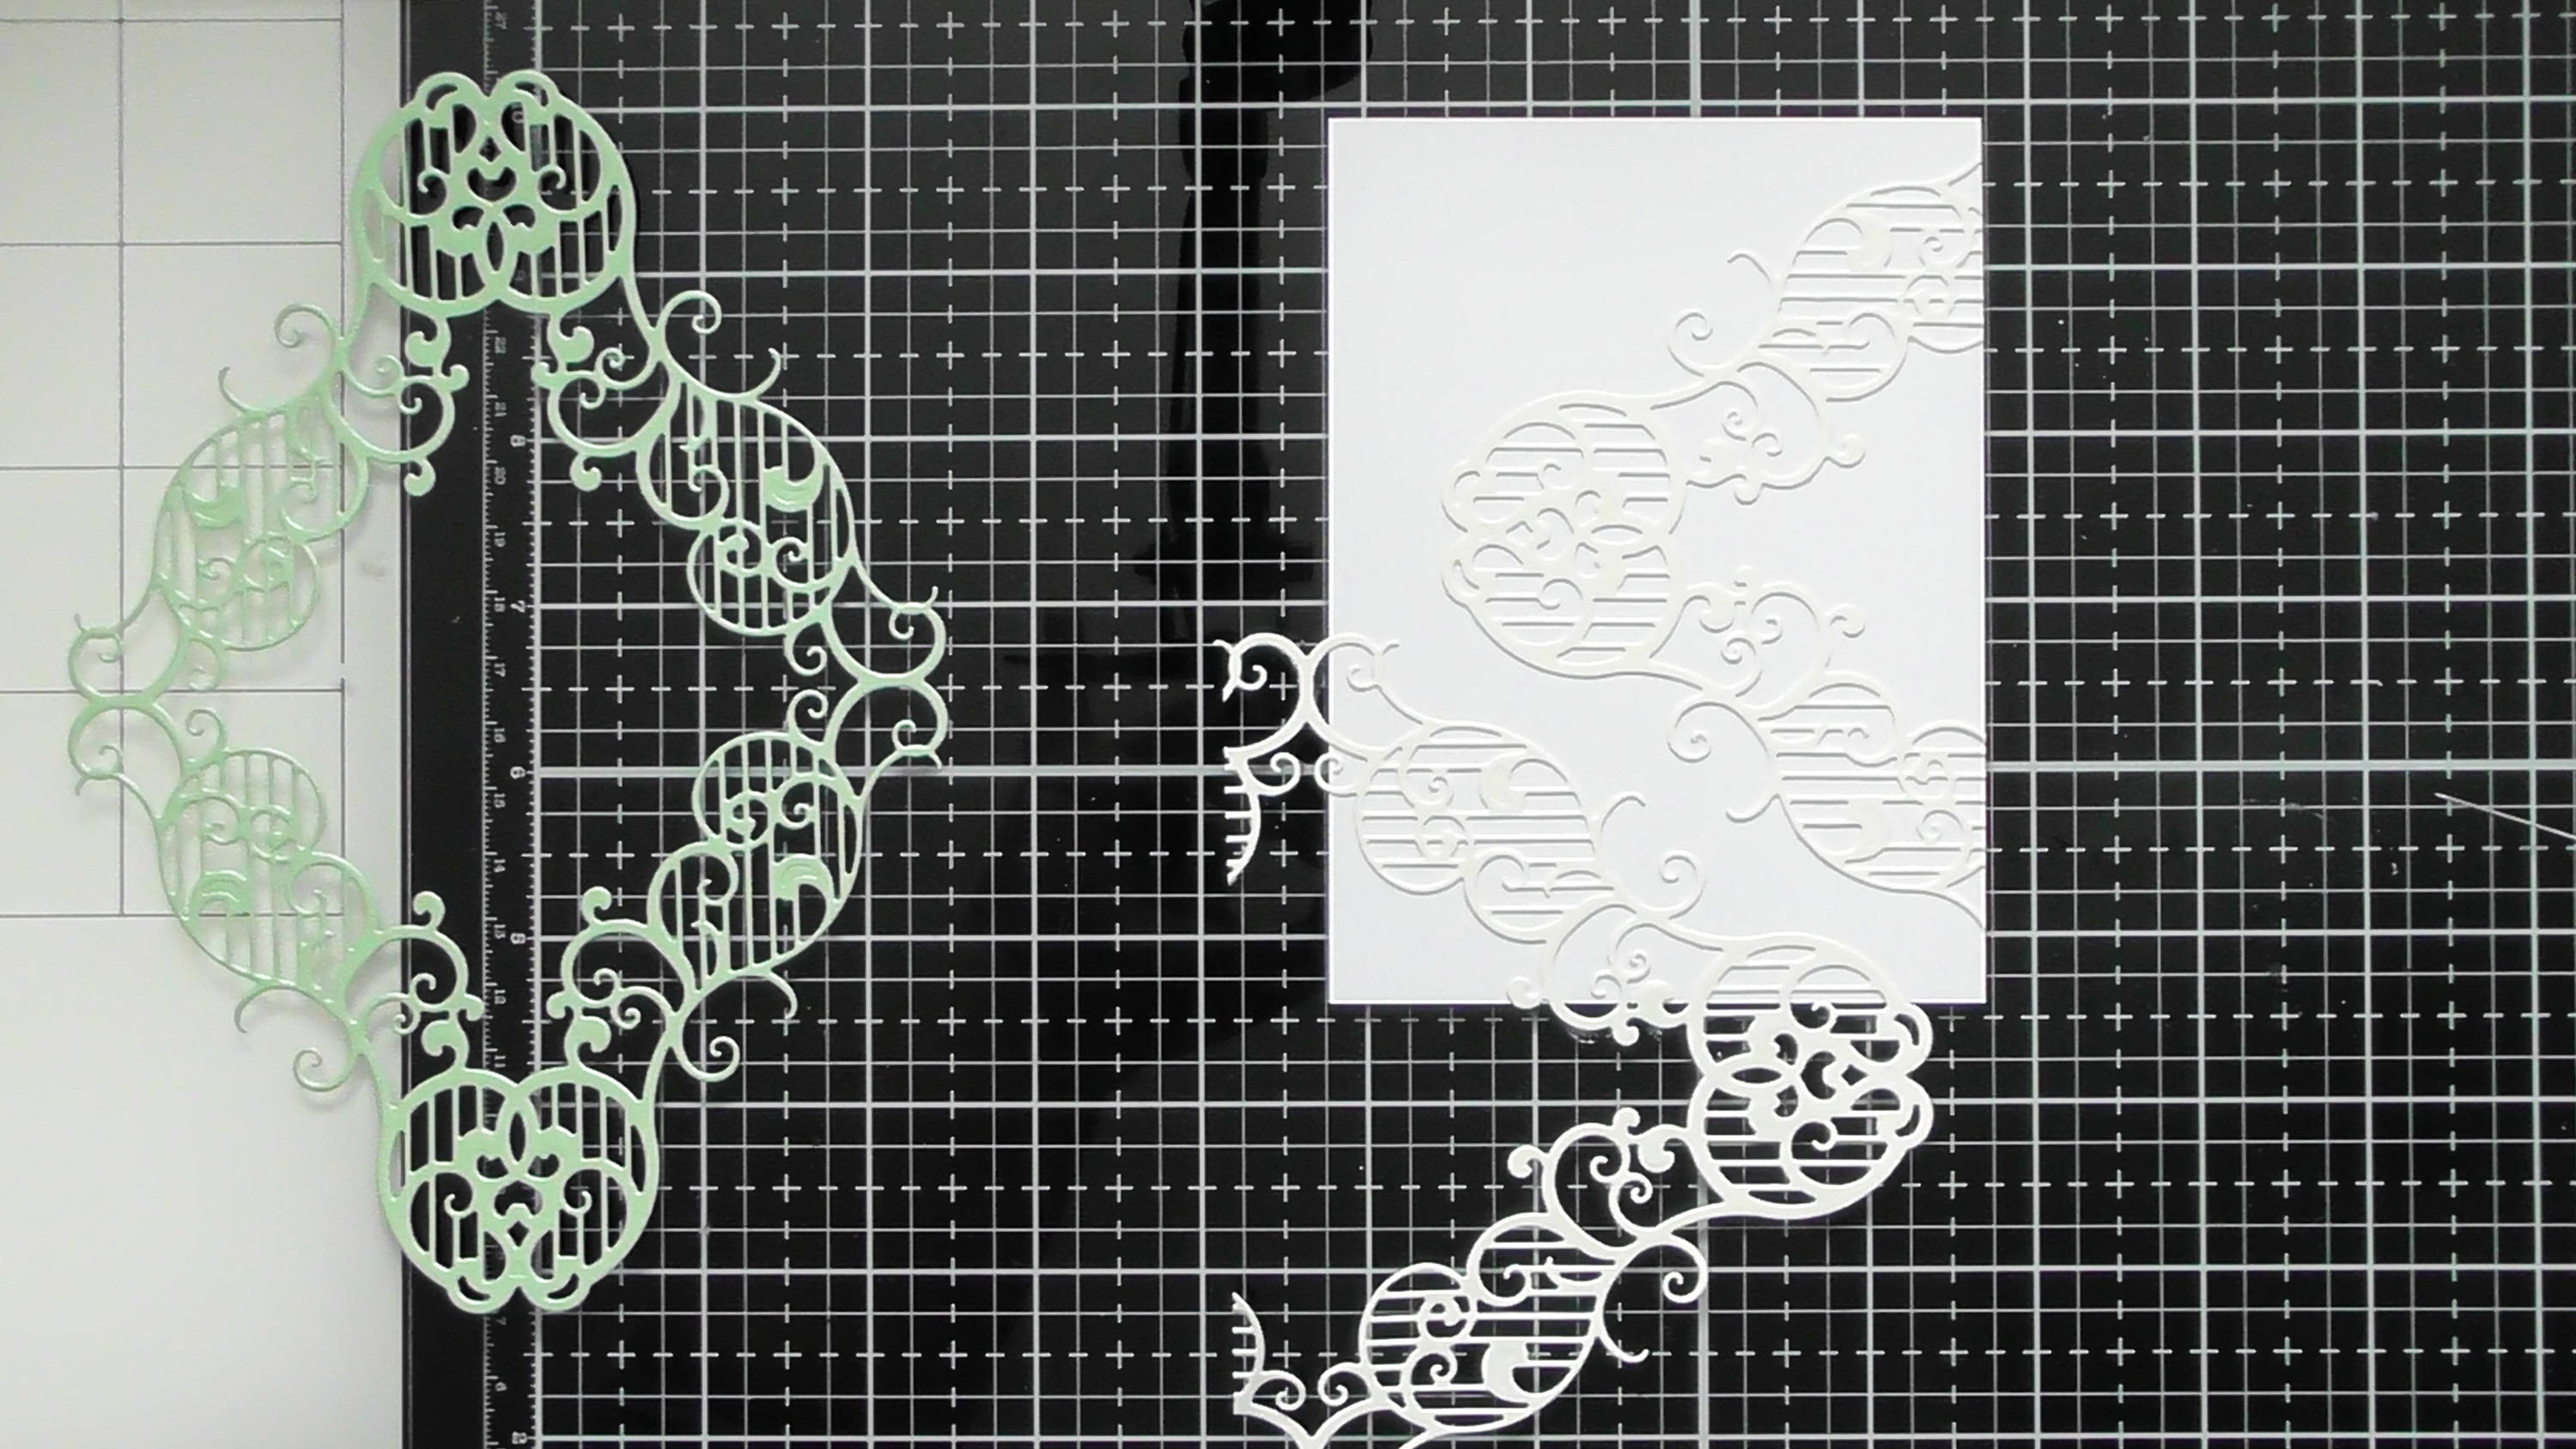
Step 2
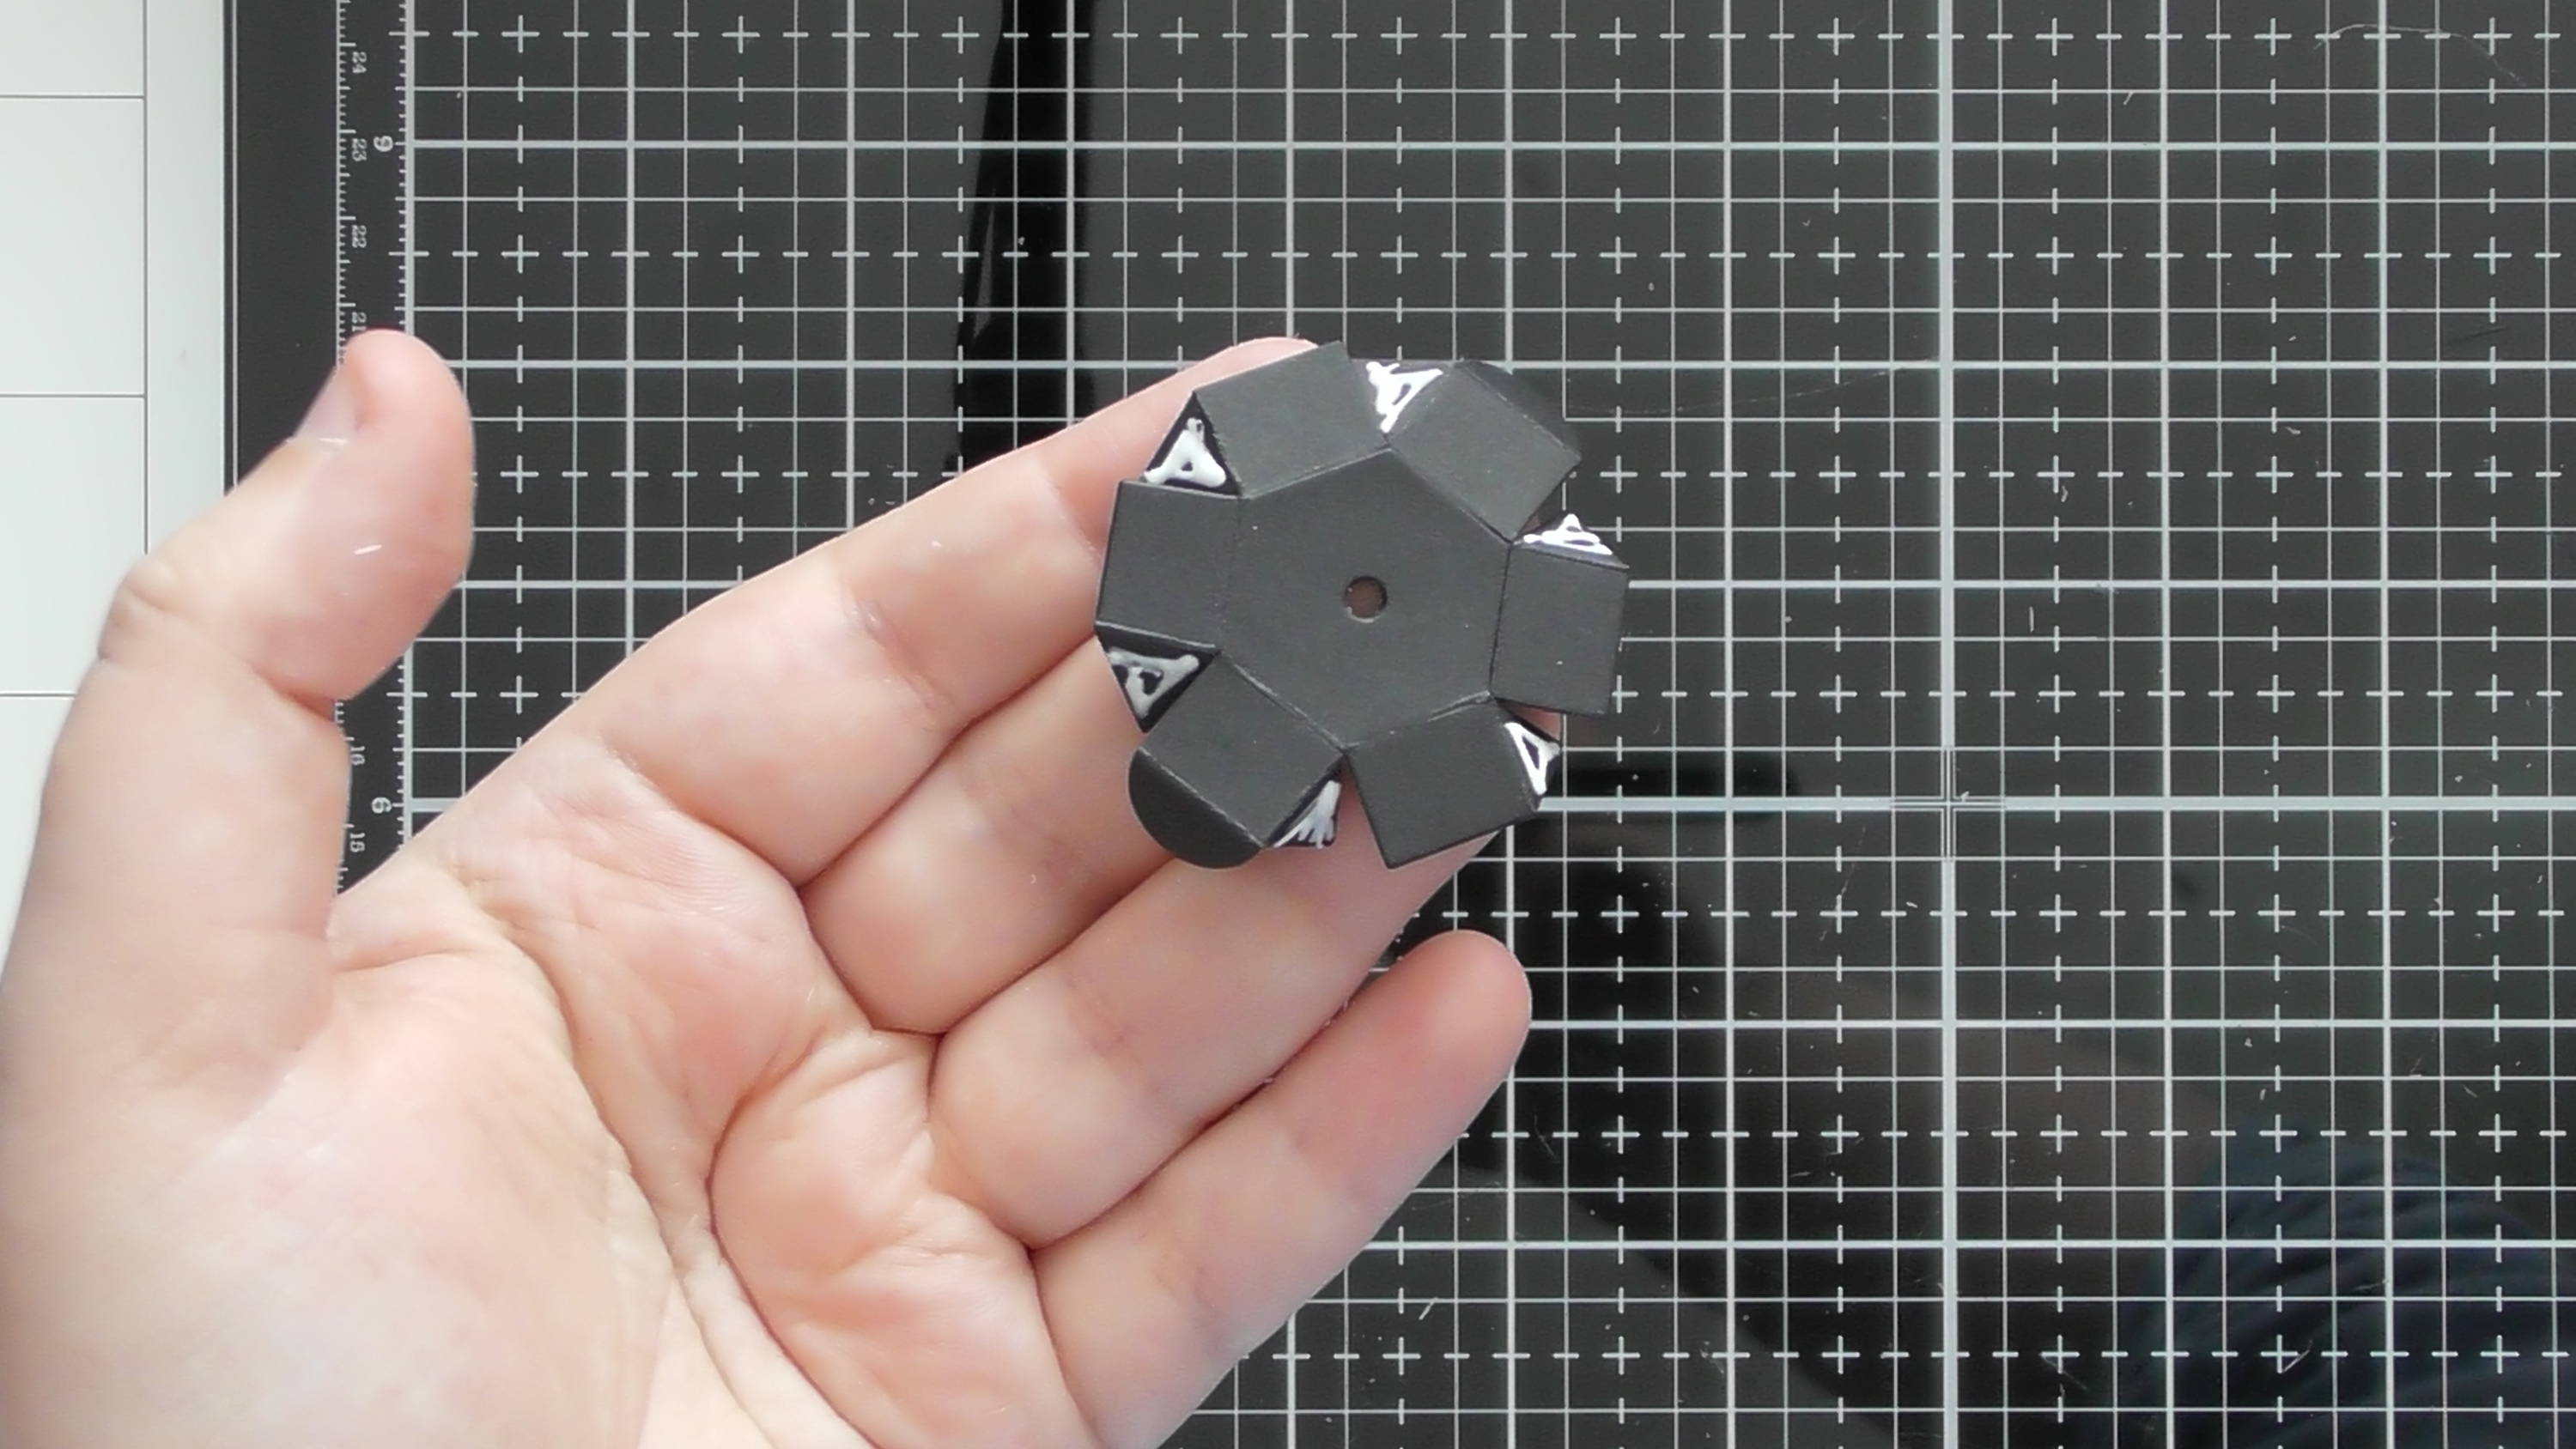
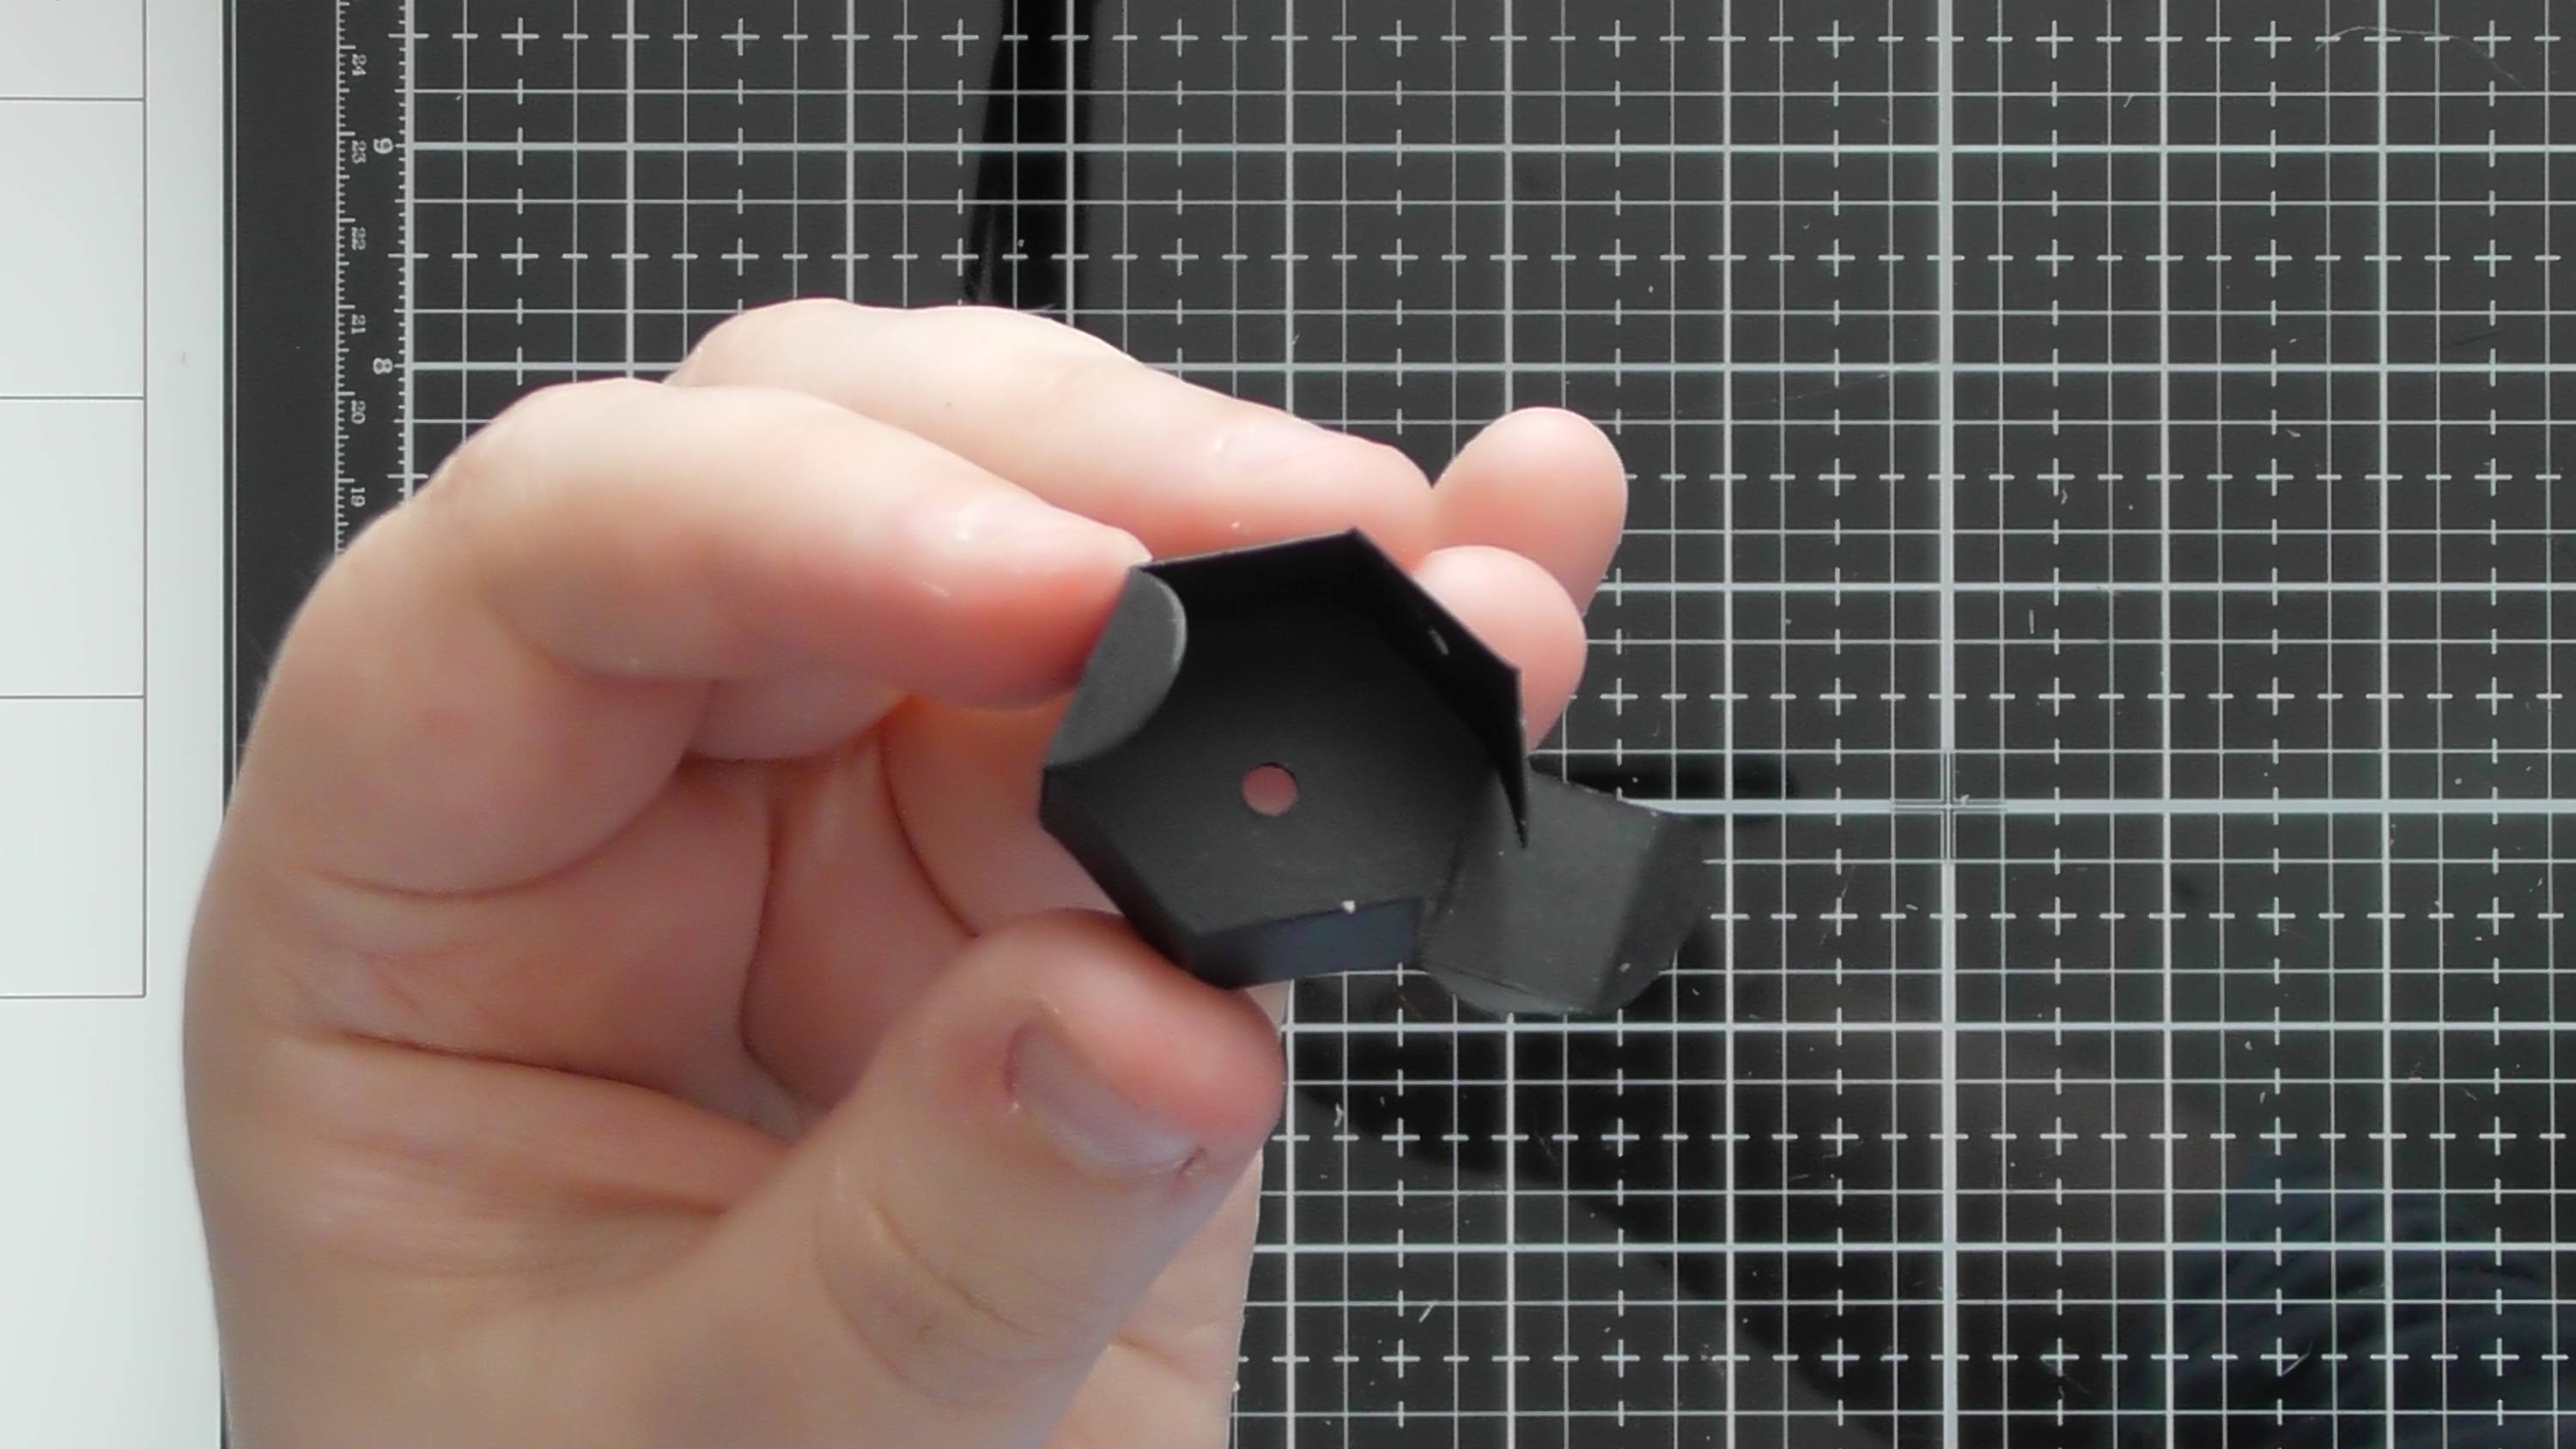
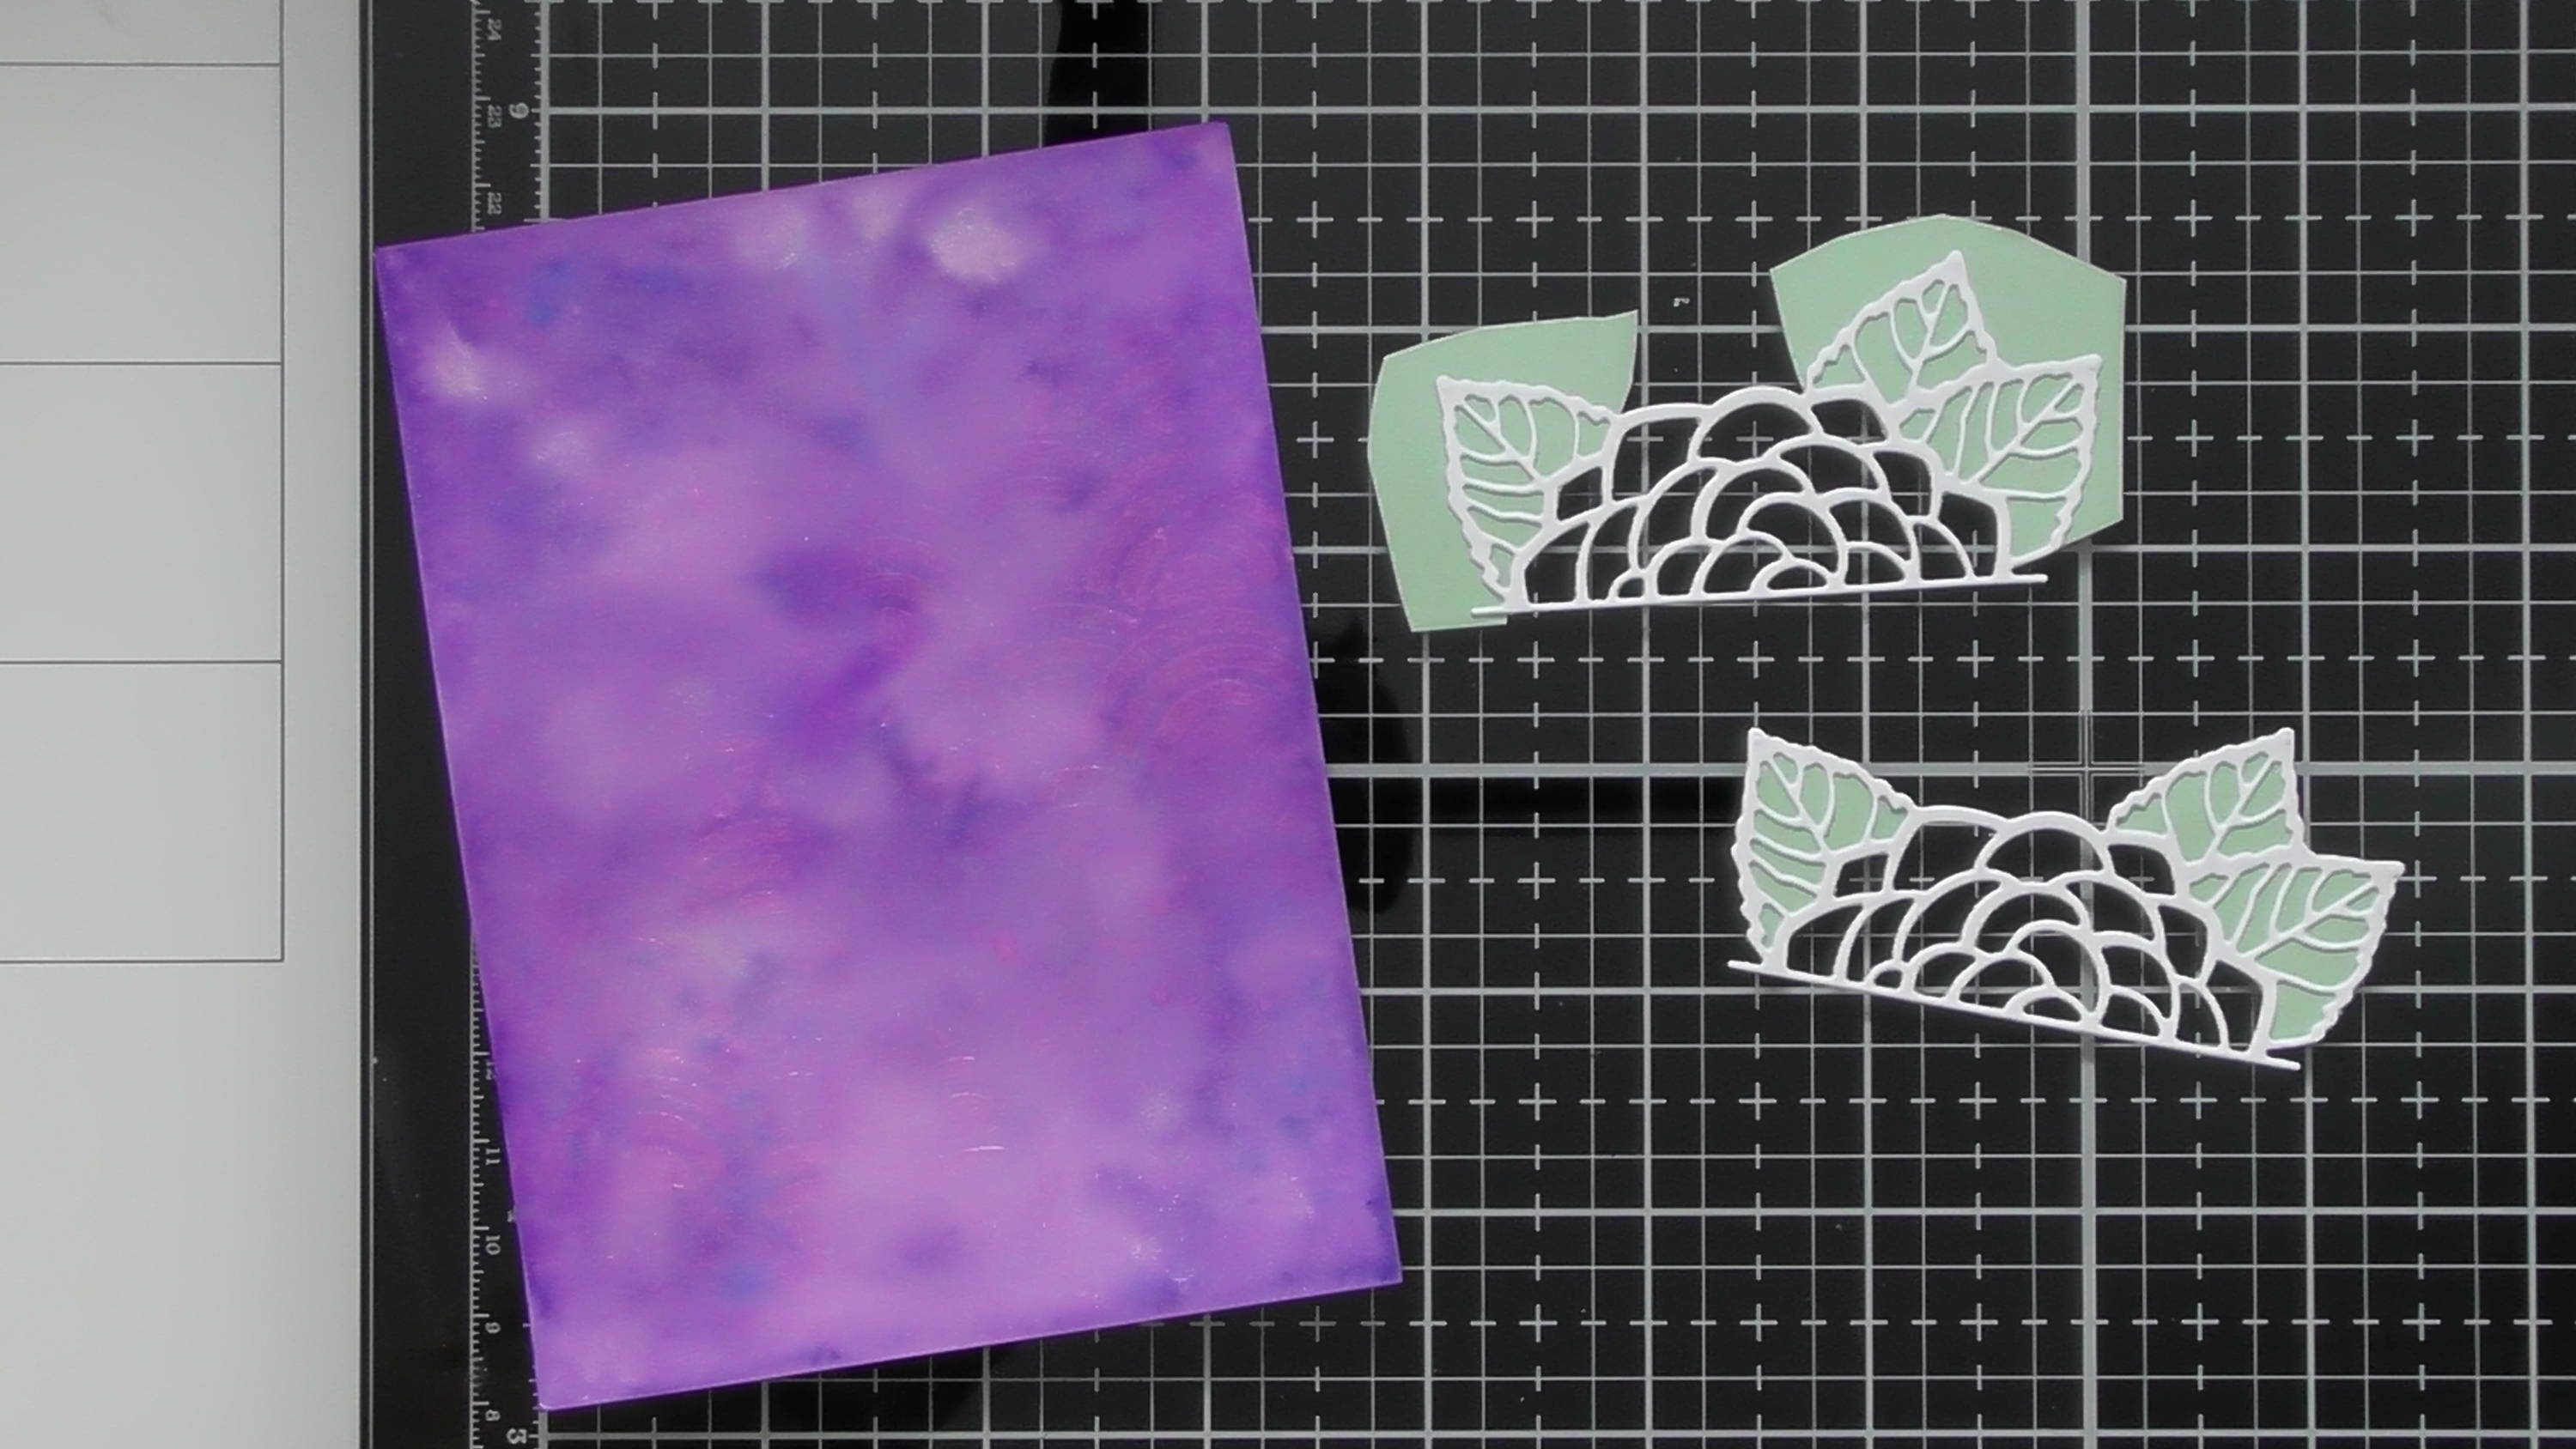
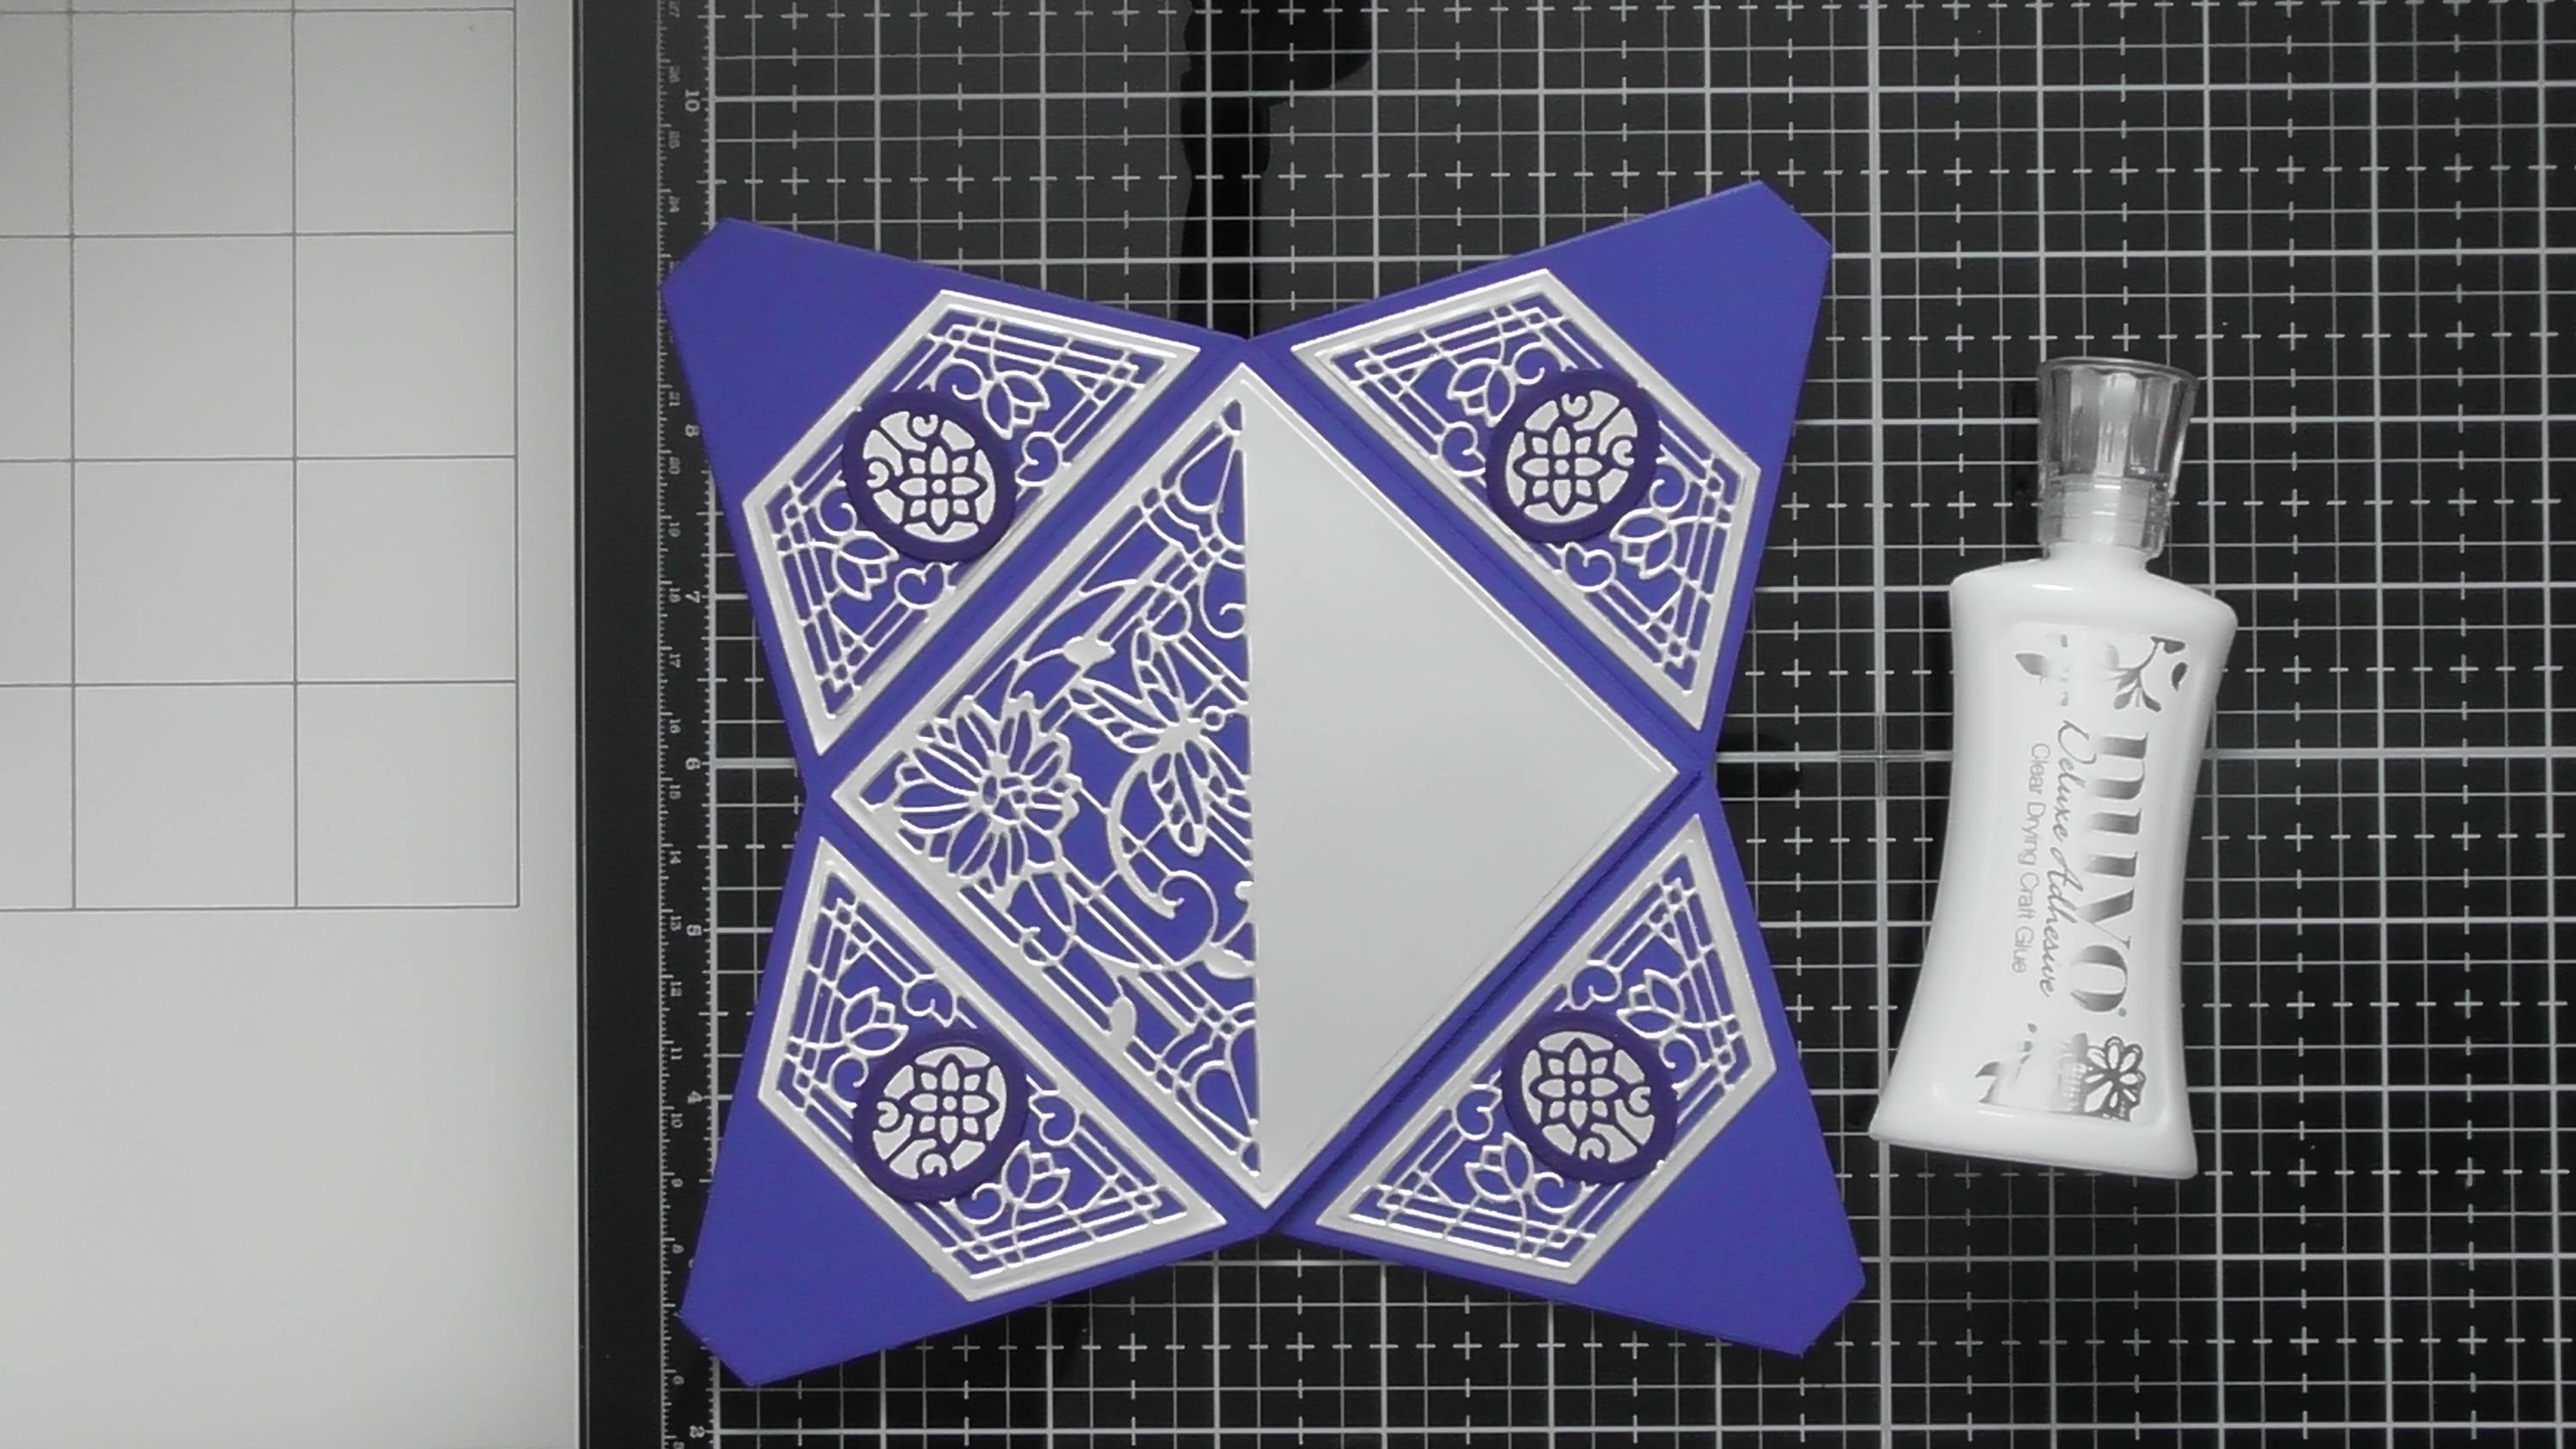
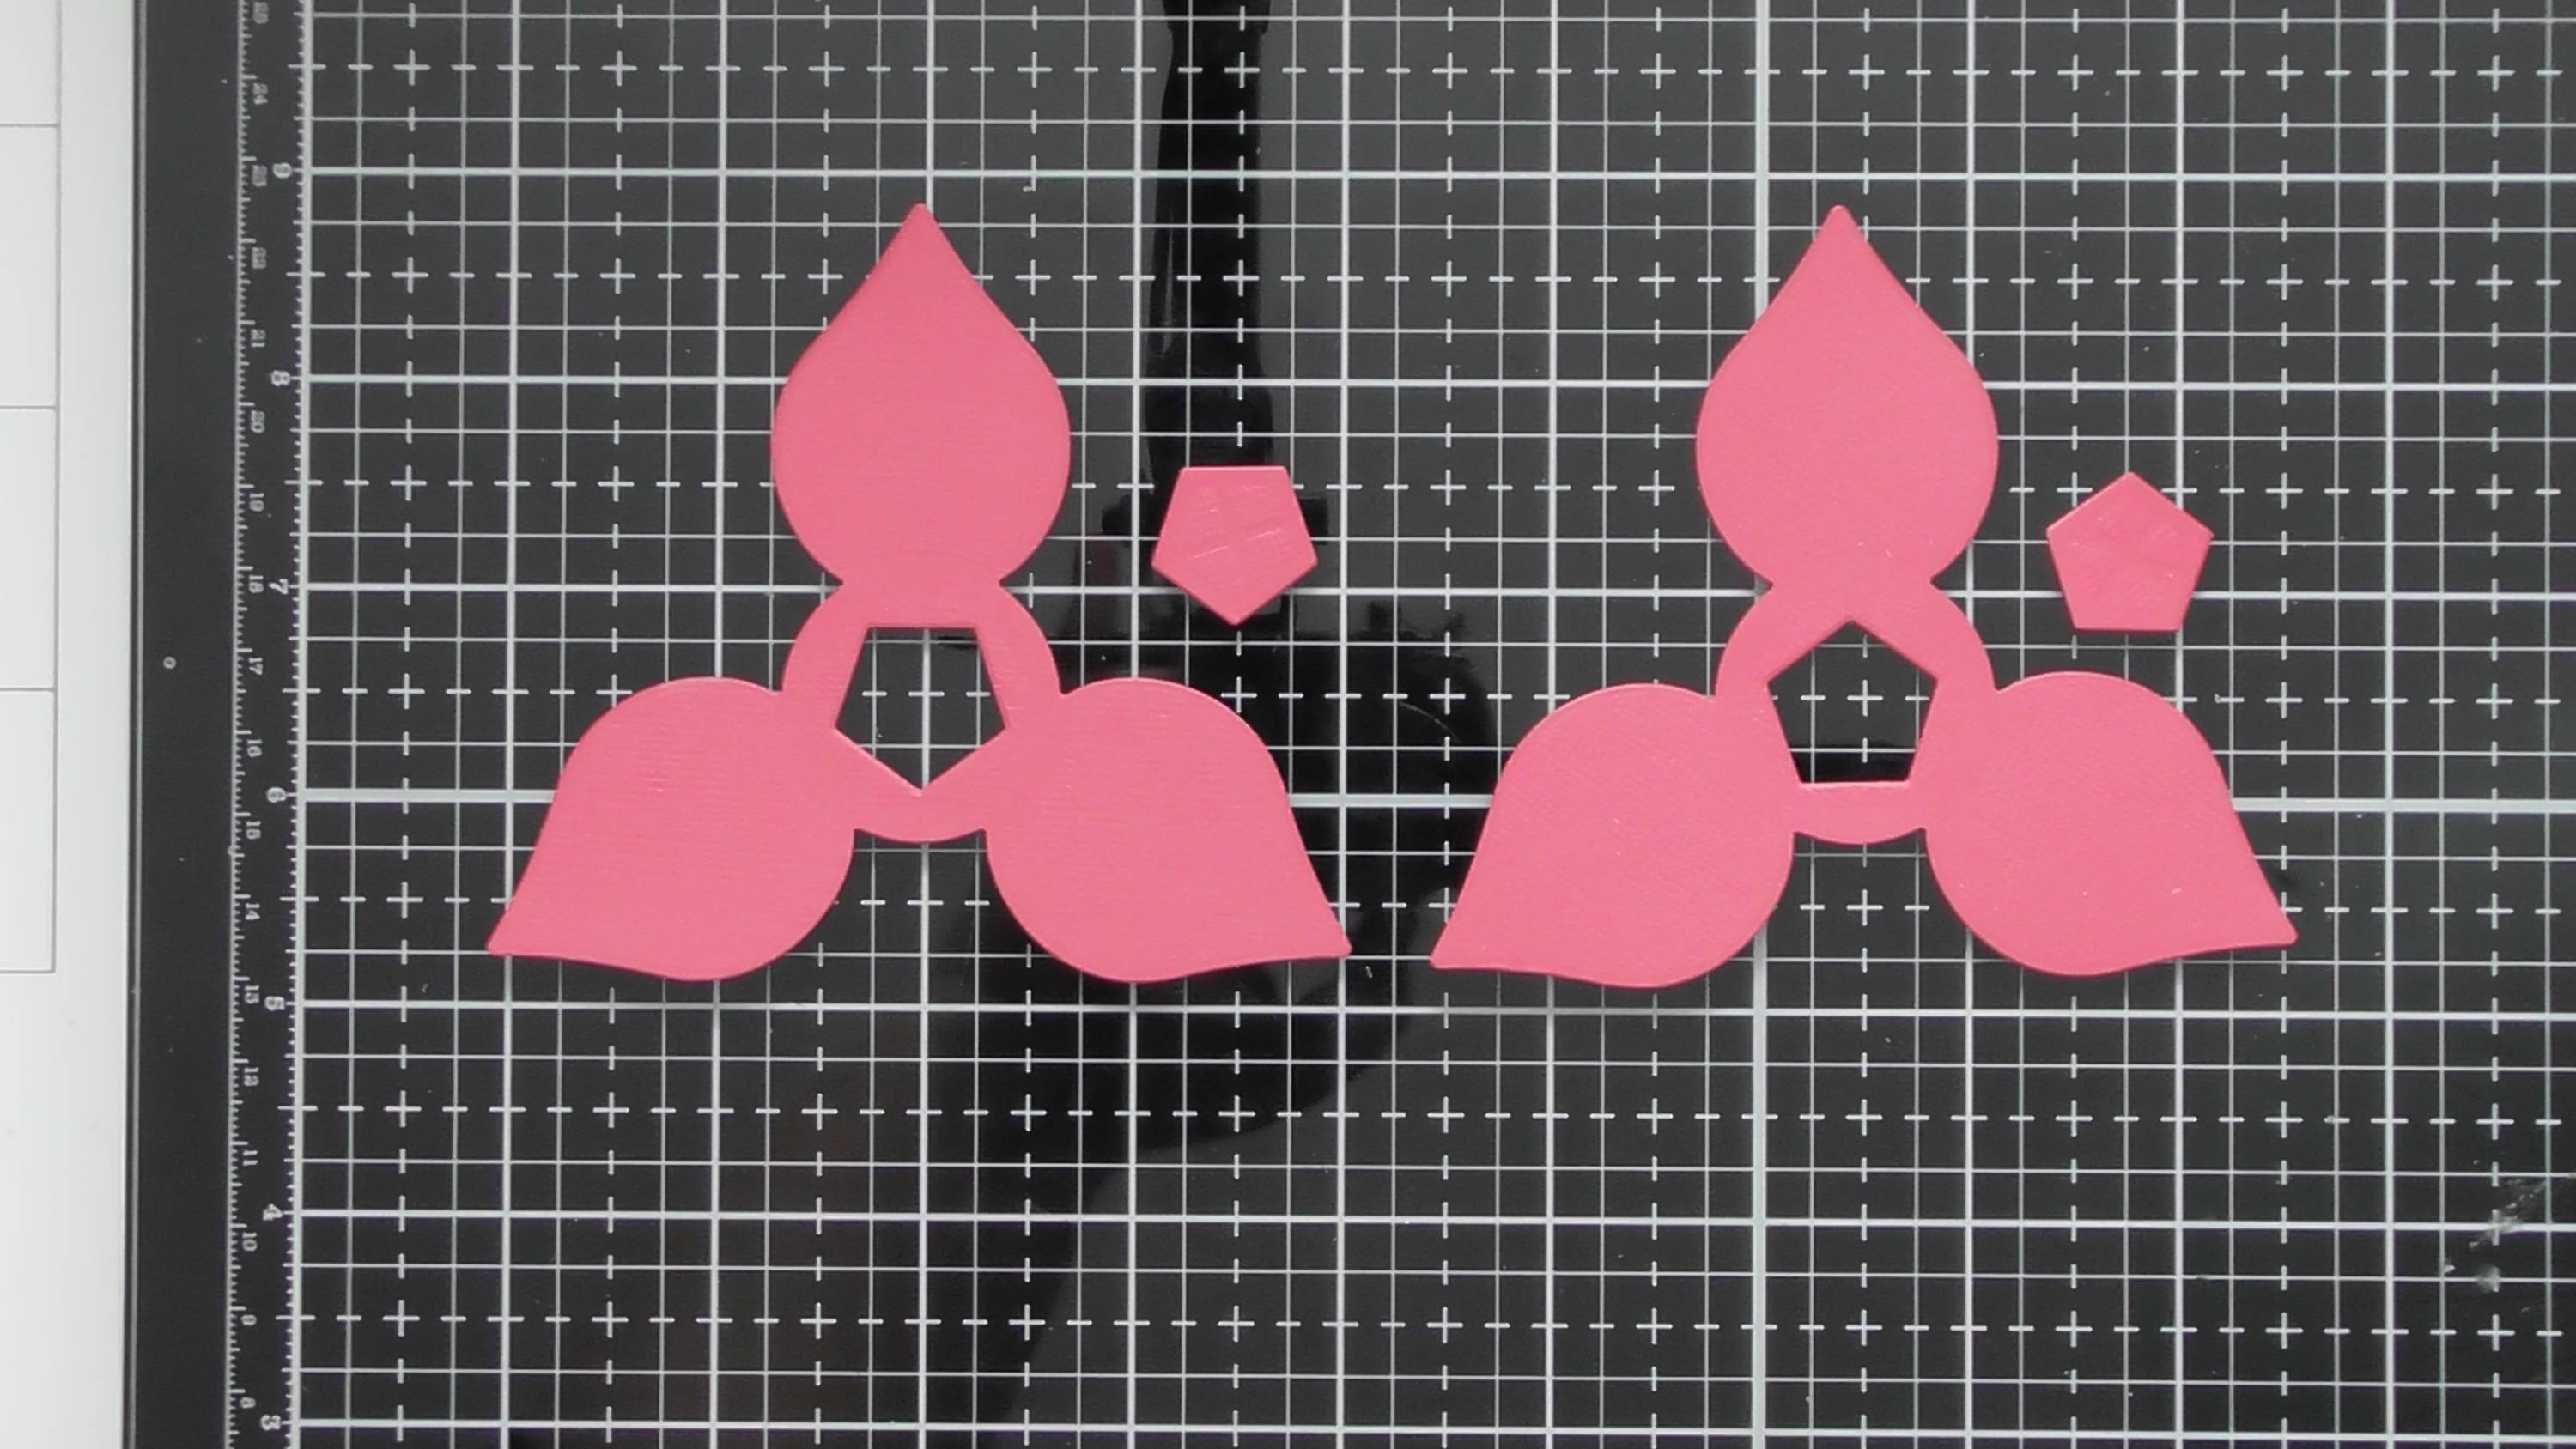
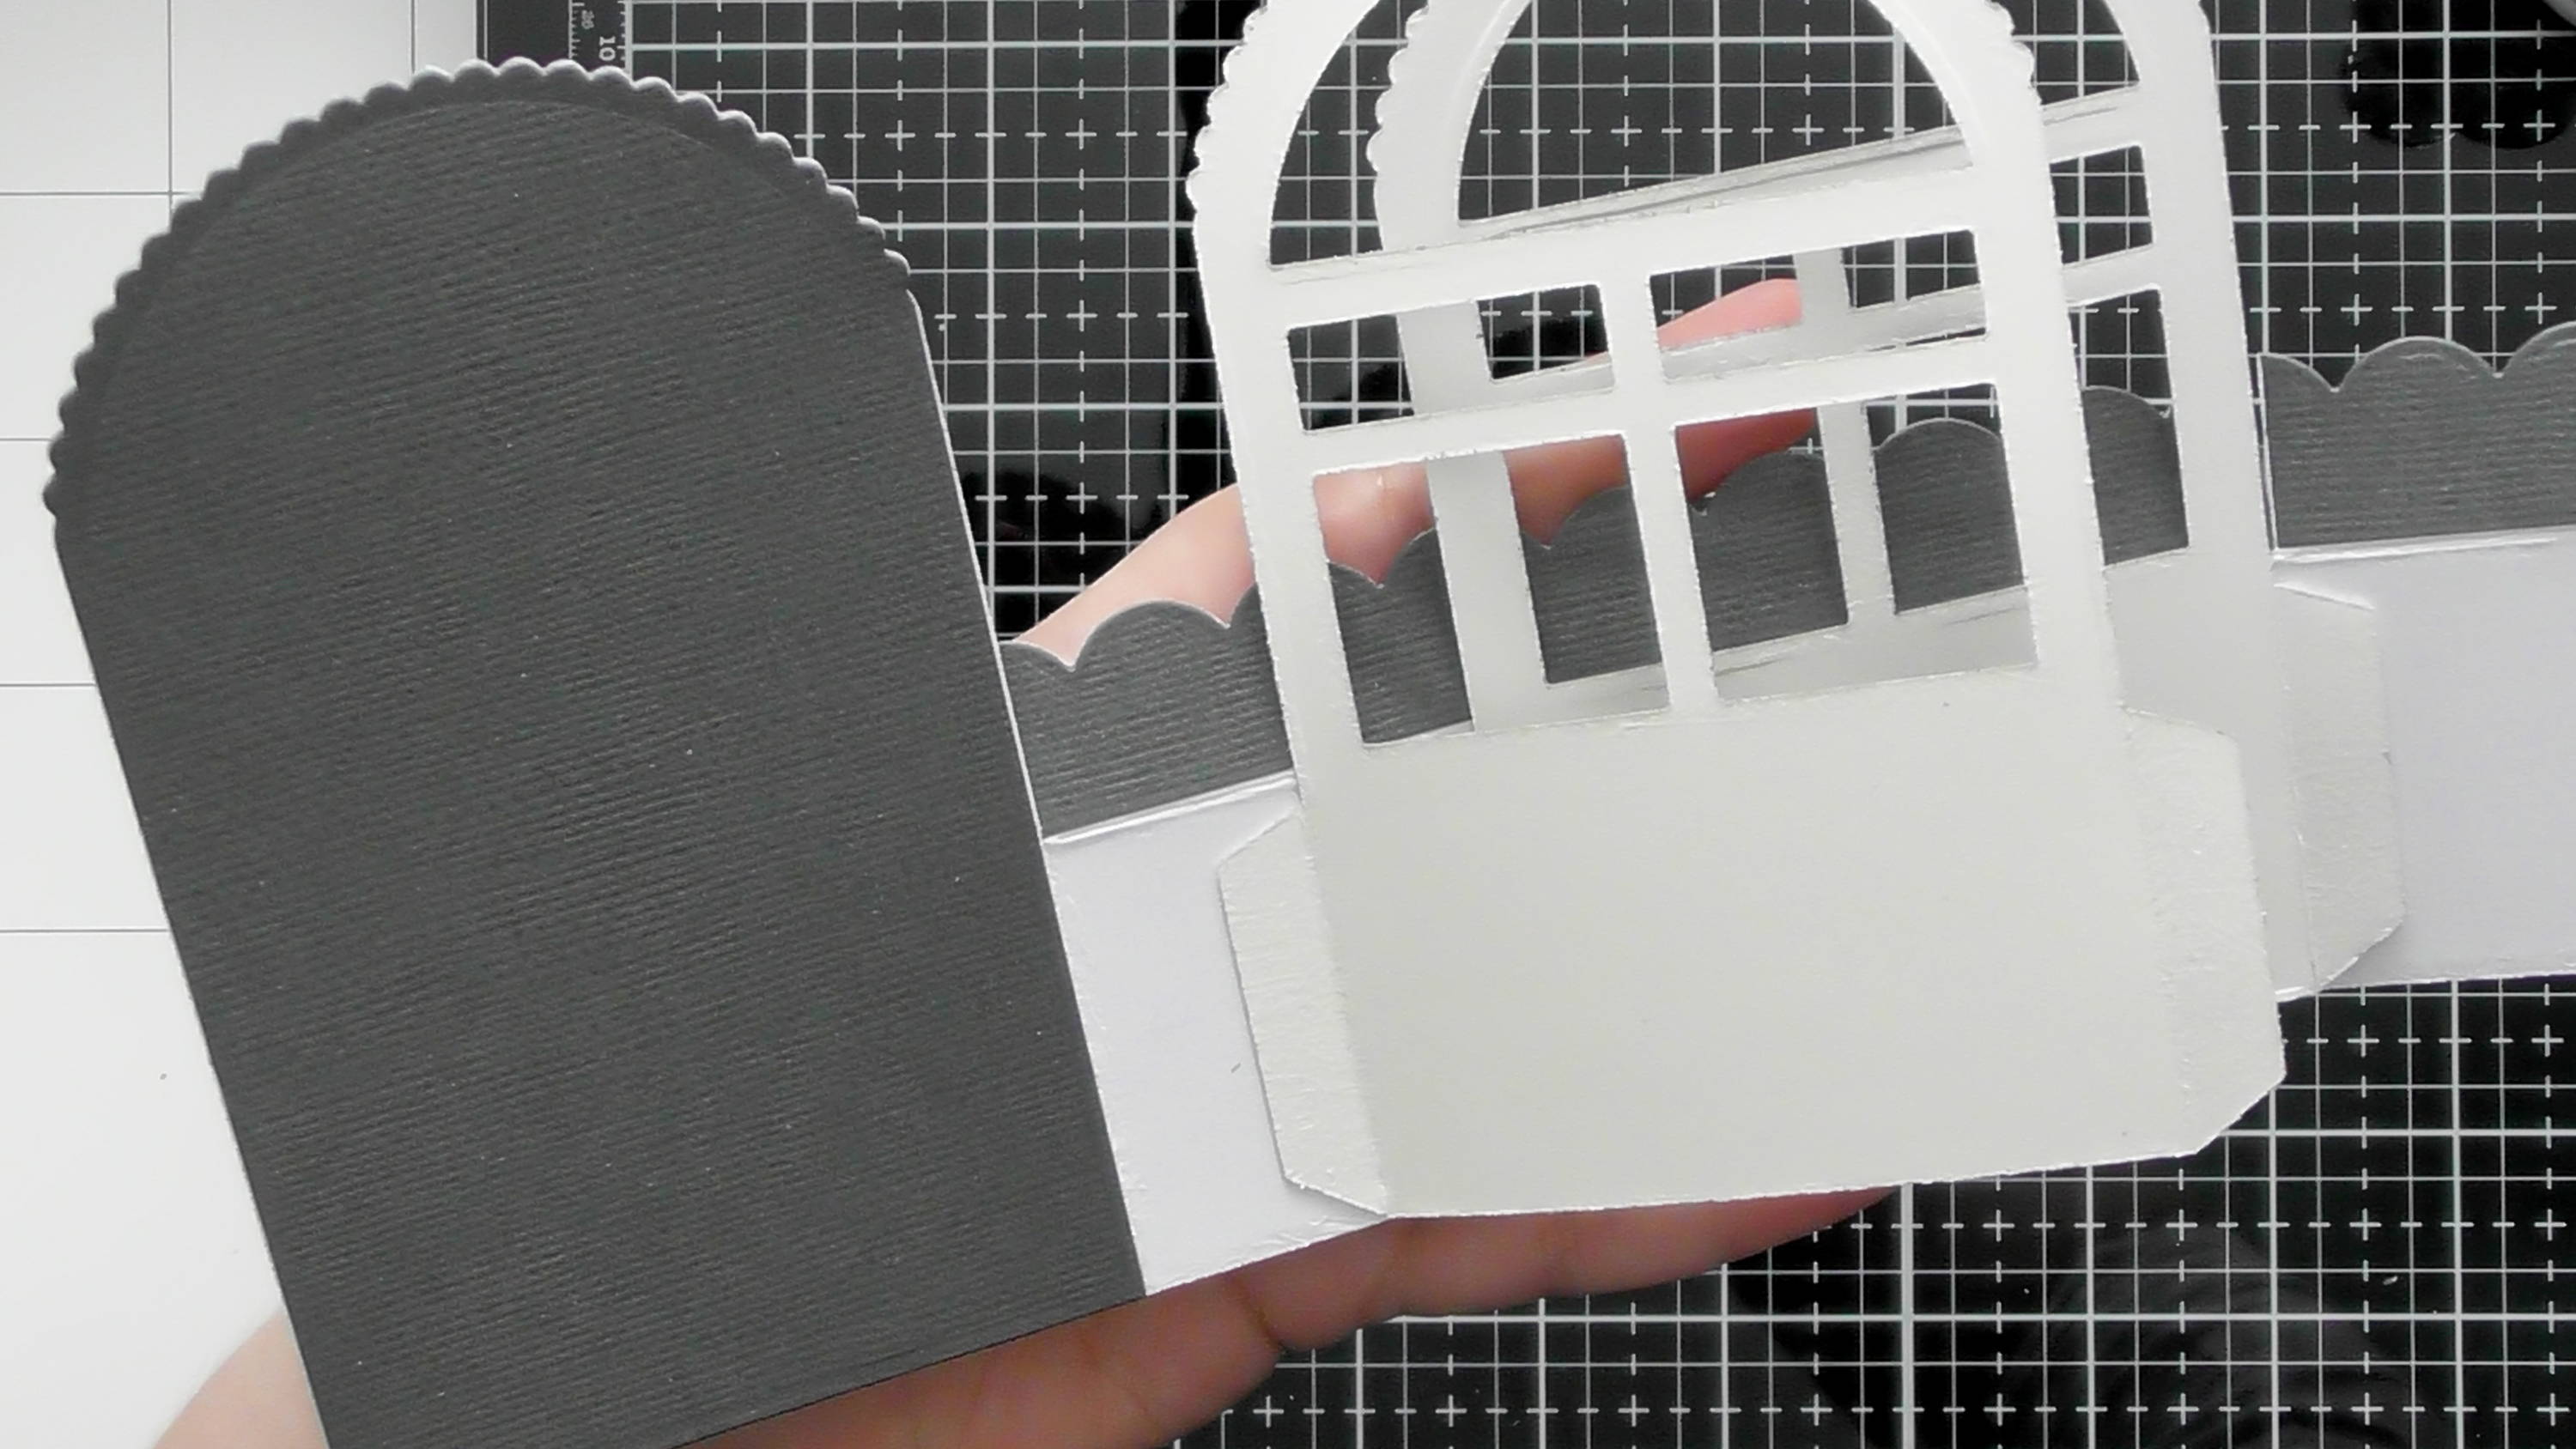
Die-cut a selection of the 2 different designs from the blue and yellow card…
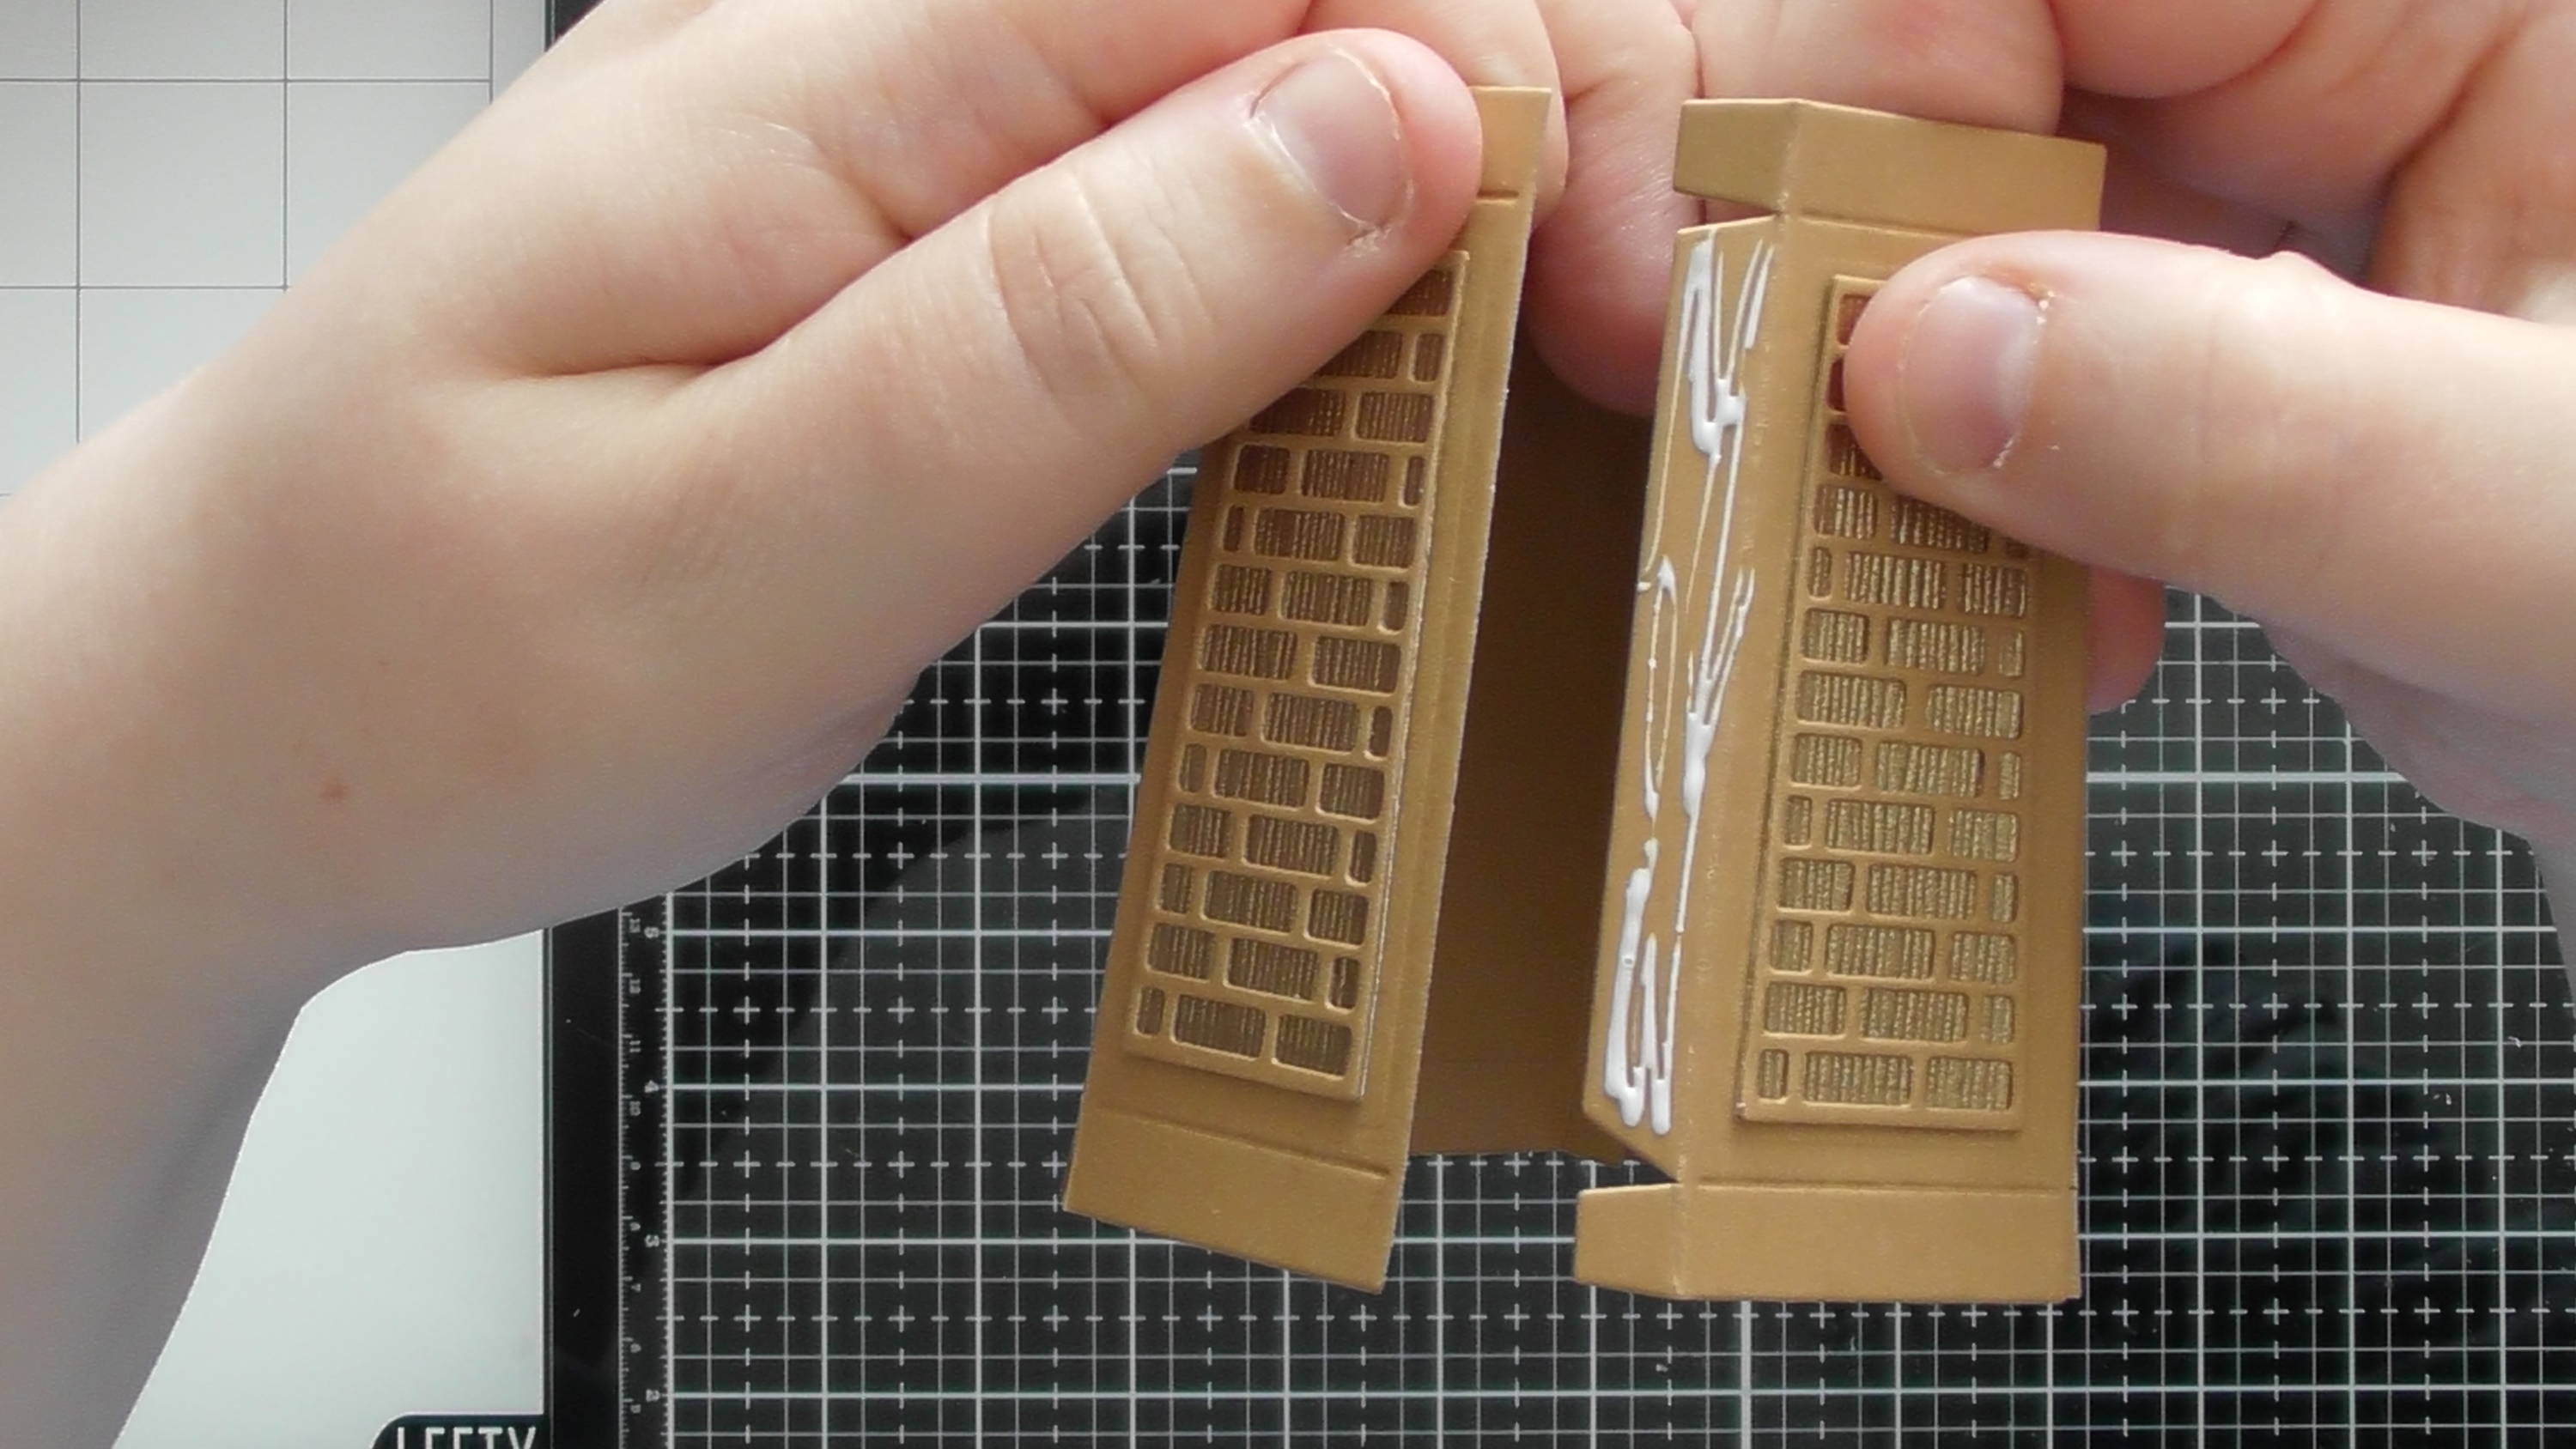
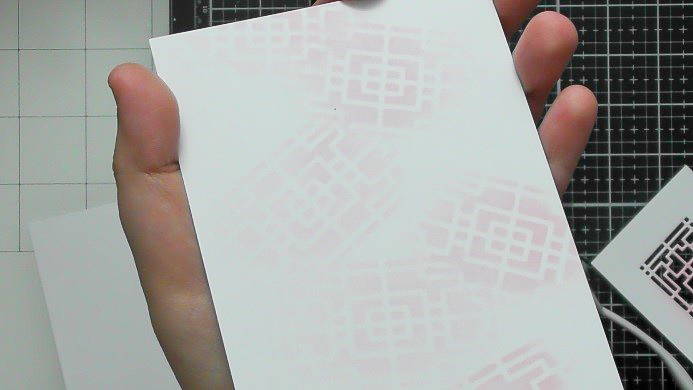
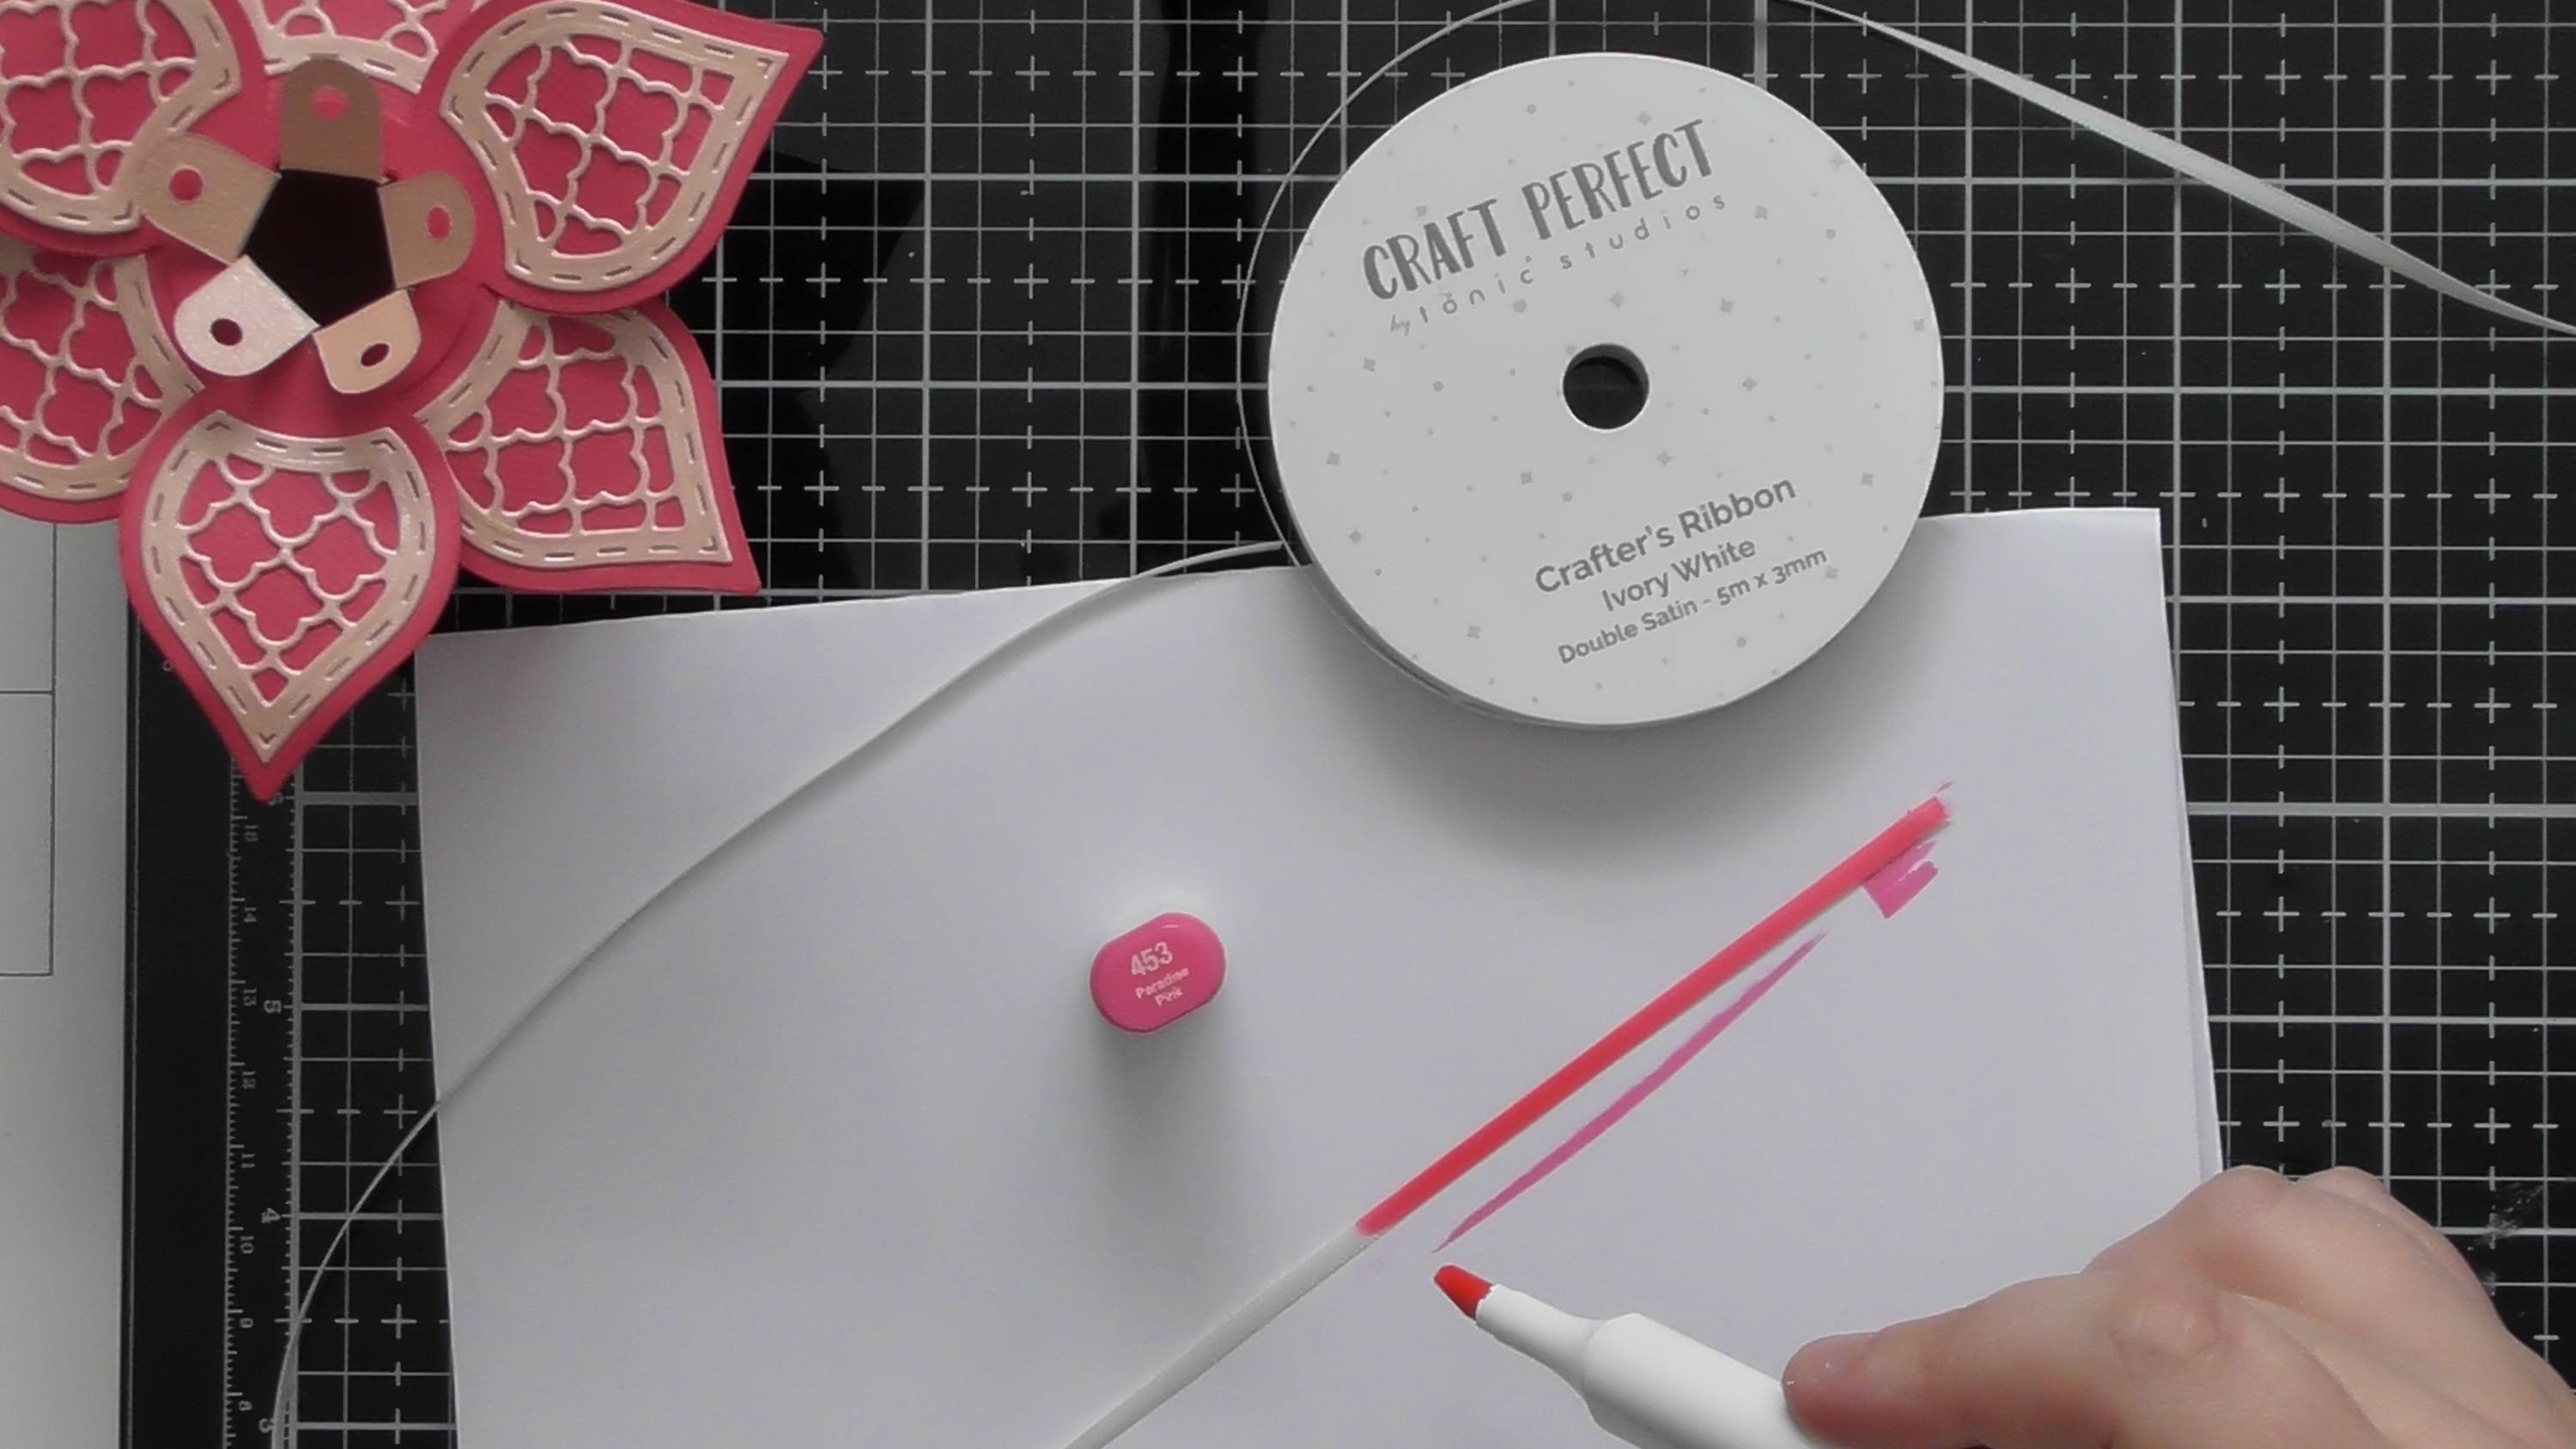
Step 3
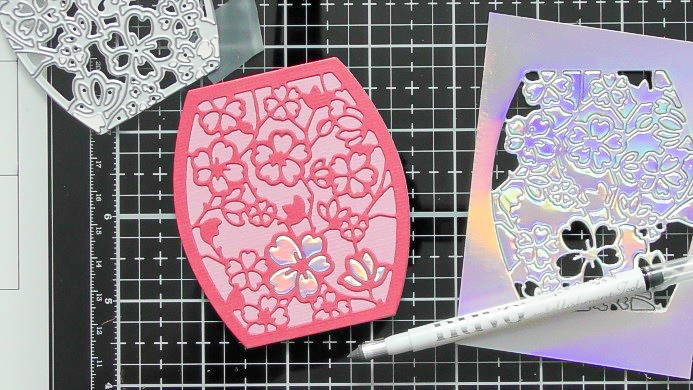
I also cut a few from red card, and used the red crackle paste to add some crackle too them, just tap the product on, a thin layer should result in a crazing effect…
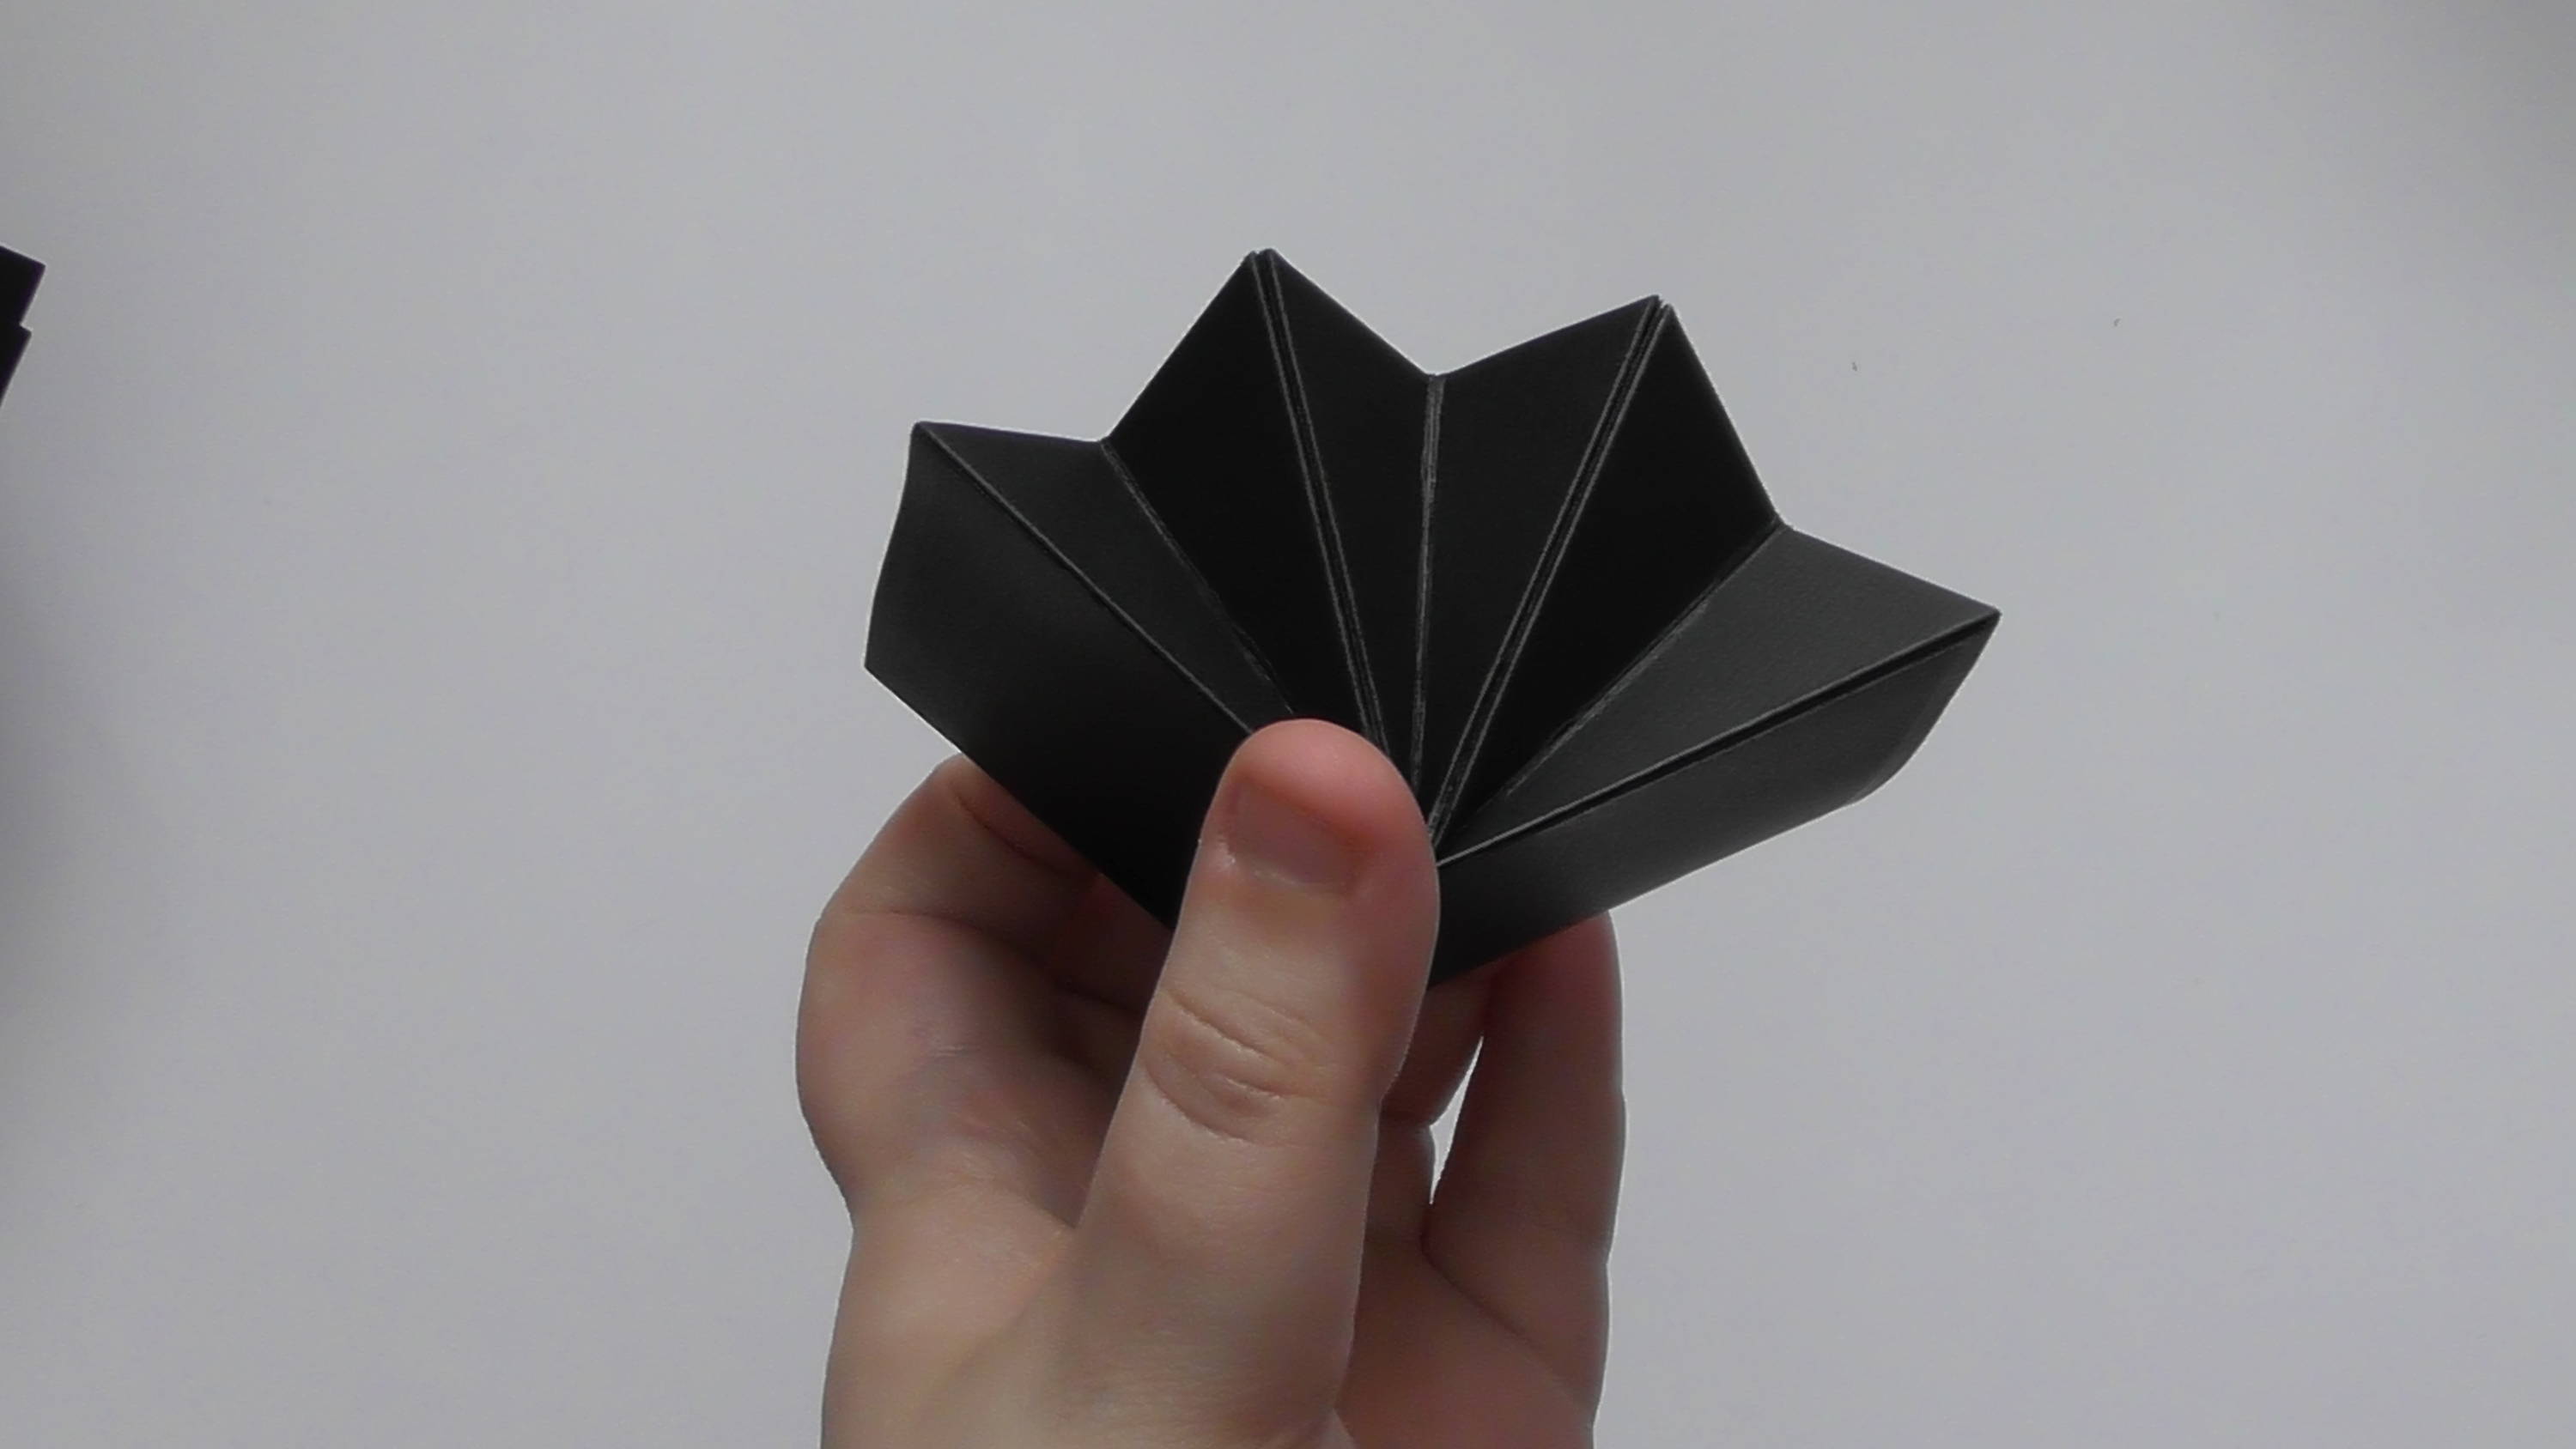
Step 4
…Like so
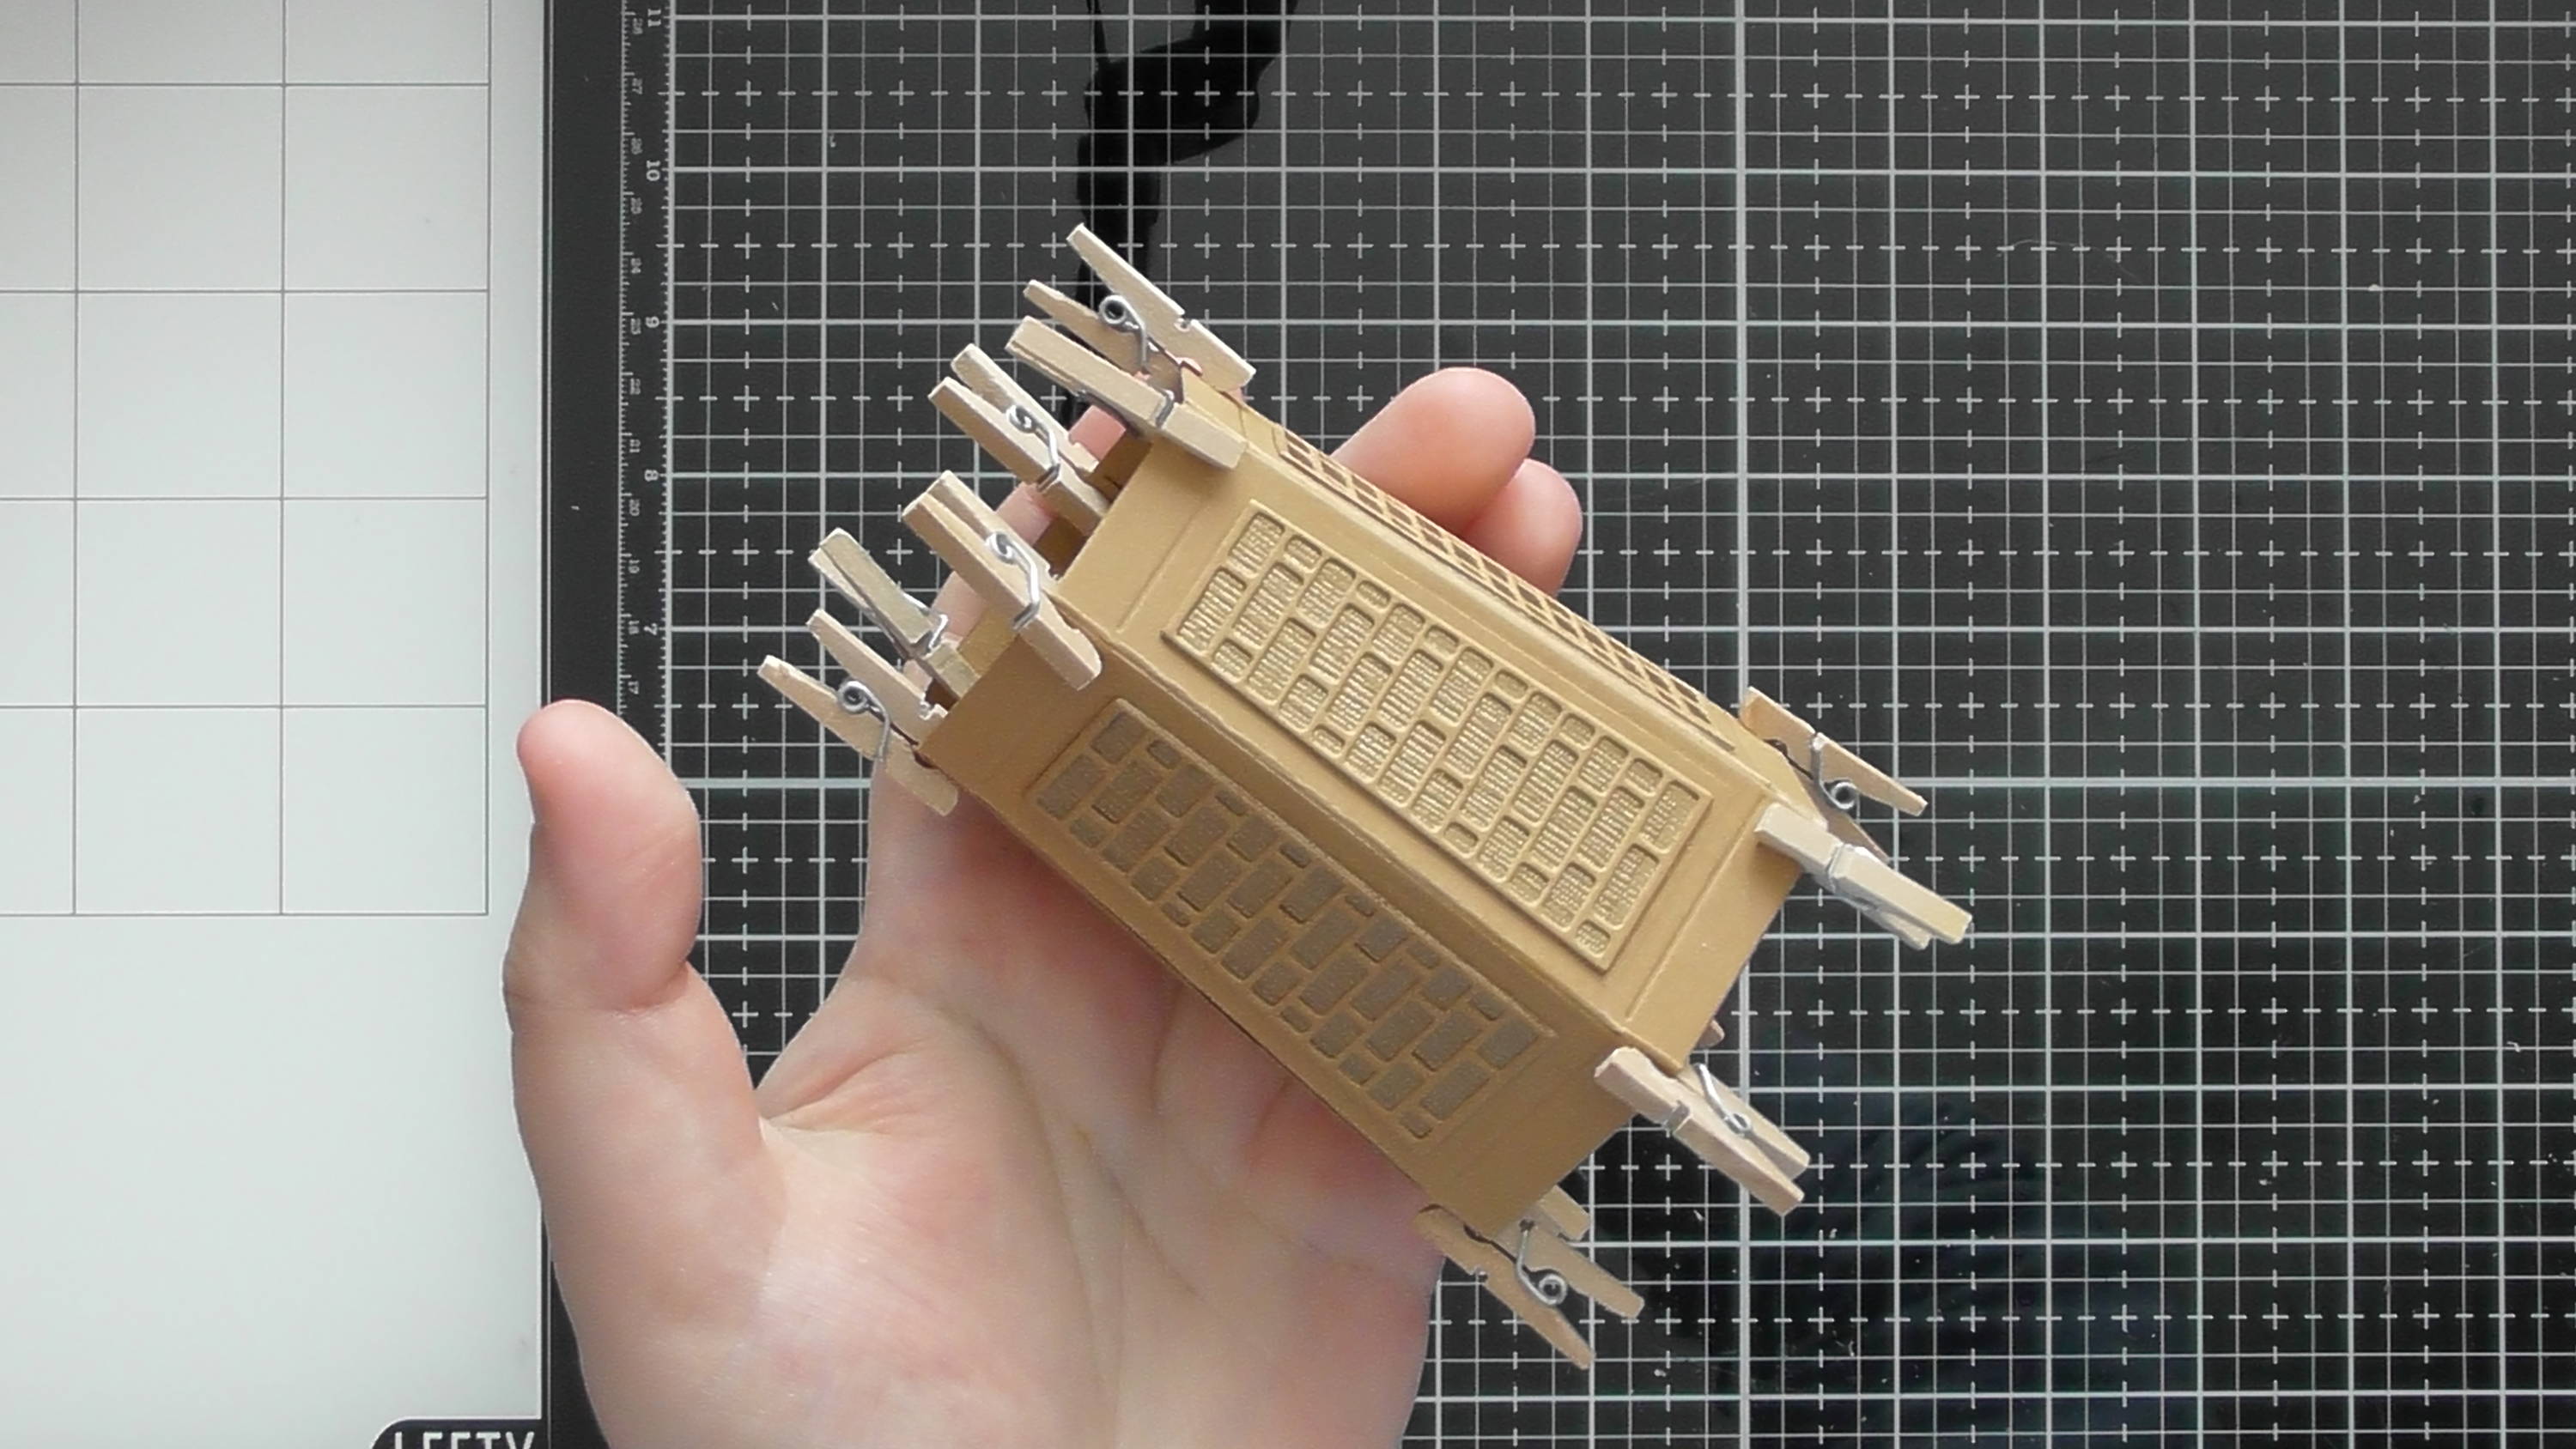
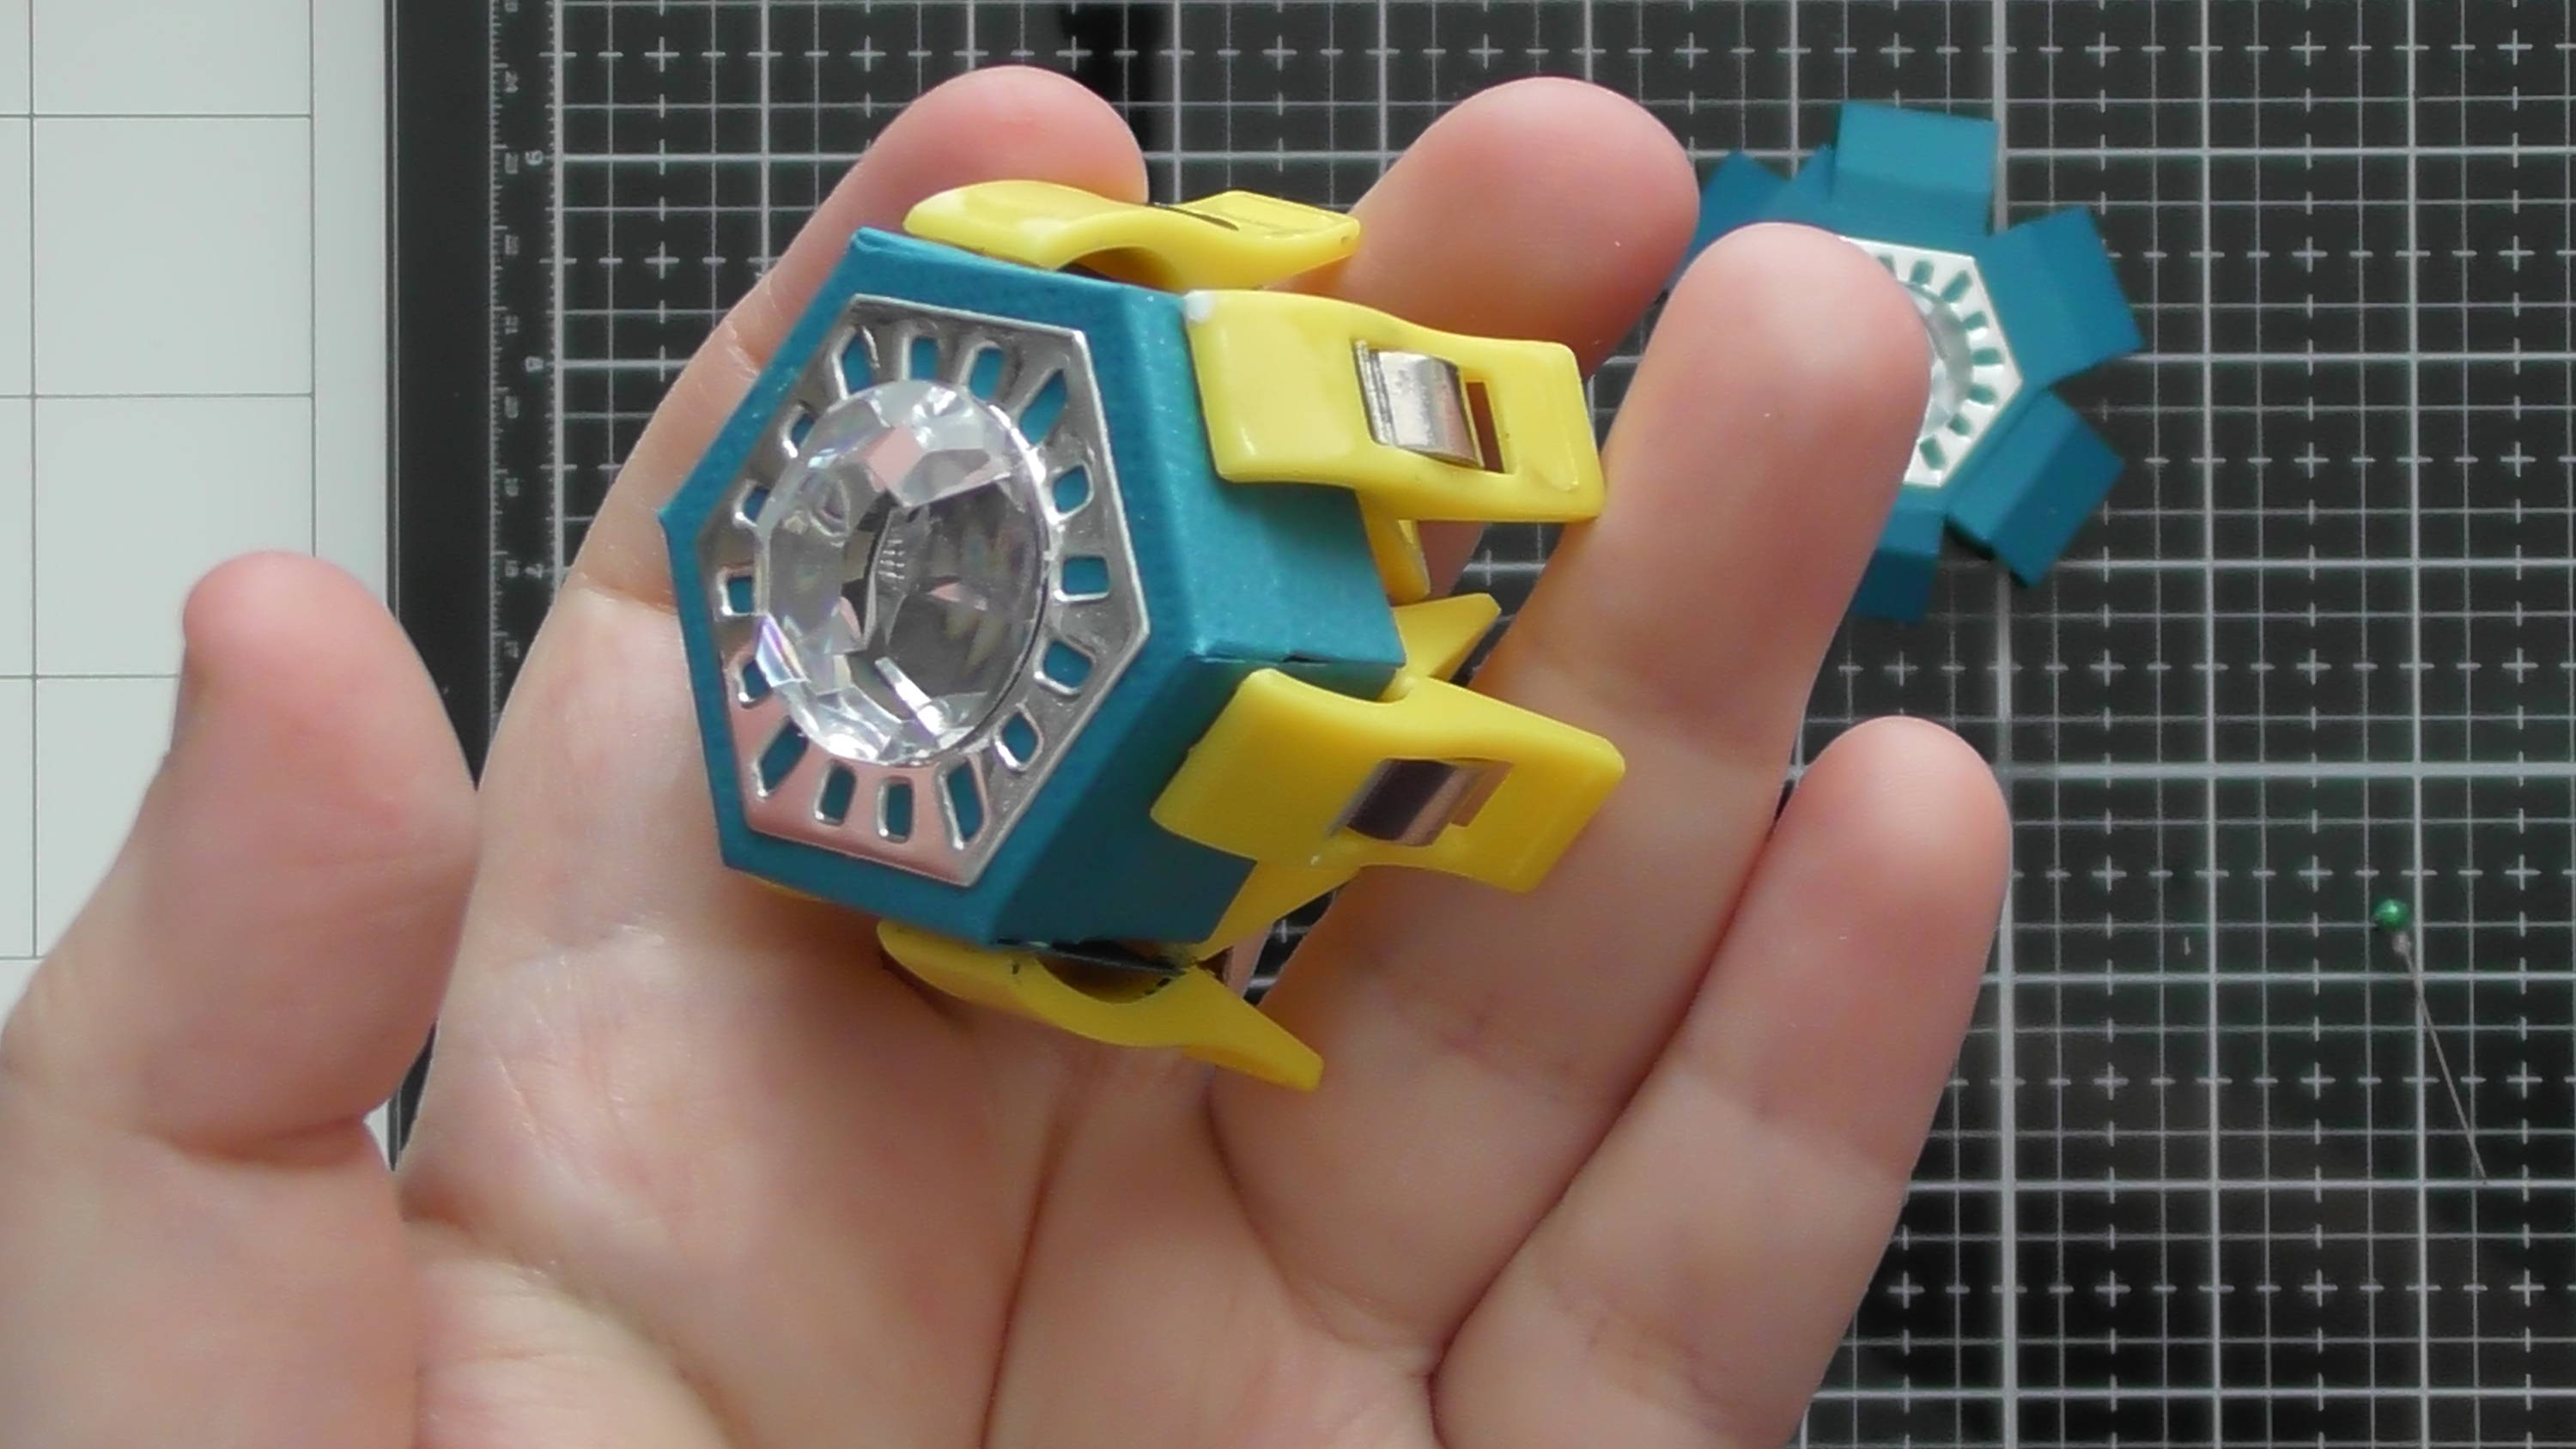
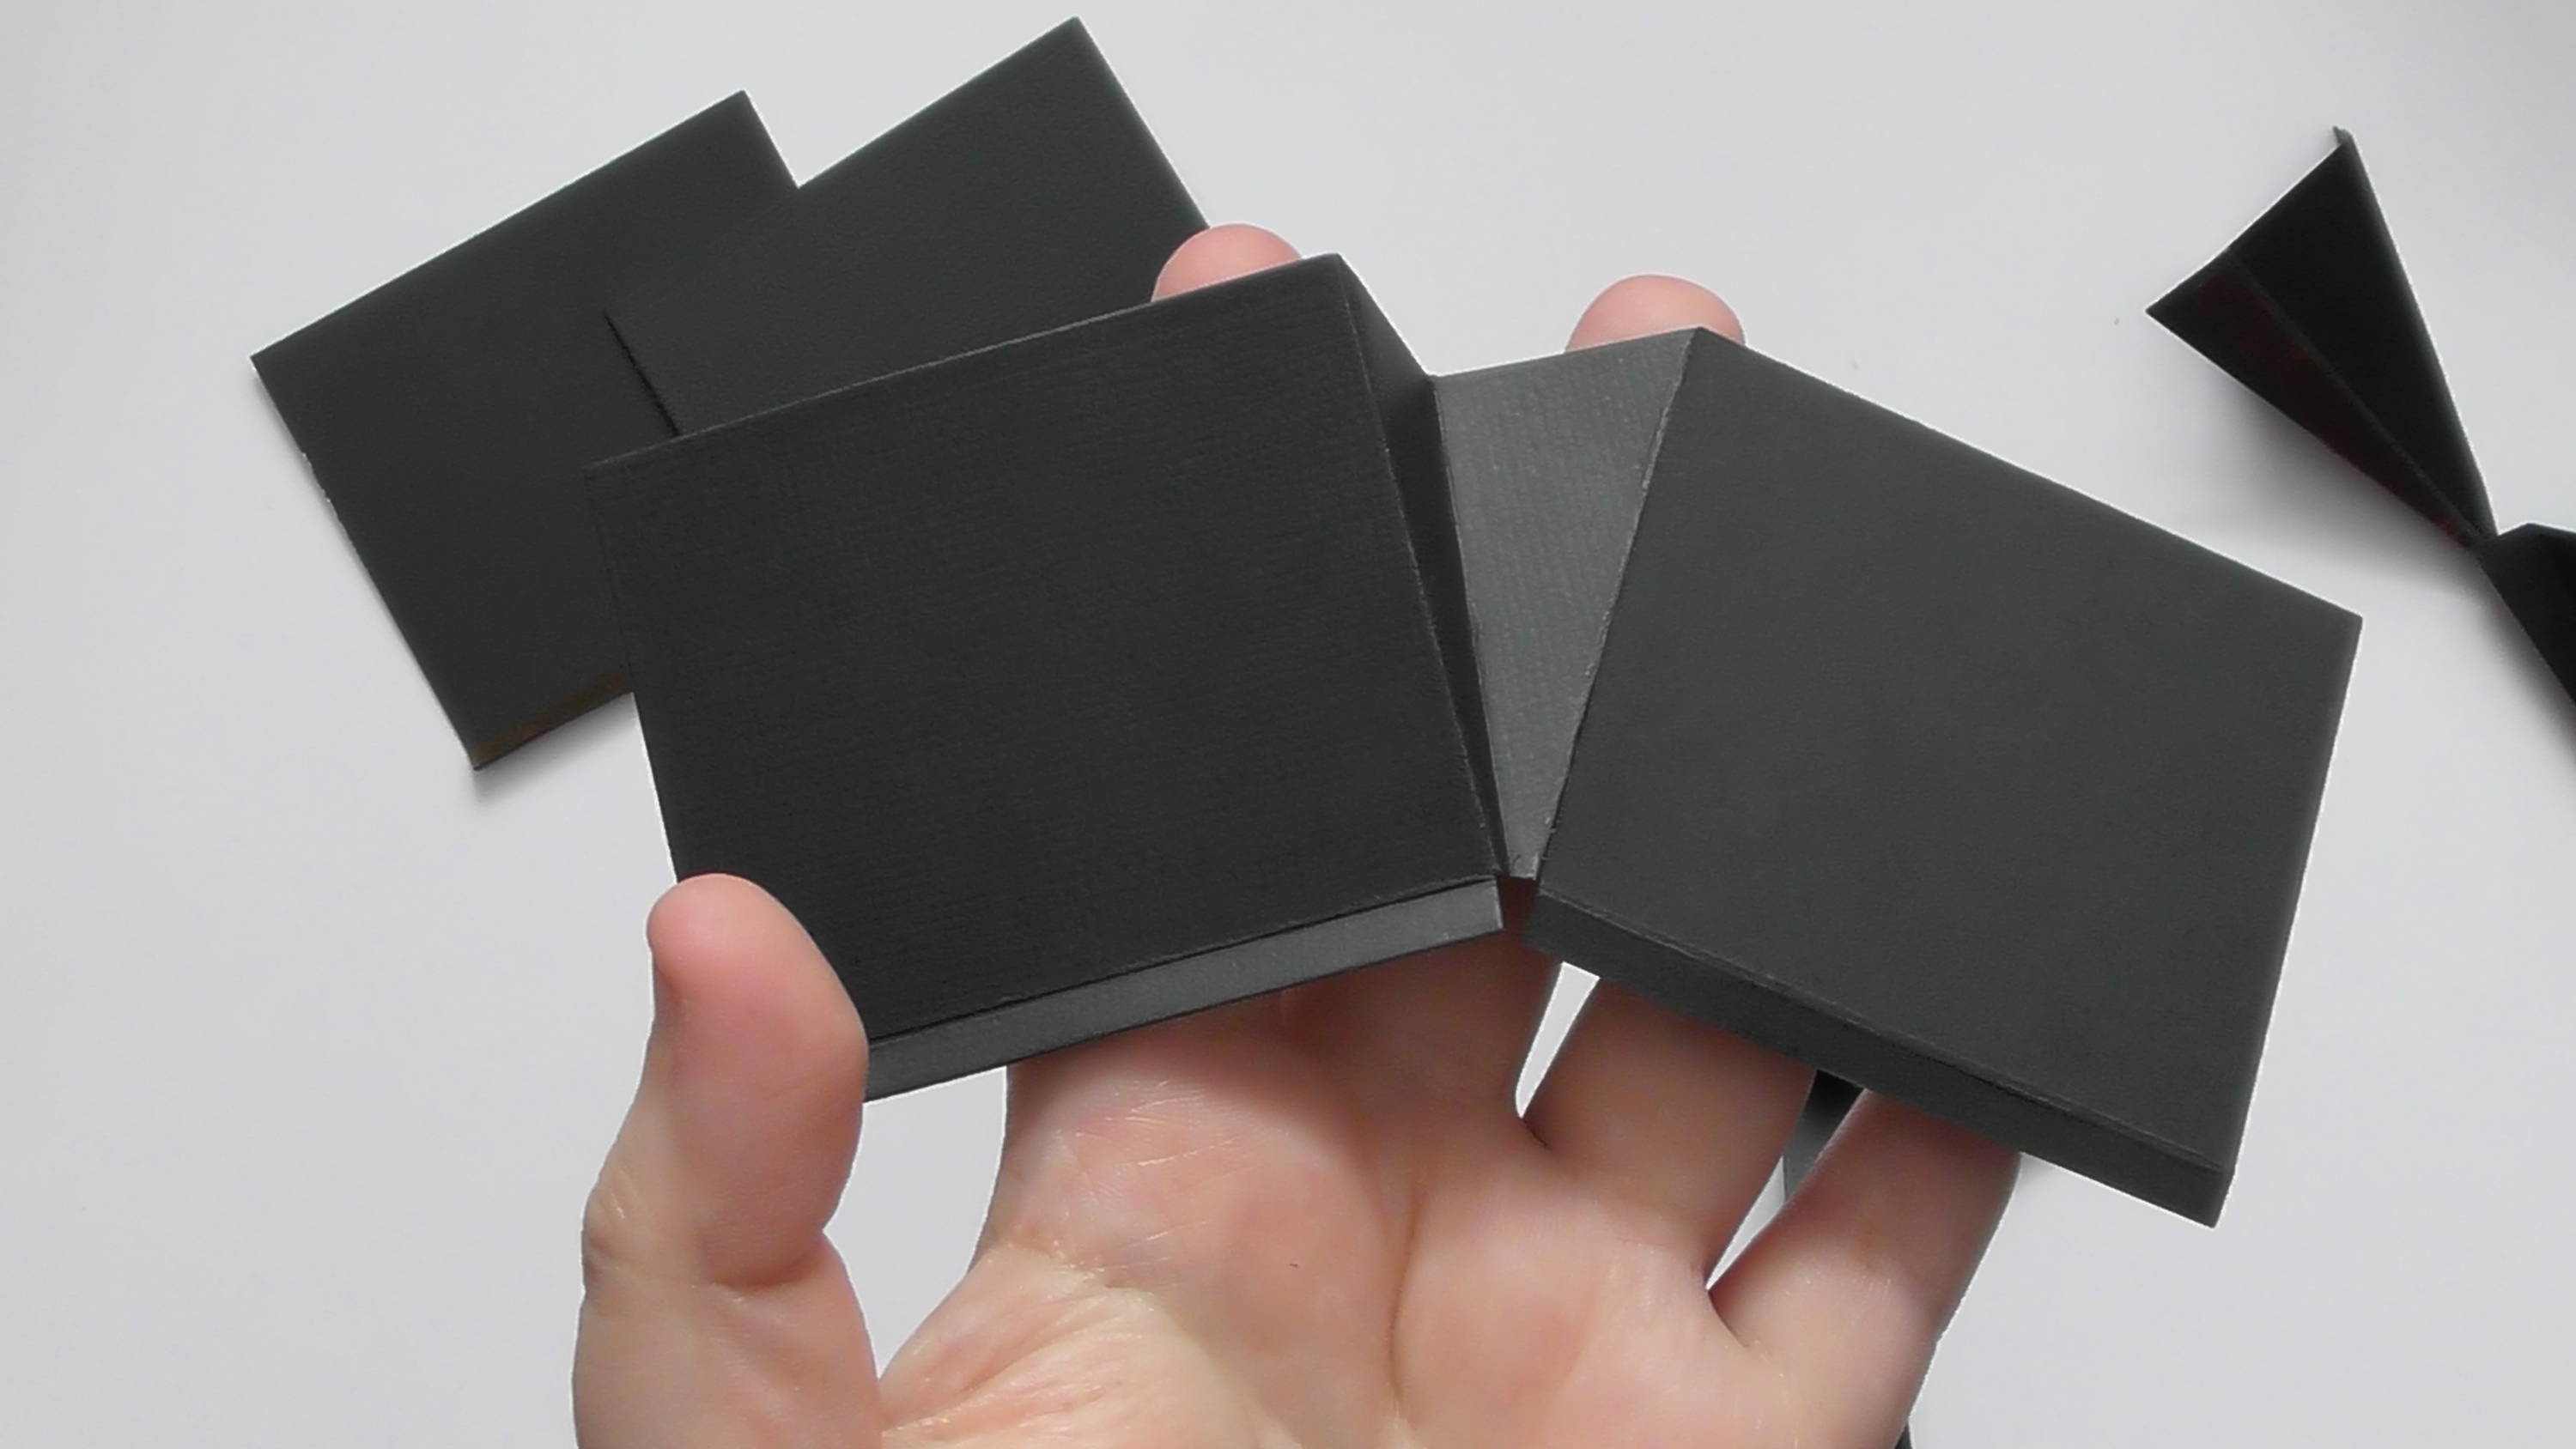
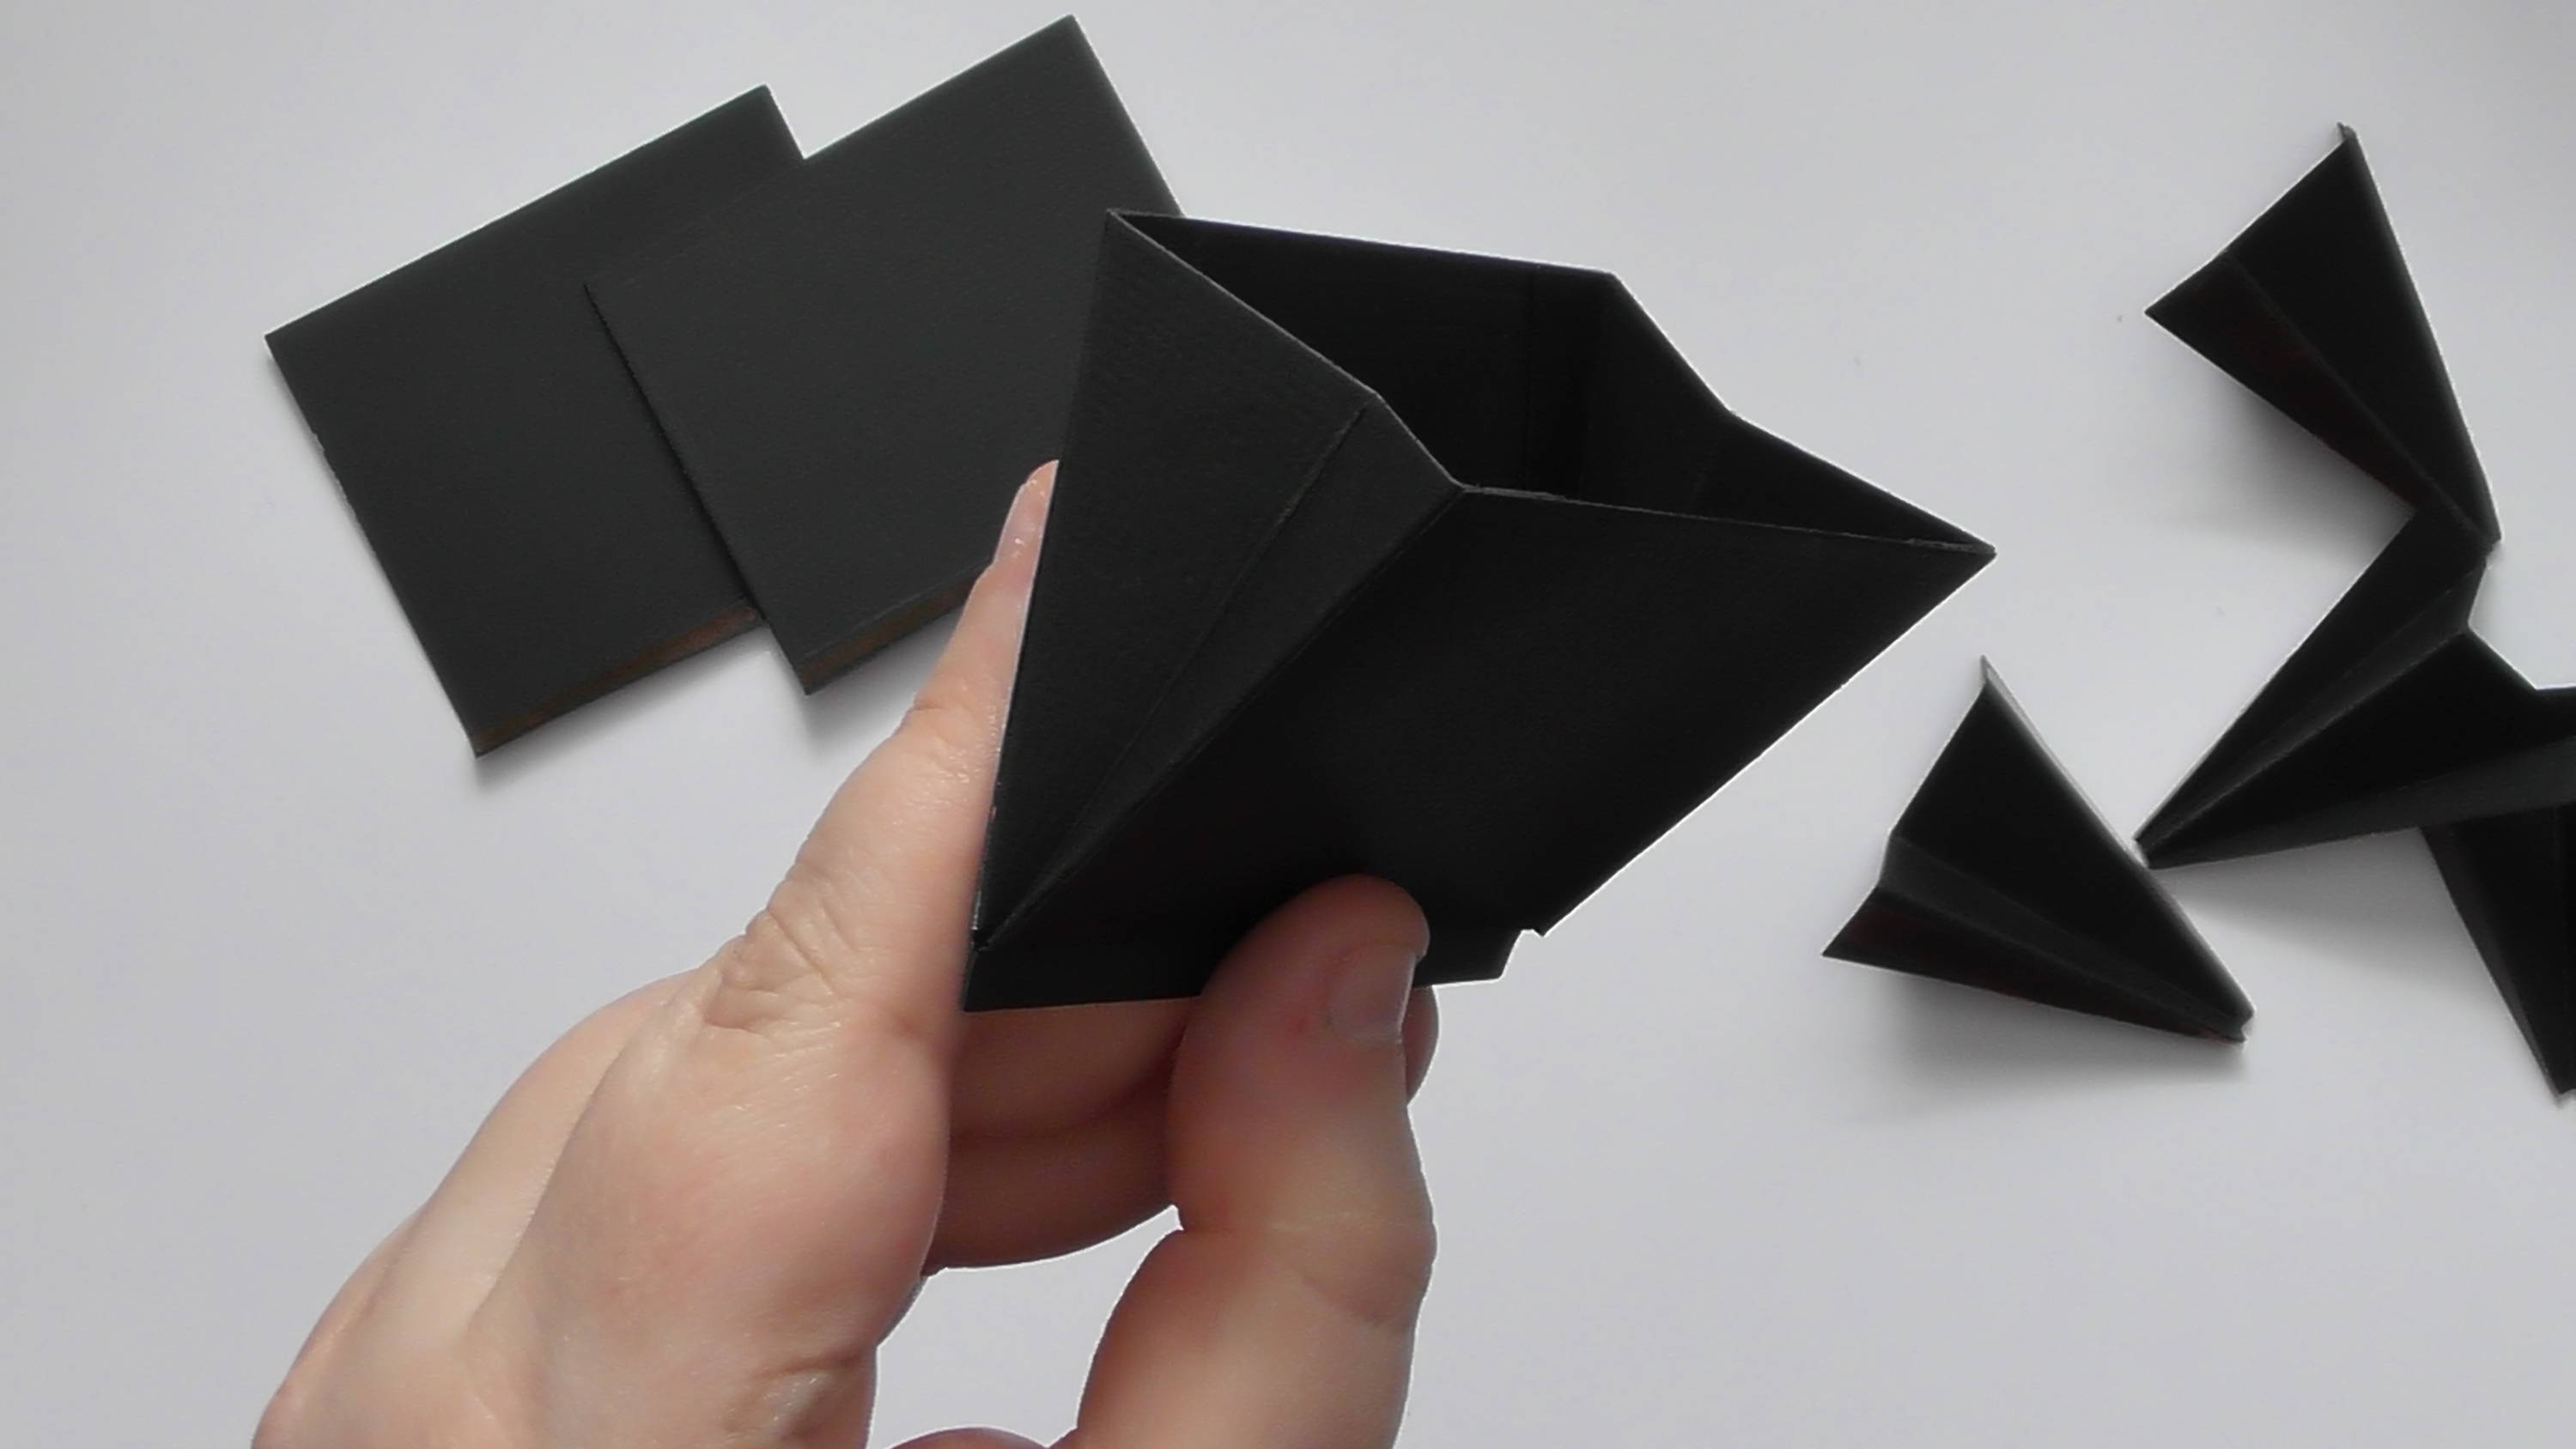
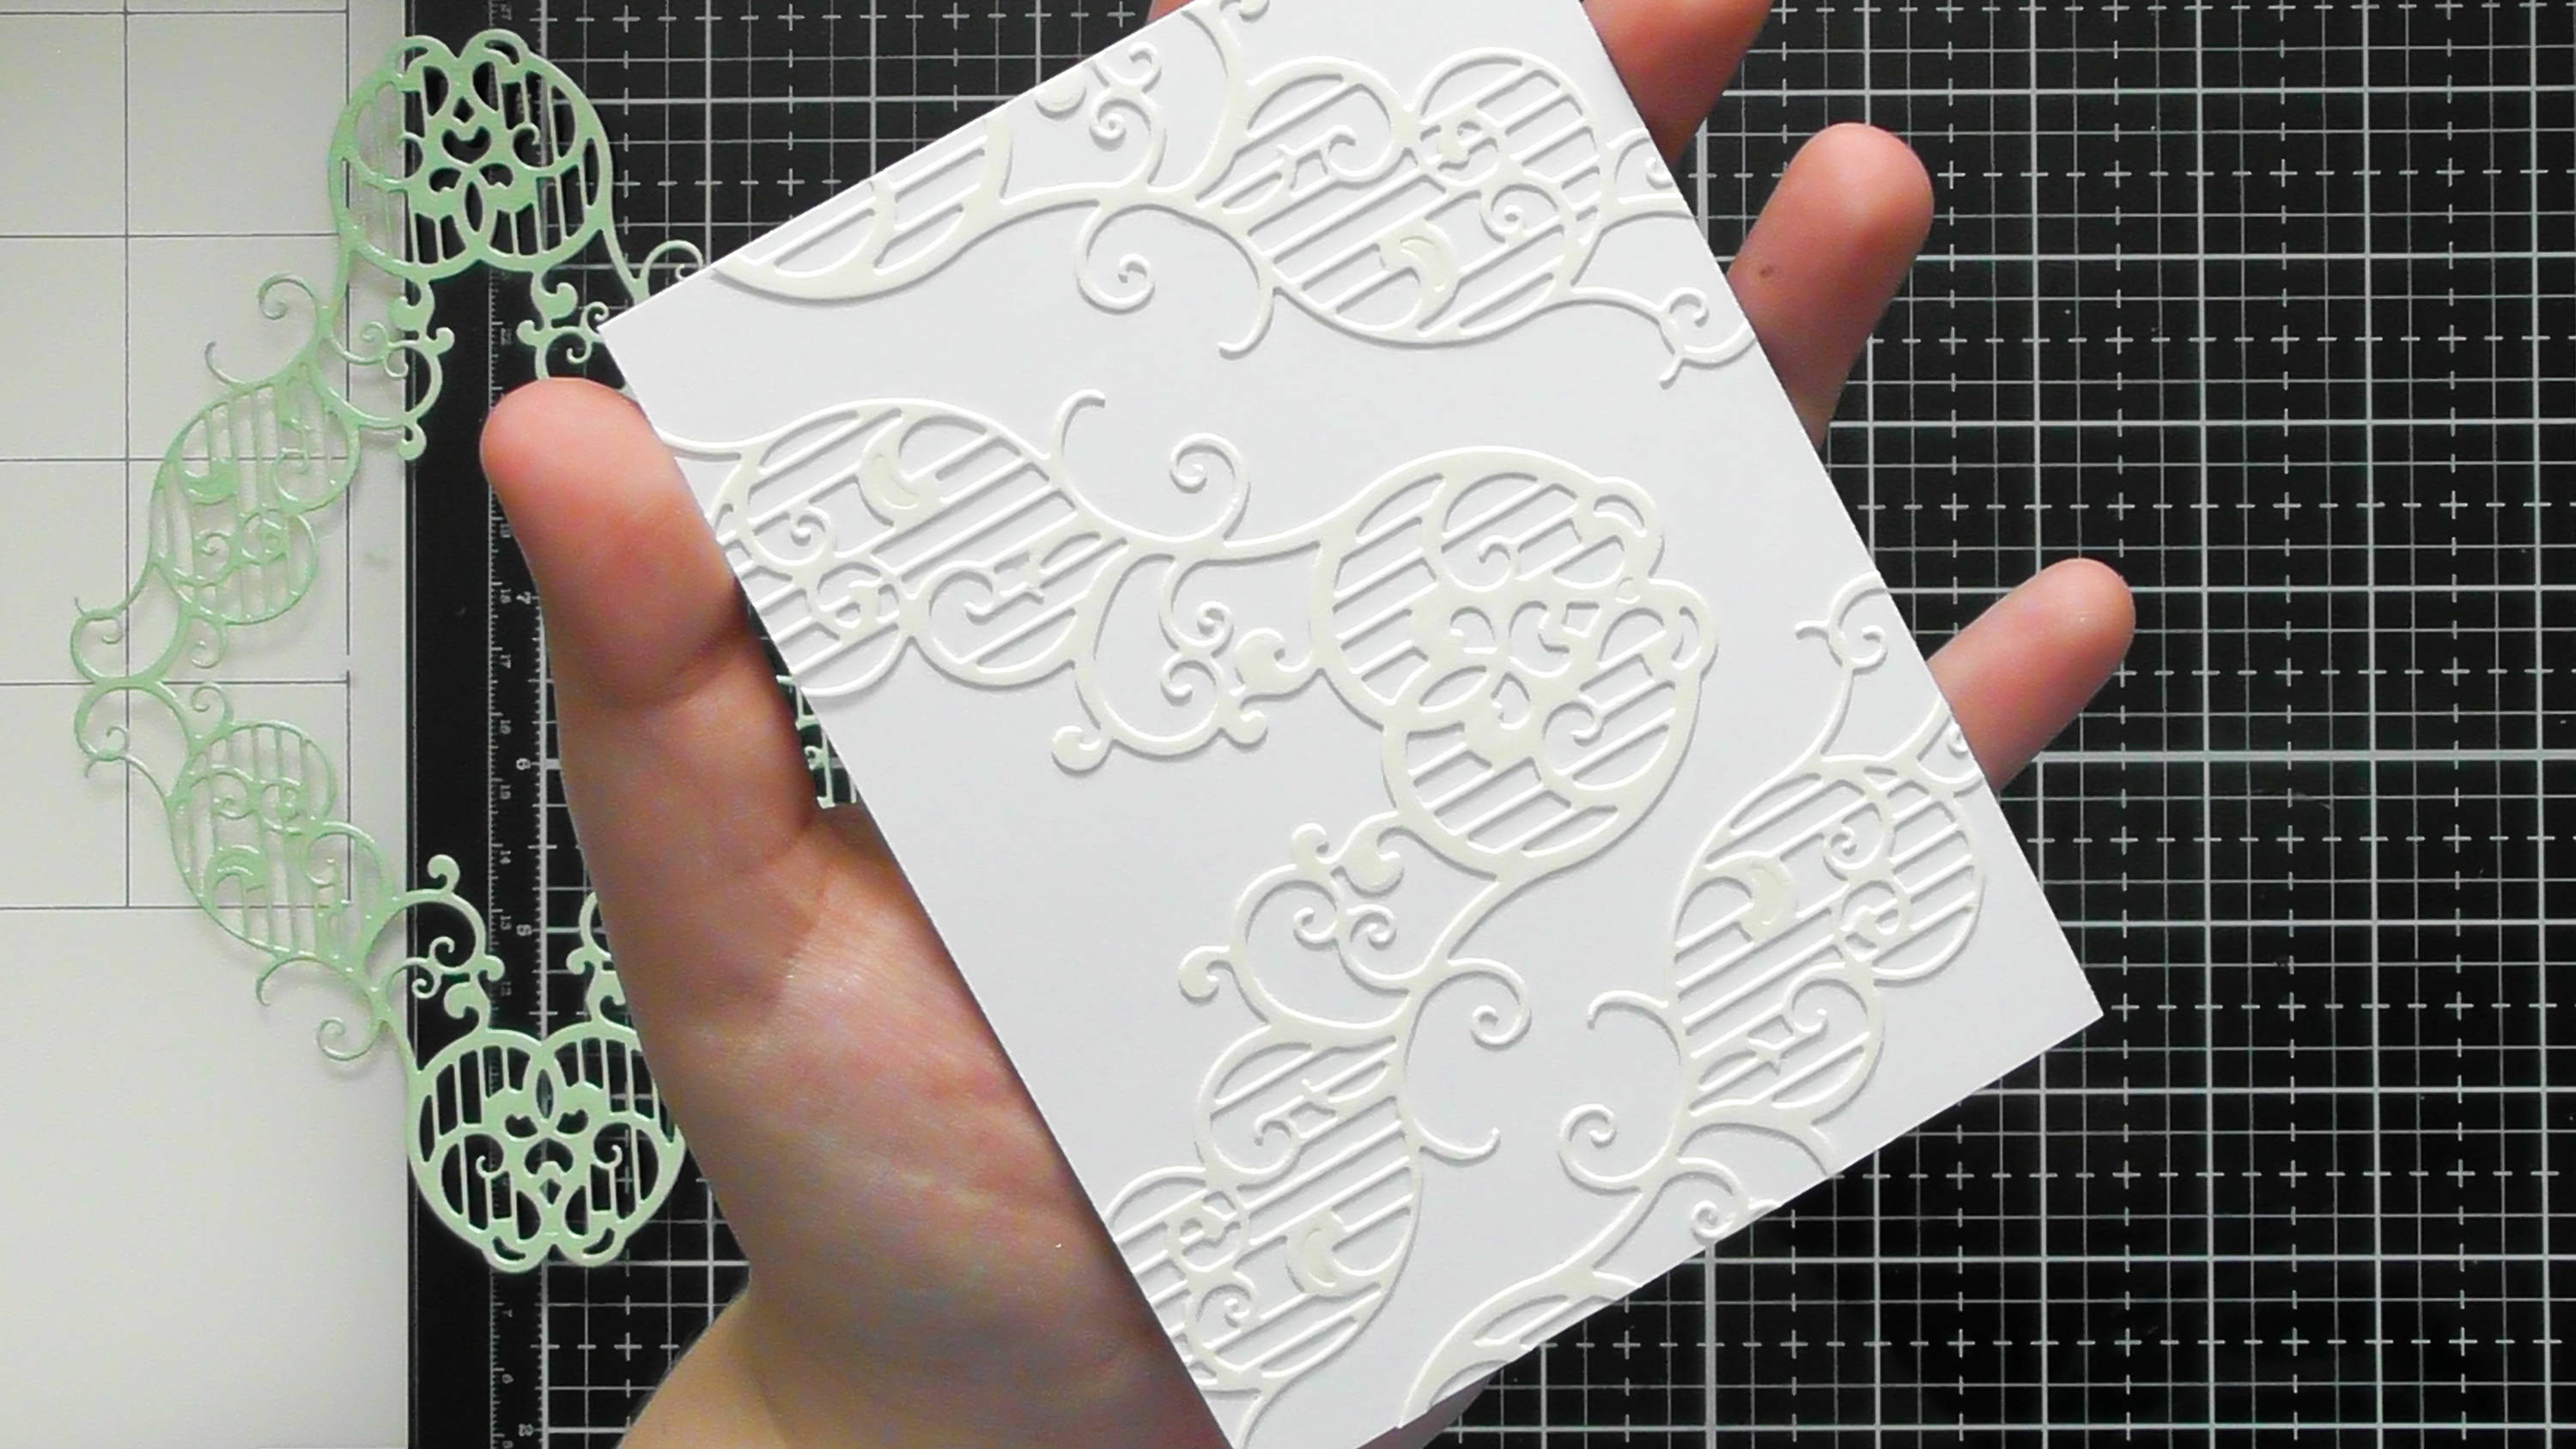
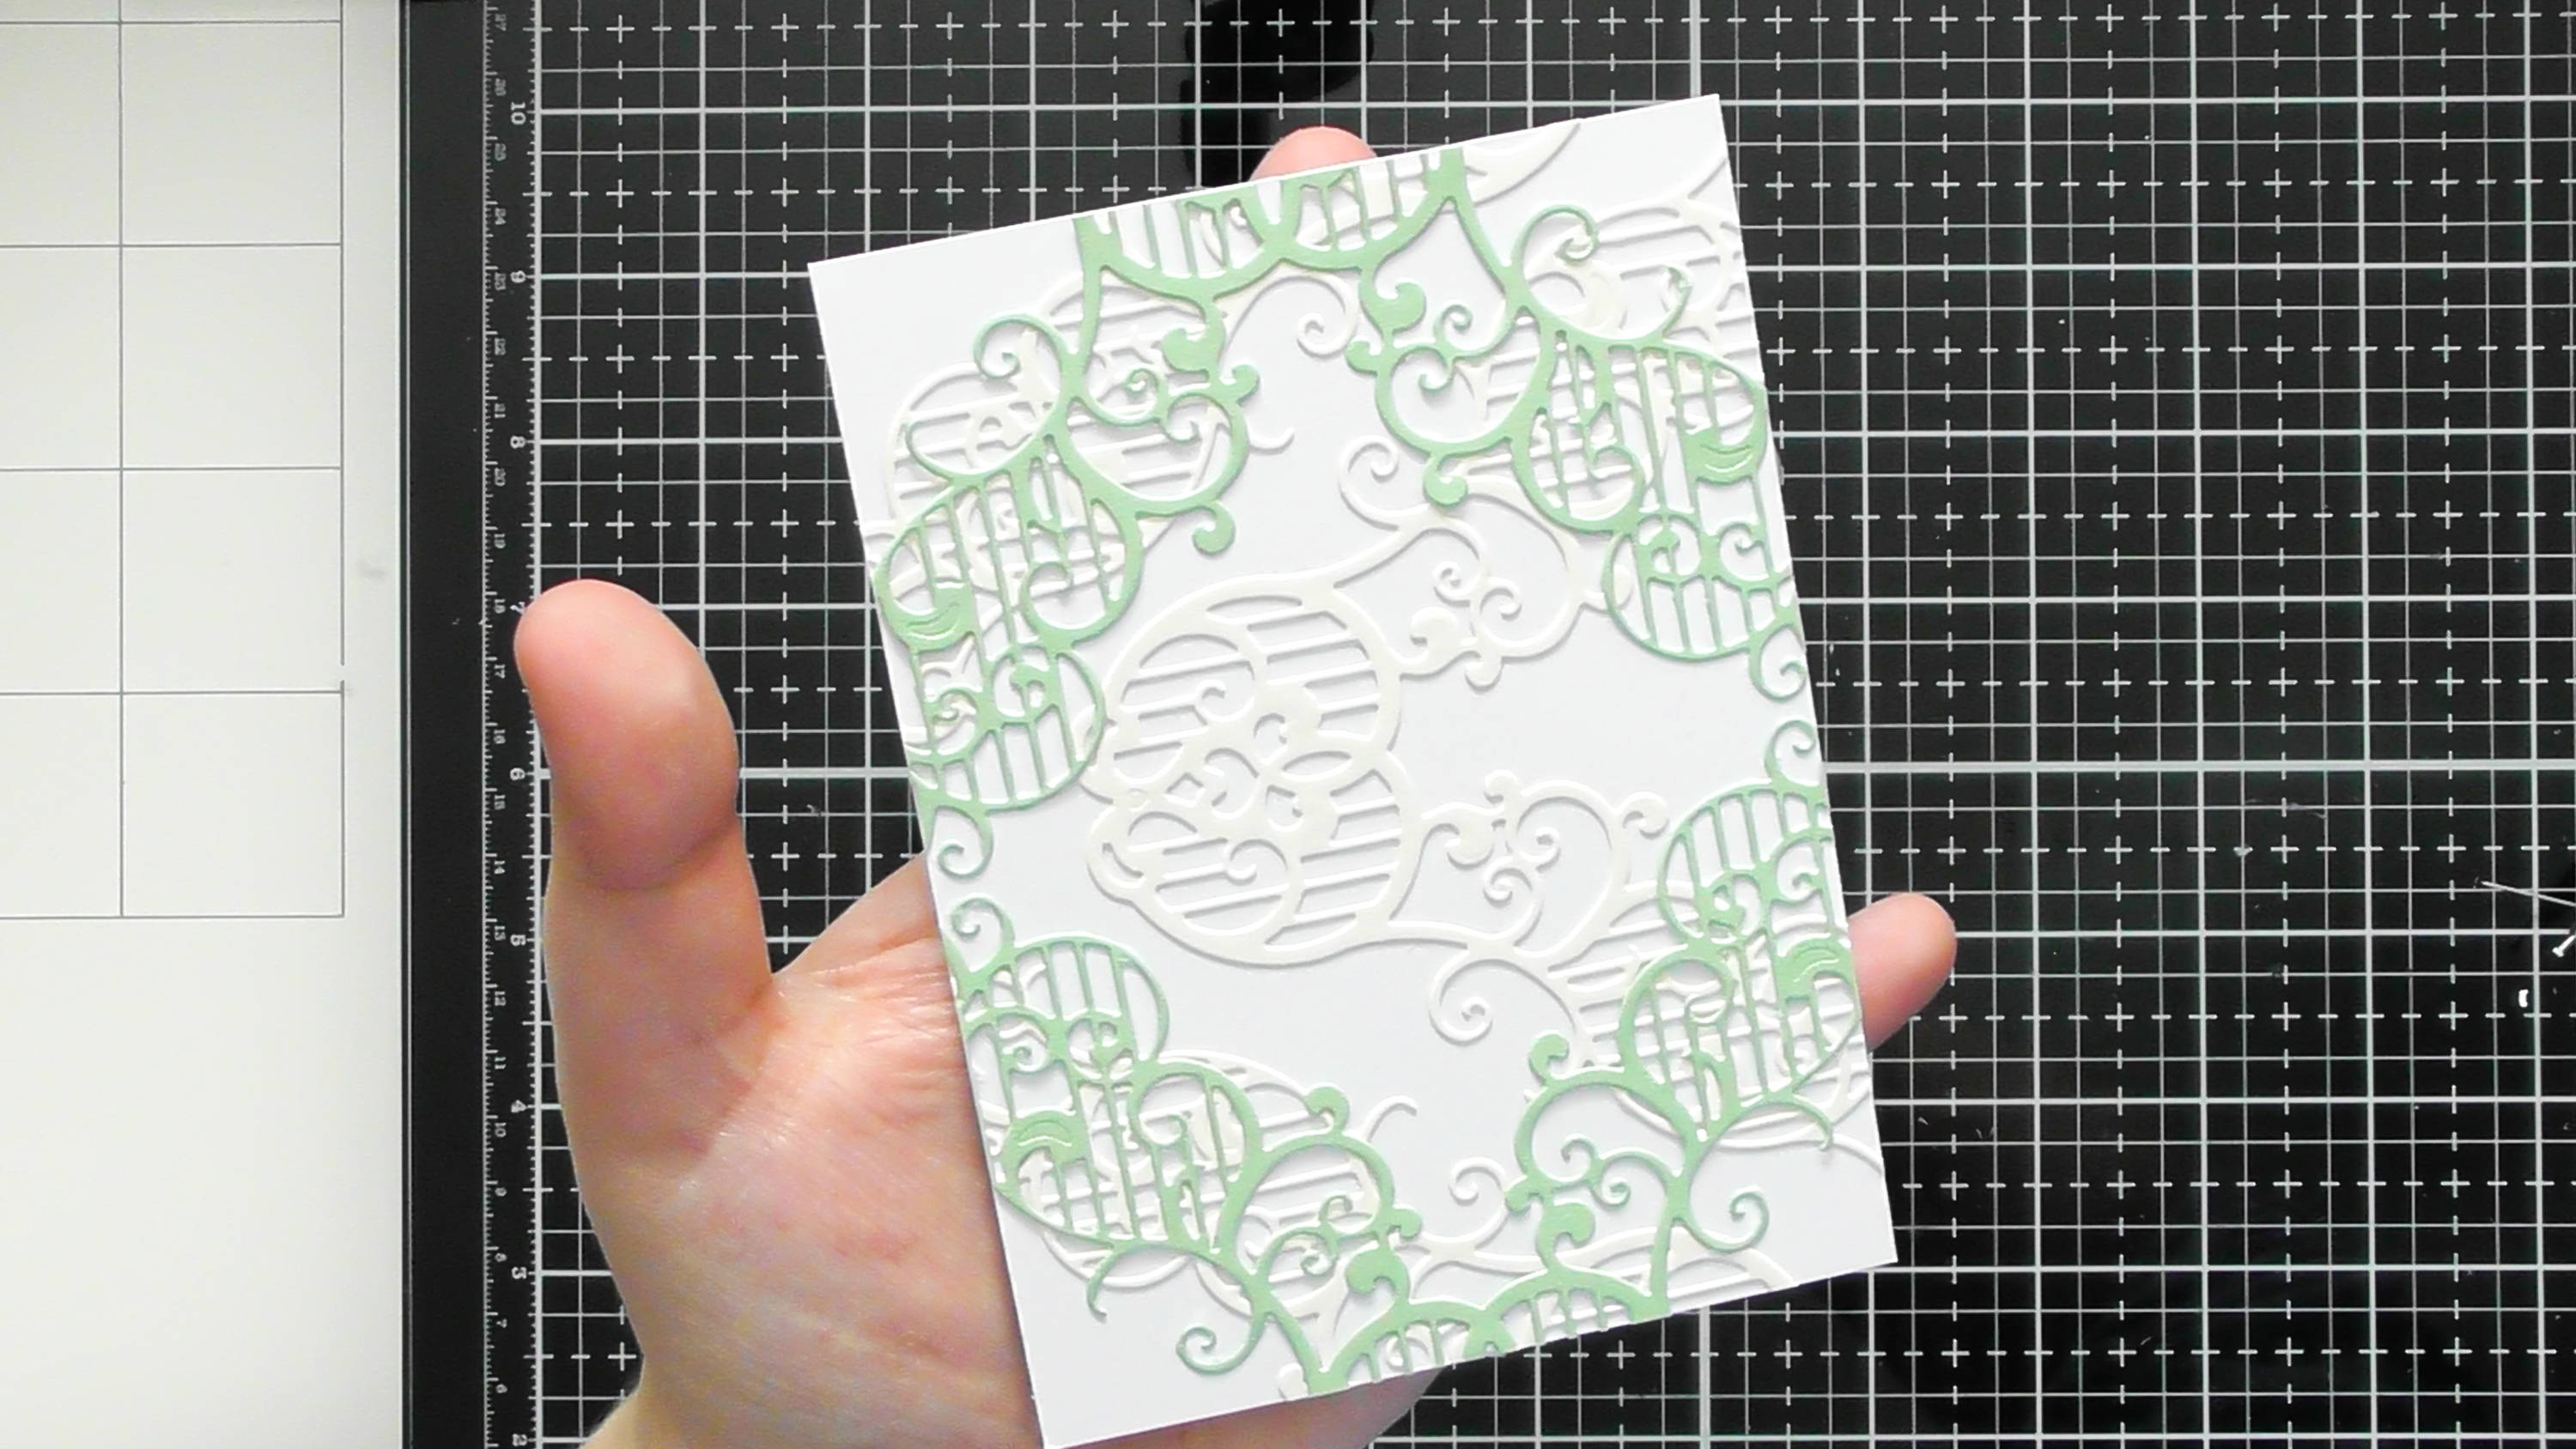
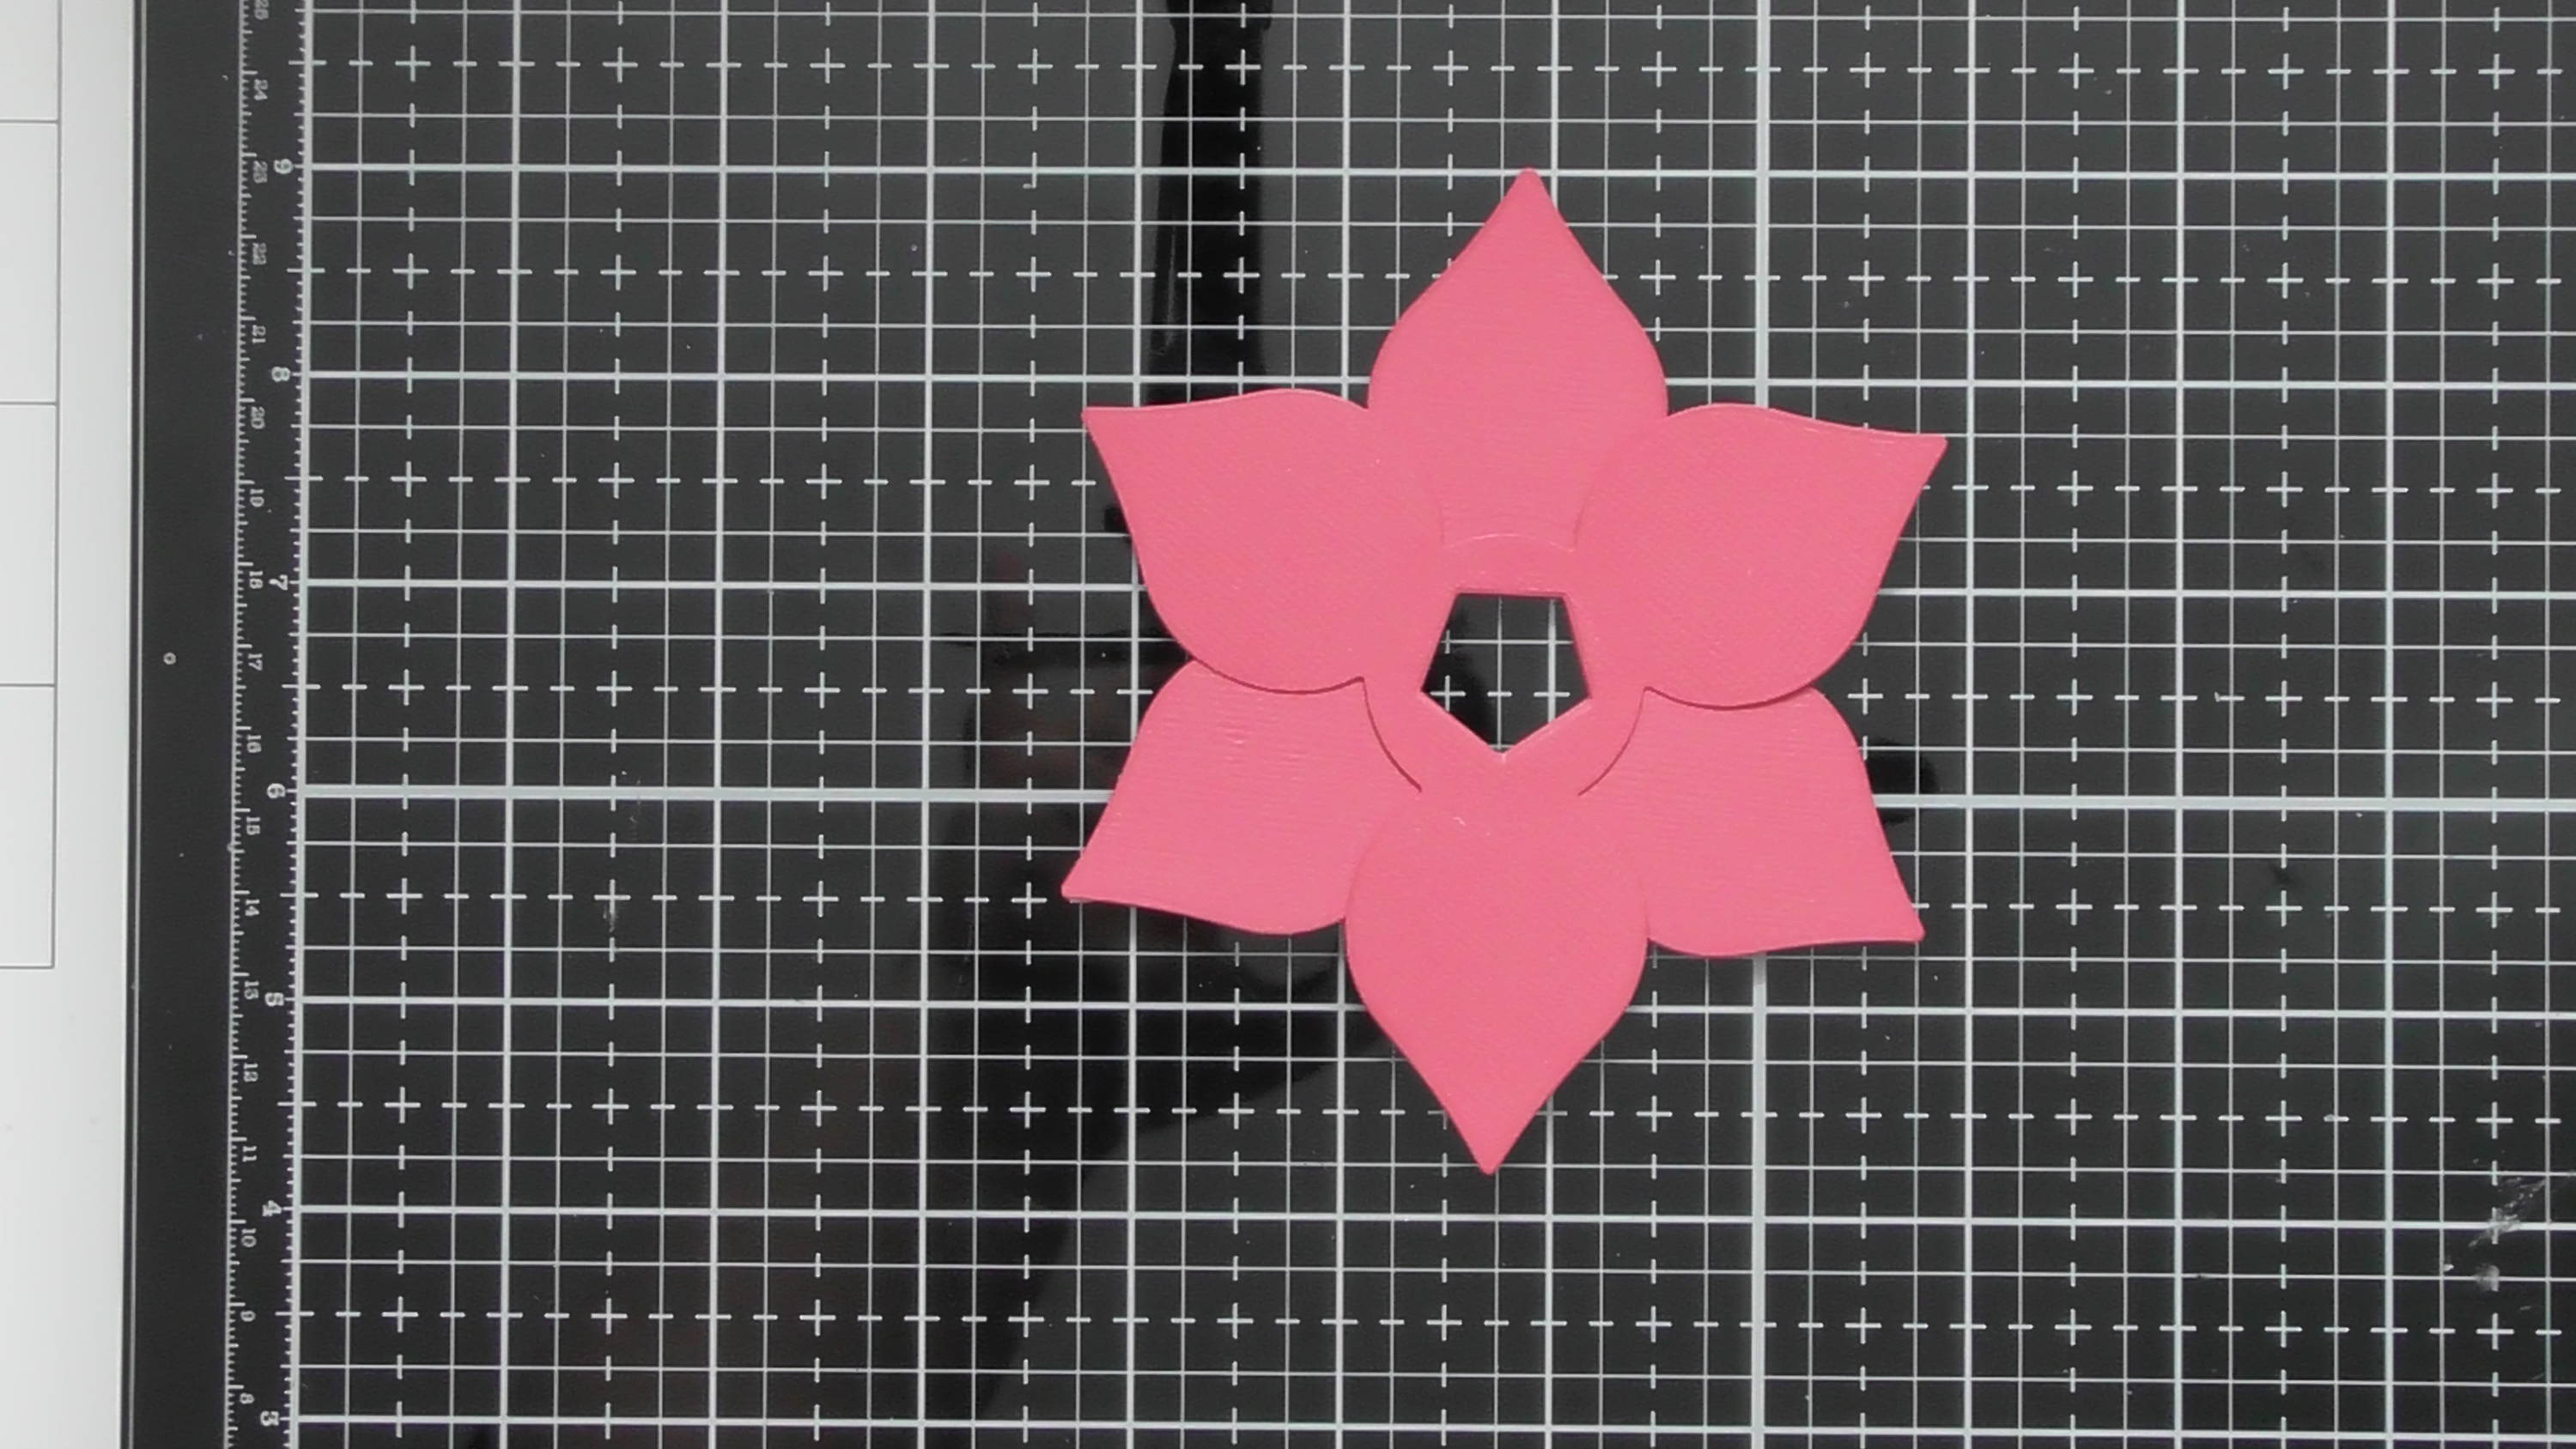
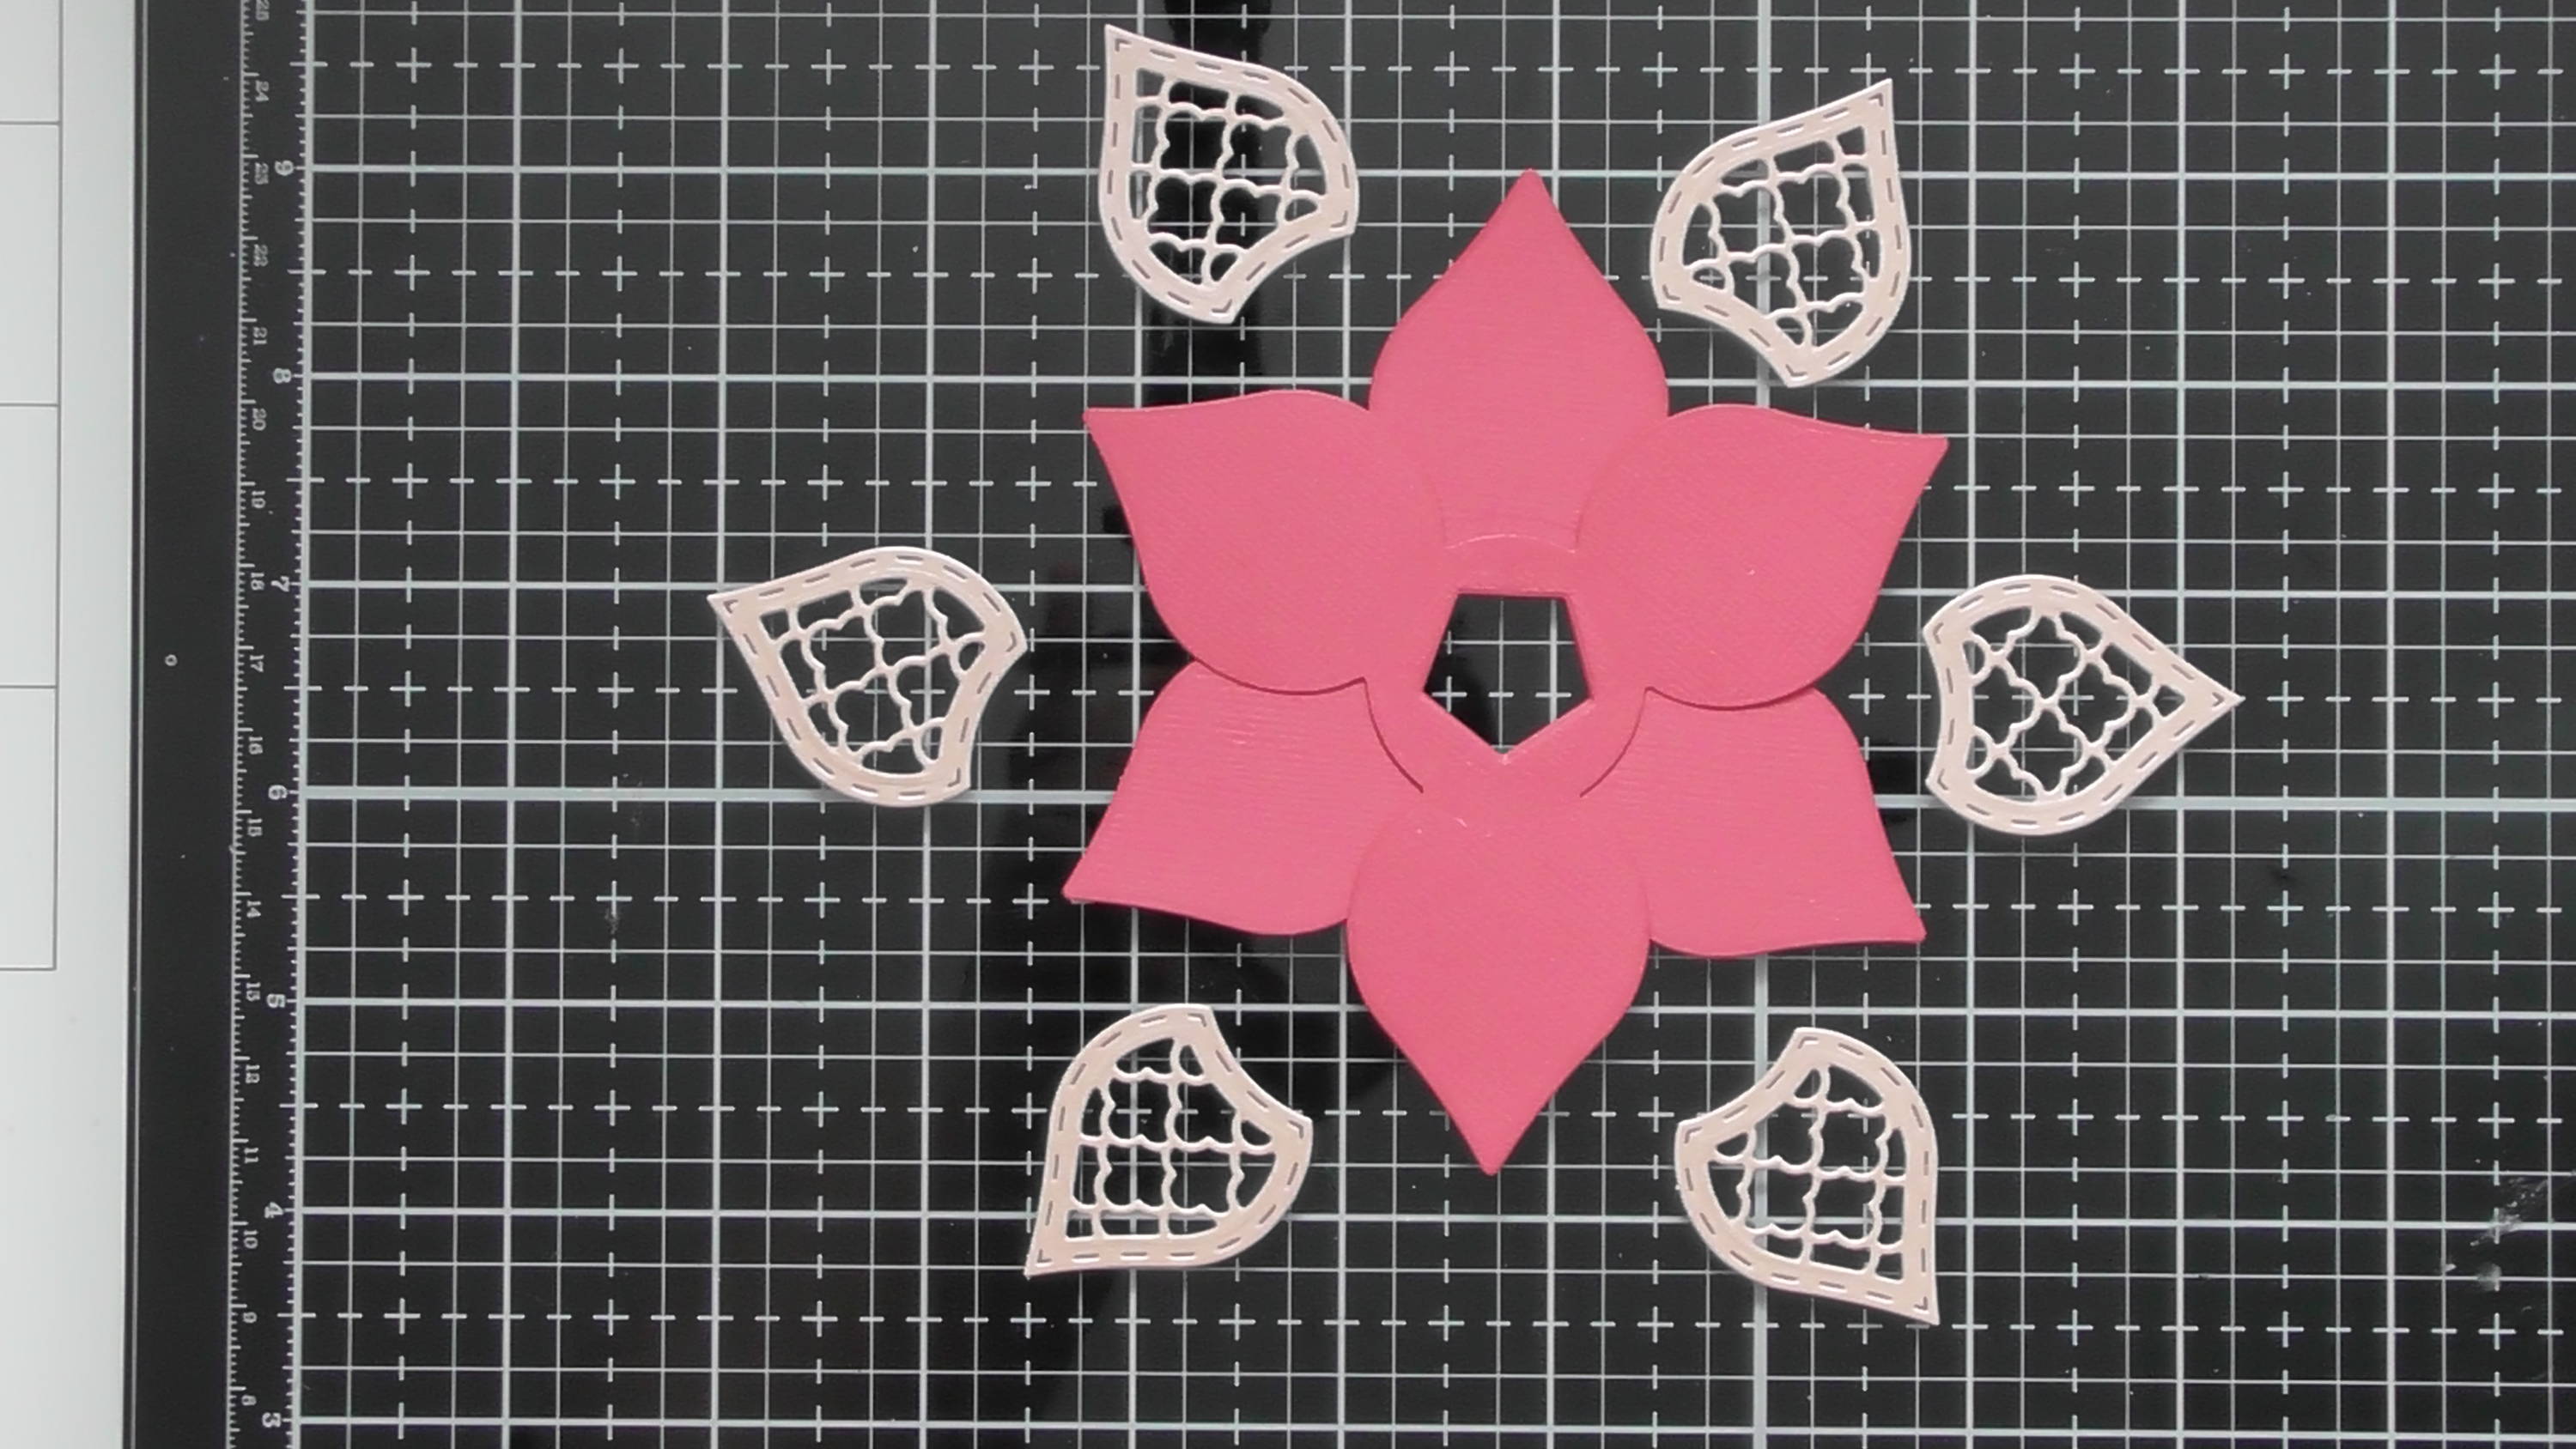
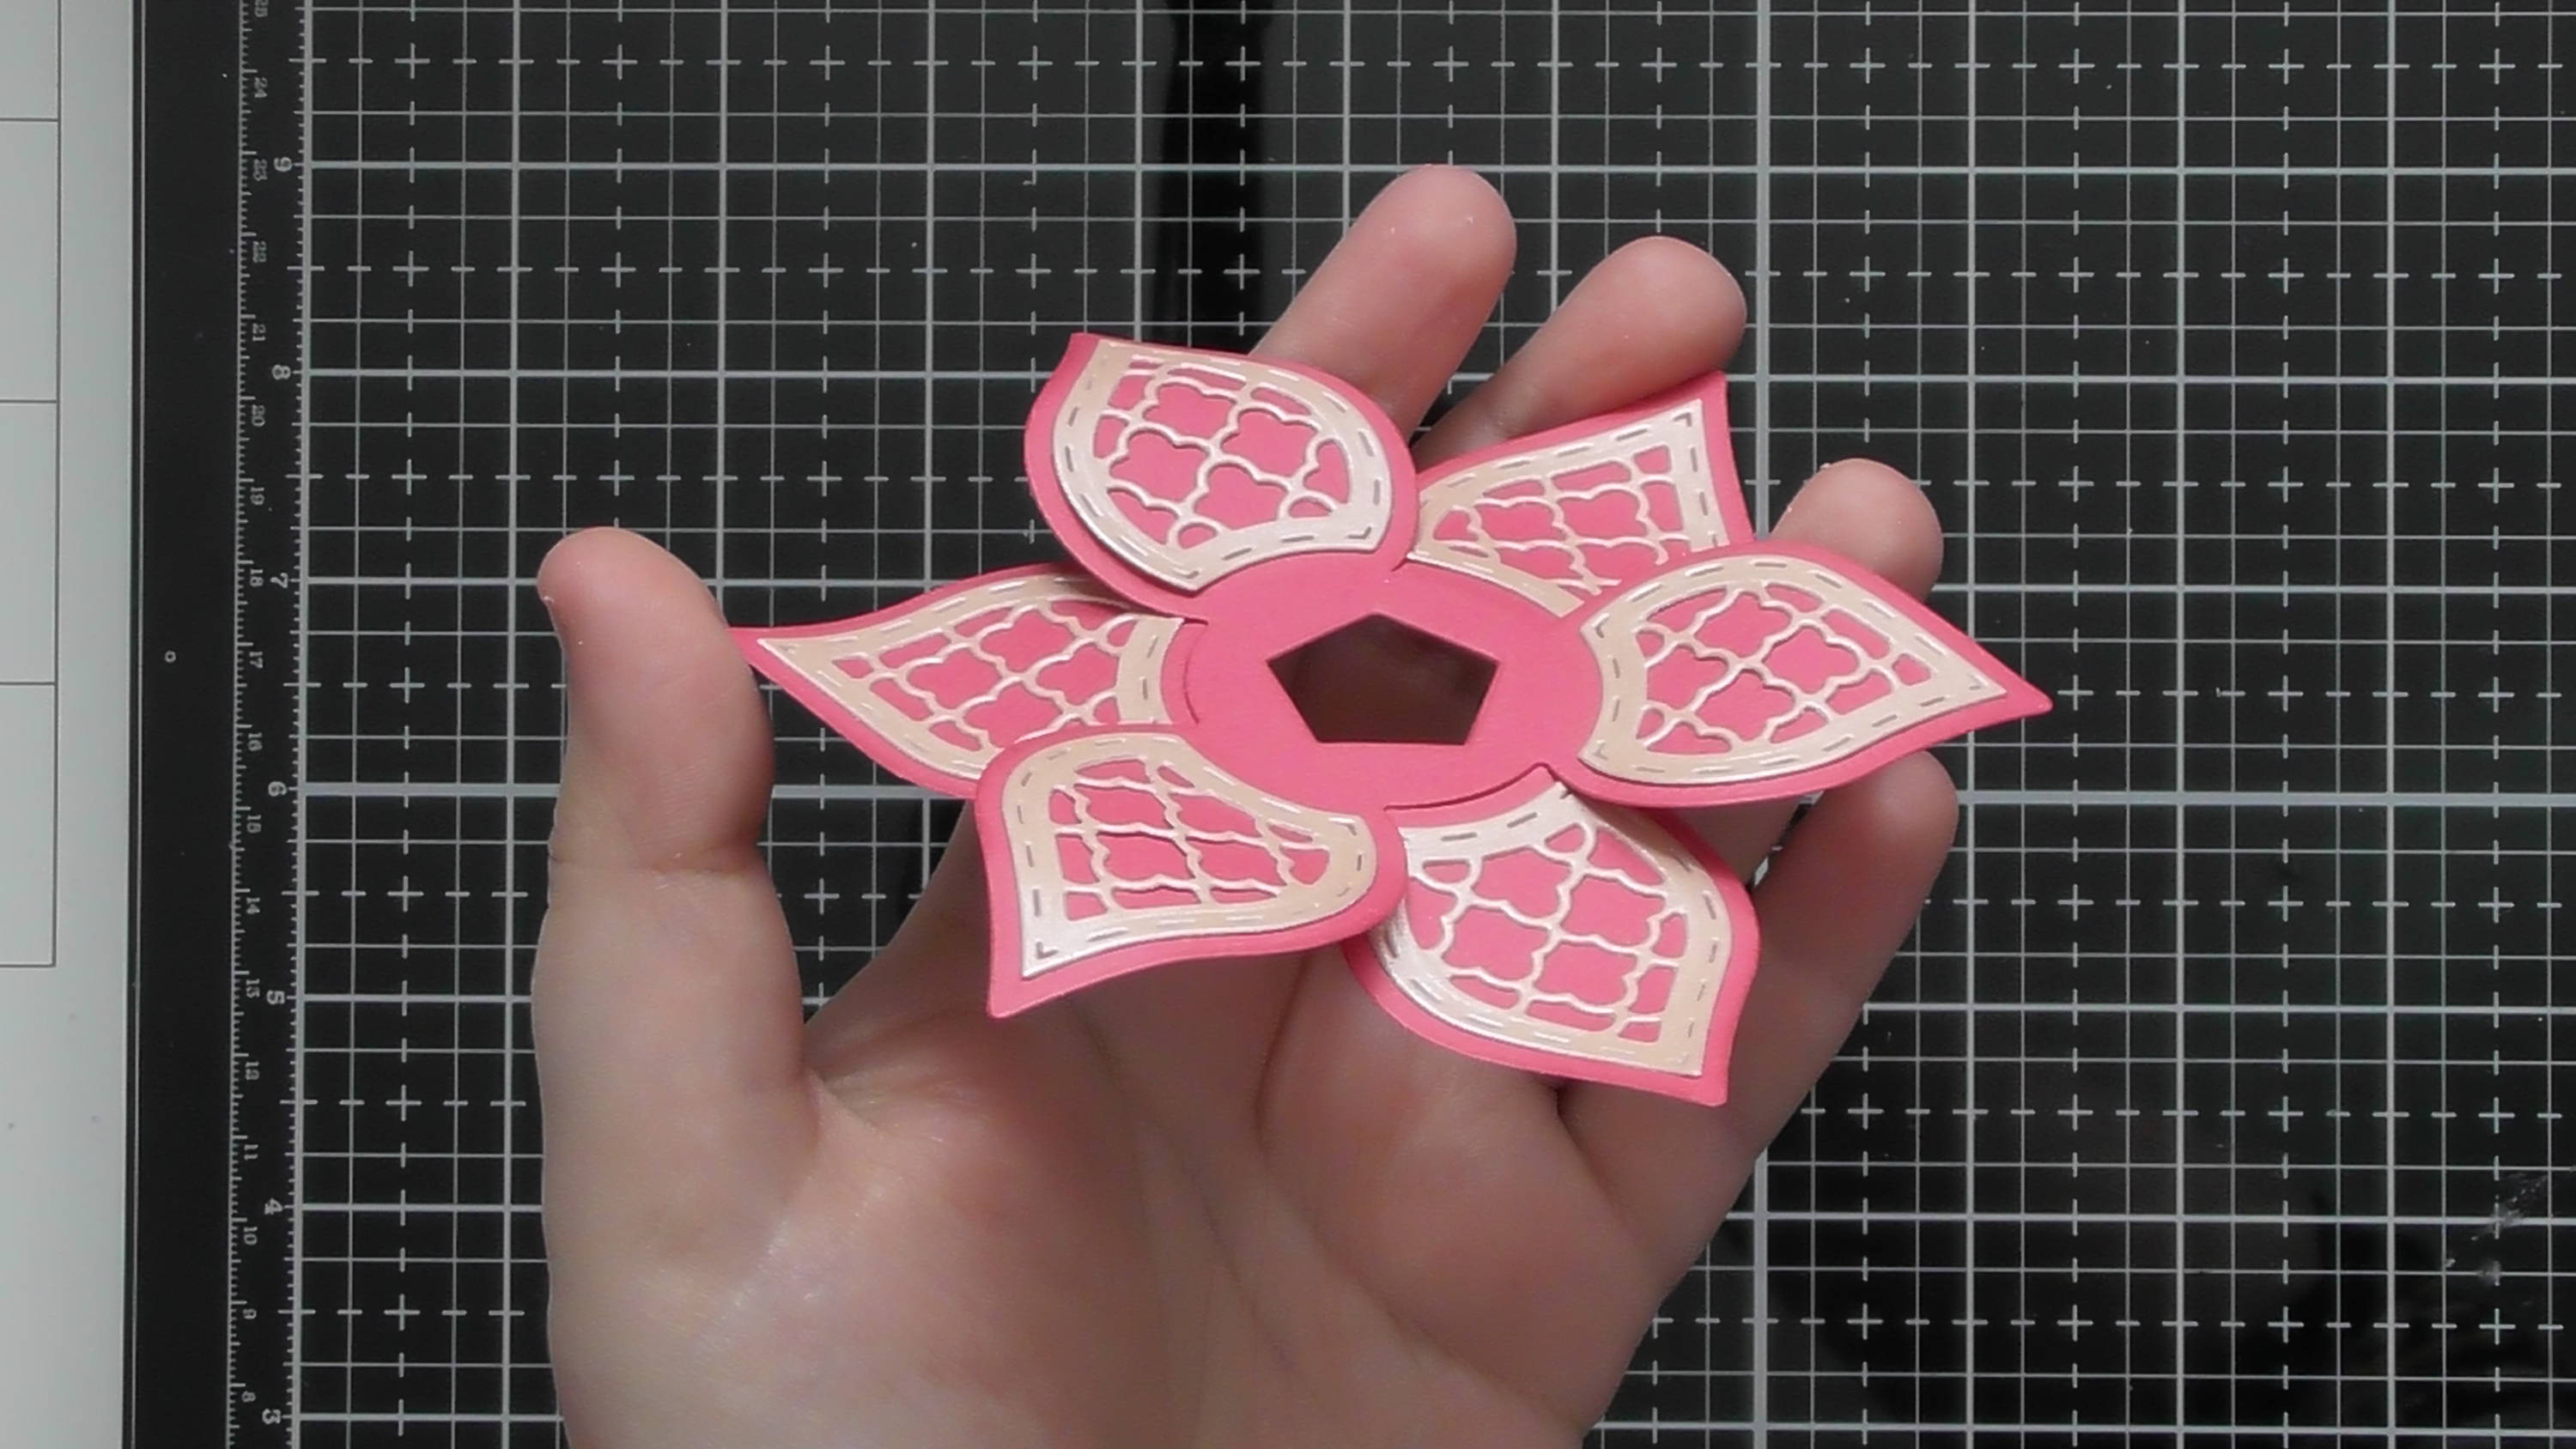
Step 5
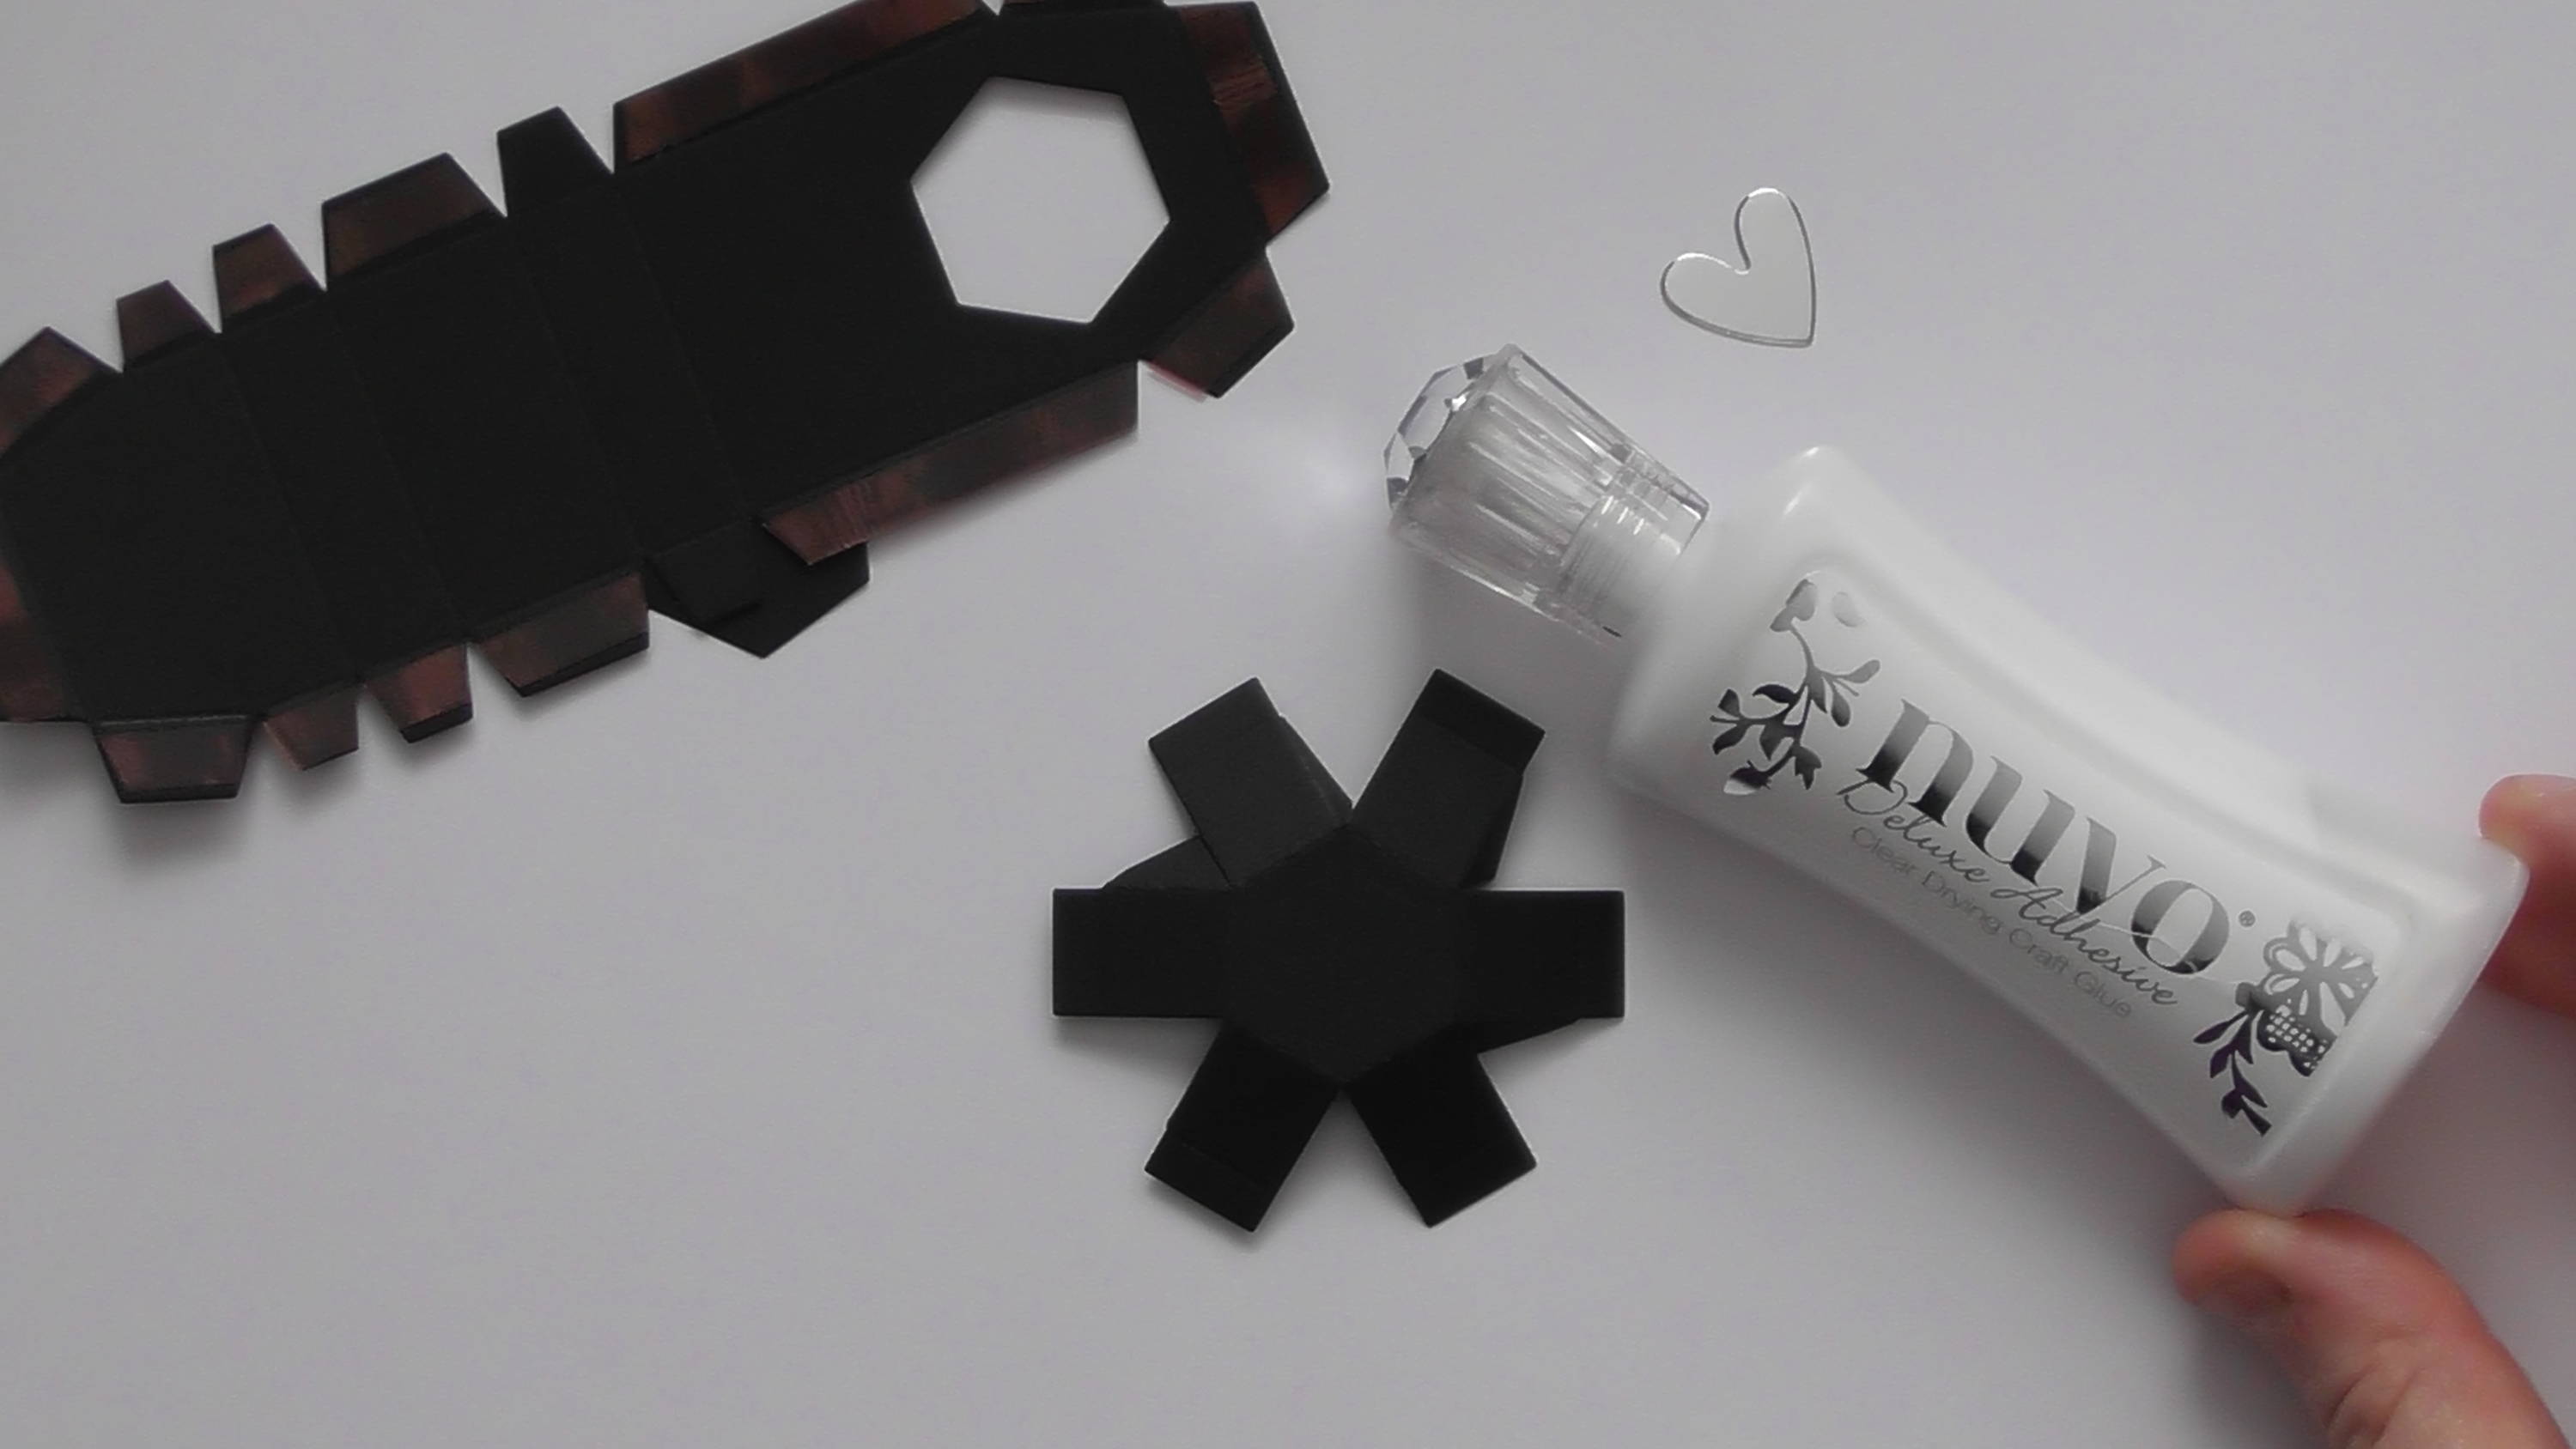
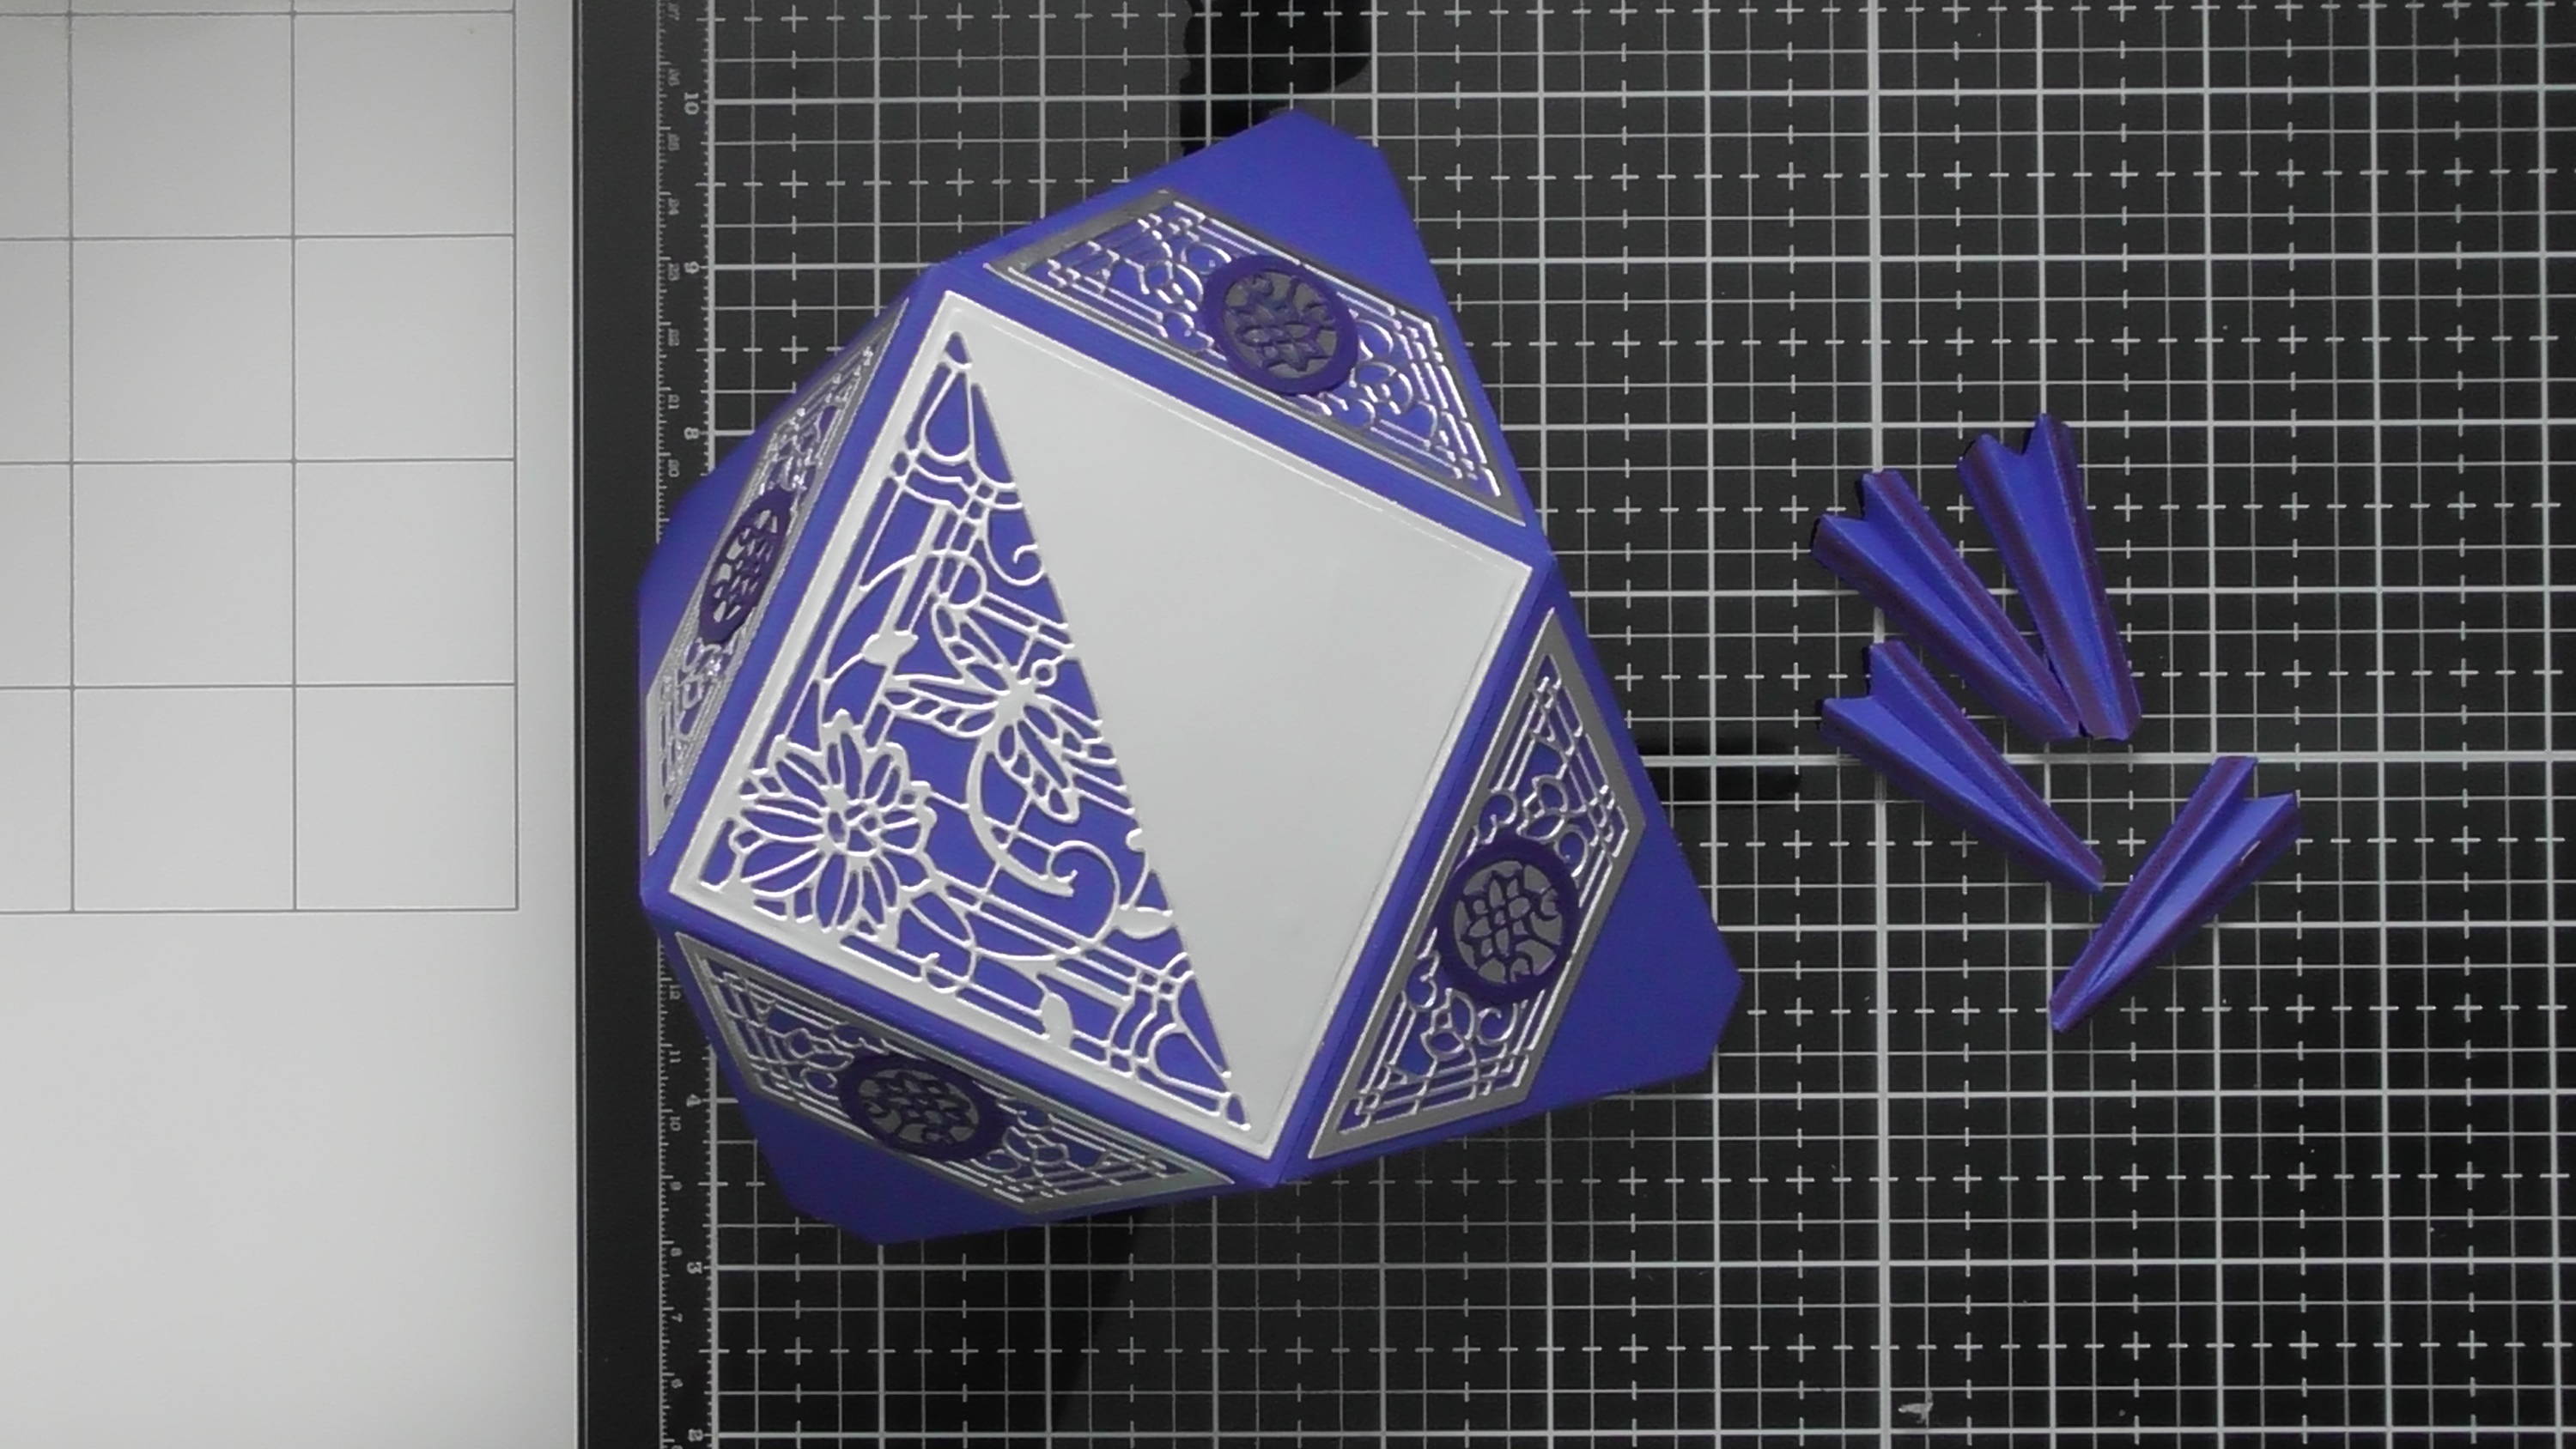
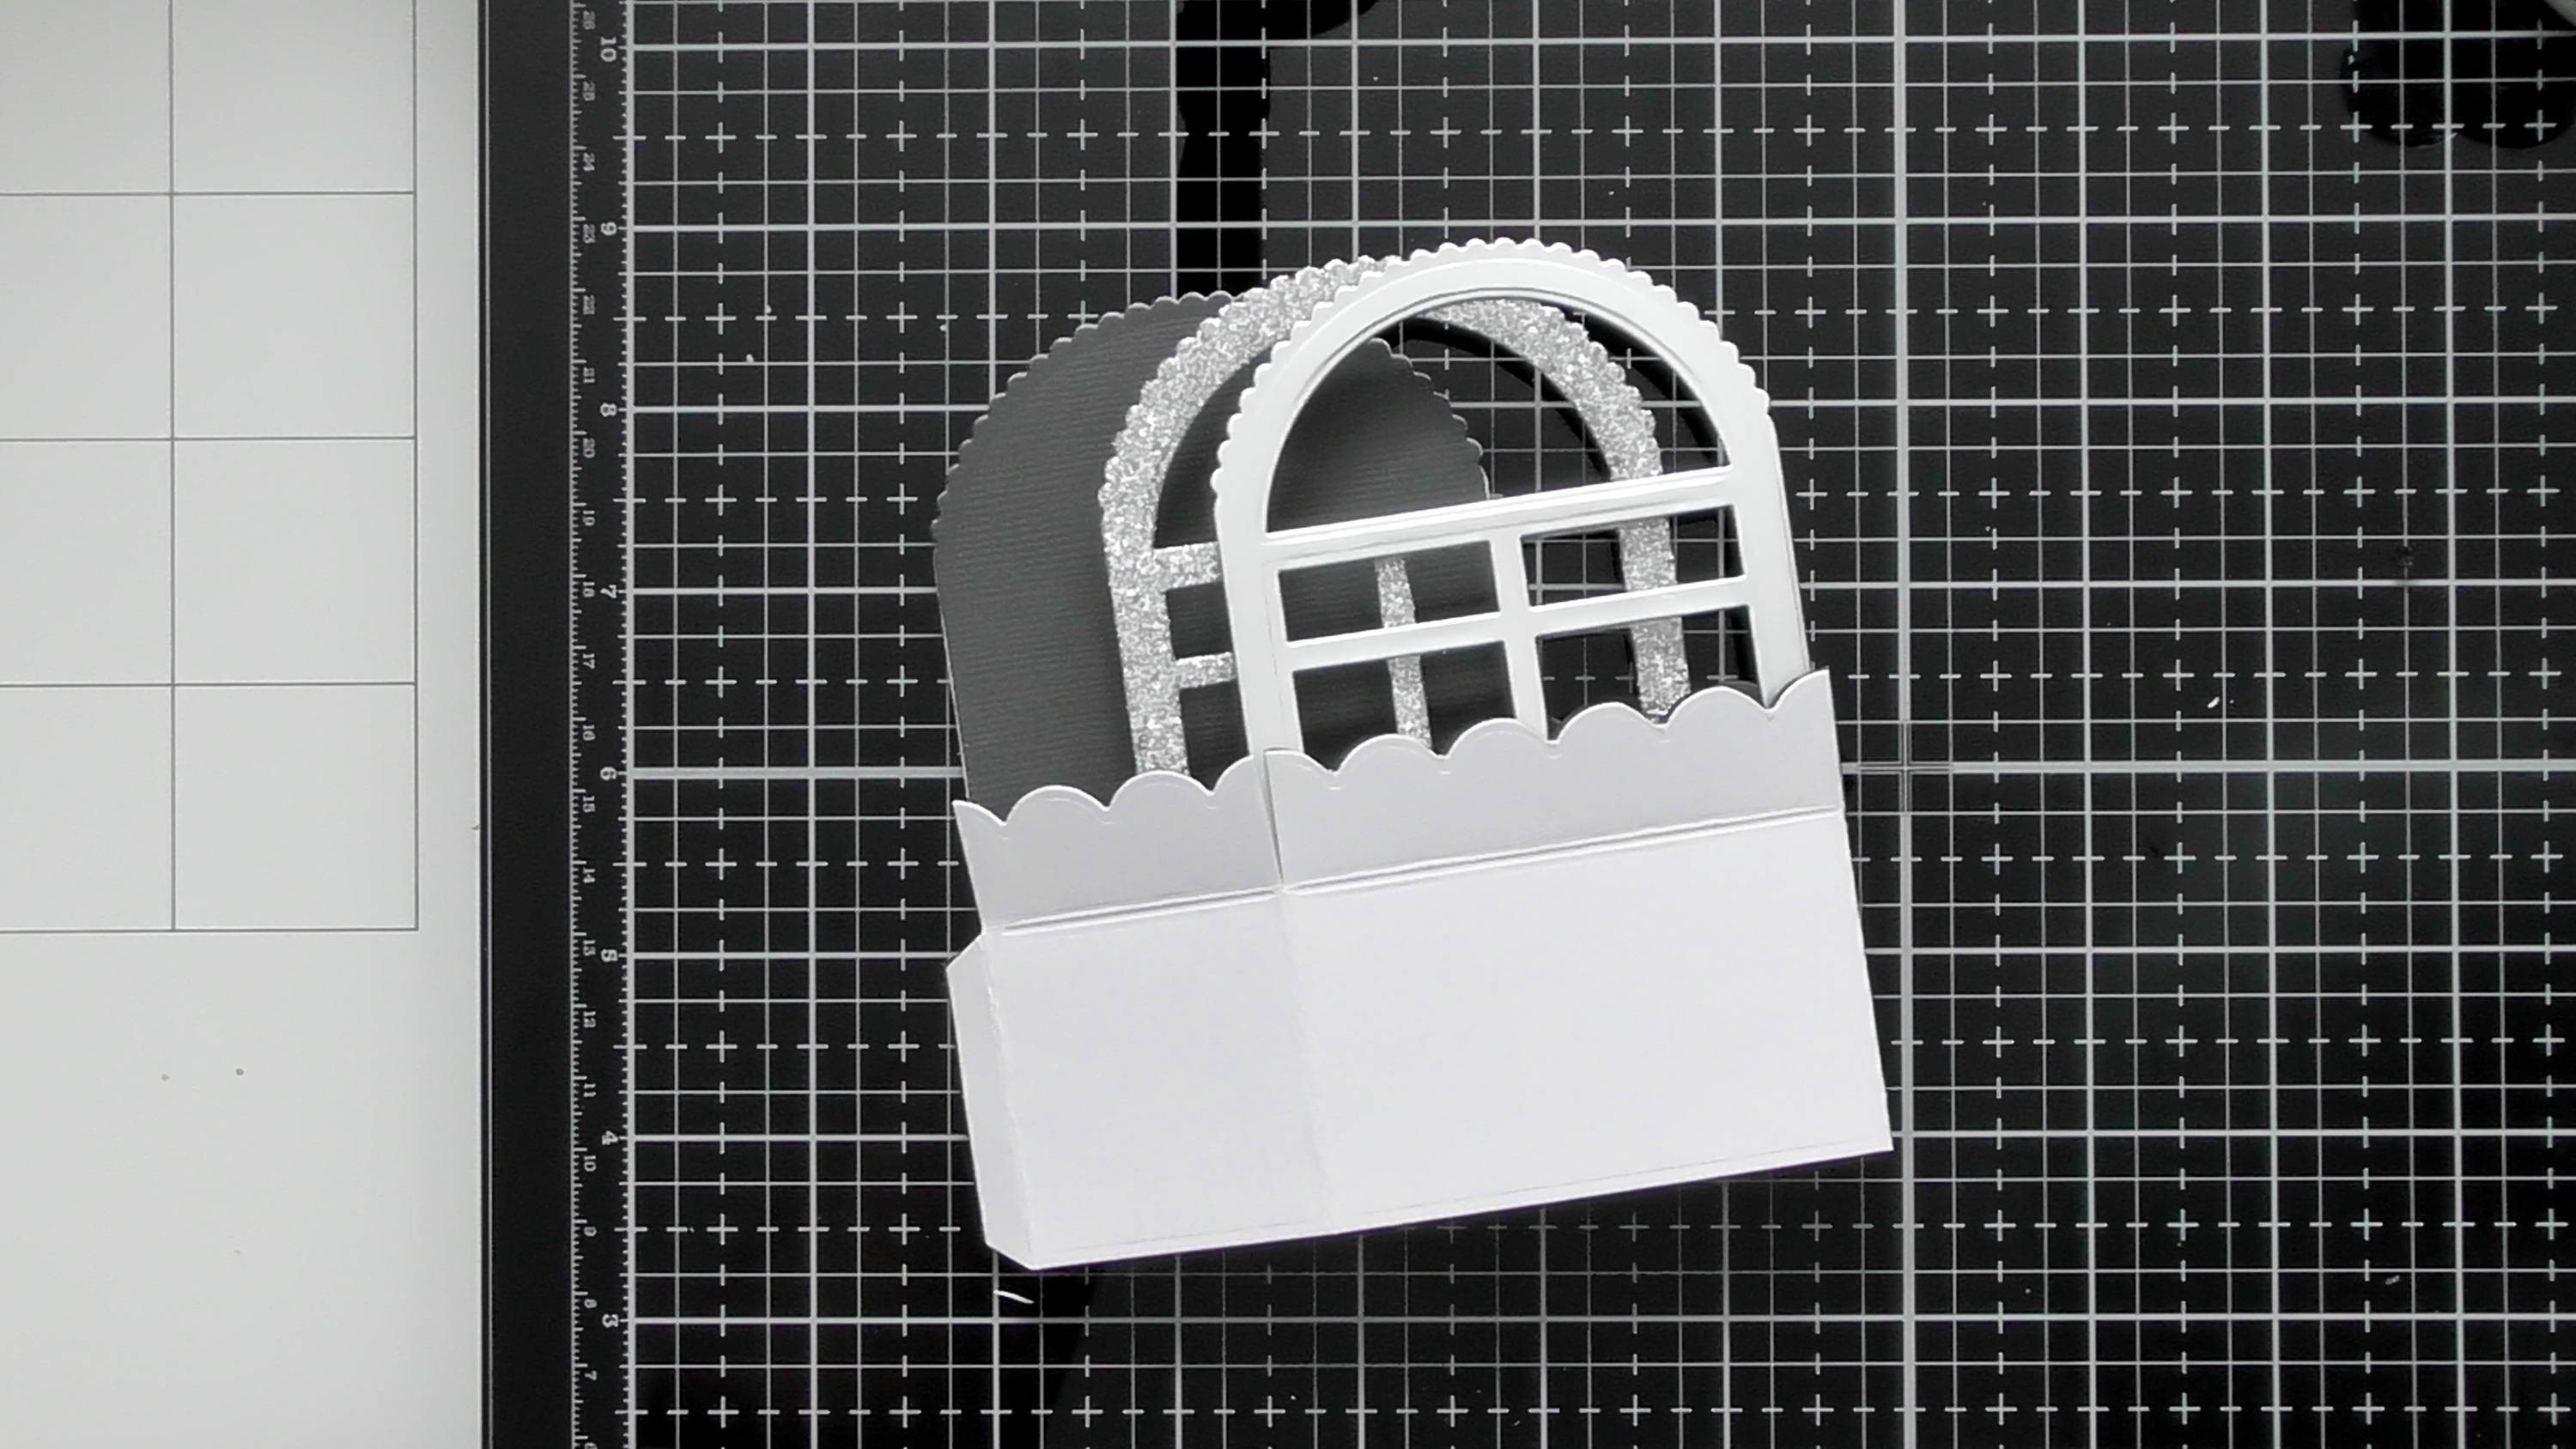
Then simply layer up the pieces, and add them haphazardly to your white card panel (10x13 cm) once happy, glue everything in place
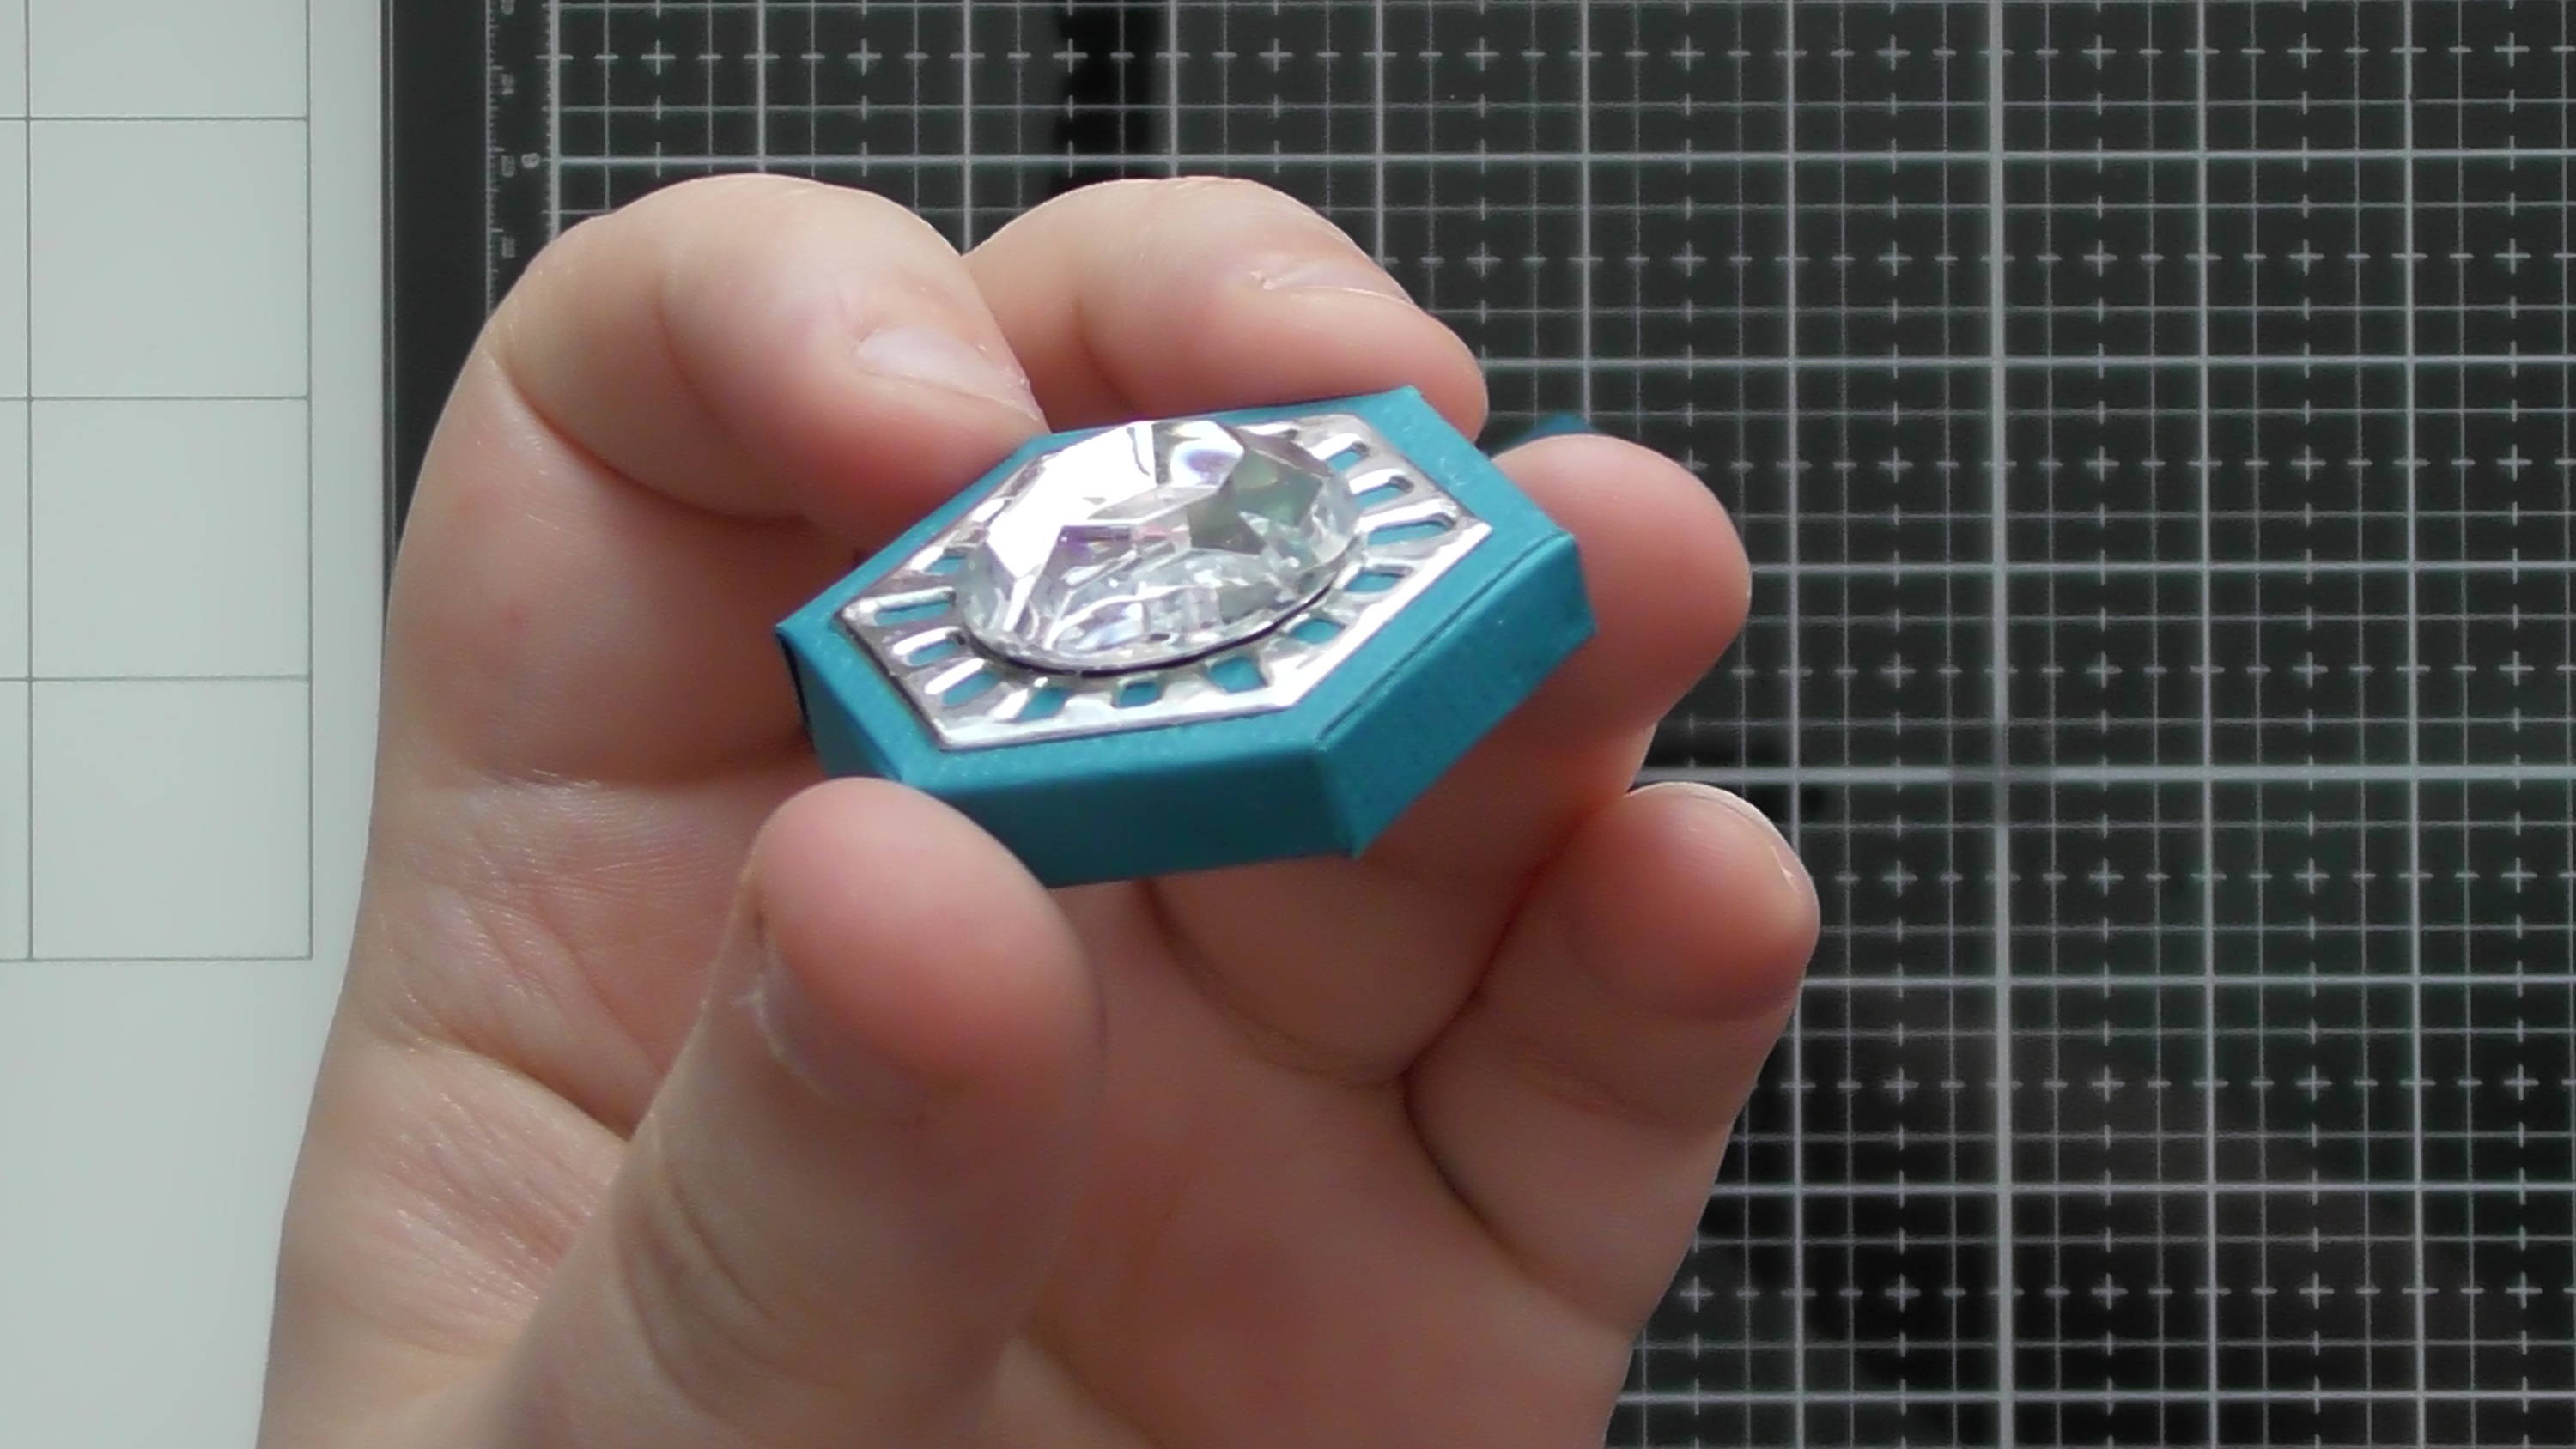
Step 6
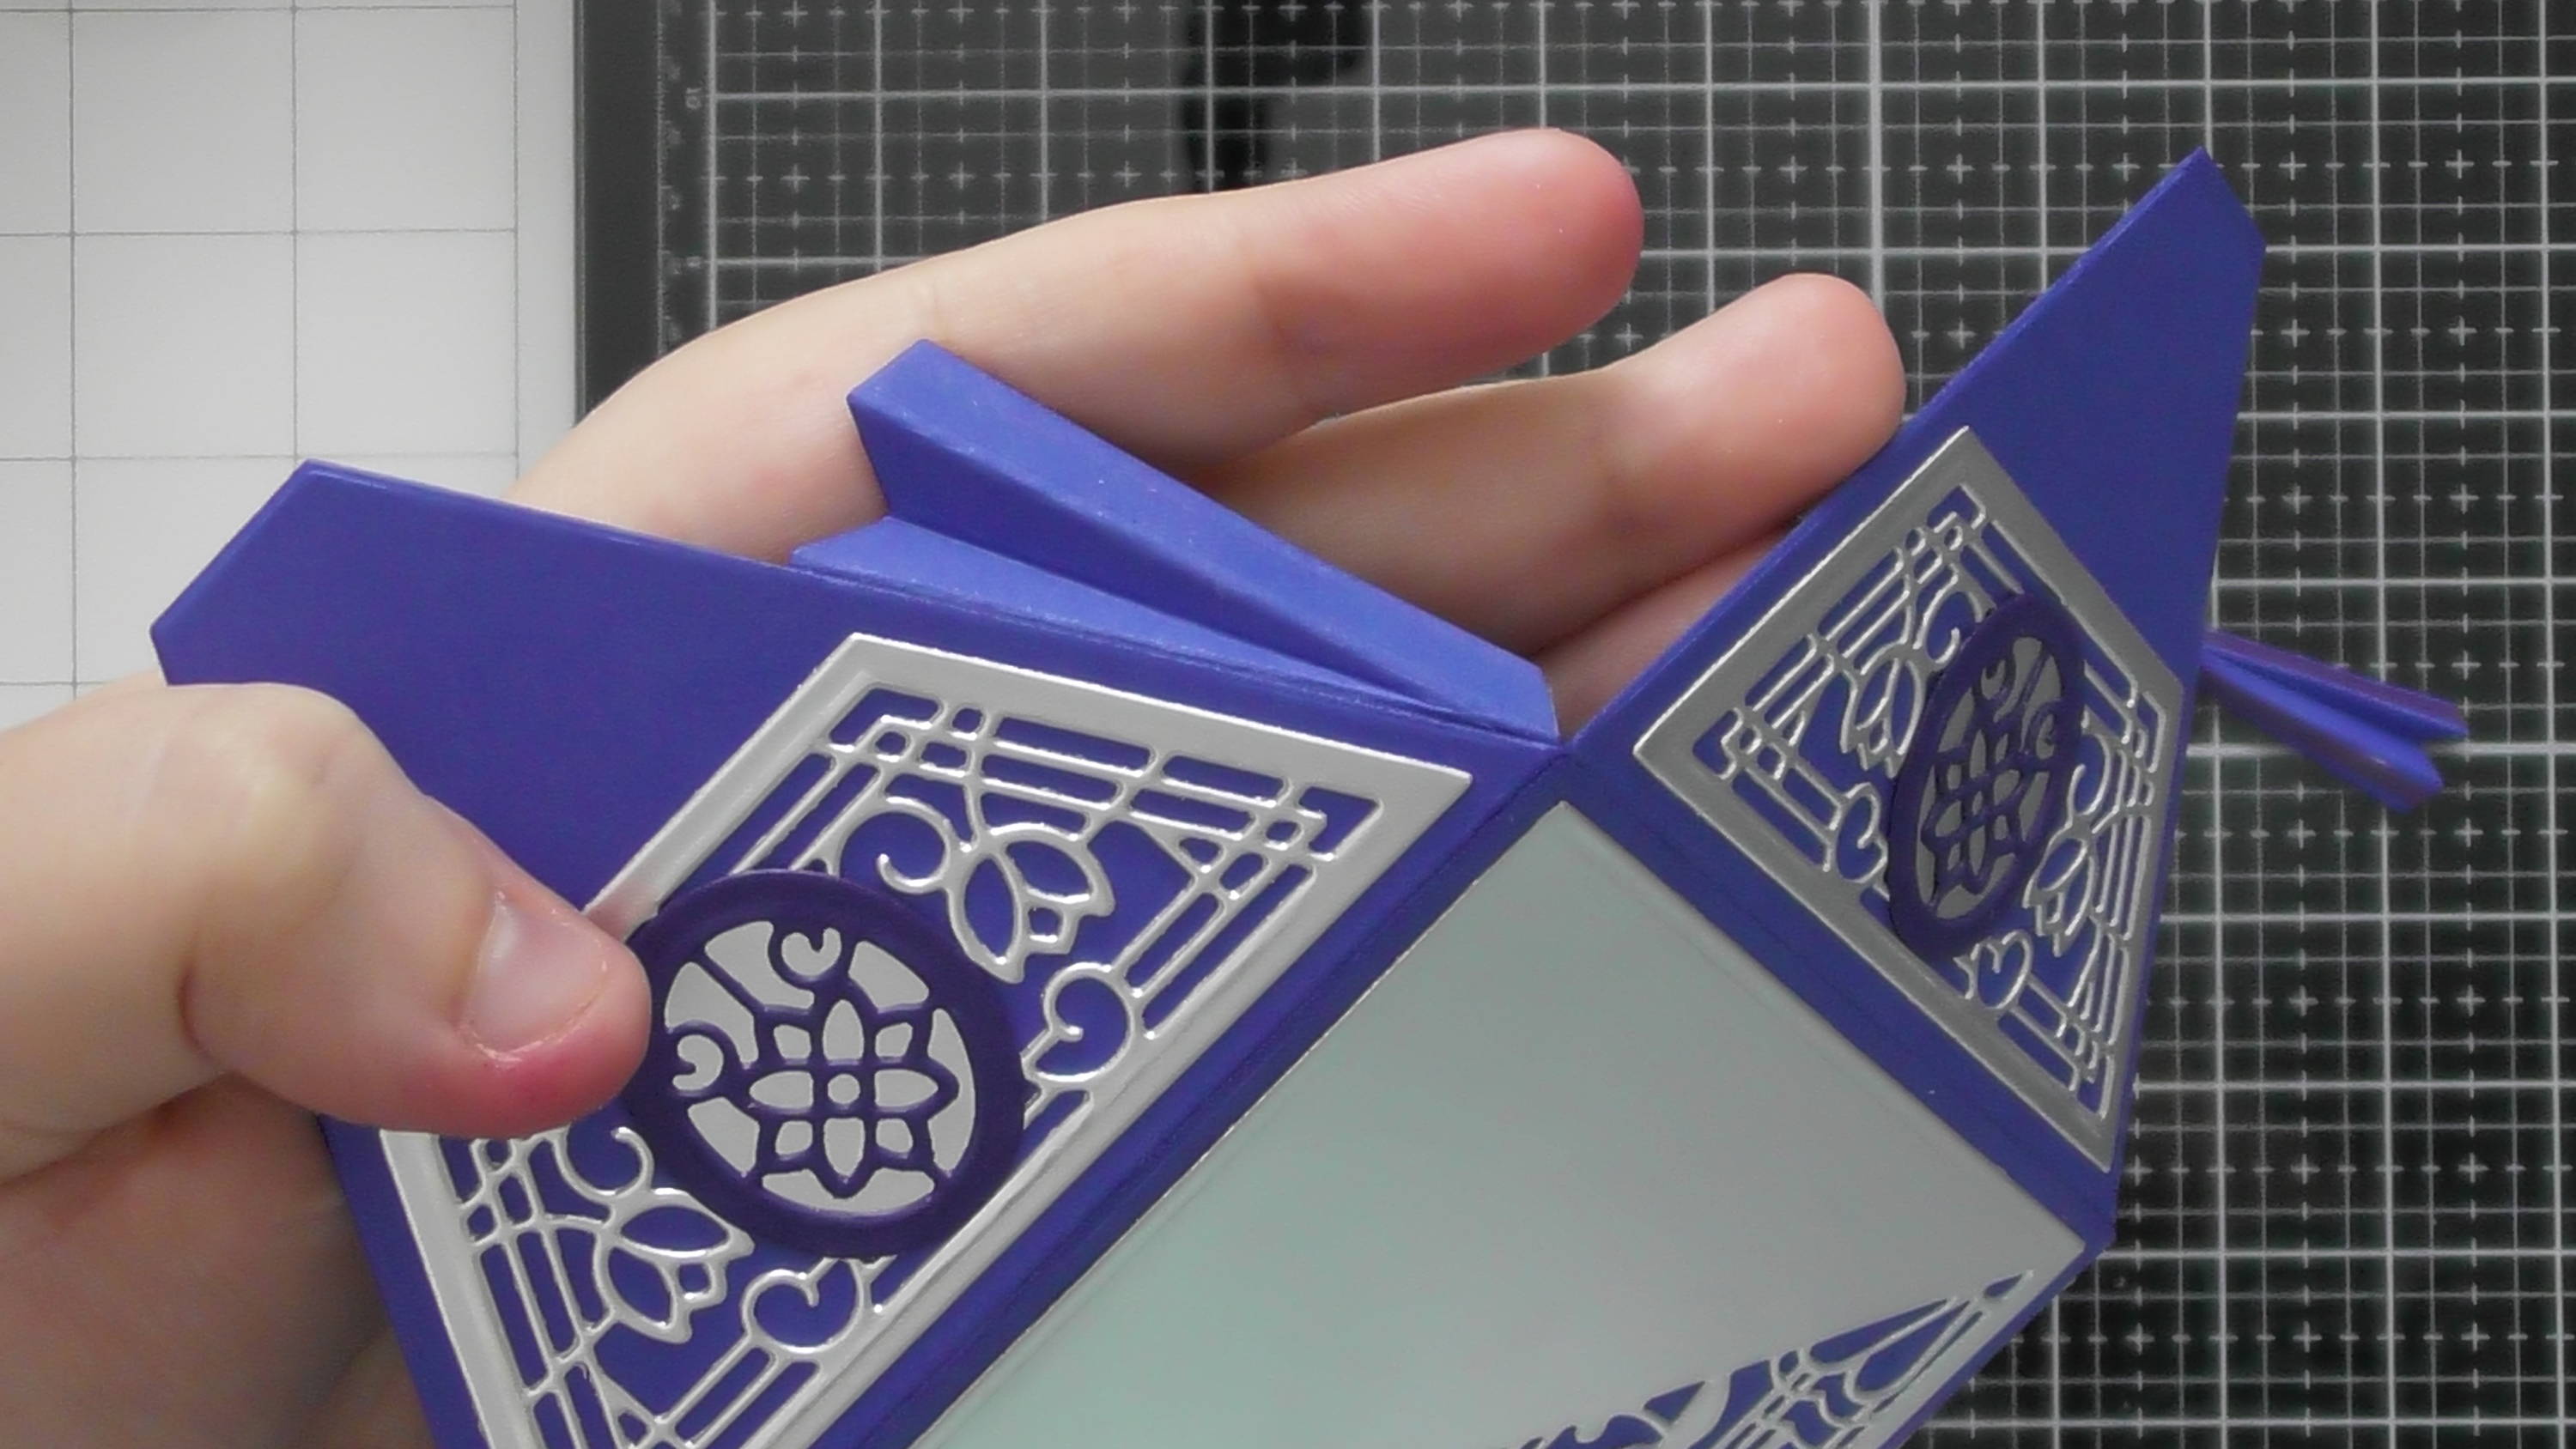
Then flip the card over and trim off the excess from the back.
Step 7
And simply add it to your card blank (10.5 cm x 13.5 cm)
Step 8
Finished card with main products used.
Buy The Craft Project