


The Terrific Triple Towers Showcase is a such a versatile die set which enables you to create 3 initial towers, the Windmill, the Lighthouse and the Helter Skelter, however there are plenty more towers/structures you can create with this set, just get your imagination going and the list will be endless :D The towers are straightforward to assemble, but for a helping hand, here’s a photographic step by step on how I constructed my Windmill.
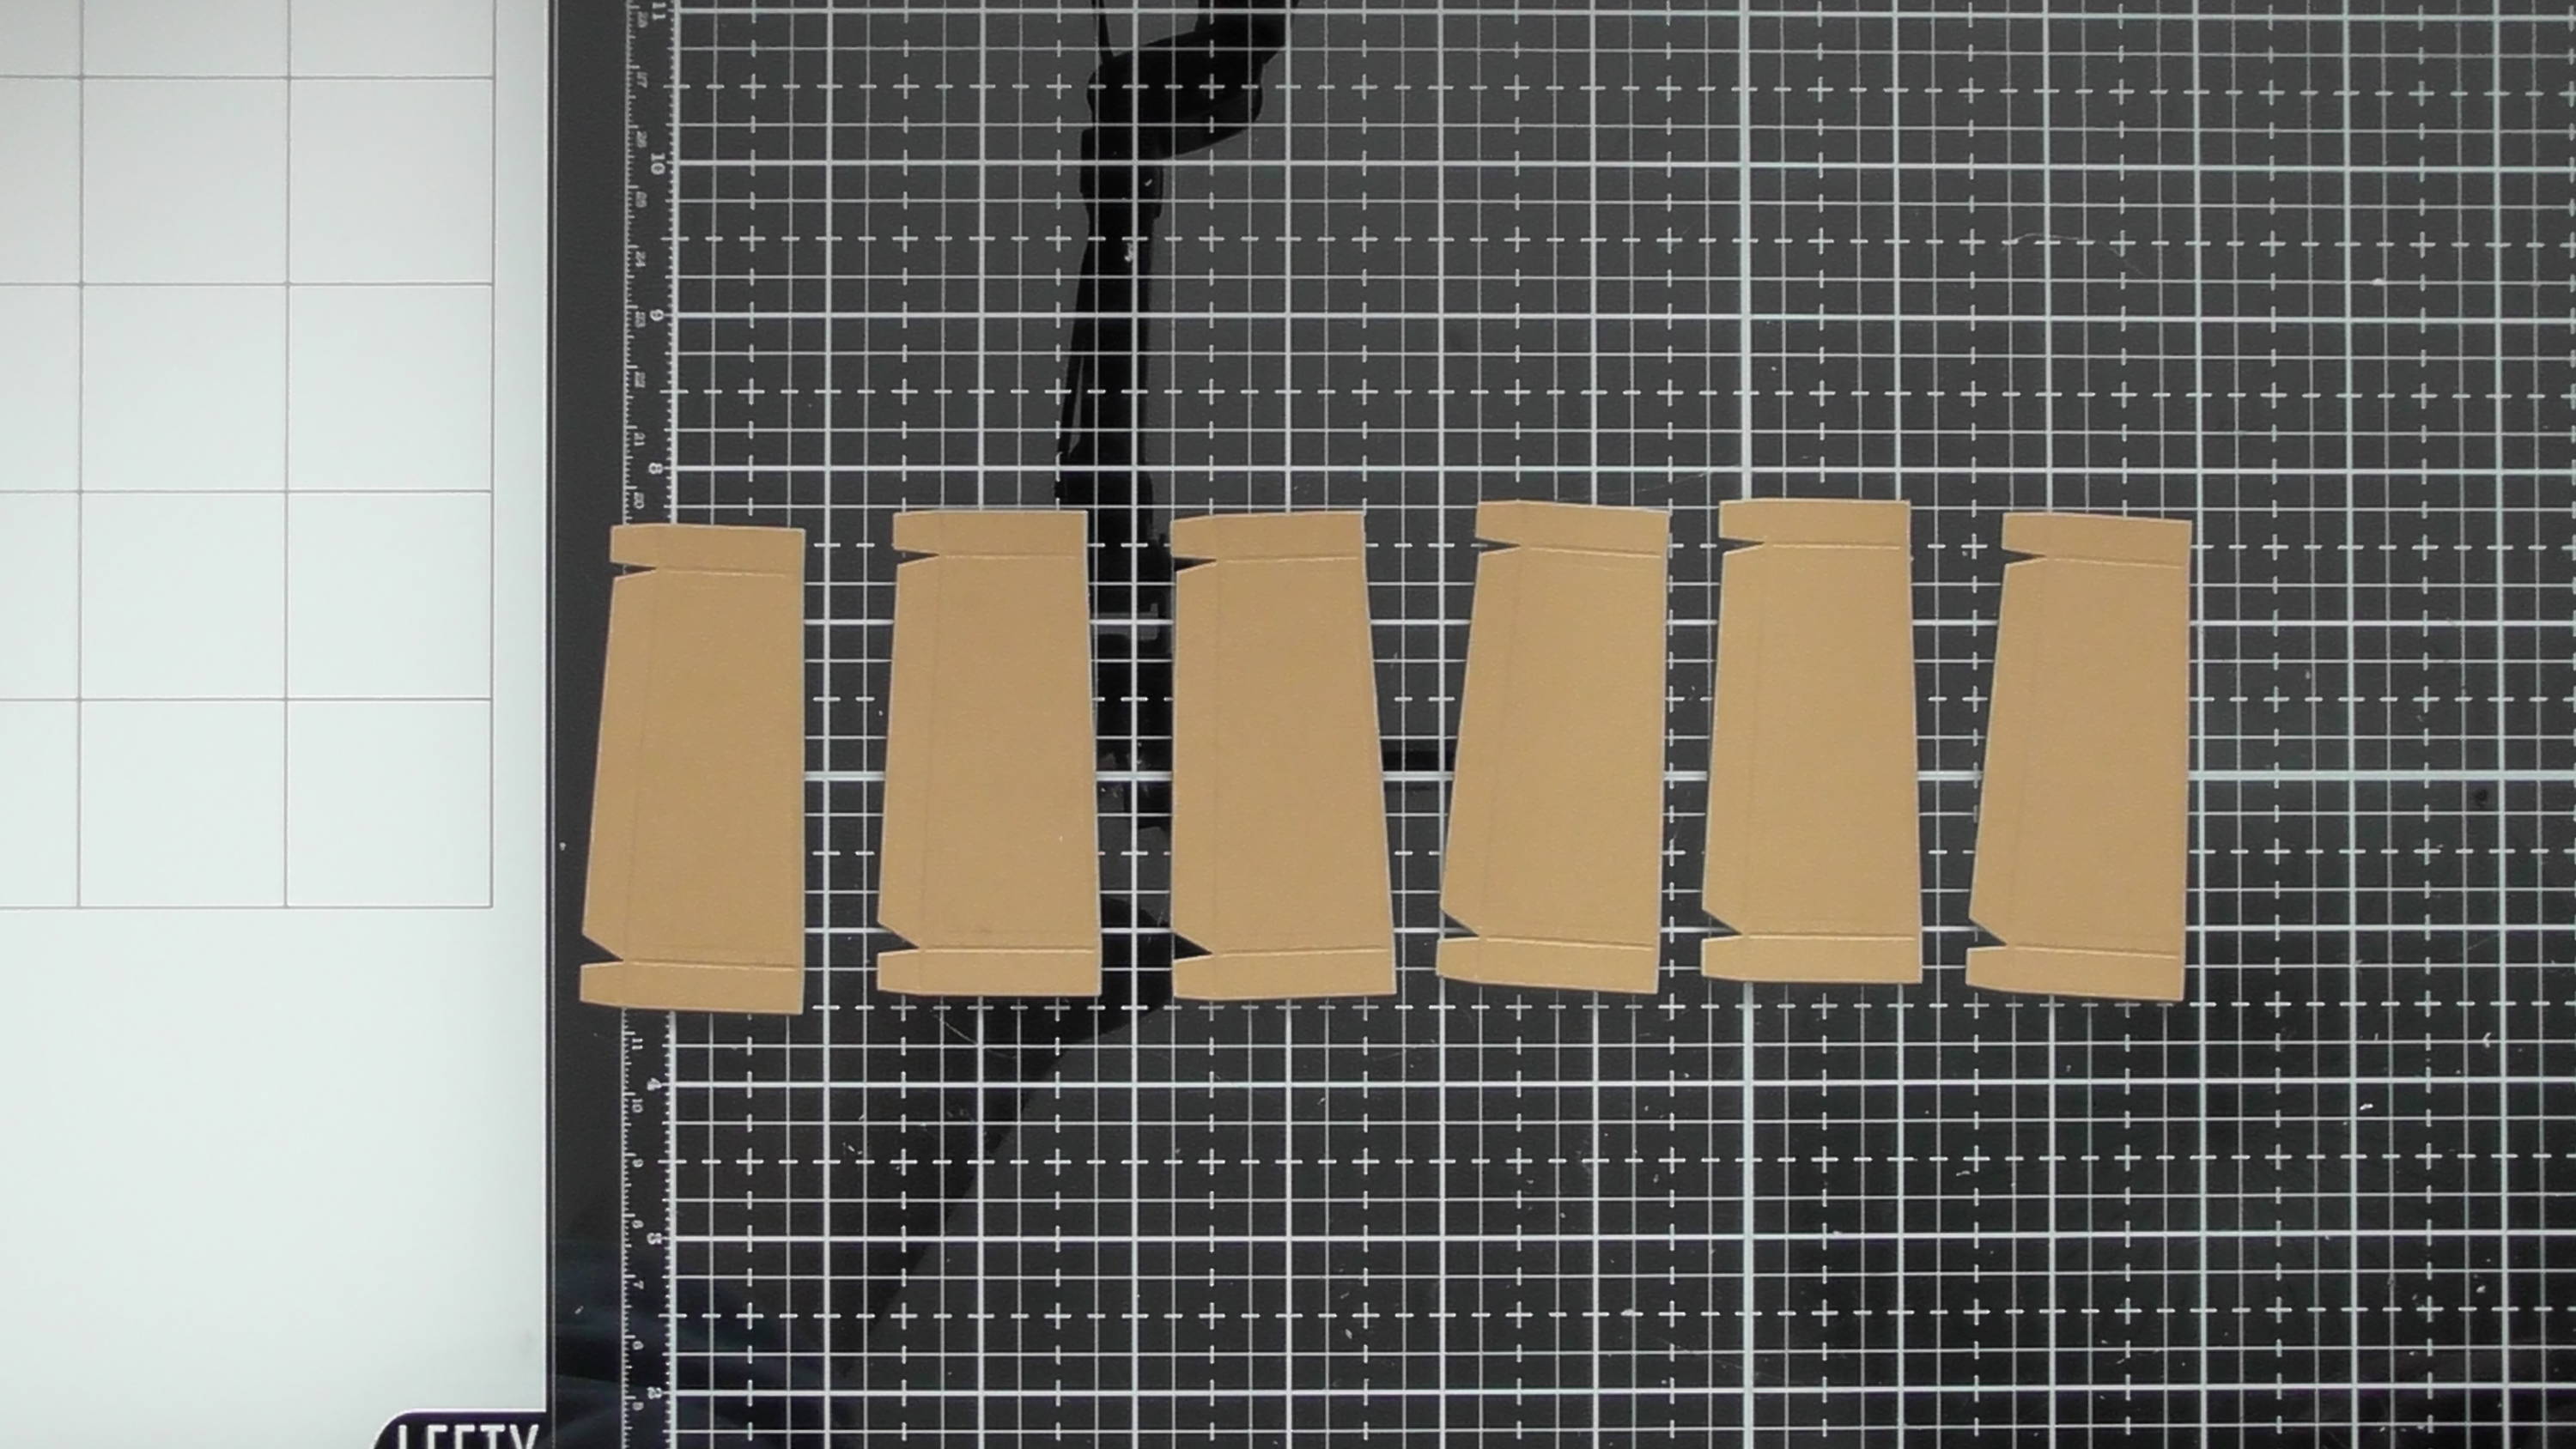
Step 1

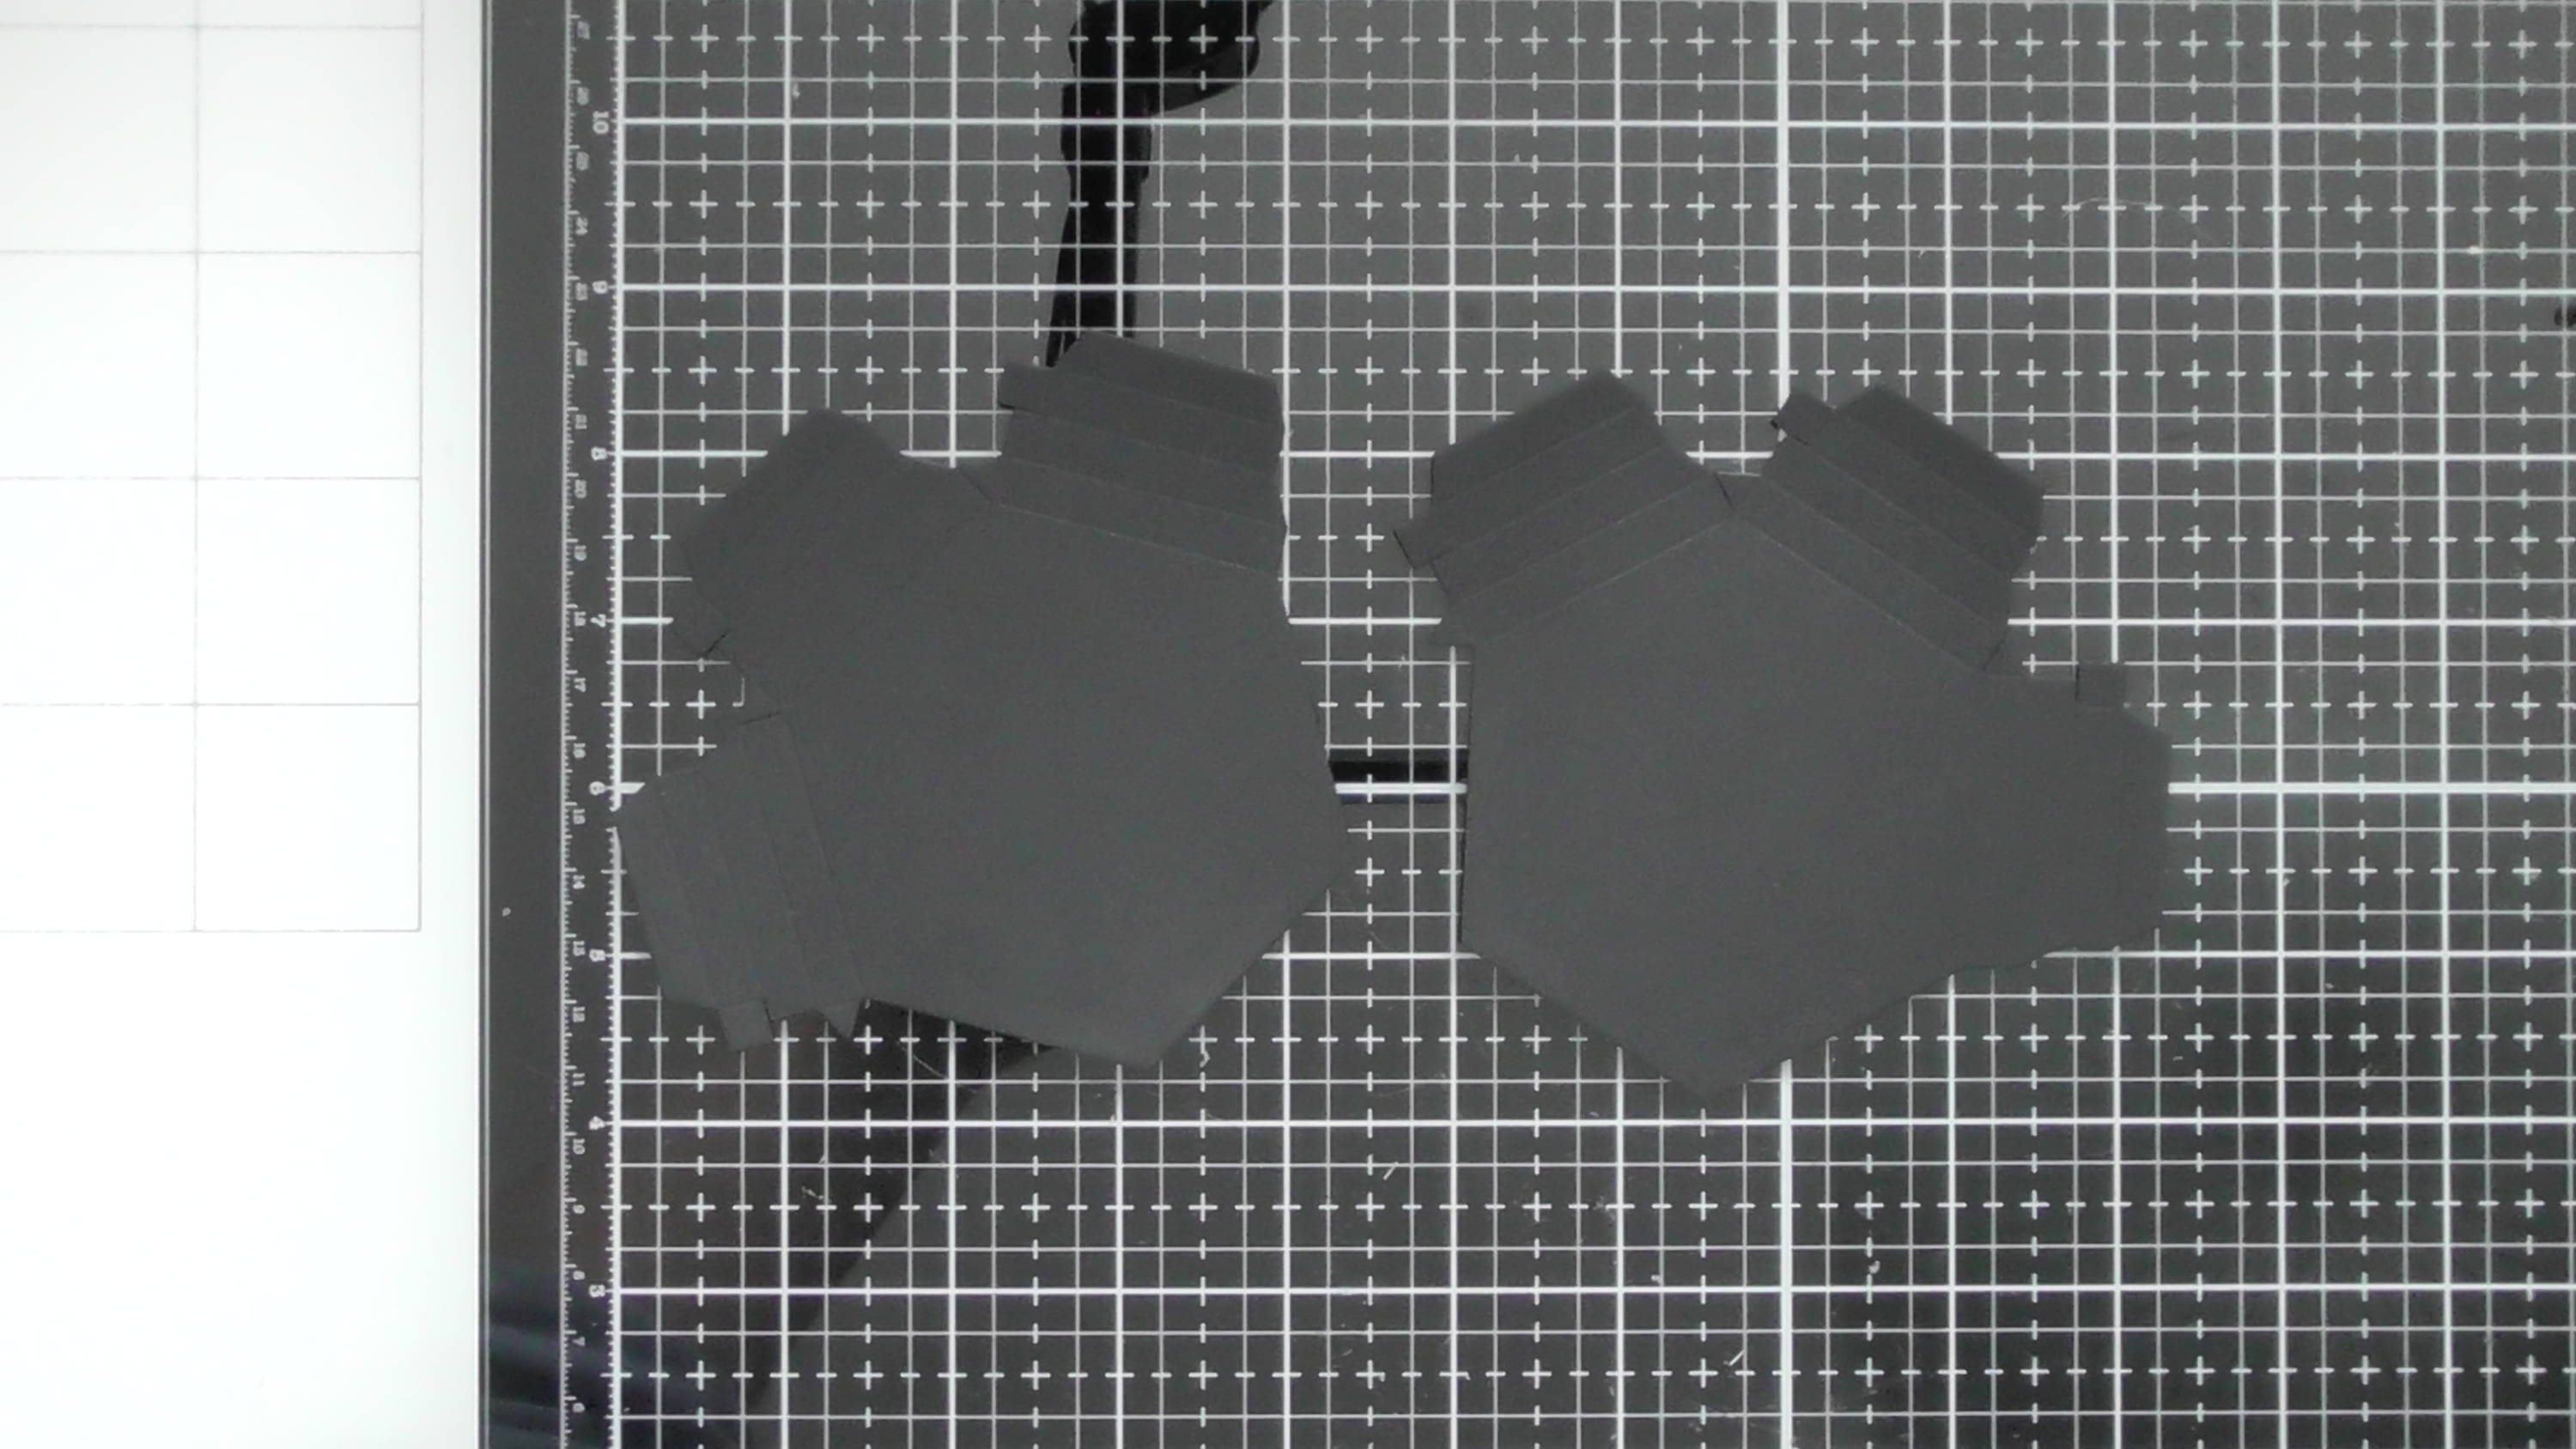
Die-cut 6 of the larger sides and 2 bases from your base colour. Pre fold all the scored glue tabs.
Step 2
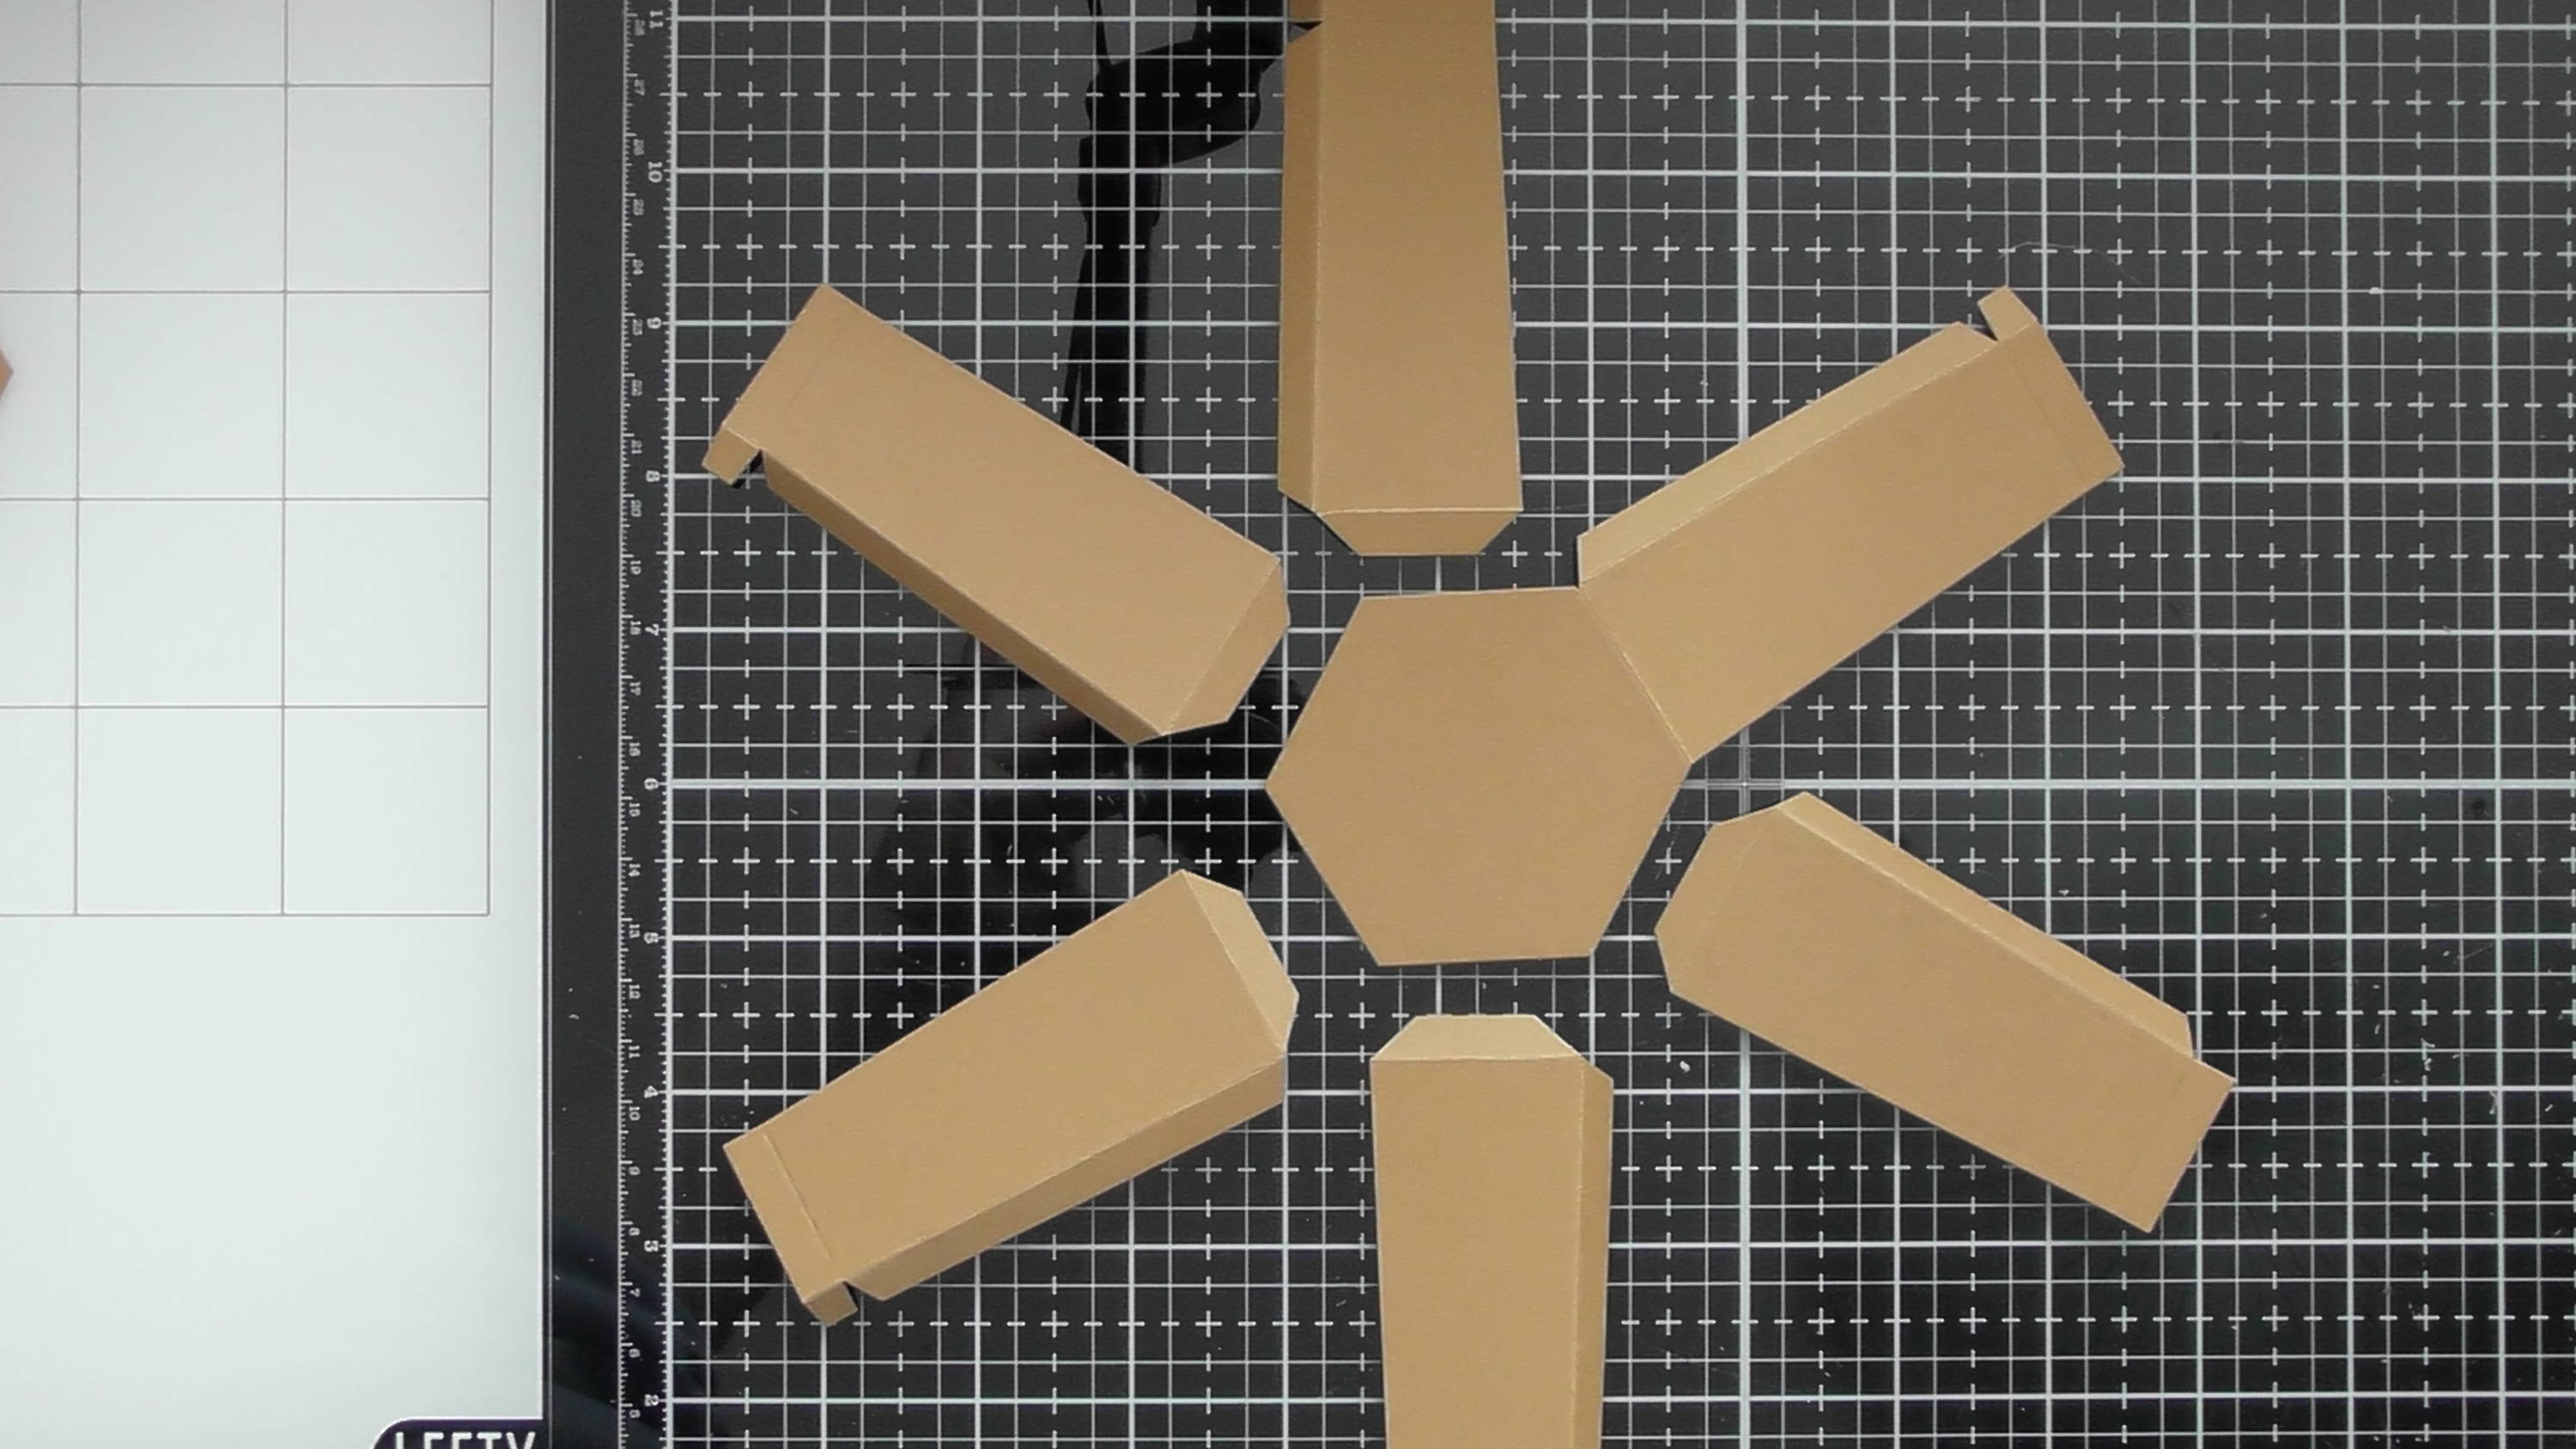
Adhere one piece to each side of the first hexagon base piece as shown.
Step 3
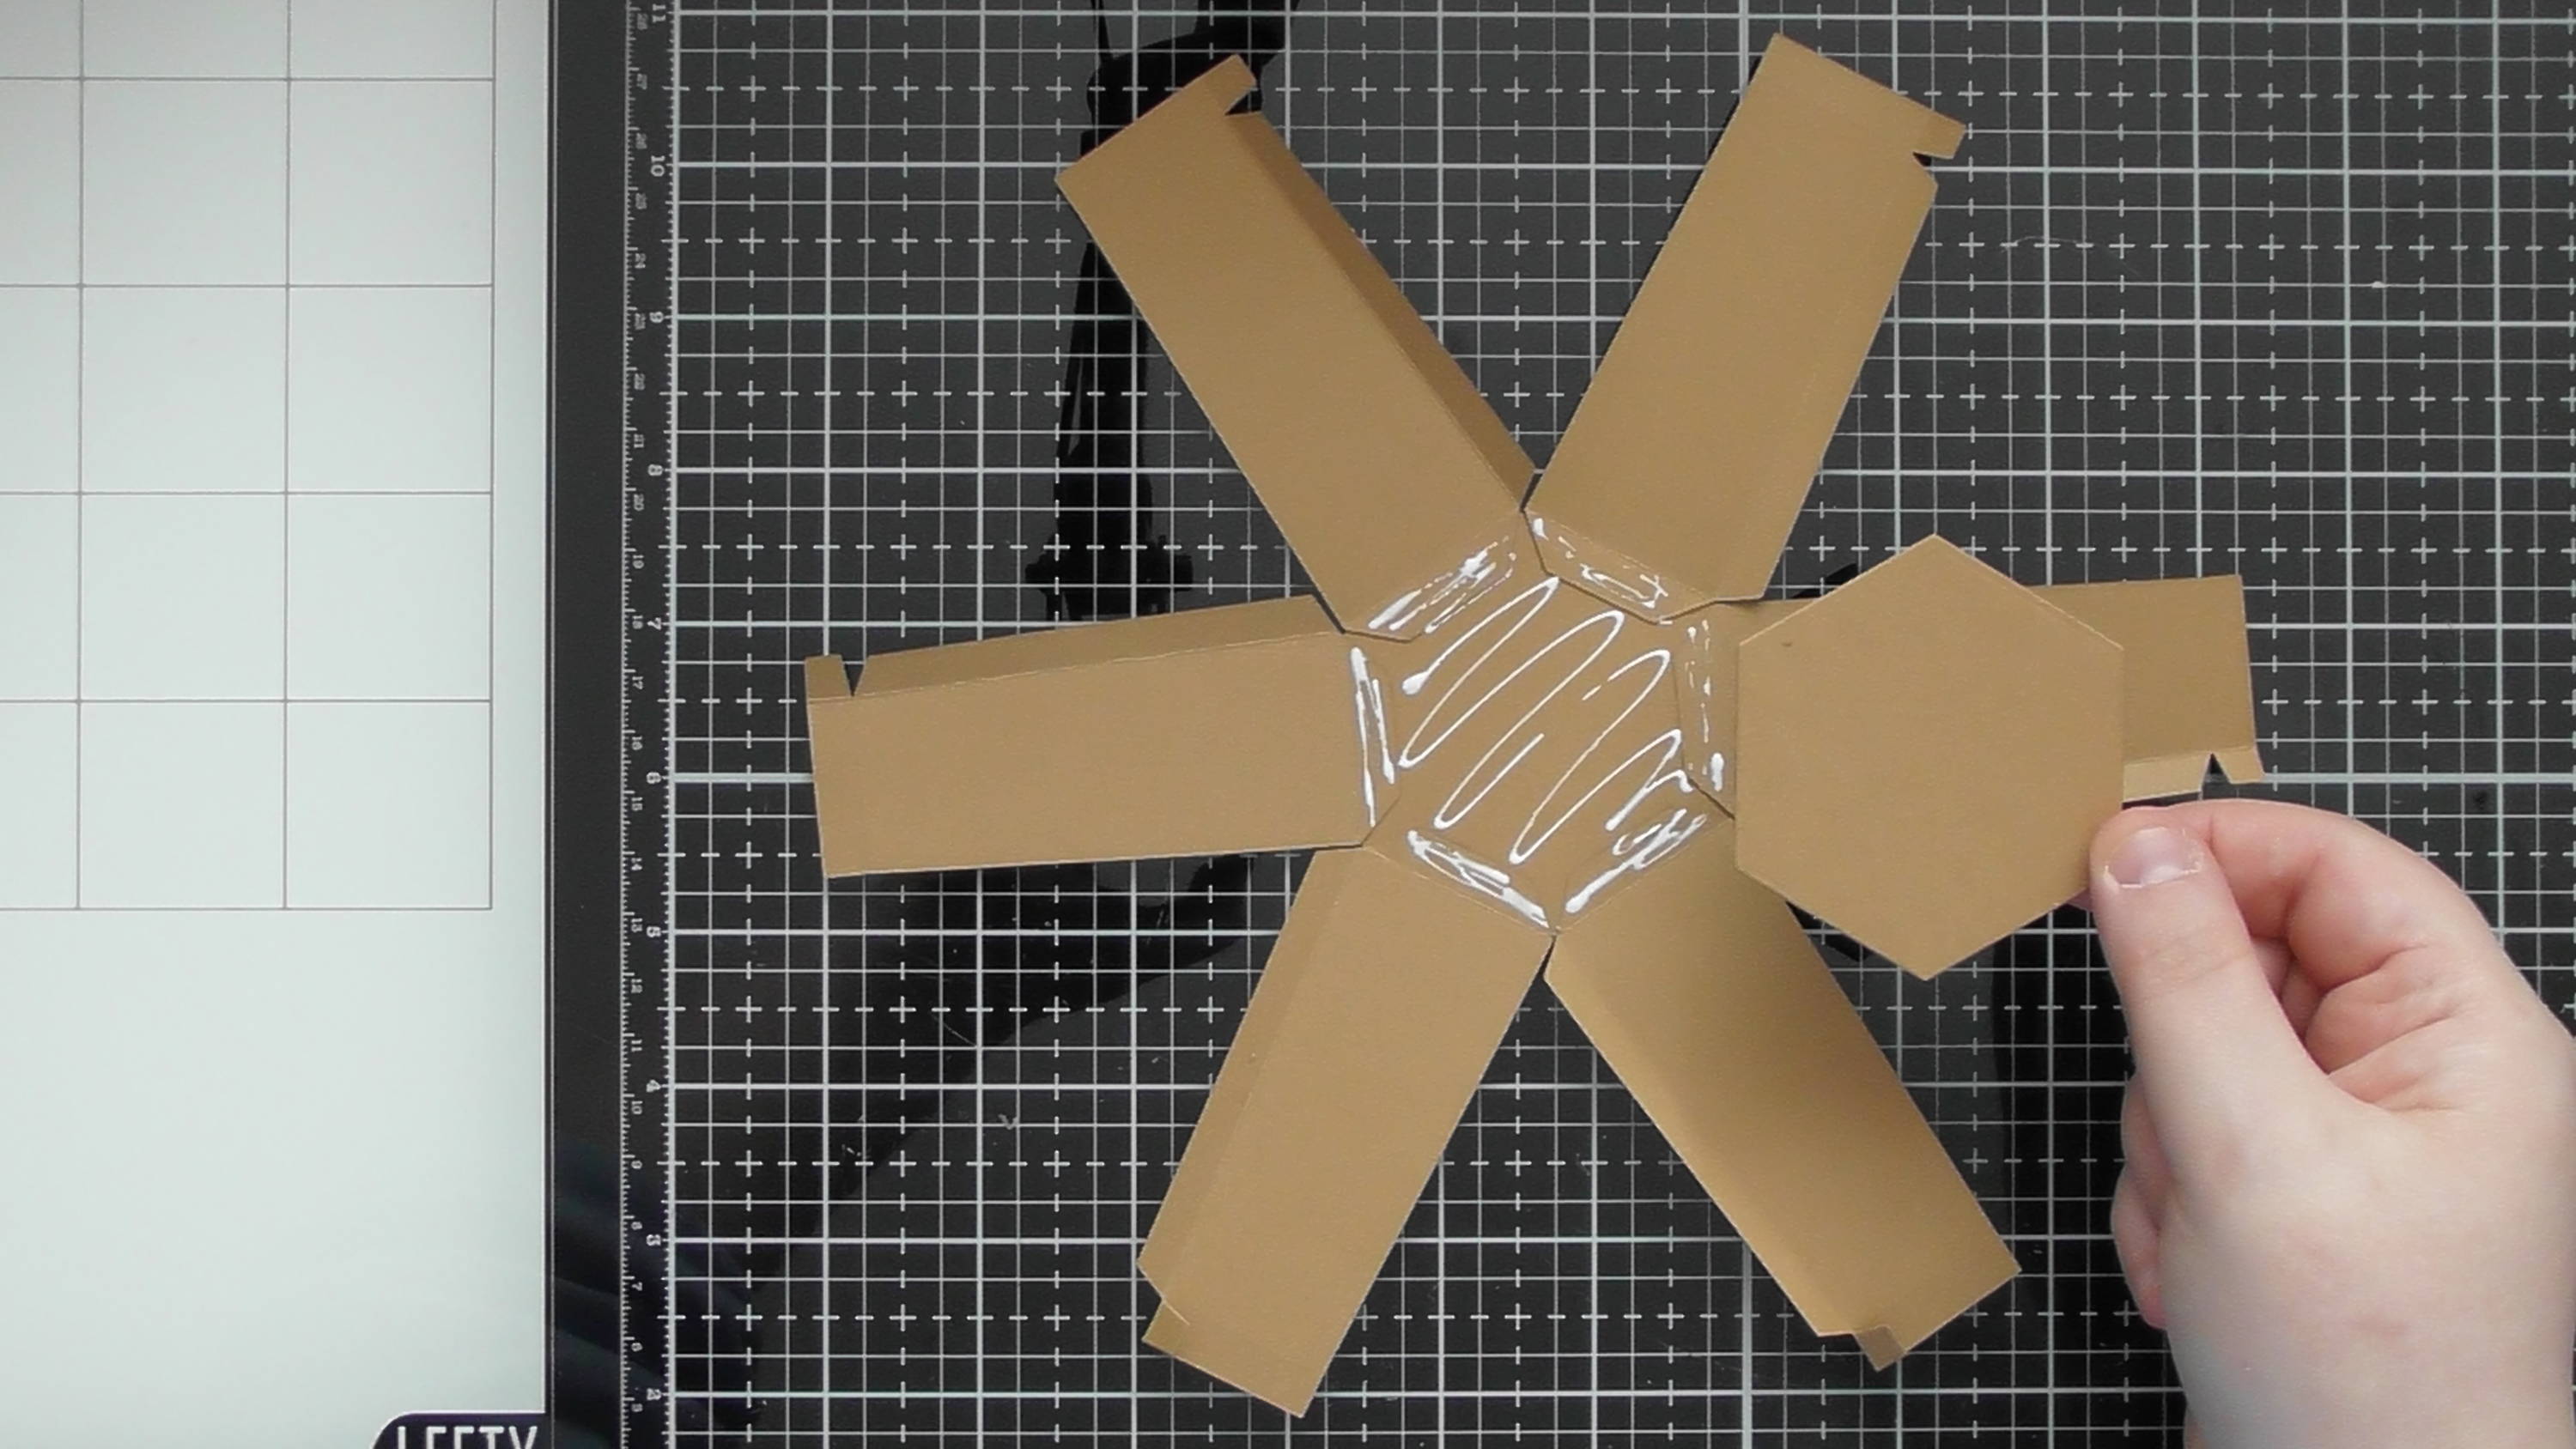
Flip over, and add the second base, to really hold those bottom glue tabs in place.
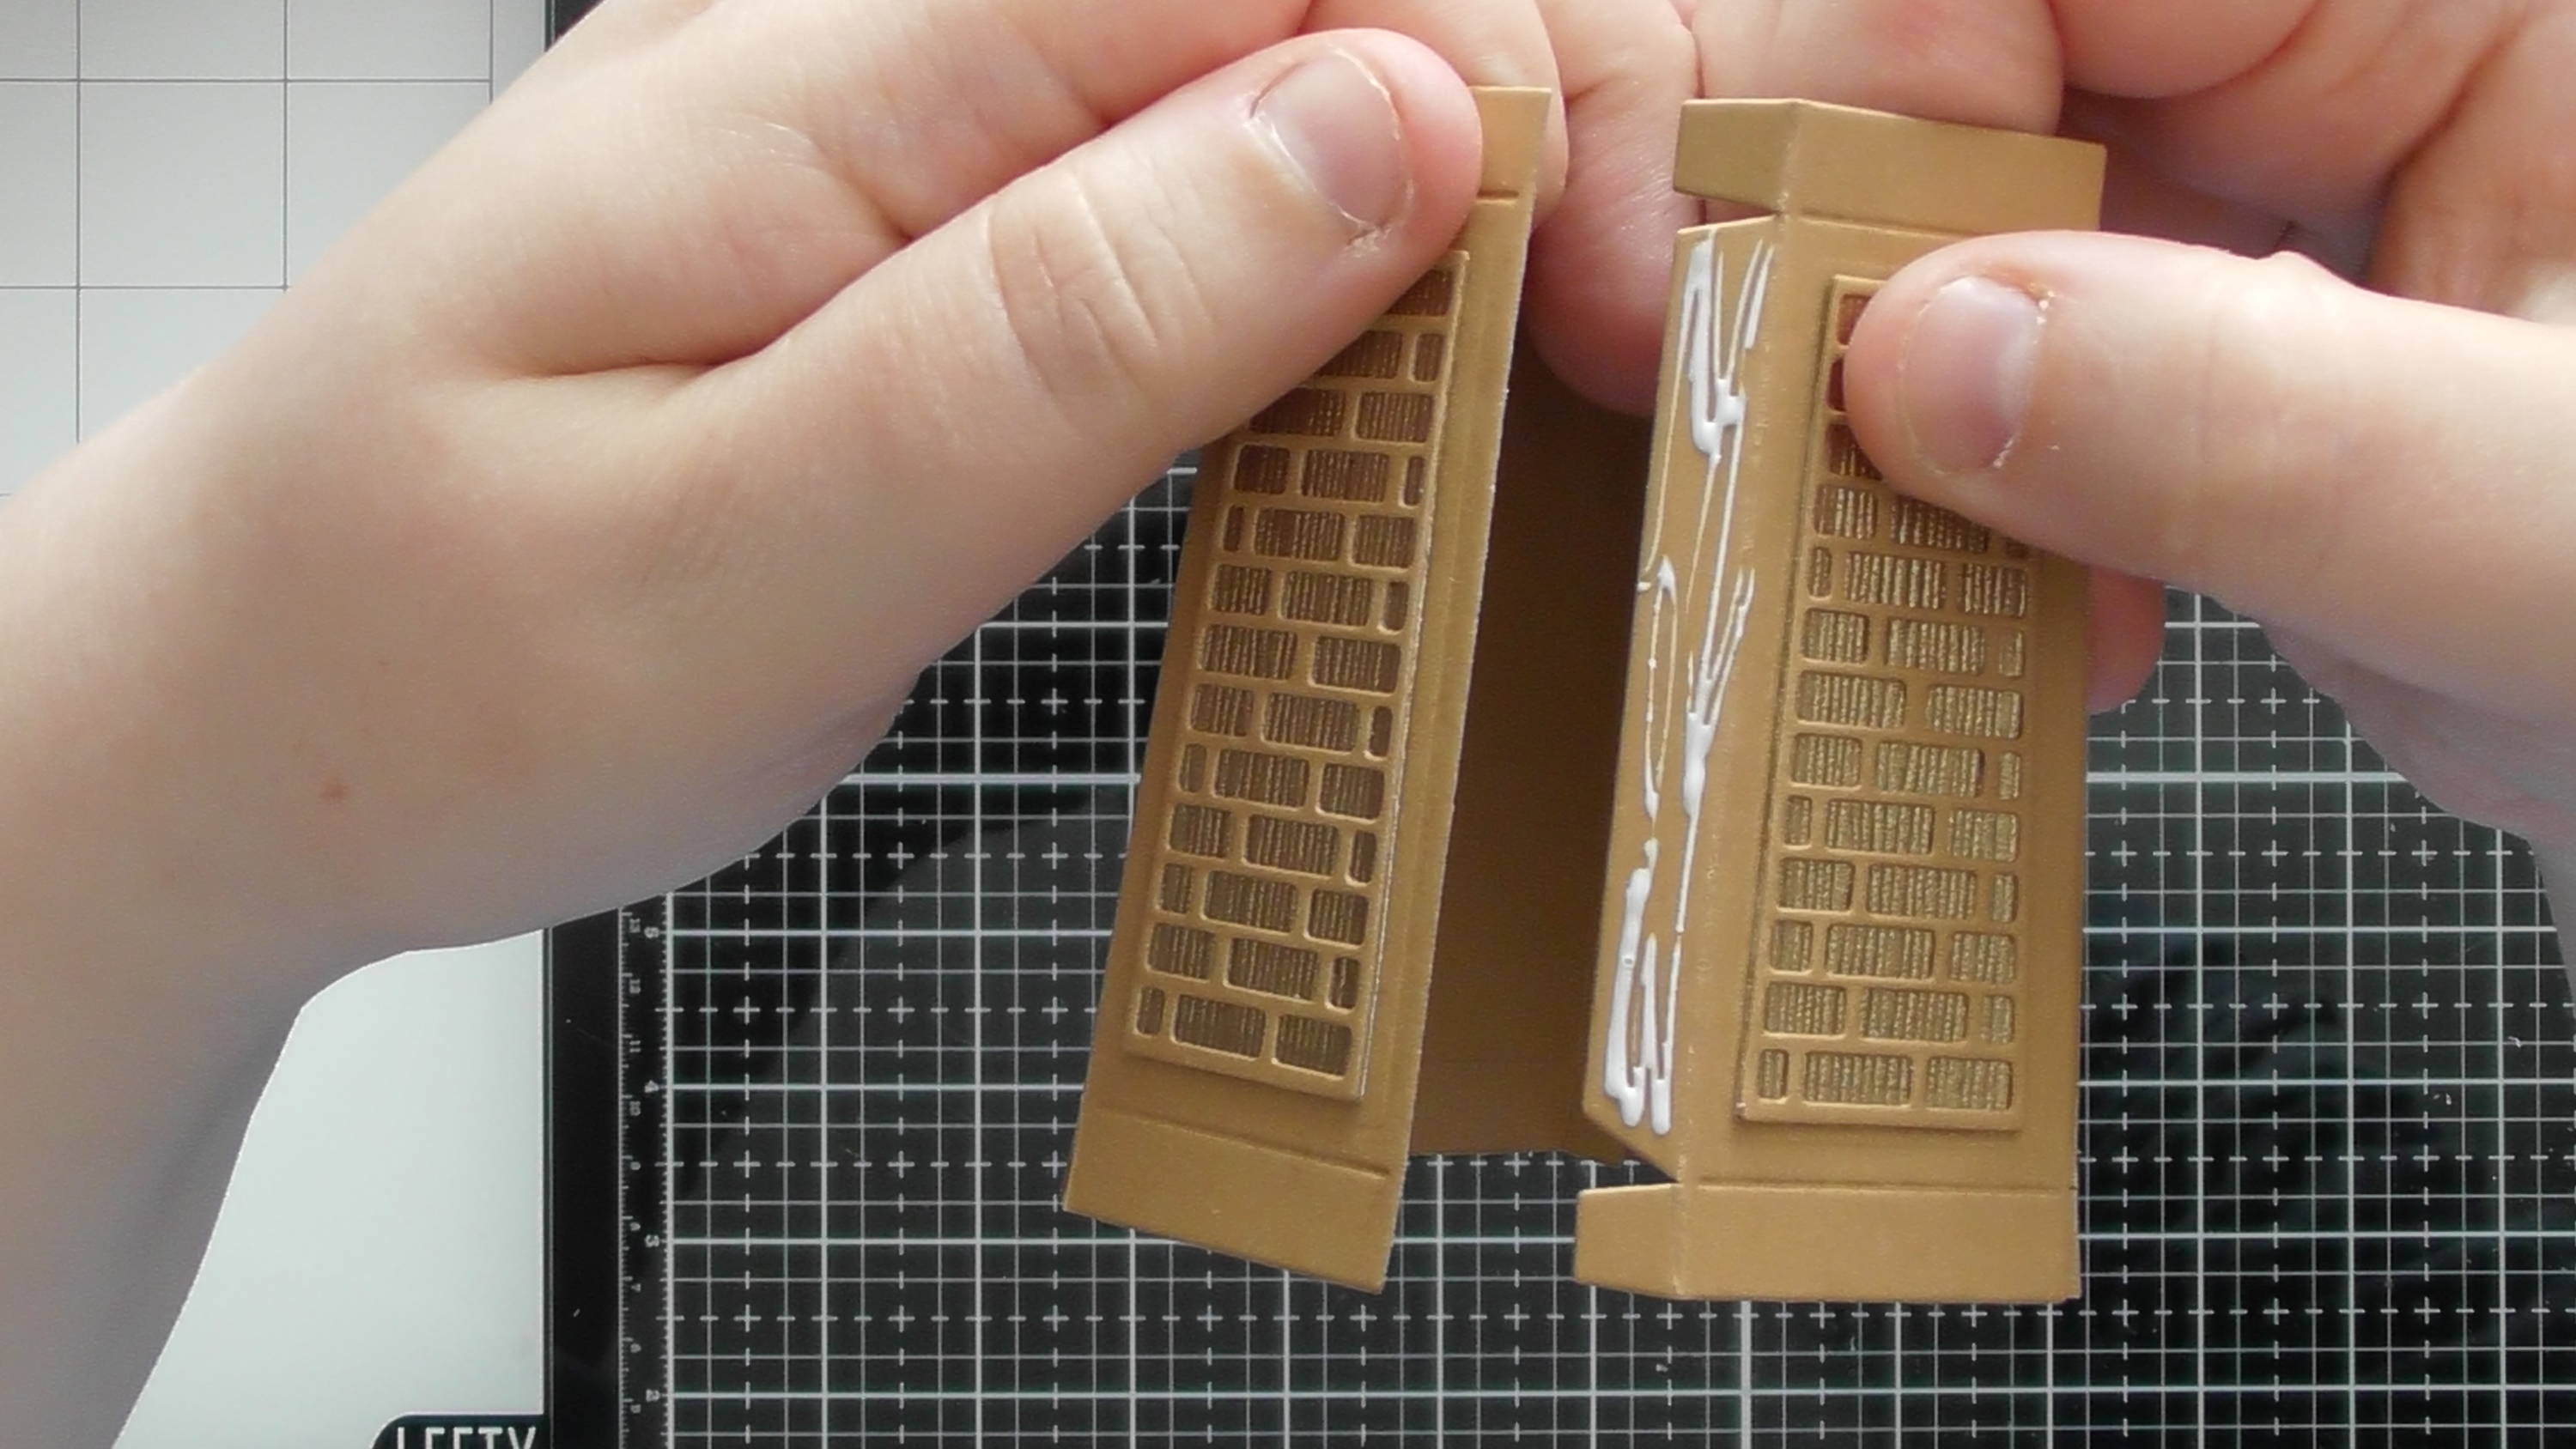
Step 4

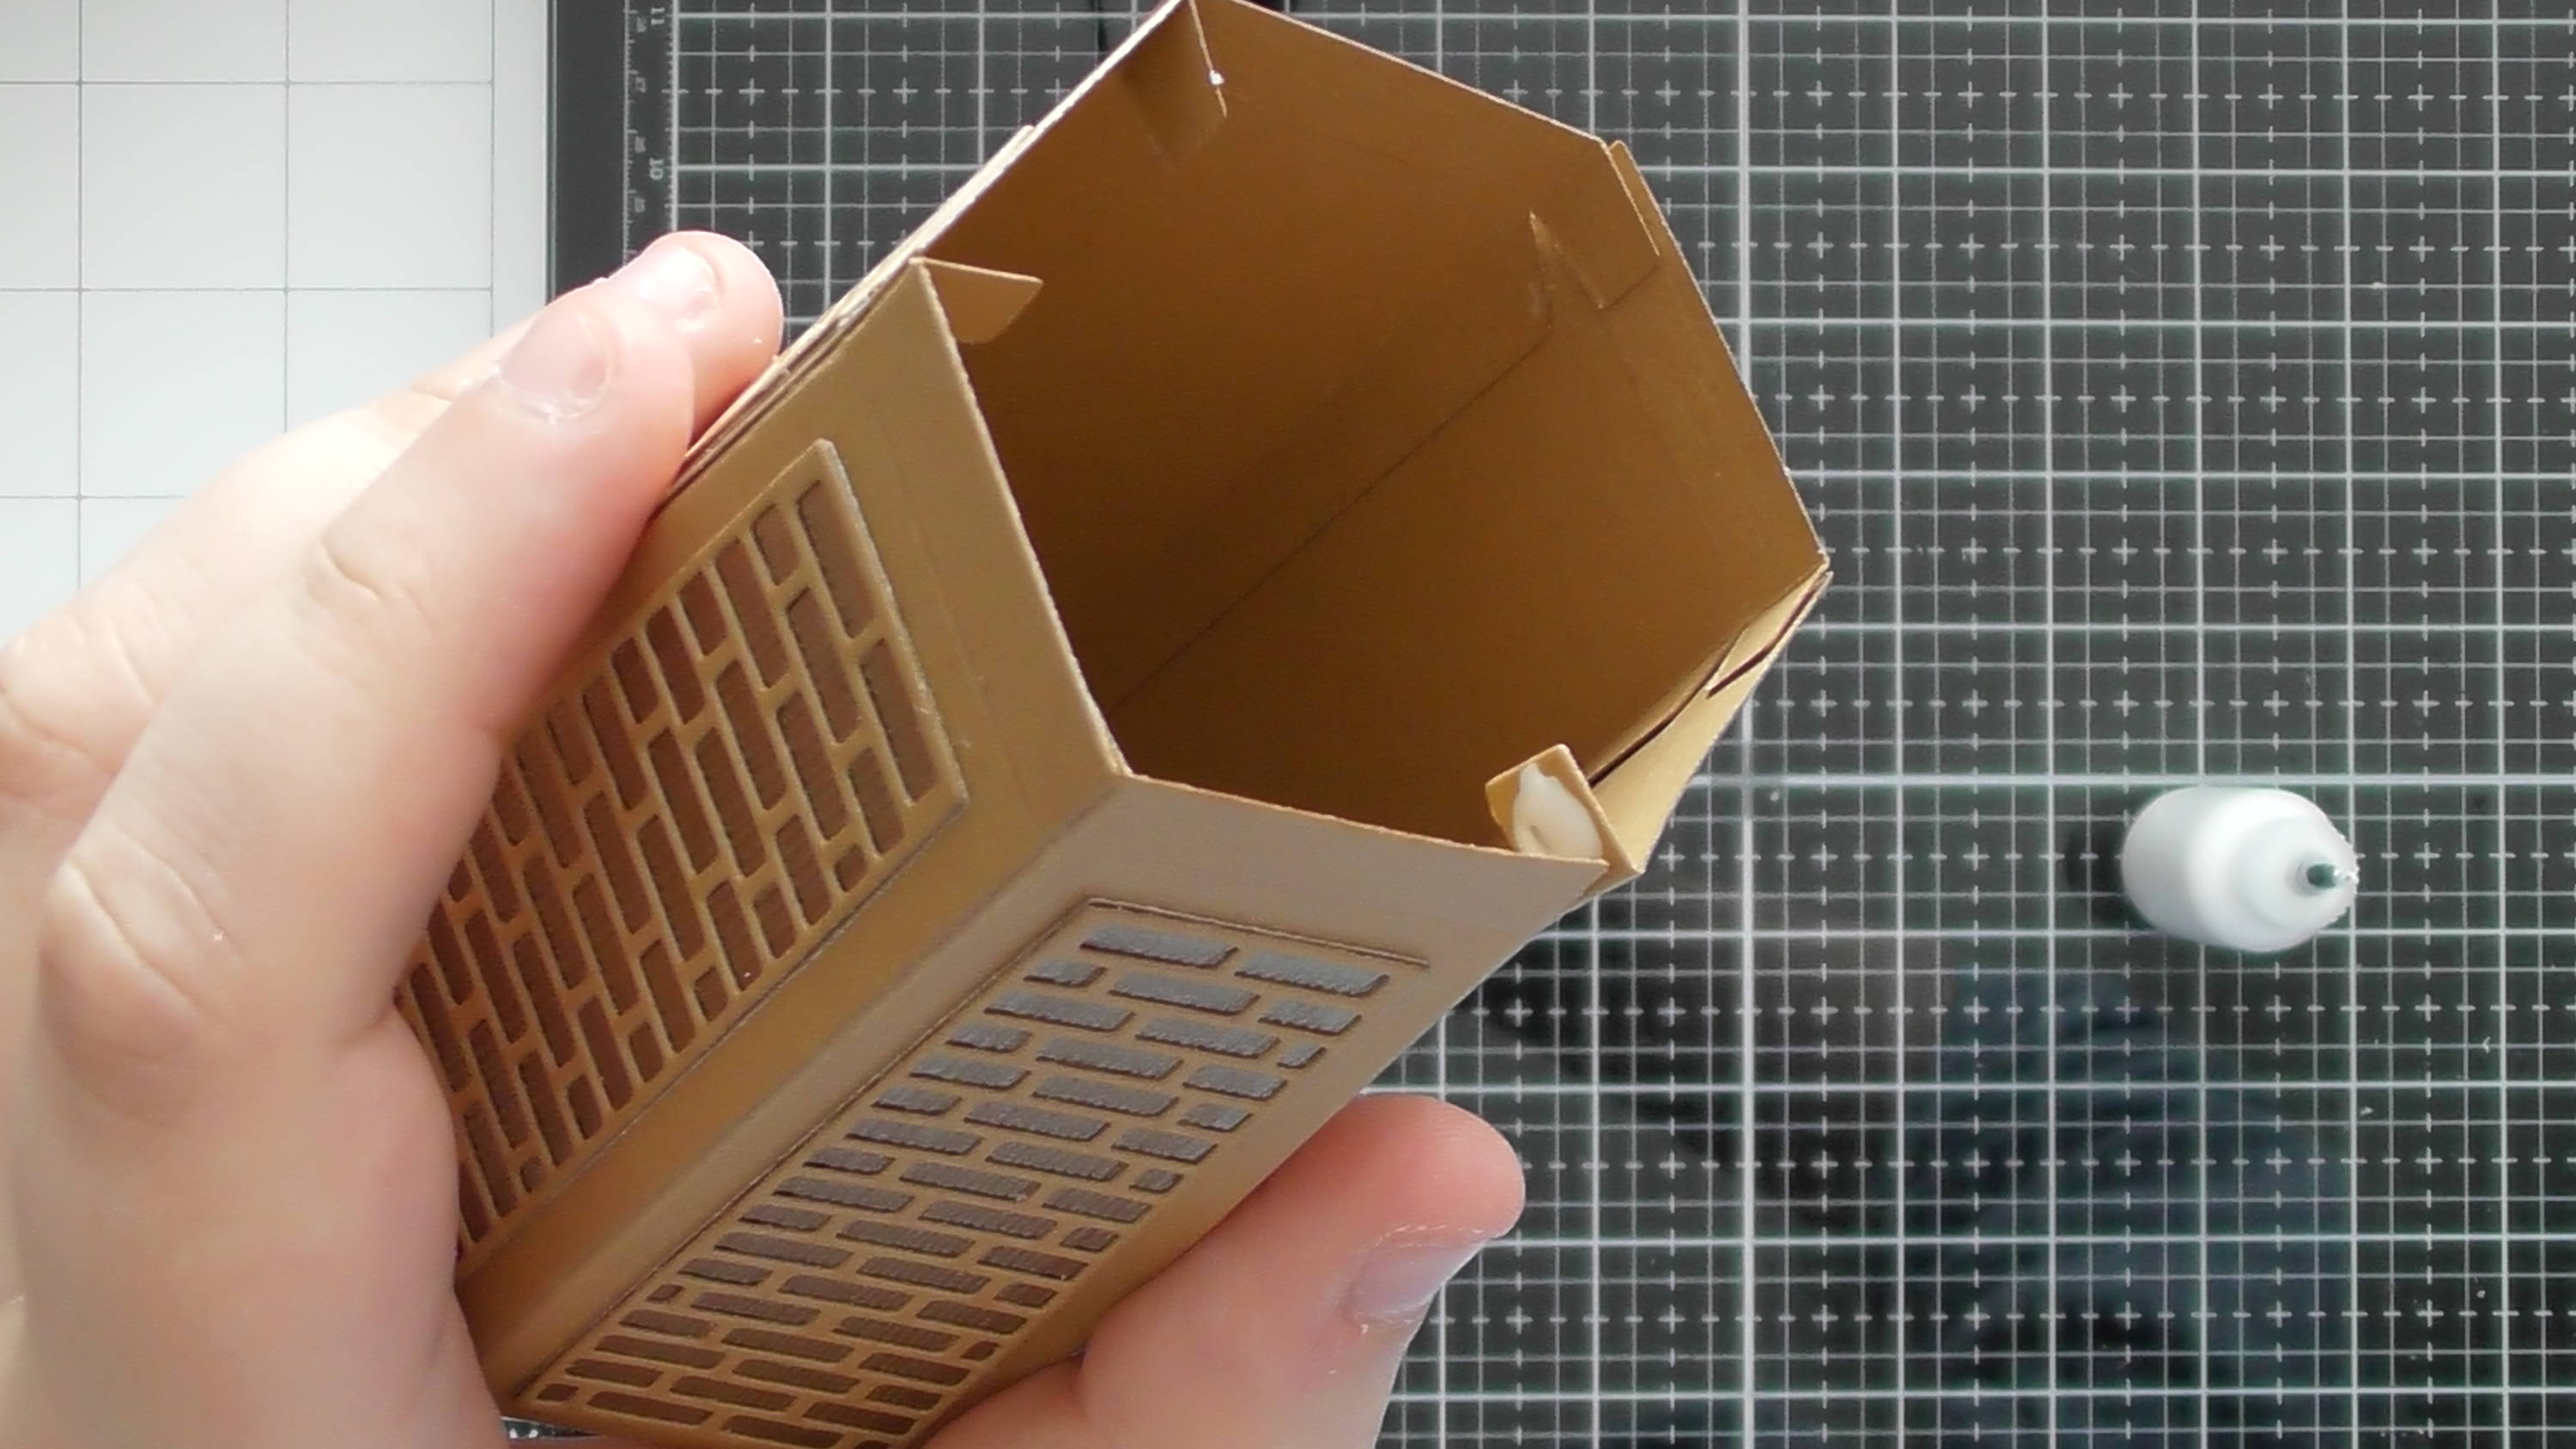
Die-cut and layer up your decoration for the bottom layer, and adhere them onto the sides.
Step 5

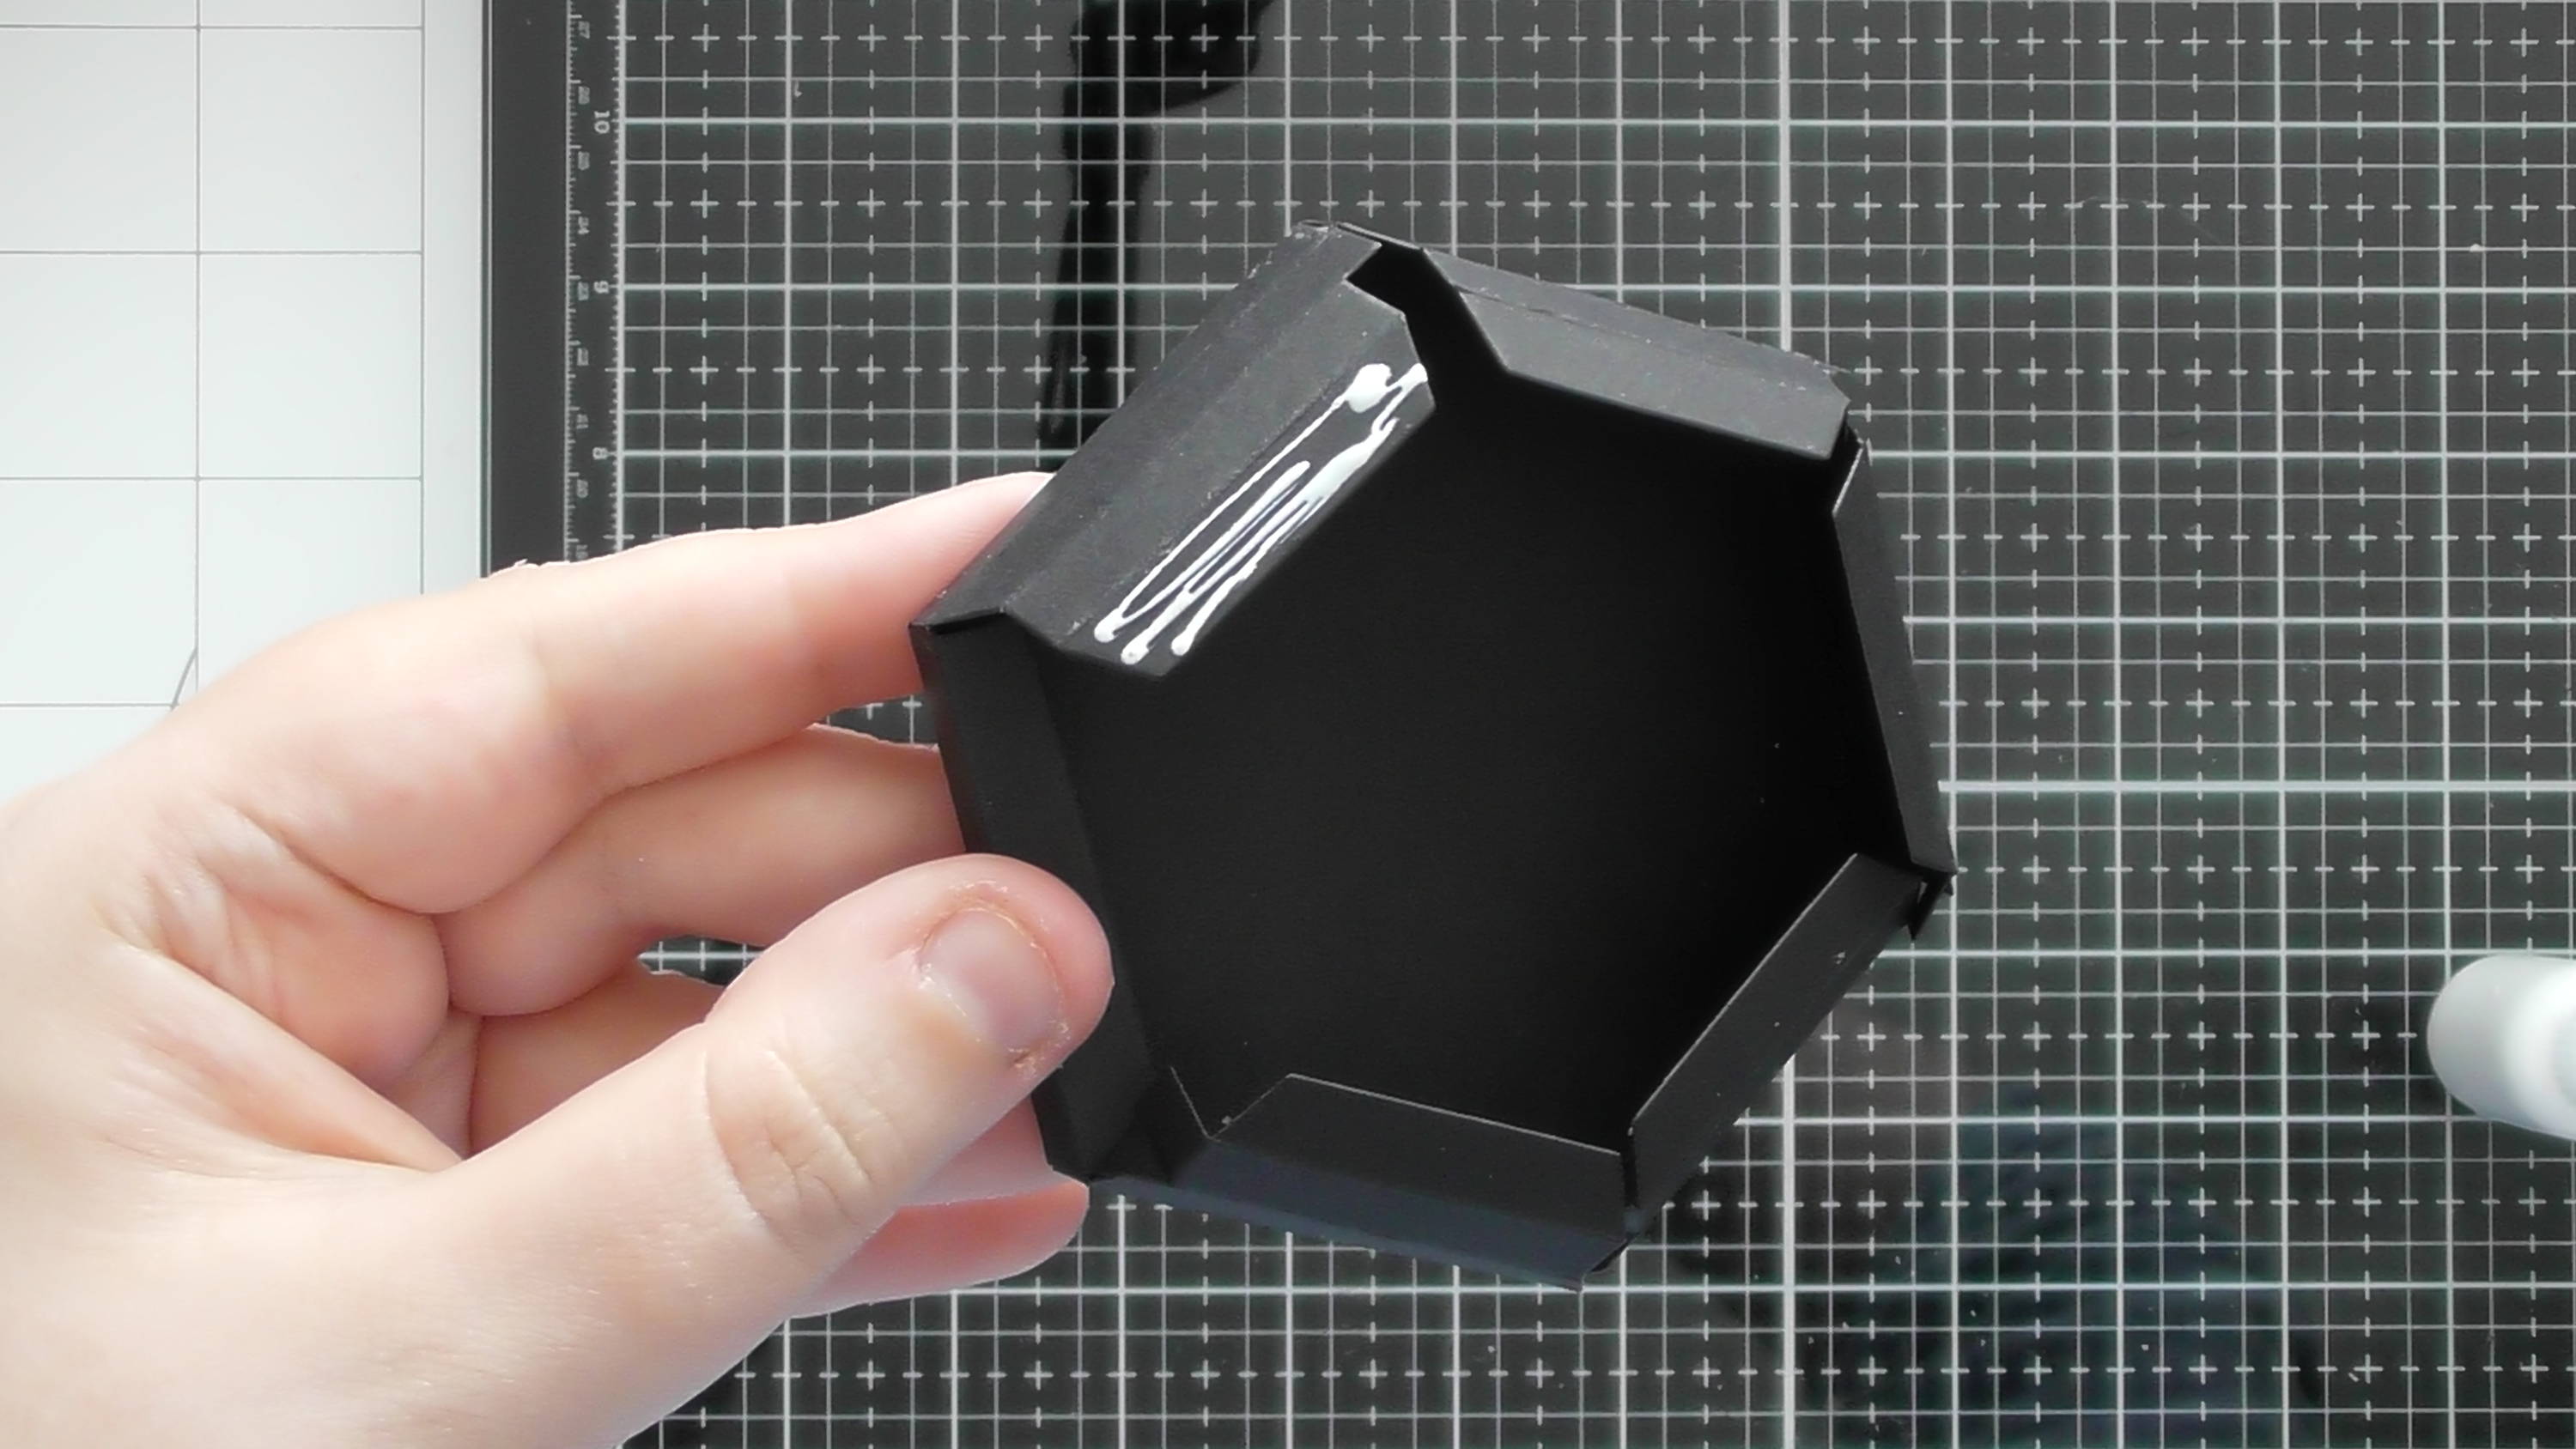
Use the long side glue tabs to build the base.
Step 6
Then move onto the tiny glue tabs at the top…
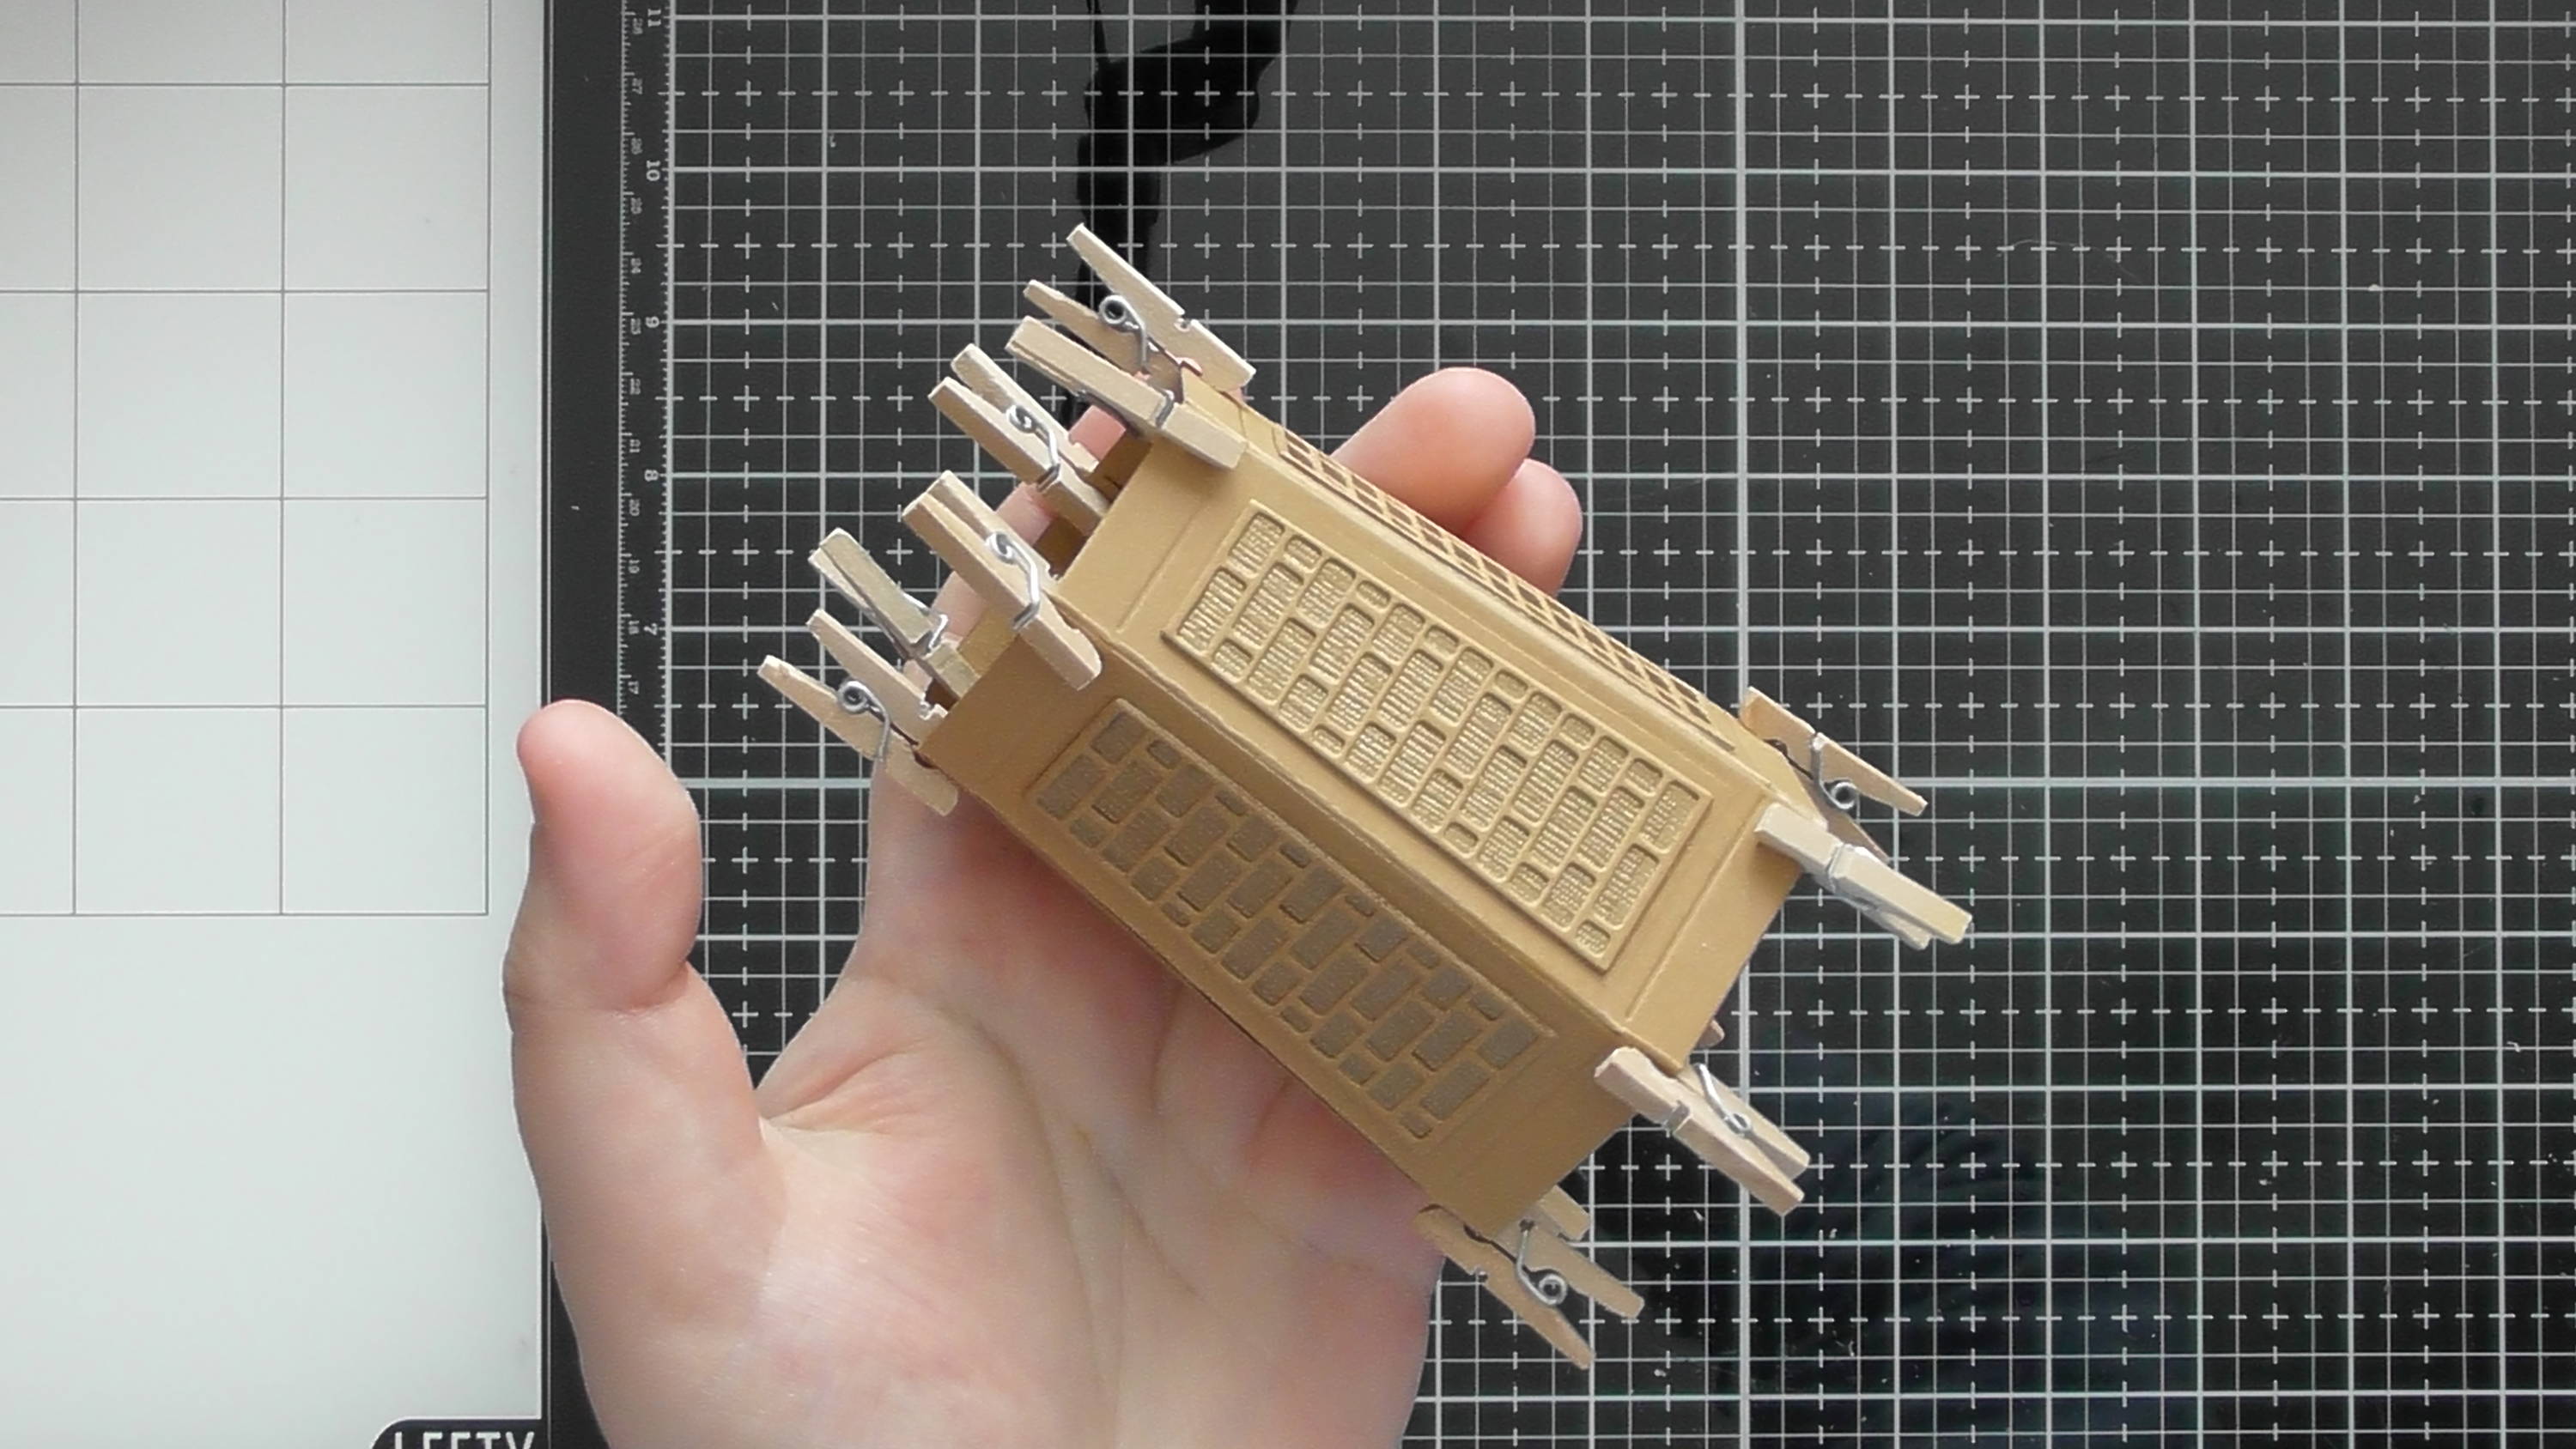
Step 7
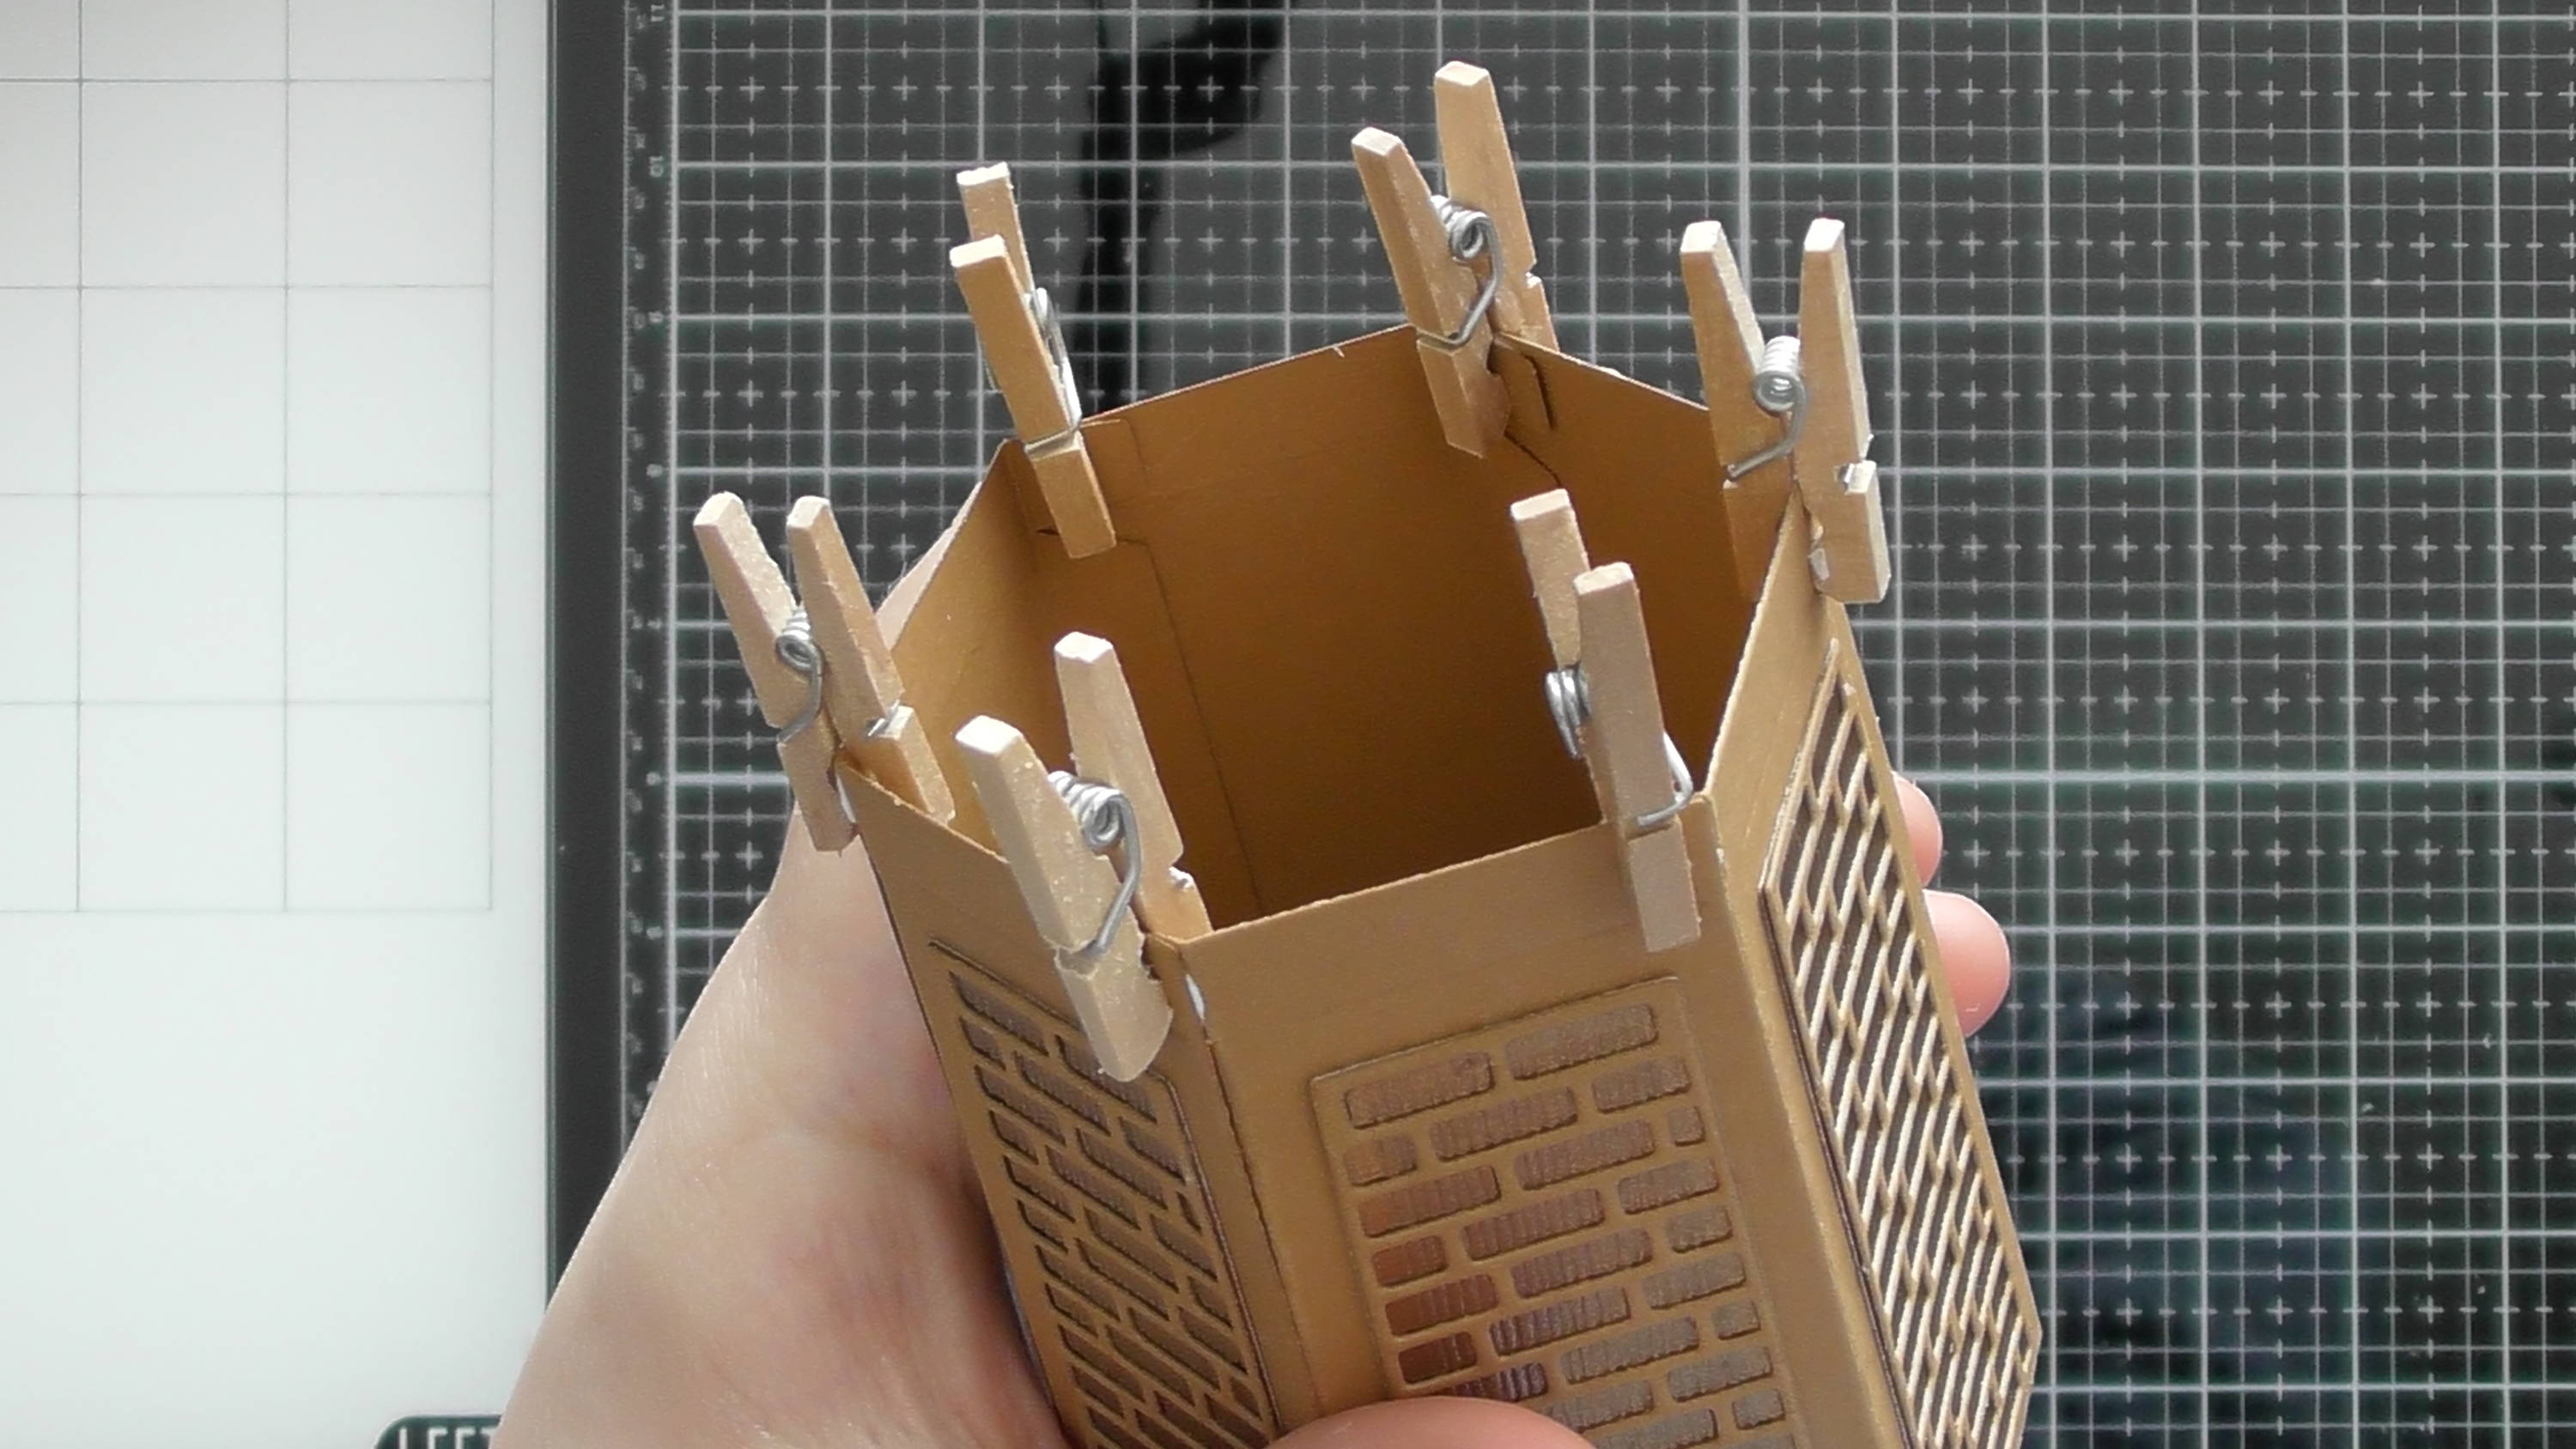
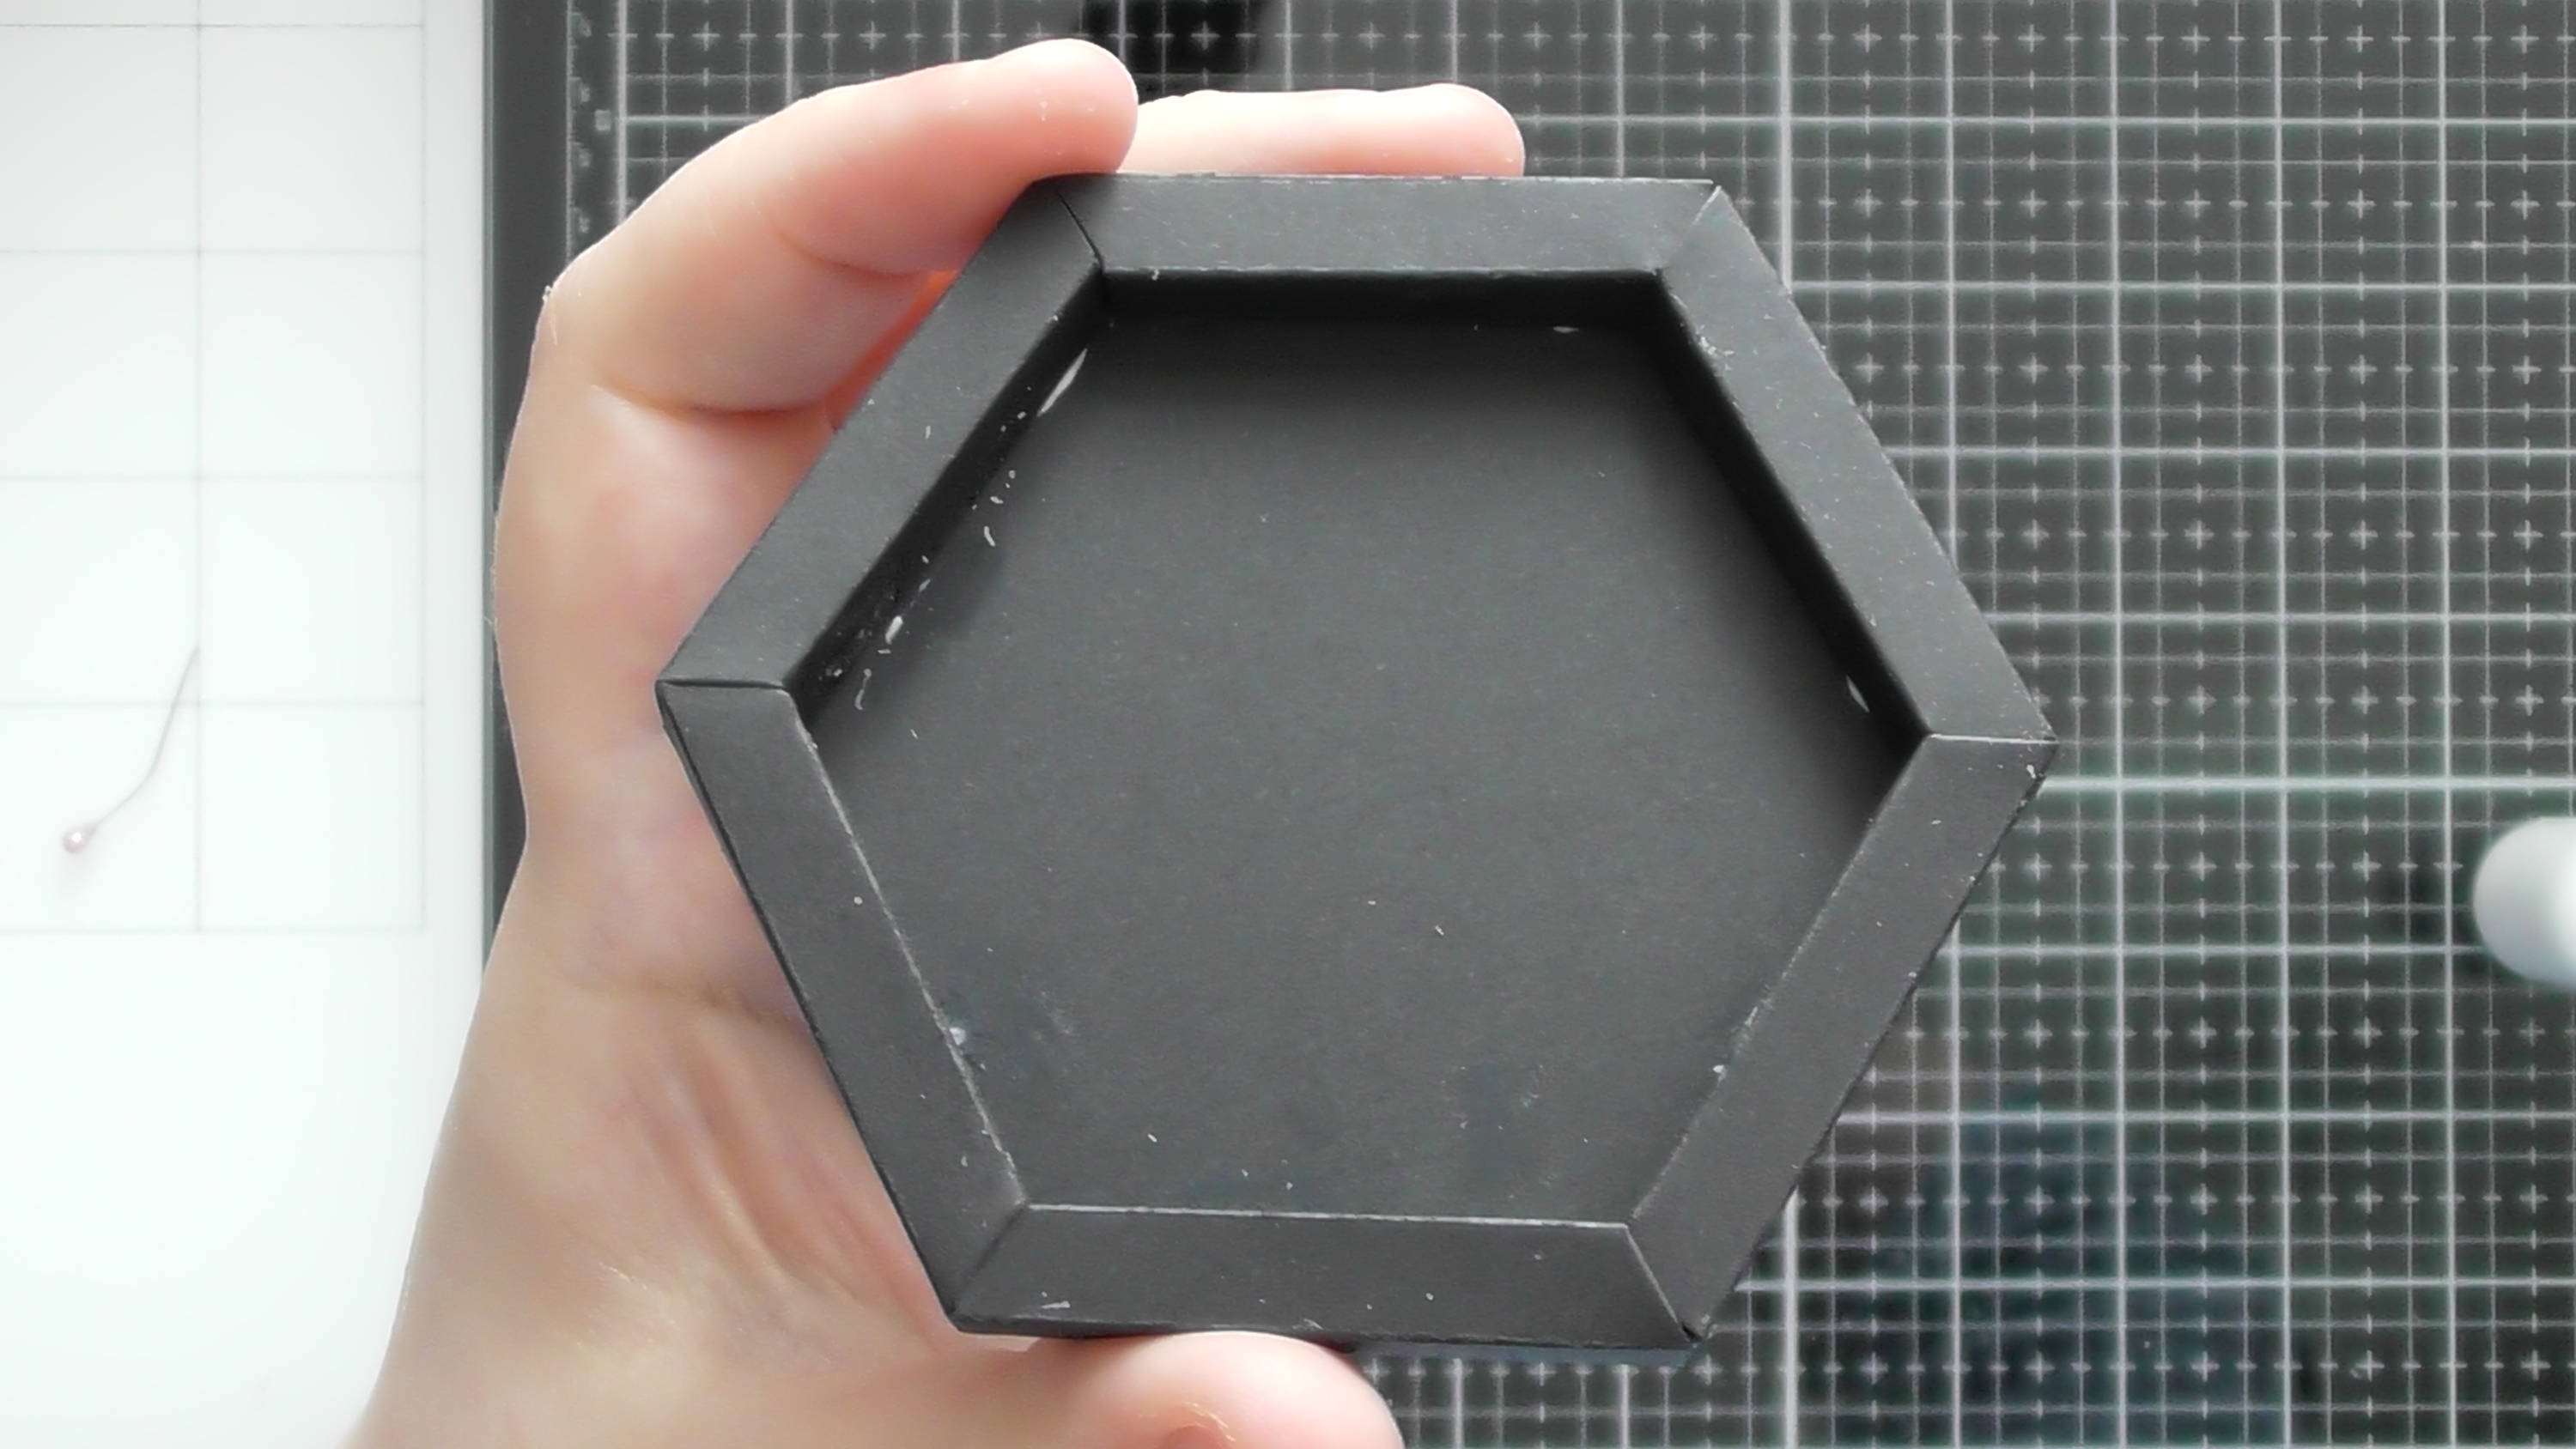
Tiny pegs are very helpful to hold these in place as they dry.
Step 8
Die-cut 6 of the side pieces for the top of the box...
Step 9

Decide on your decoration, die-cut and layer as before…
Step 10

Glue all of your side panels together with the long glue tabs as shown, then add to your decoration too.
Step 11
Finally glue the last side.
Step 12
Repeat the process from steps 6 and 7 for the top and bottom tiny tabs of this top section of the windmill body.
Step 13
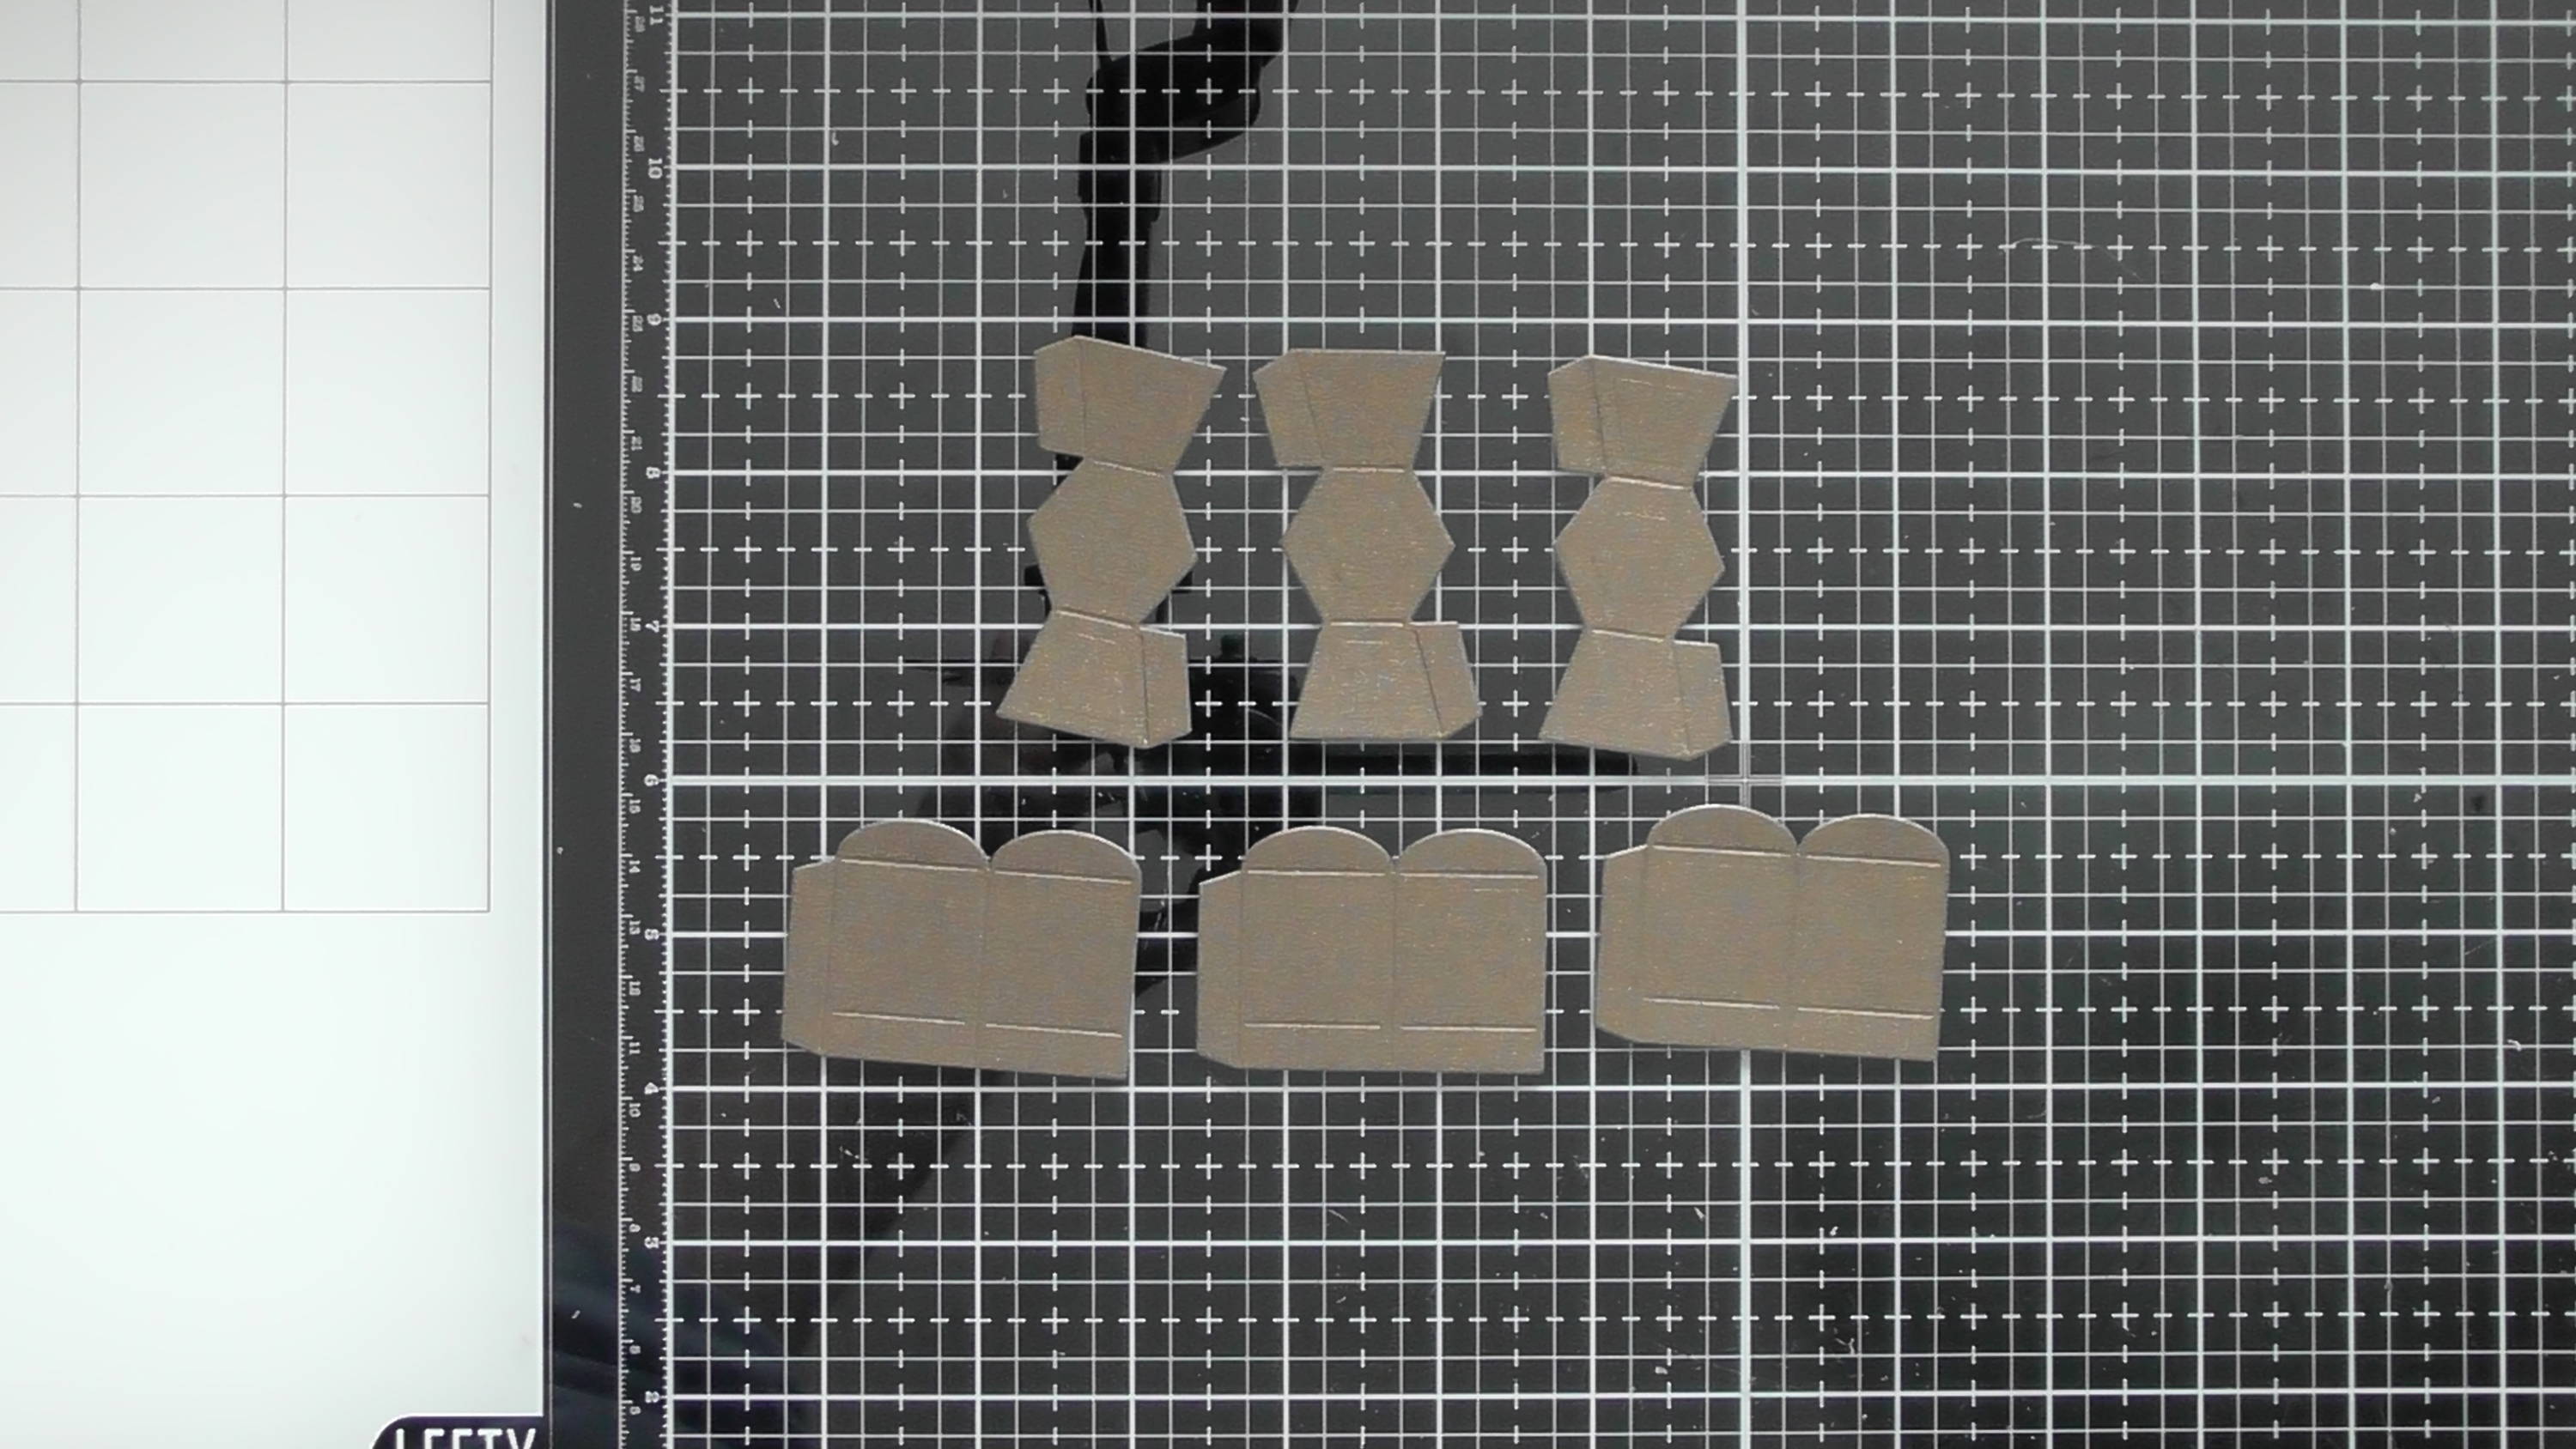
For the top of the windmill, cut 3 of each of the 2 pieces depicted above.
Step 14
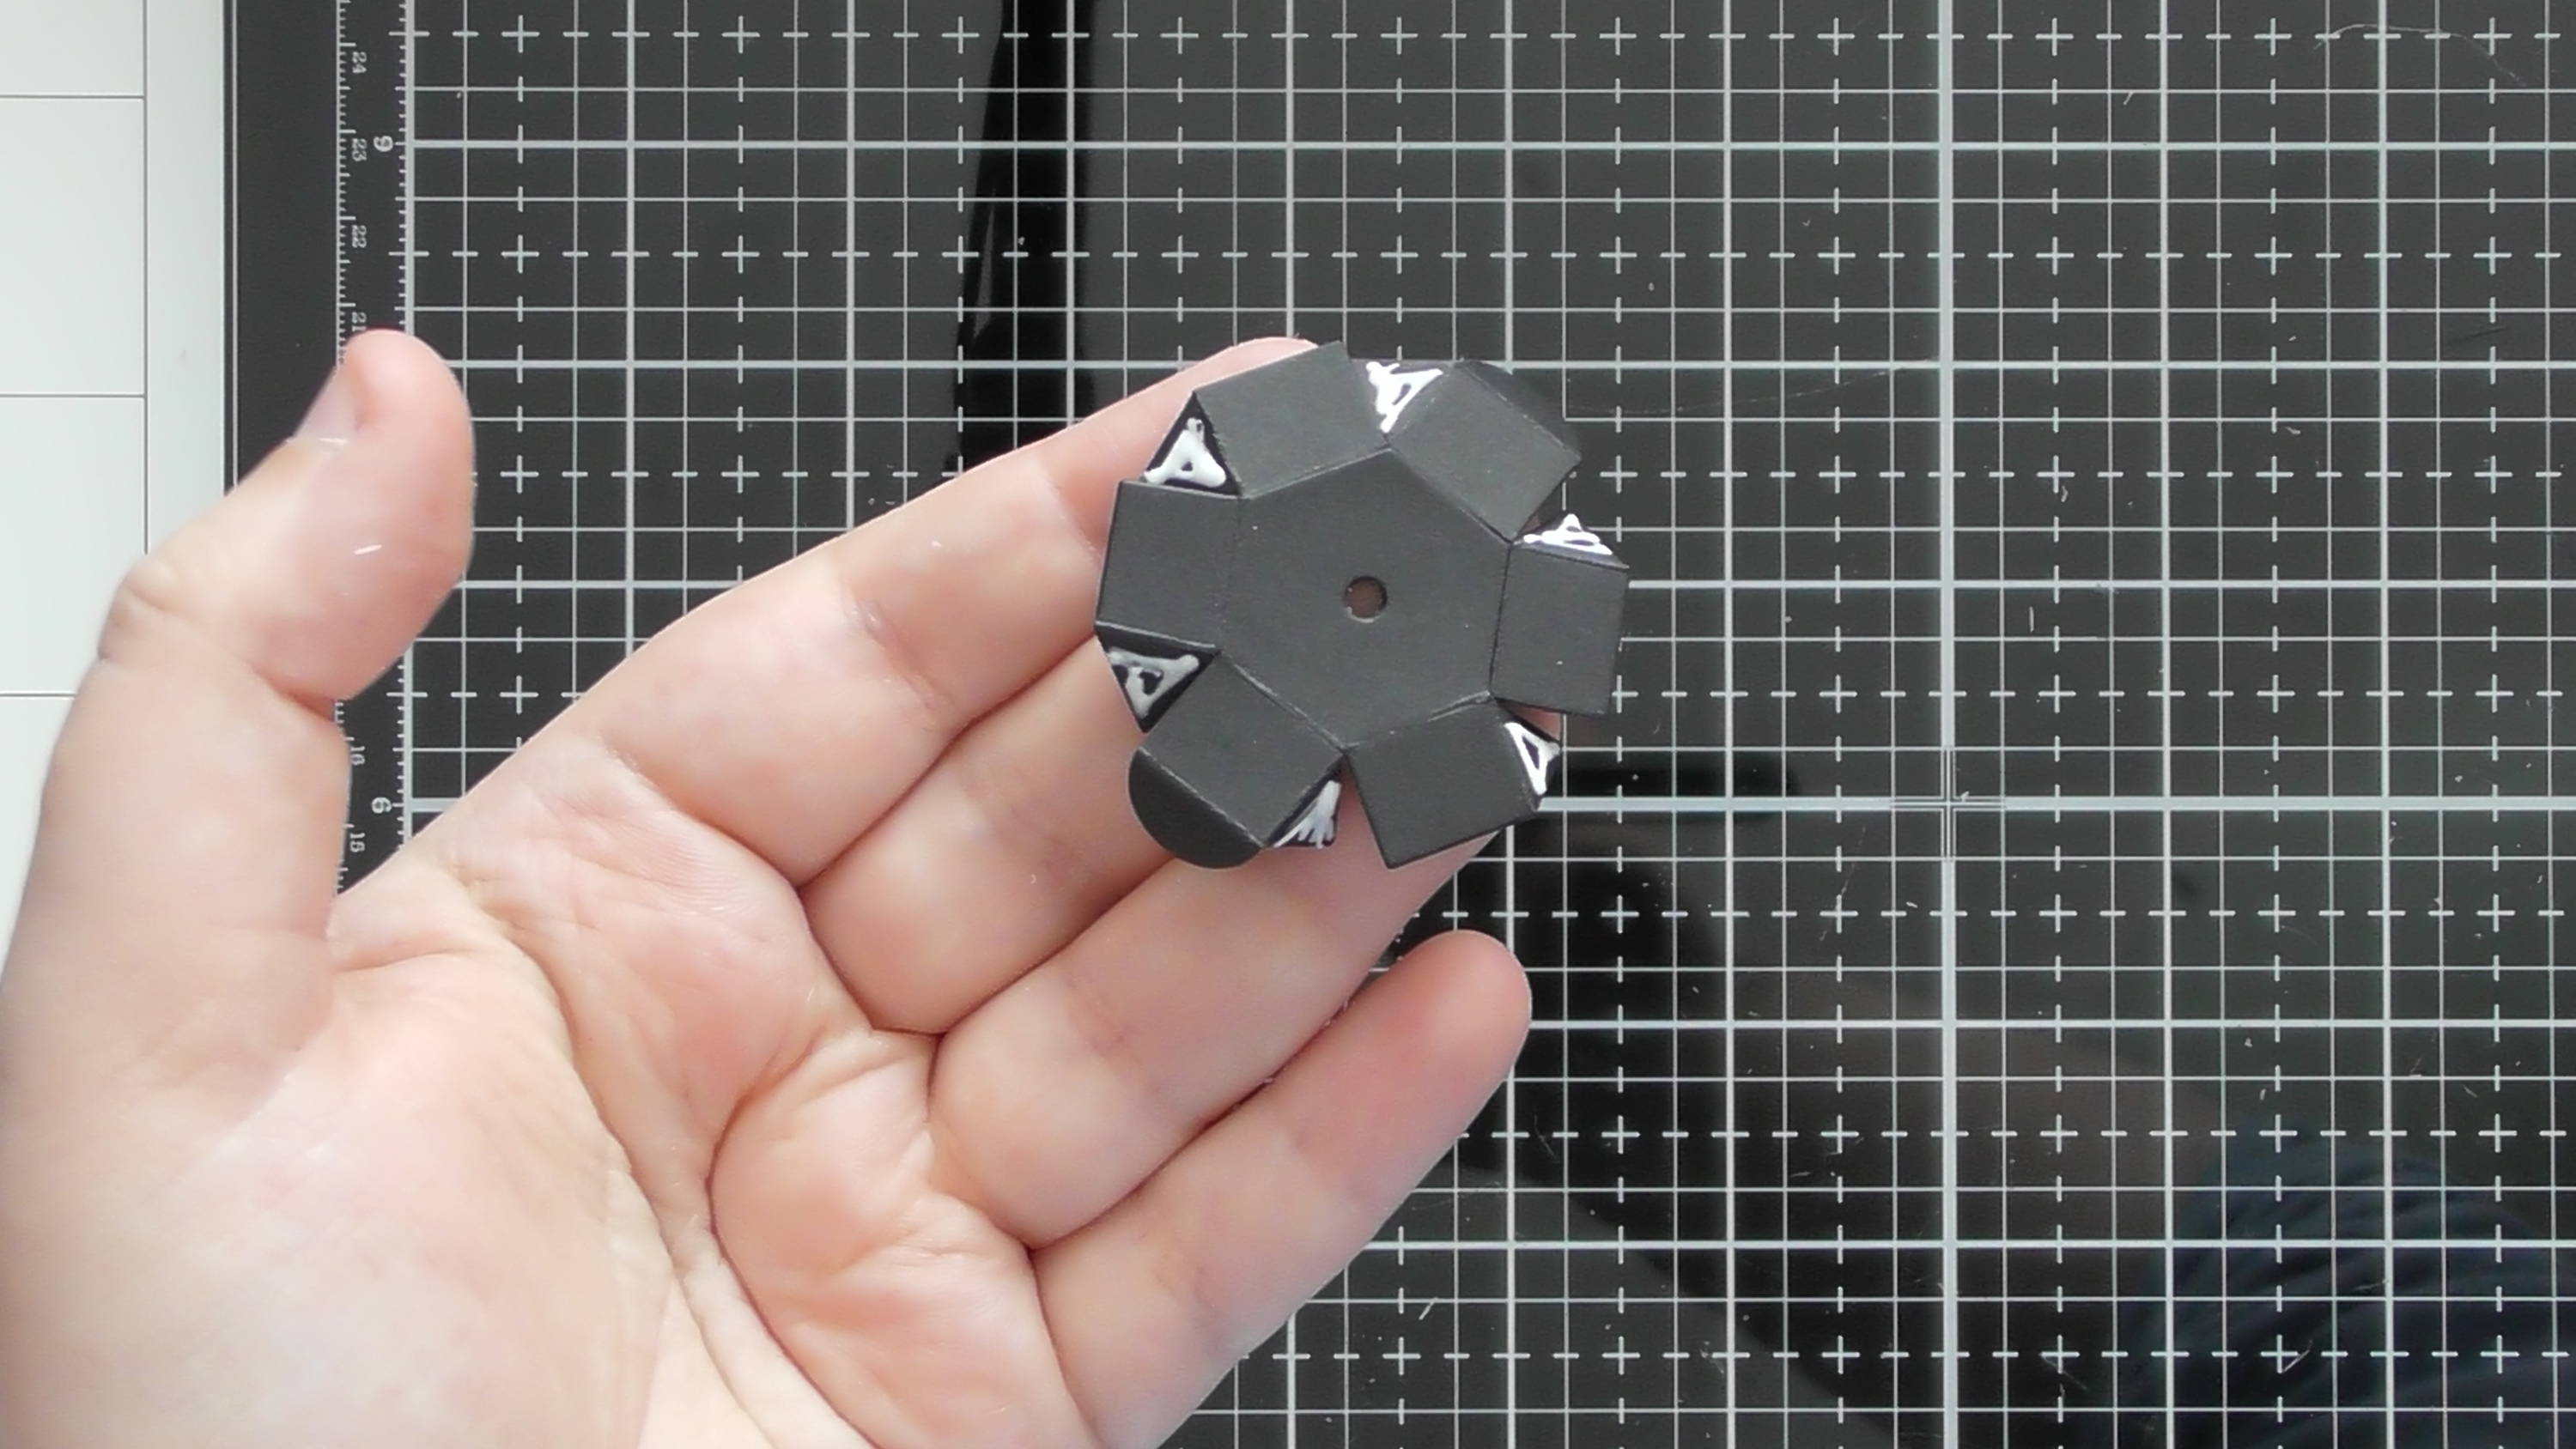
Glue the 3 with the hexagonal piece together like so…
Step 15
Then use the remaining glue tabs to form it into this shape…
Step 16
…It looks like this from the other side.
Step 17

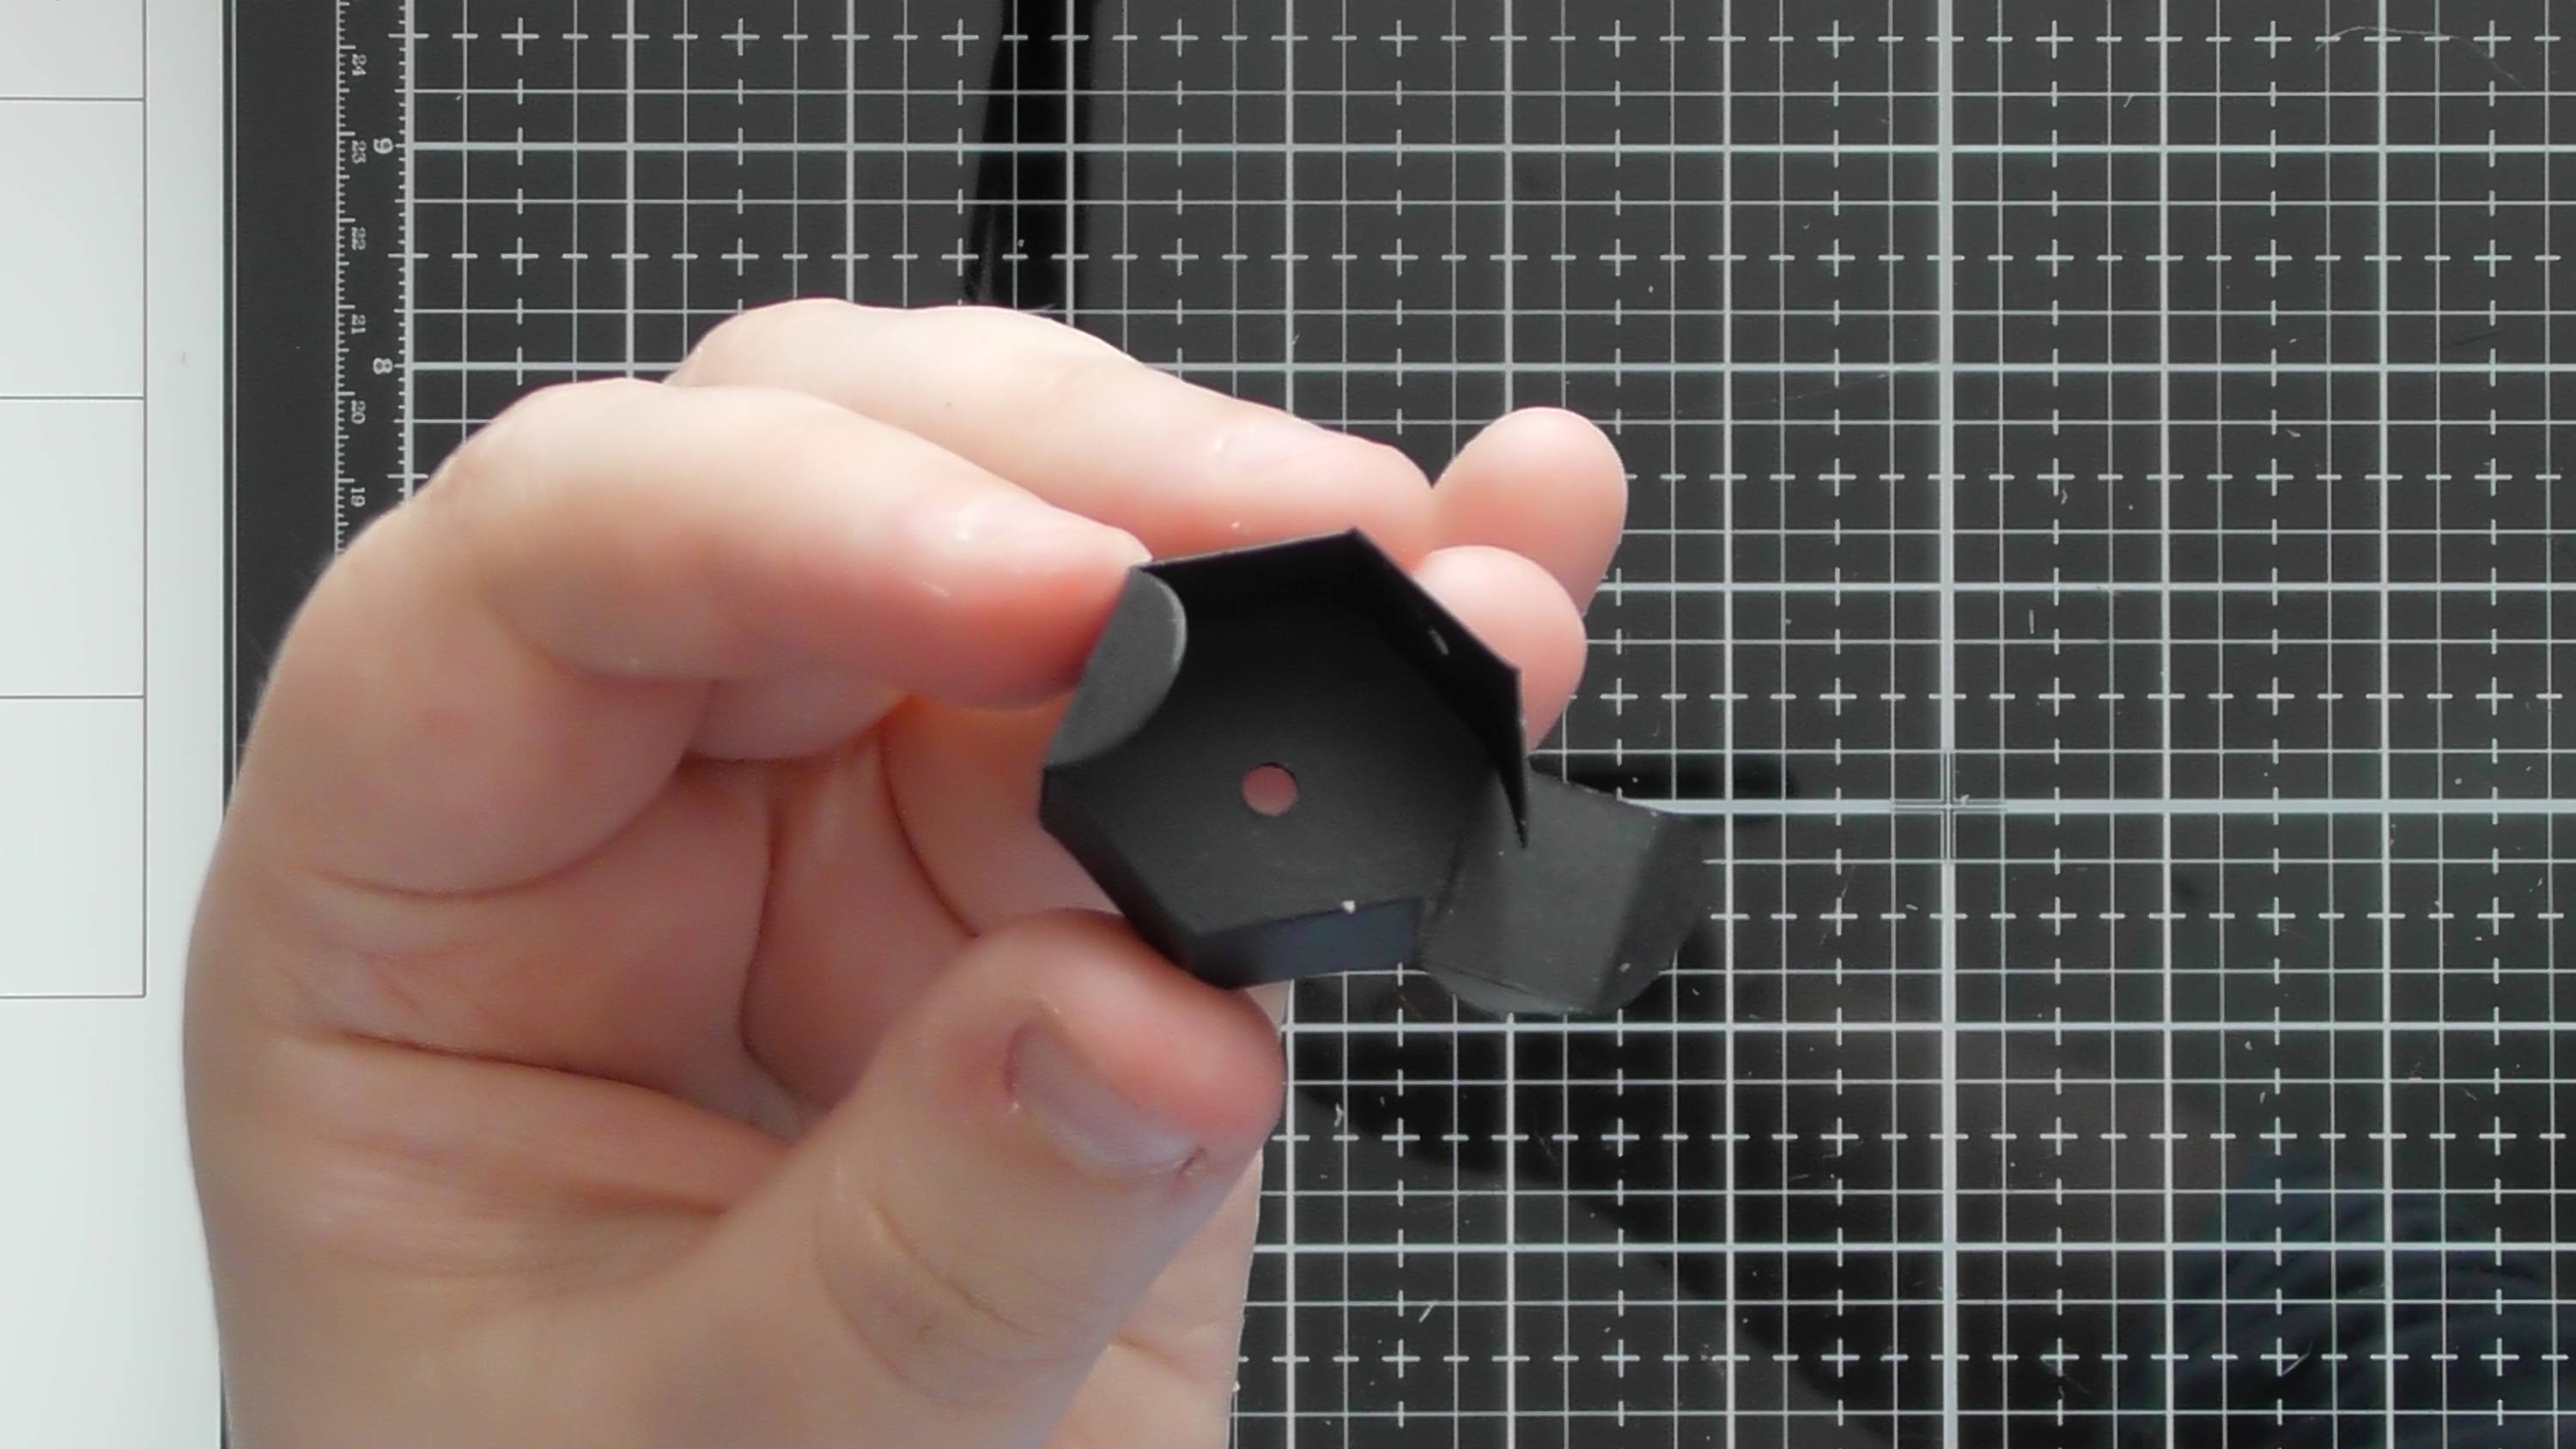
For the next section down of the top lid piece, you’ll need to glue together the other 3 pieces shown in Step 13 together like shown.
Step 18
And once you adhere that final side, I'll look like this. Leave these 2 pieces to dry while we make the sails.
Step 19
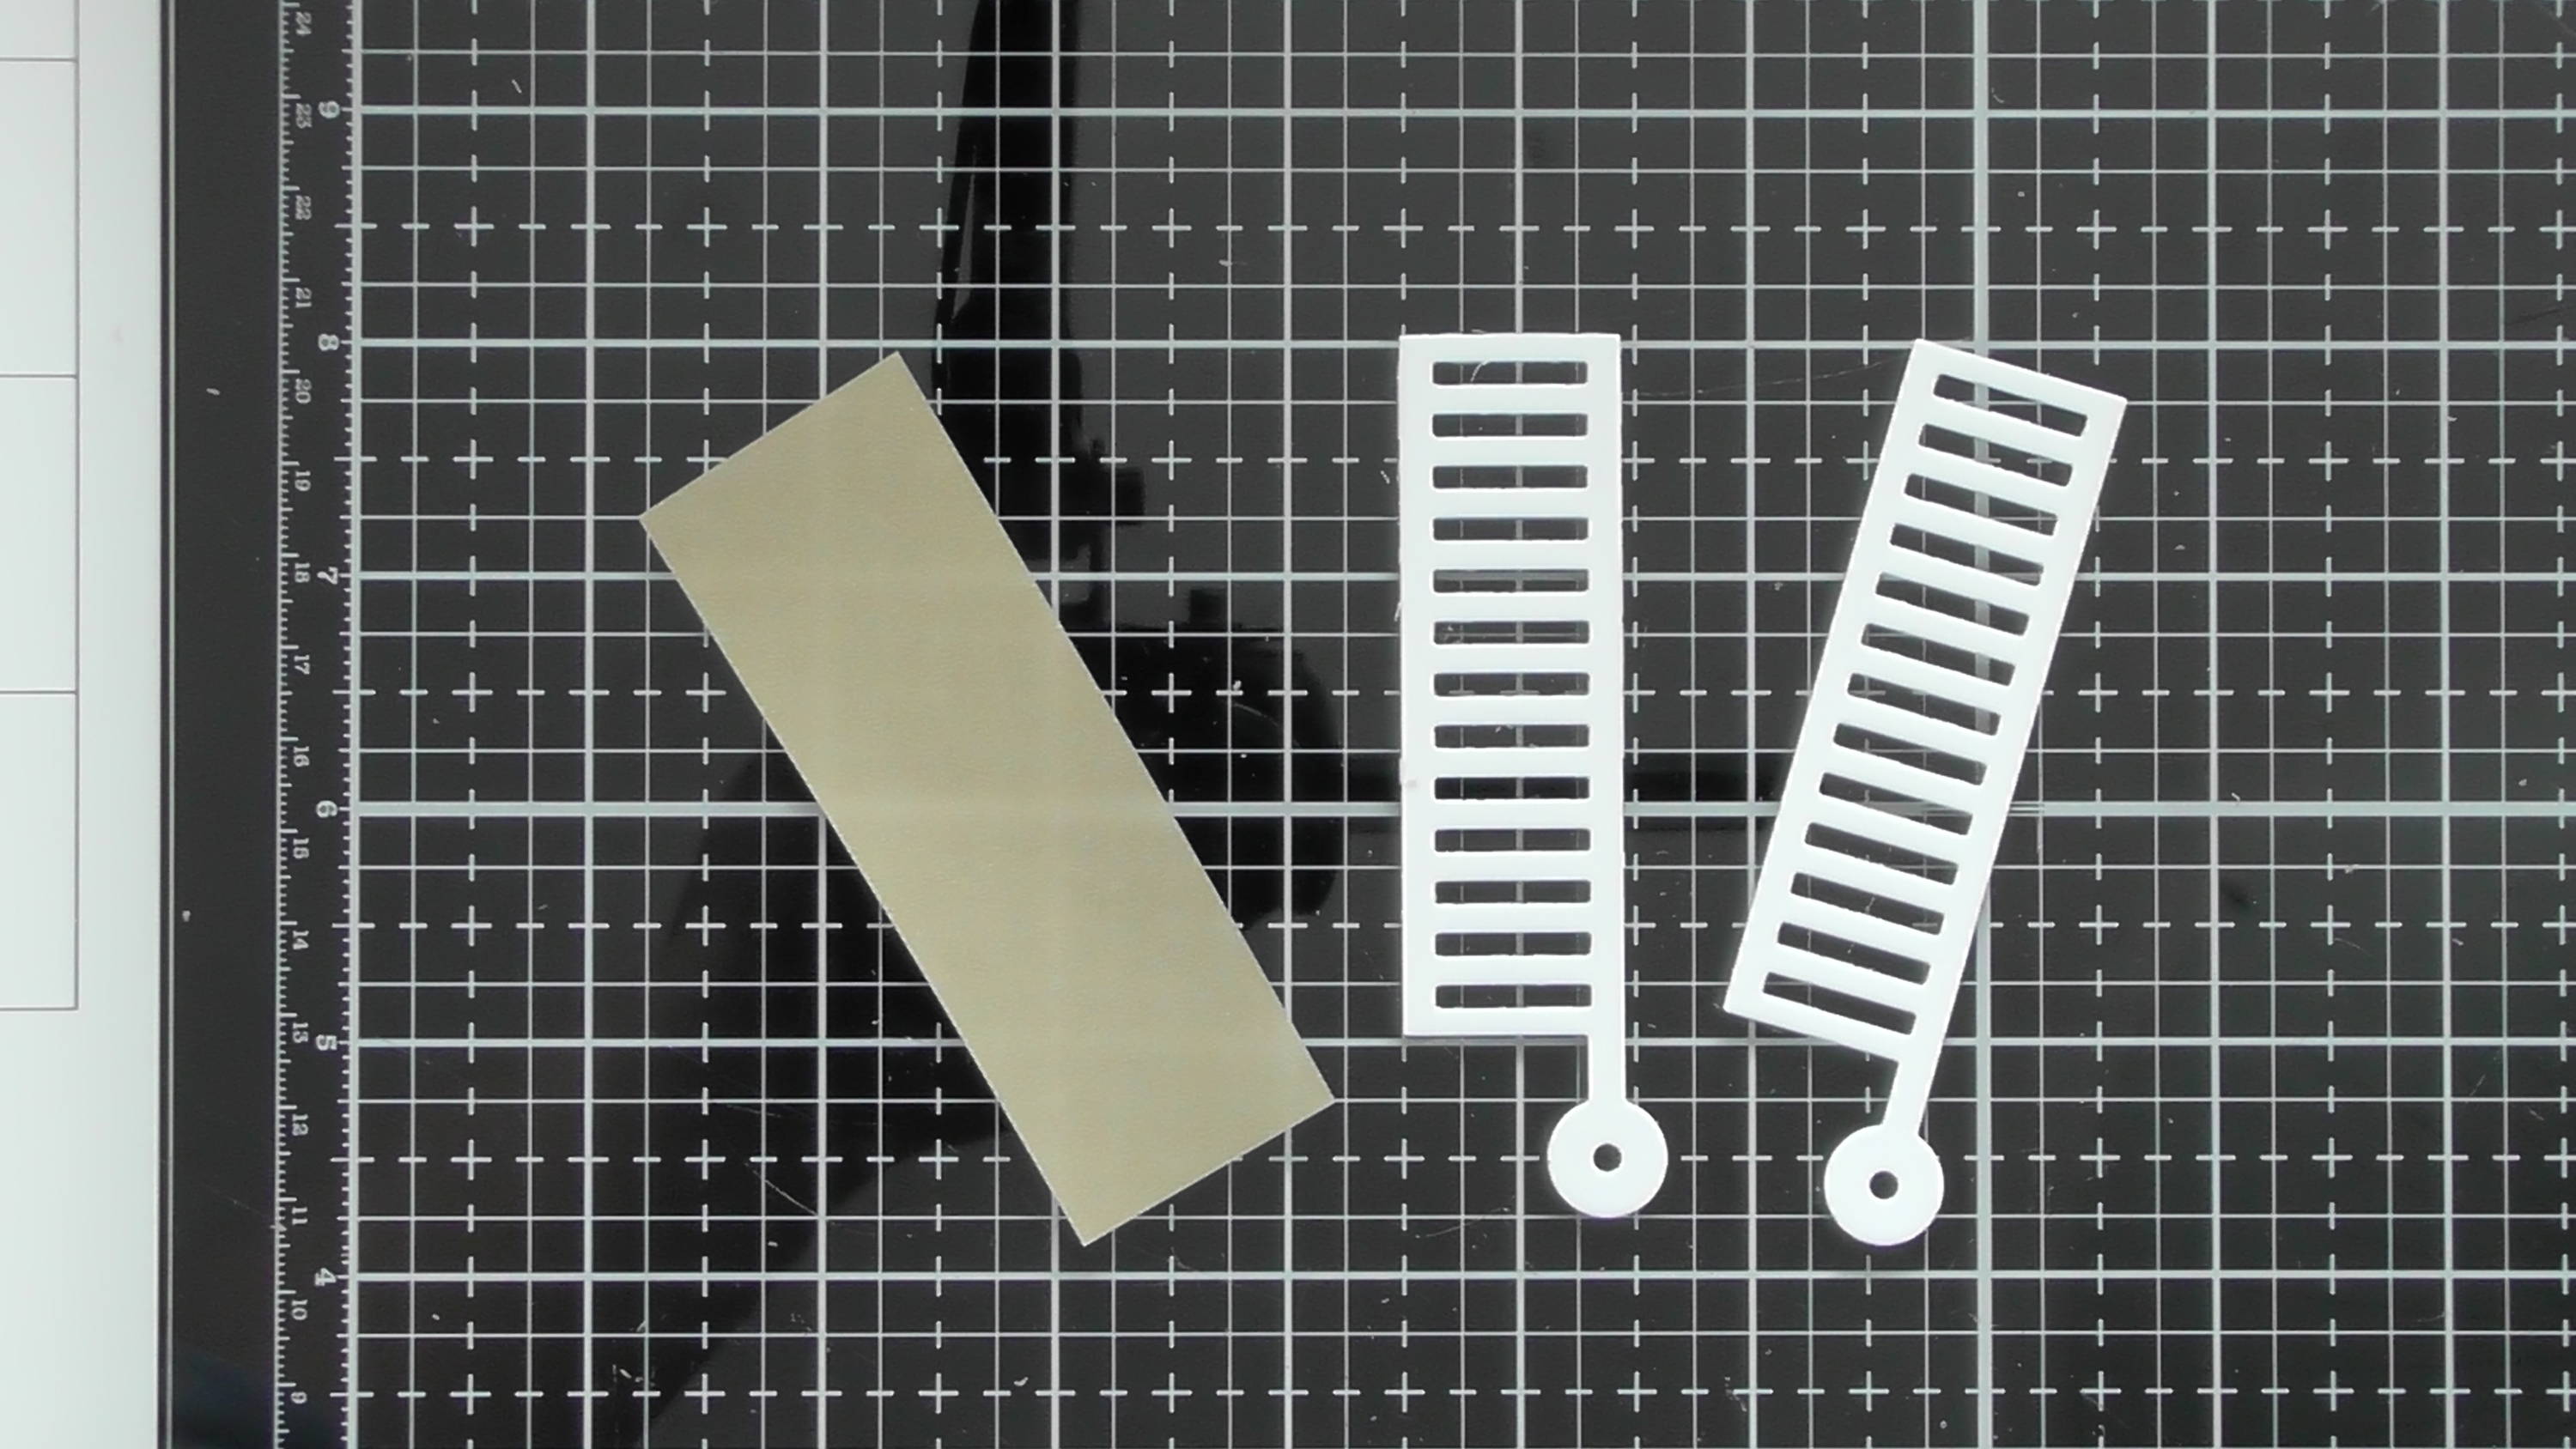
I wanted to have vellum in my sails, so I cut 8 of the sail pieces, 2 for each of the sails, plus a piece a gold pearl vellum per sail too.
Step 20
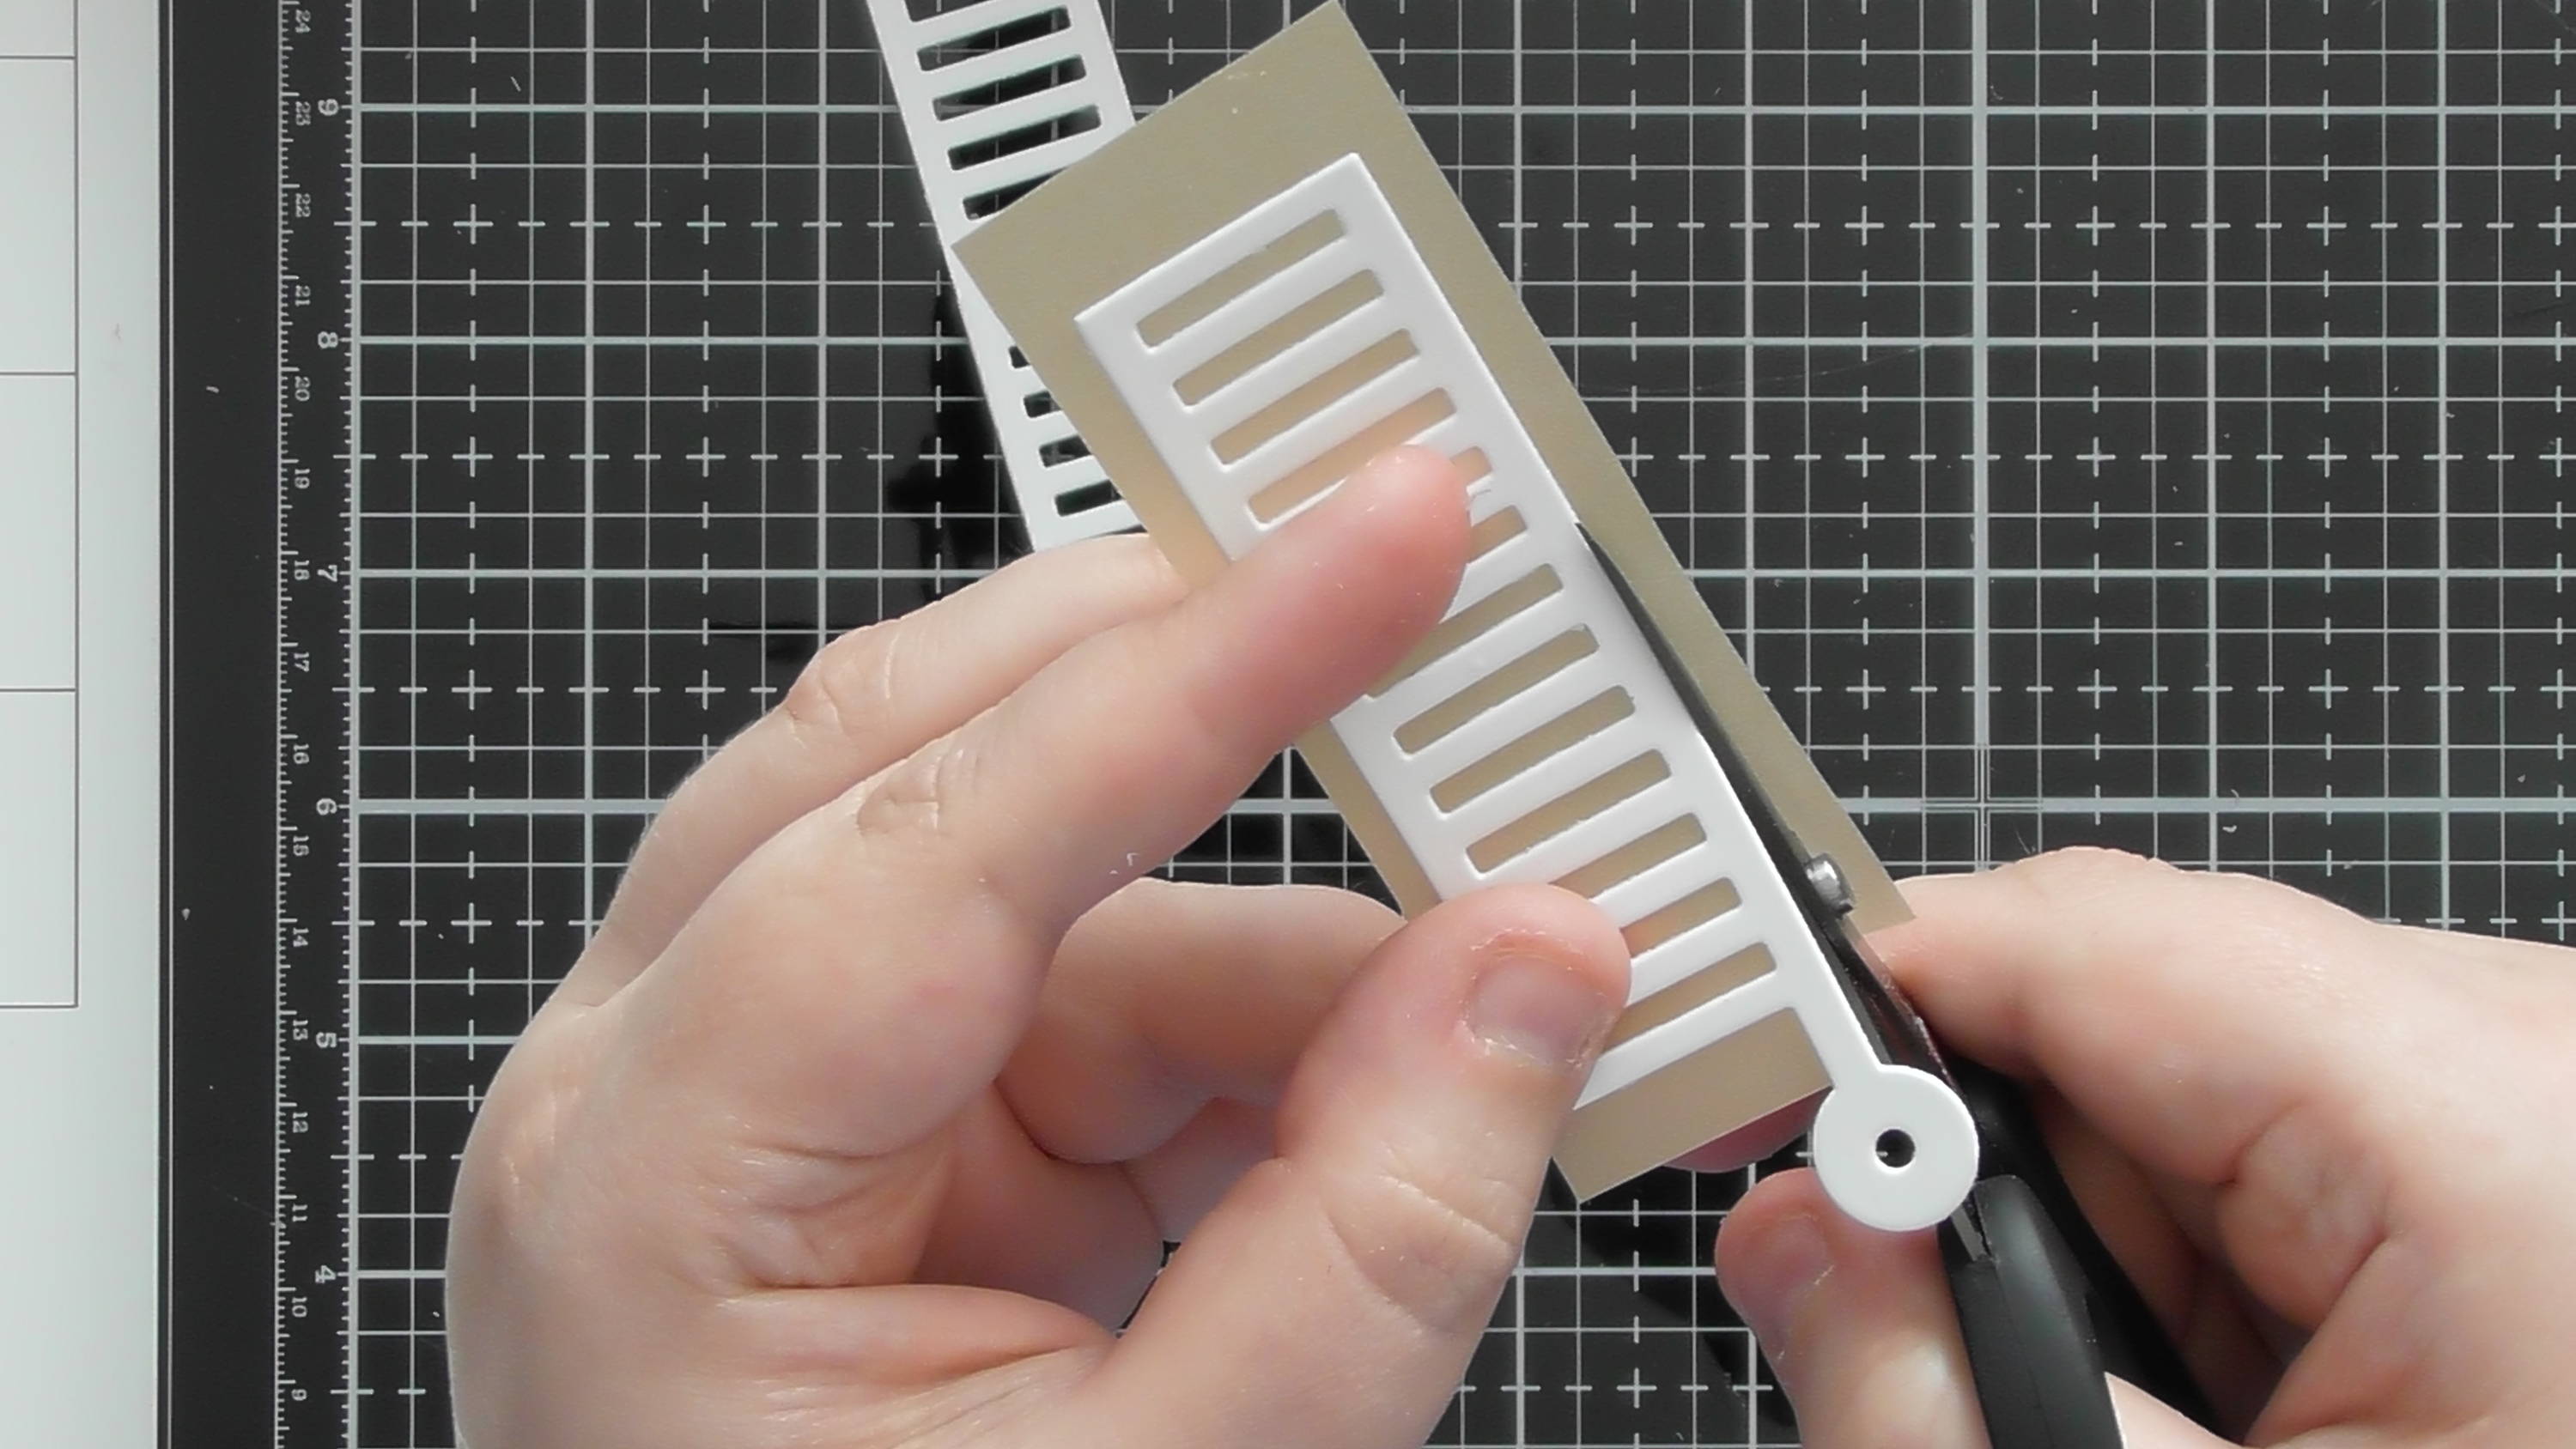
Adhere one sail to the vellum, then trim off the excess.
Step 21
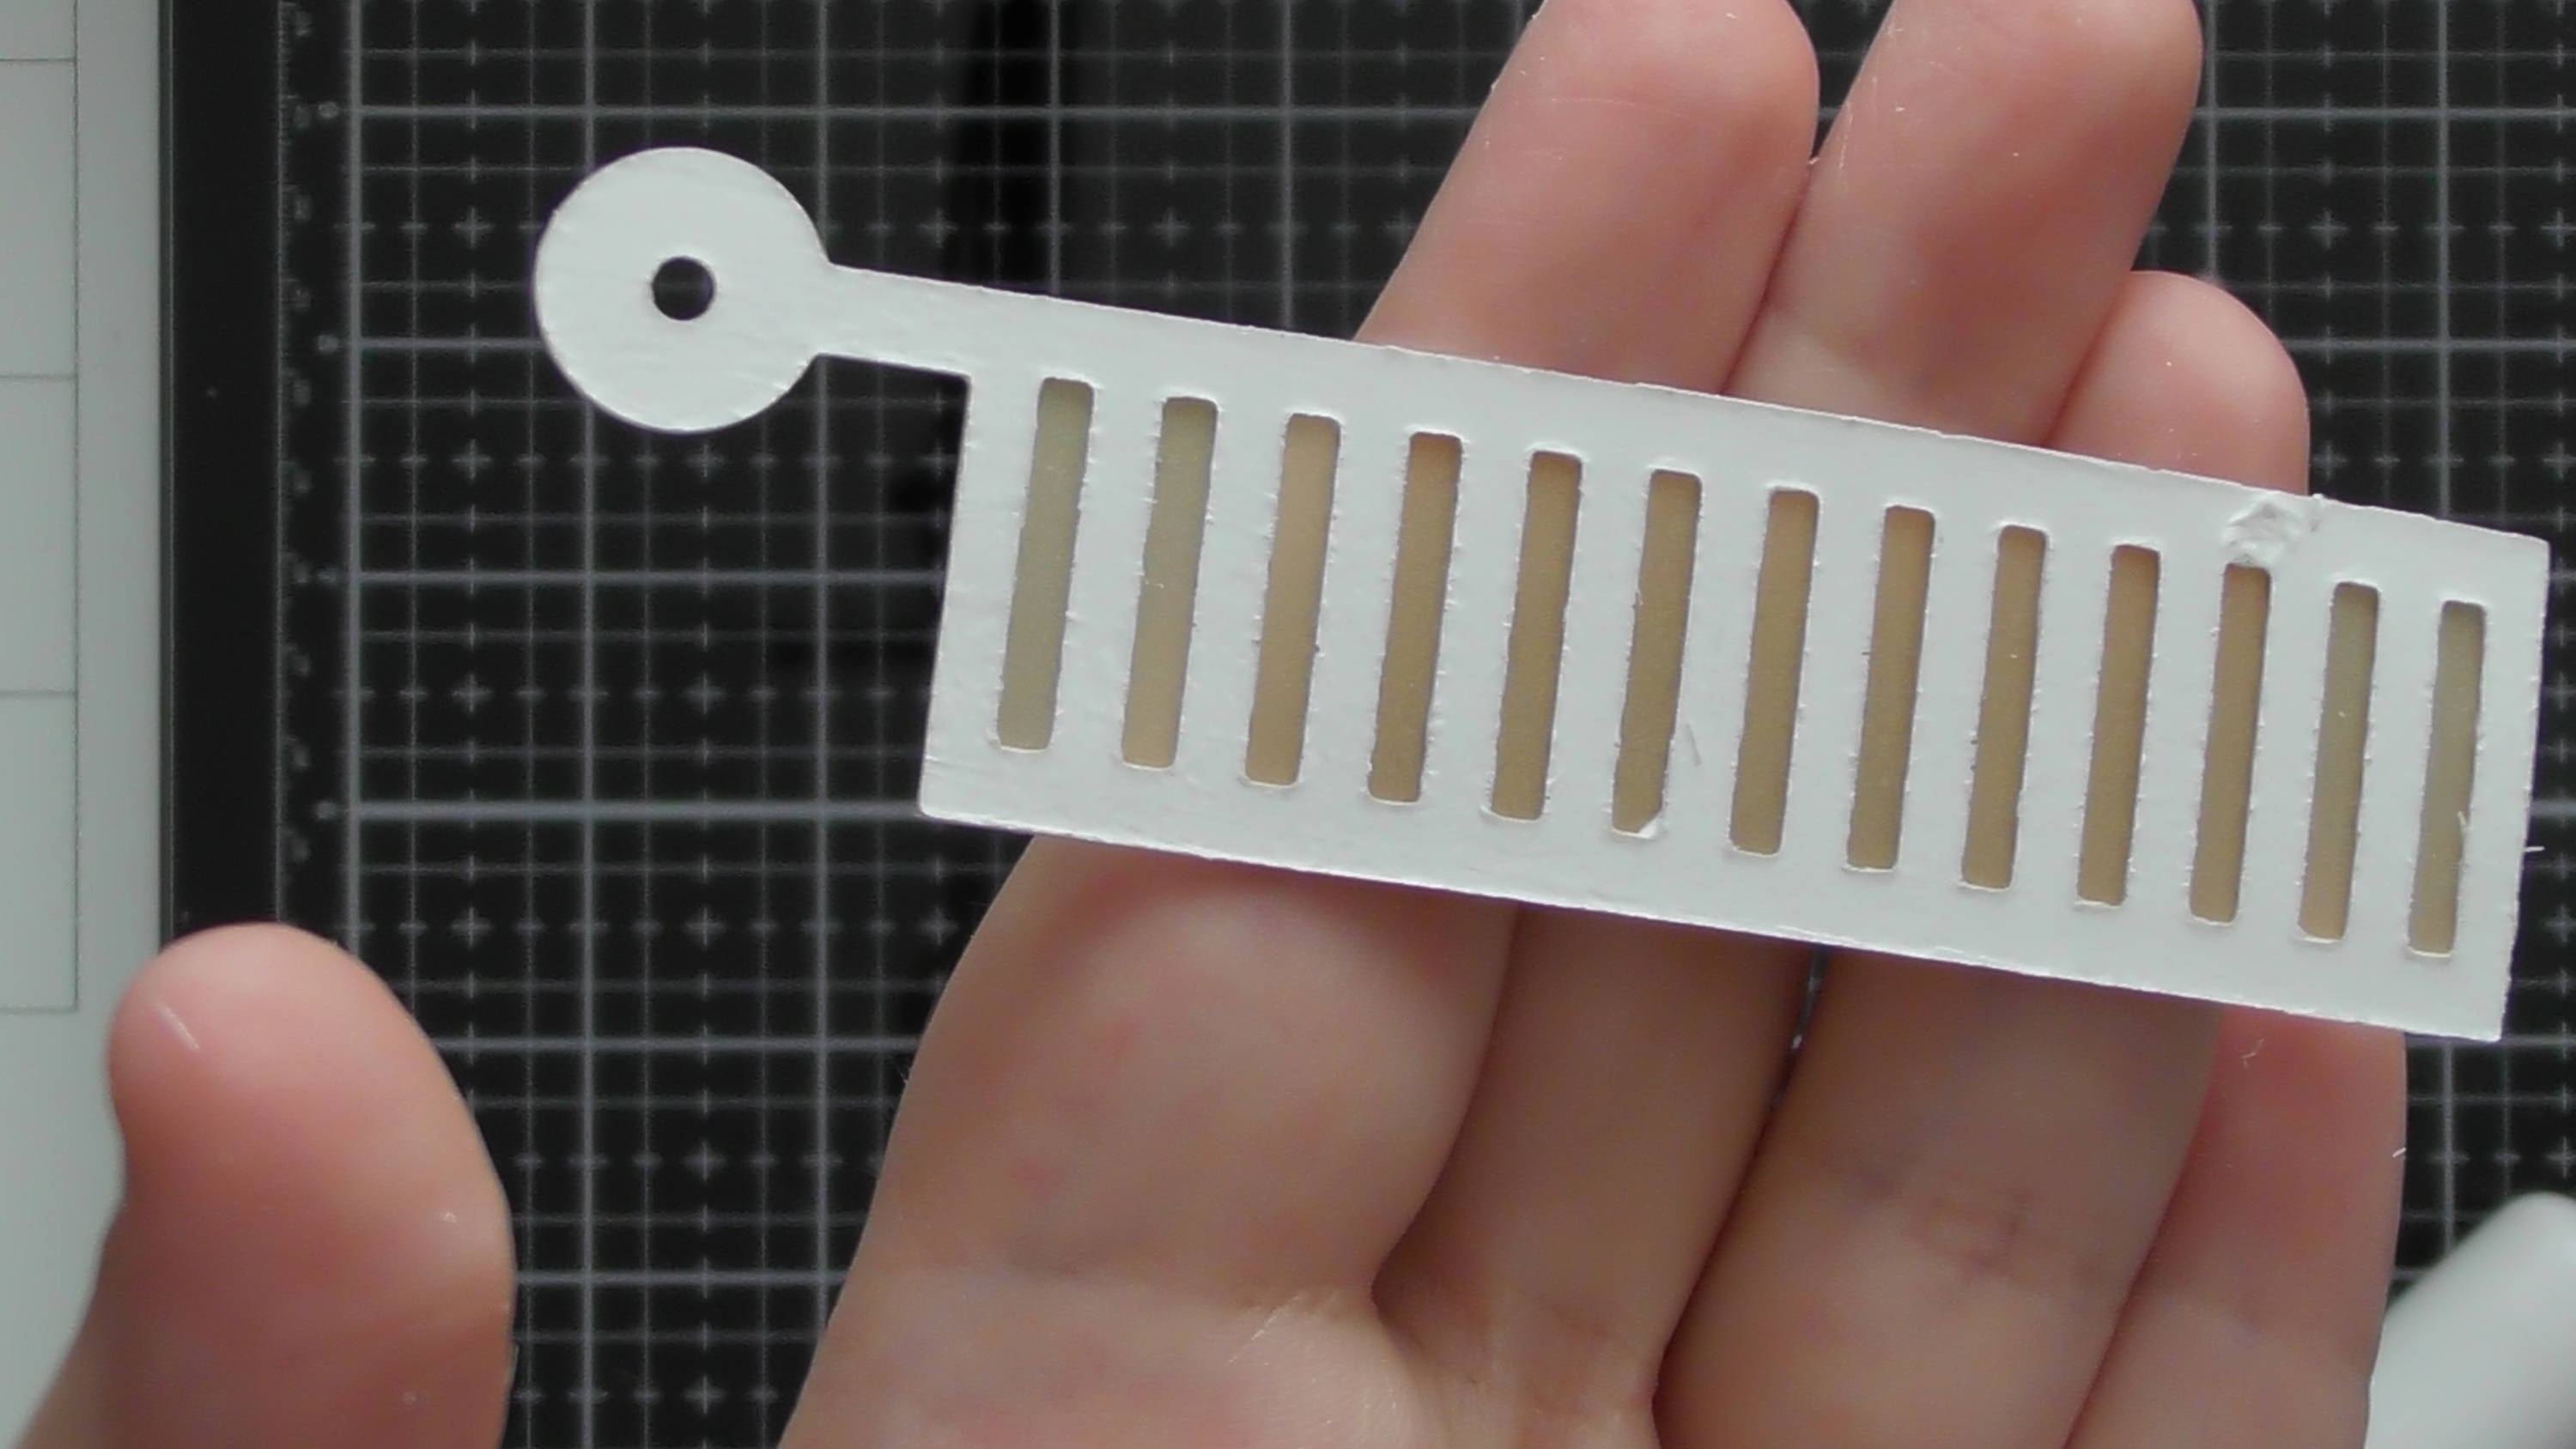
Flip it over and stick the other sale to the back, just to make them nice and sturdy.
Step 22

Repeat this for all 4 sails.
Step 23

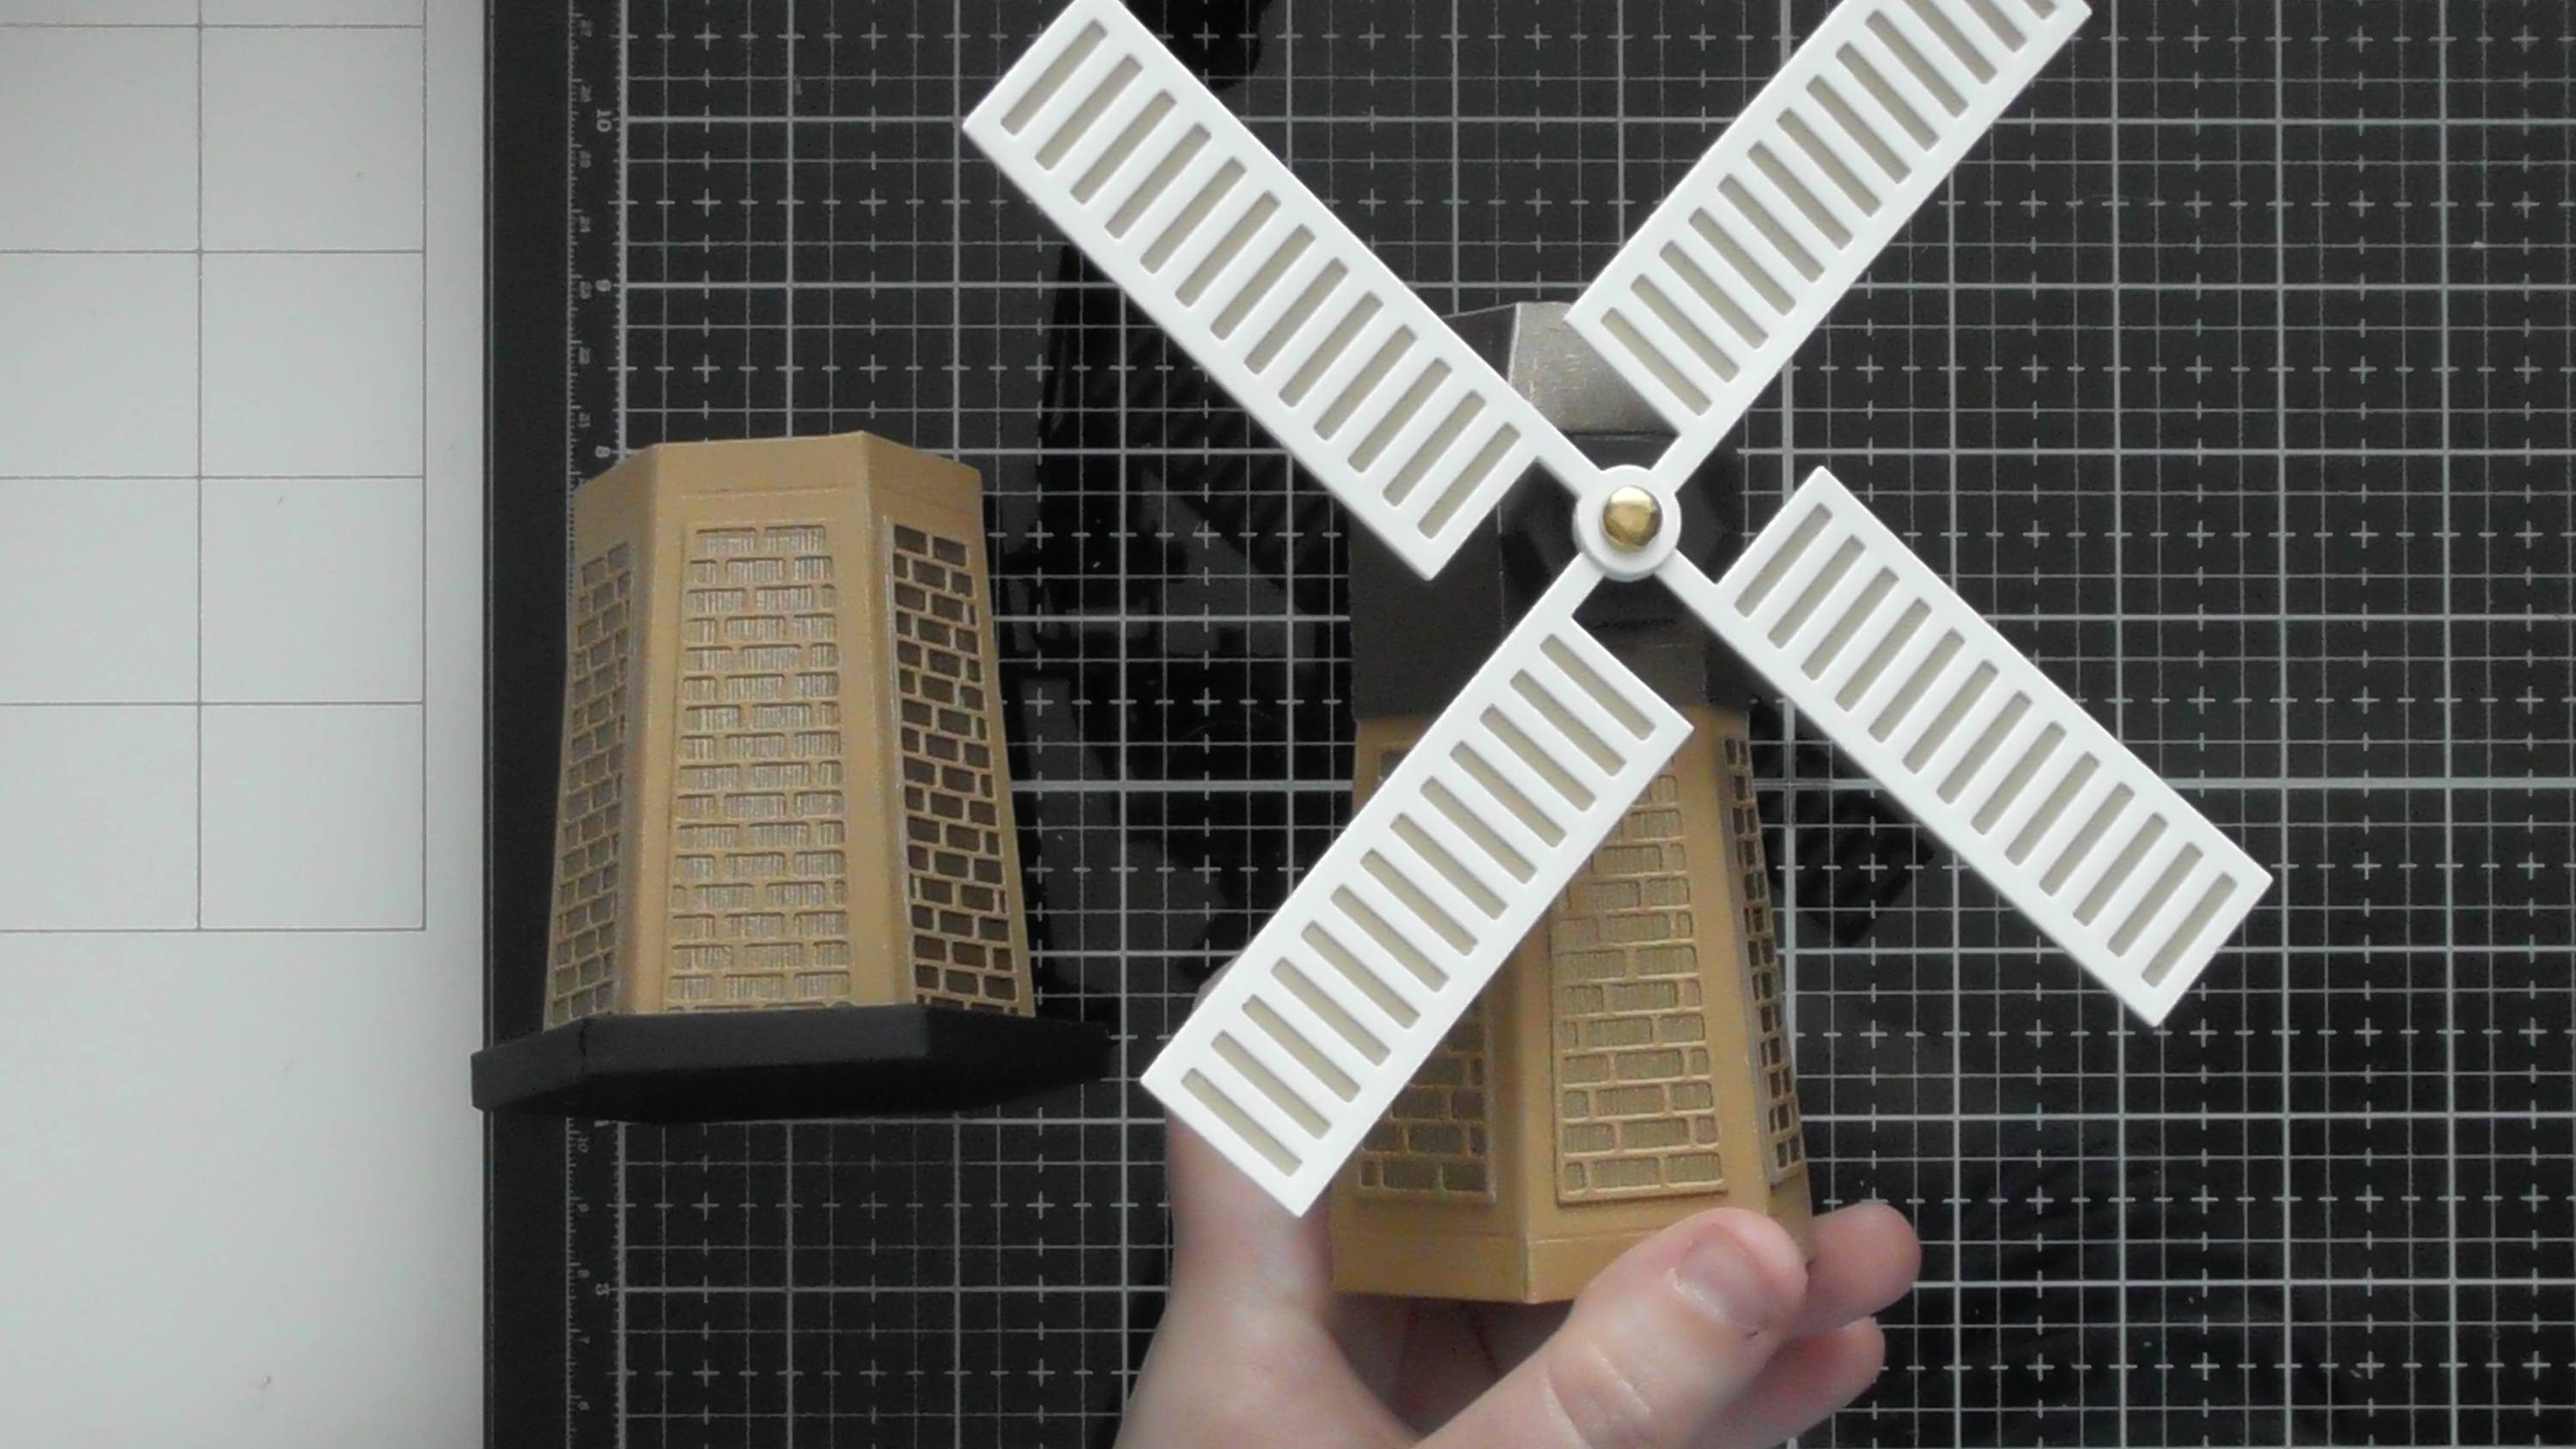
Begin attaching the sails together, we want them to all be at 90 degrees to each other, the grid lines on your glass mat help tremendously with this.
Step 24
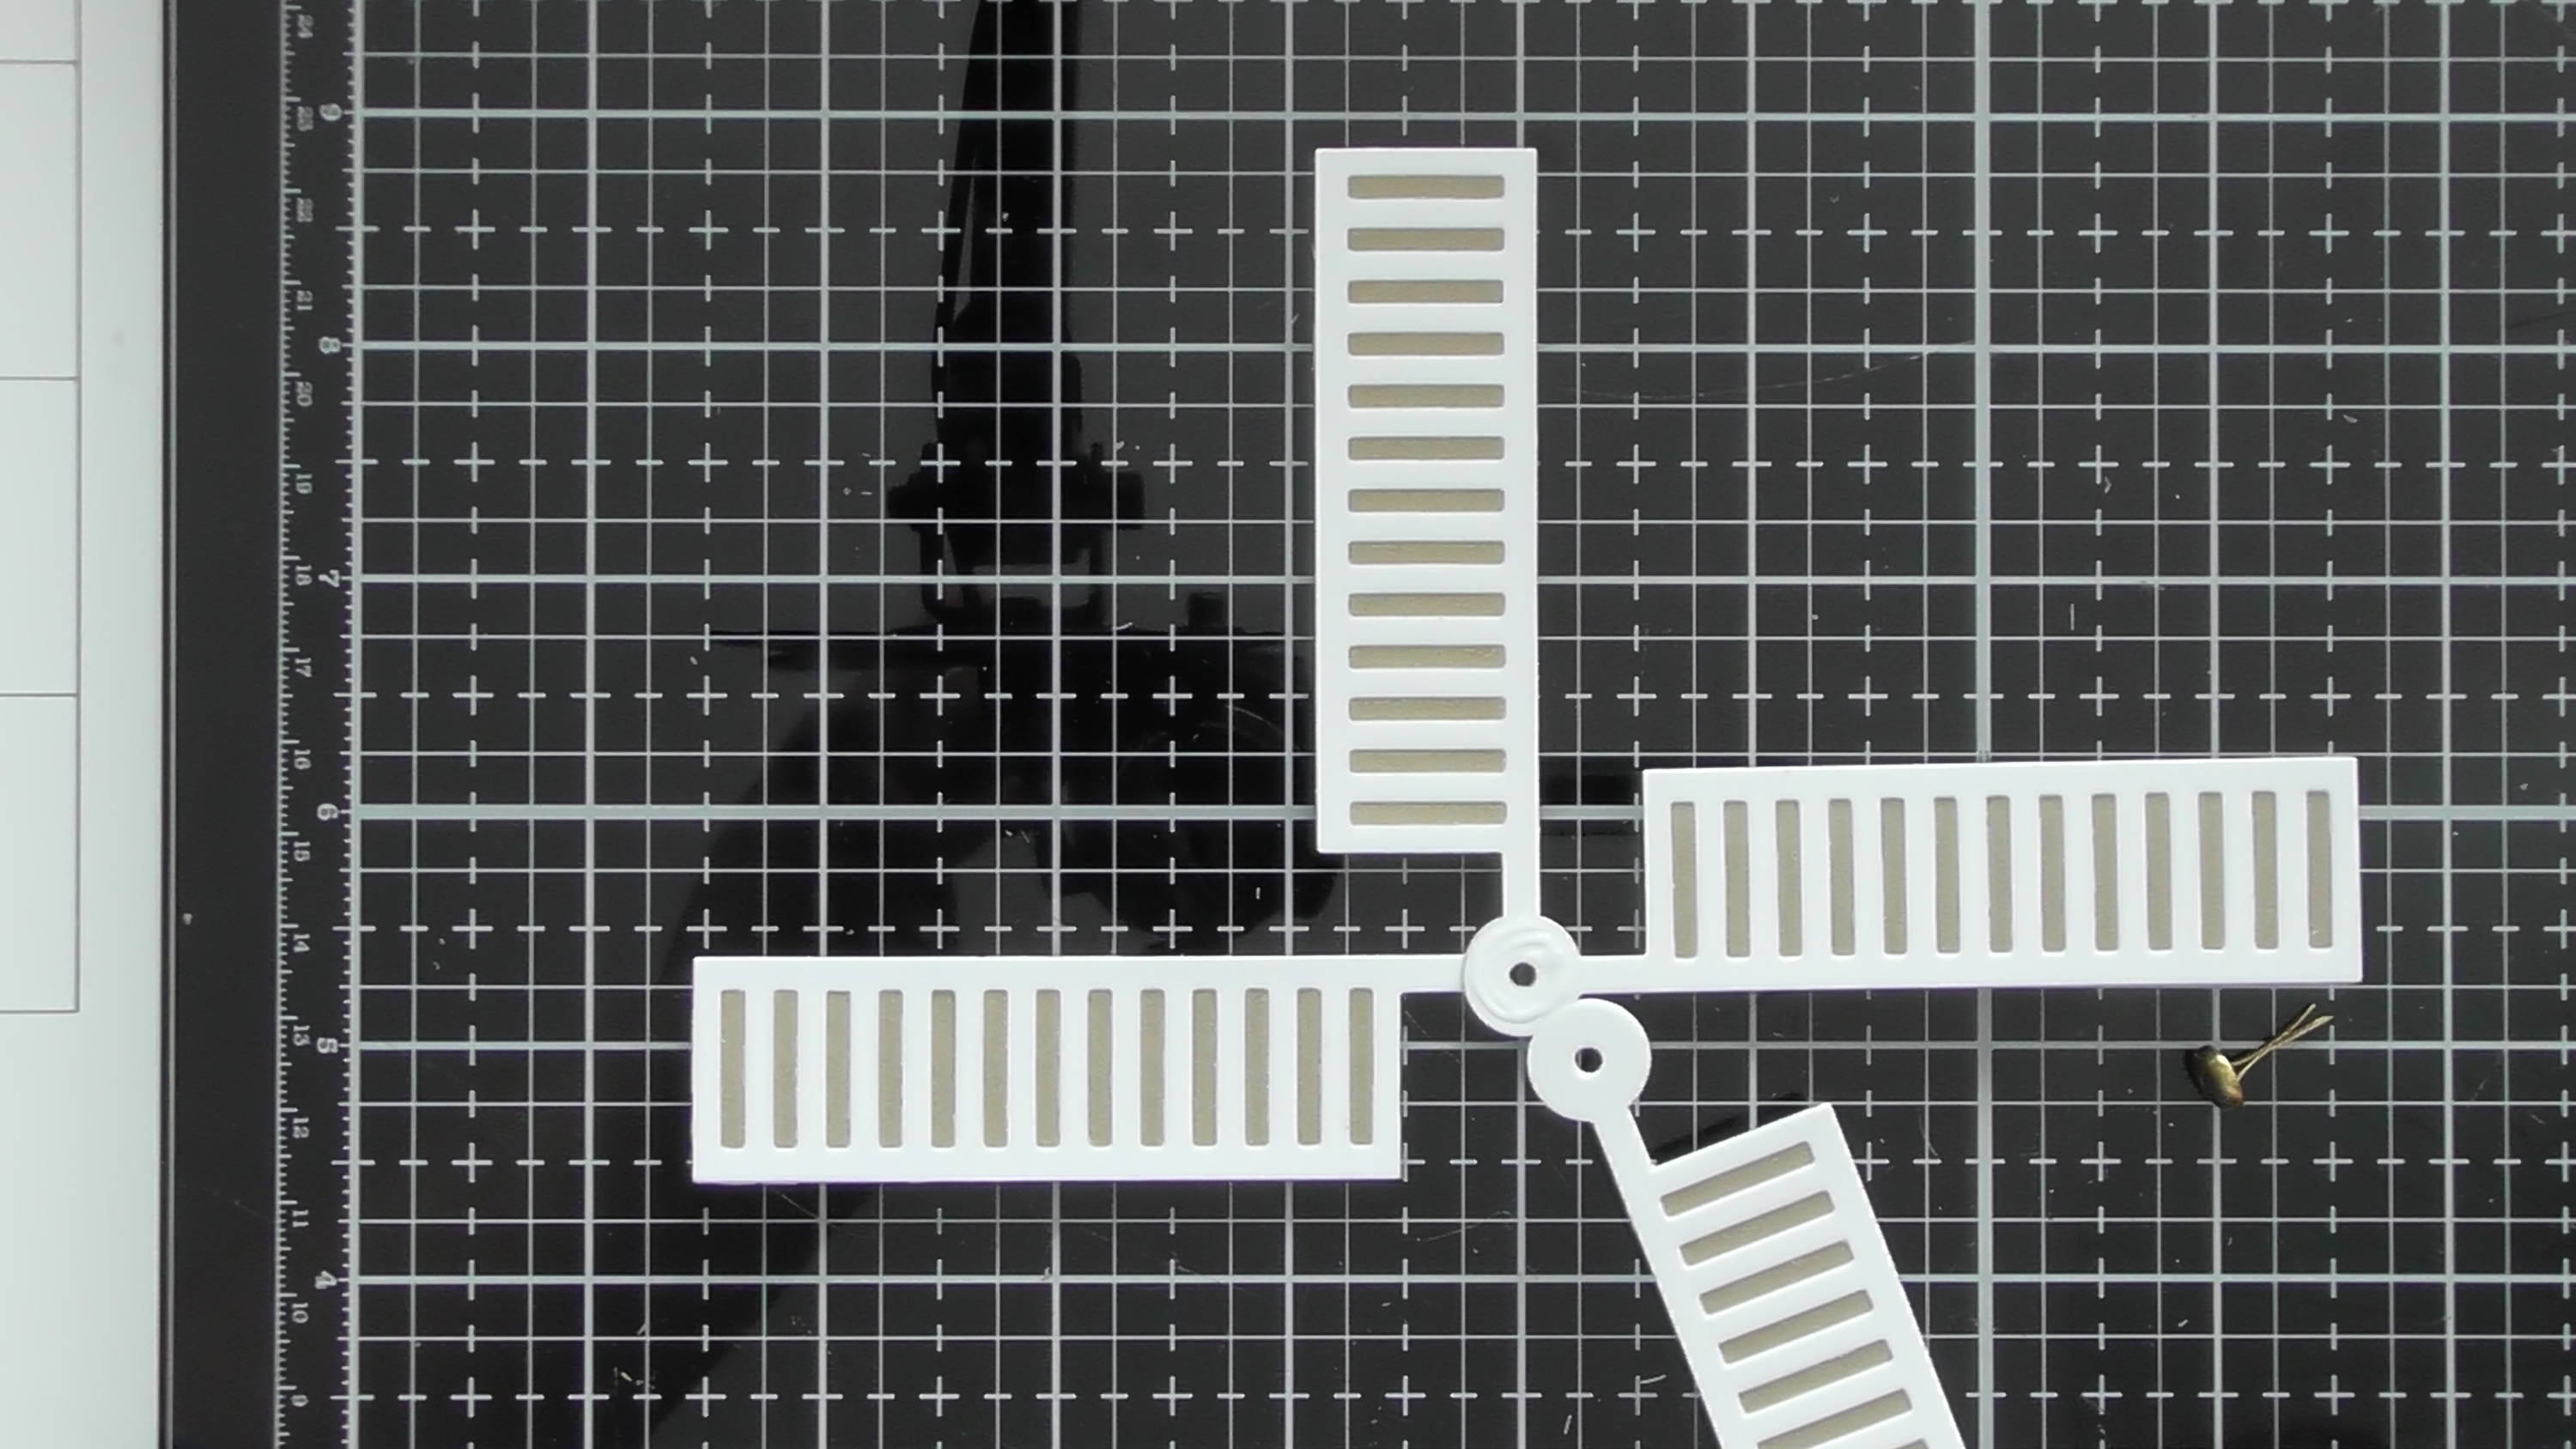
Add the last sail and leave to dry...
Step 25

To hold the sails onto the windmill, we need 2 of these die set, pre fold all the score lines for easier assembly...
Step 26
... Then add glue to the tiny triangular glue tabs...
Step 27
And bring the pieces together like so.
Step 28

You can now use a brad to attach the sails to this black piece...
Step 29
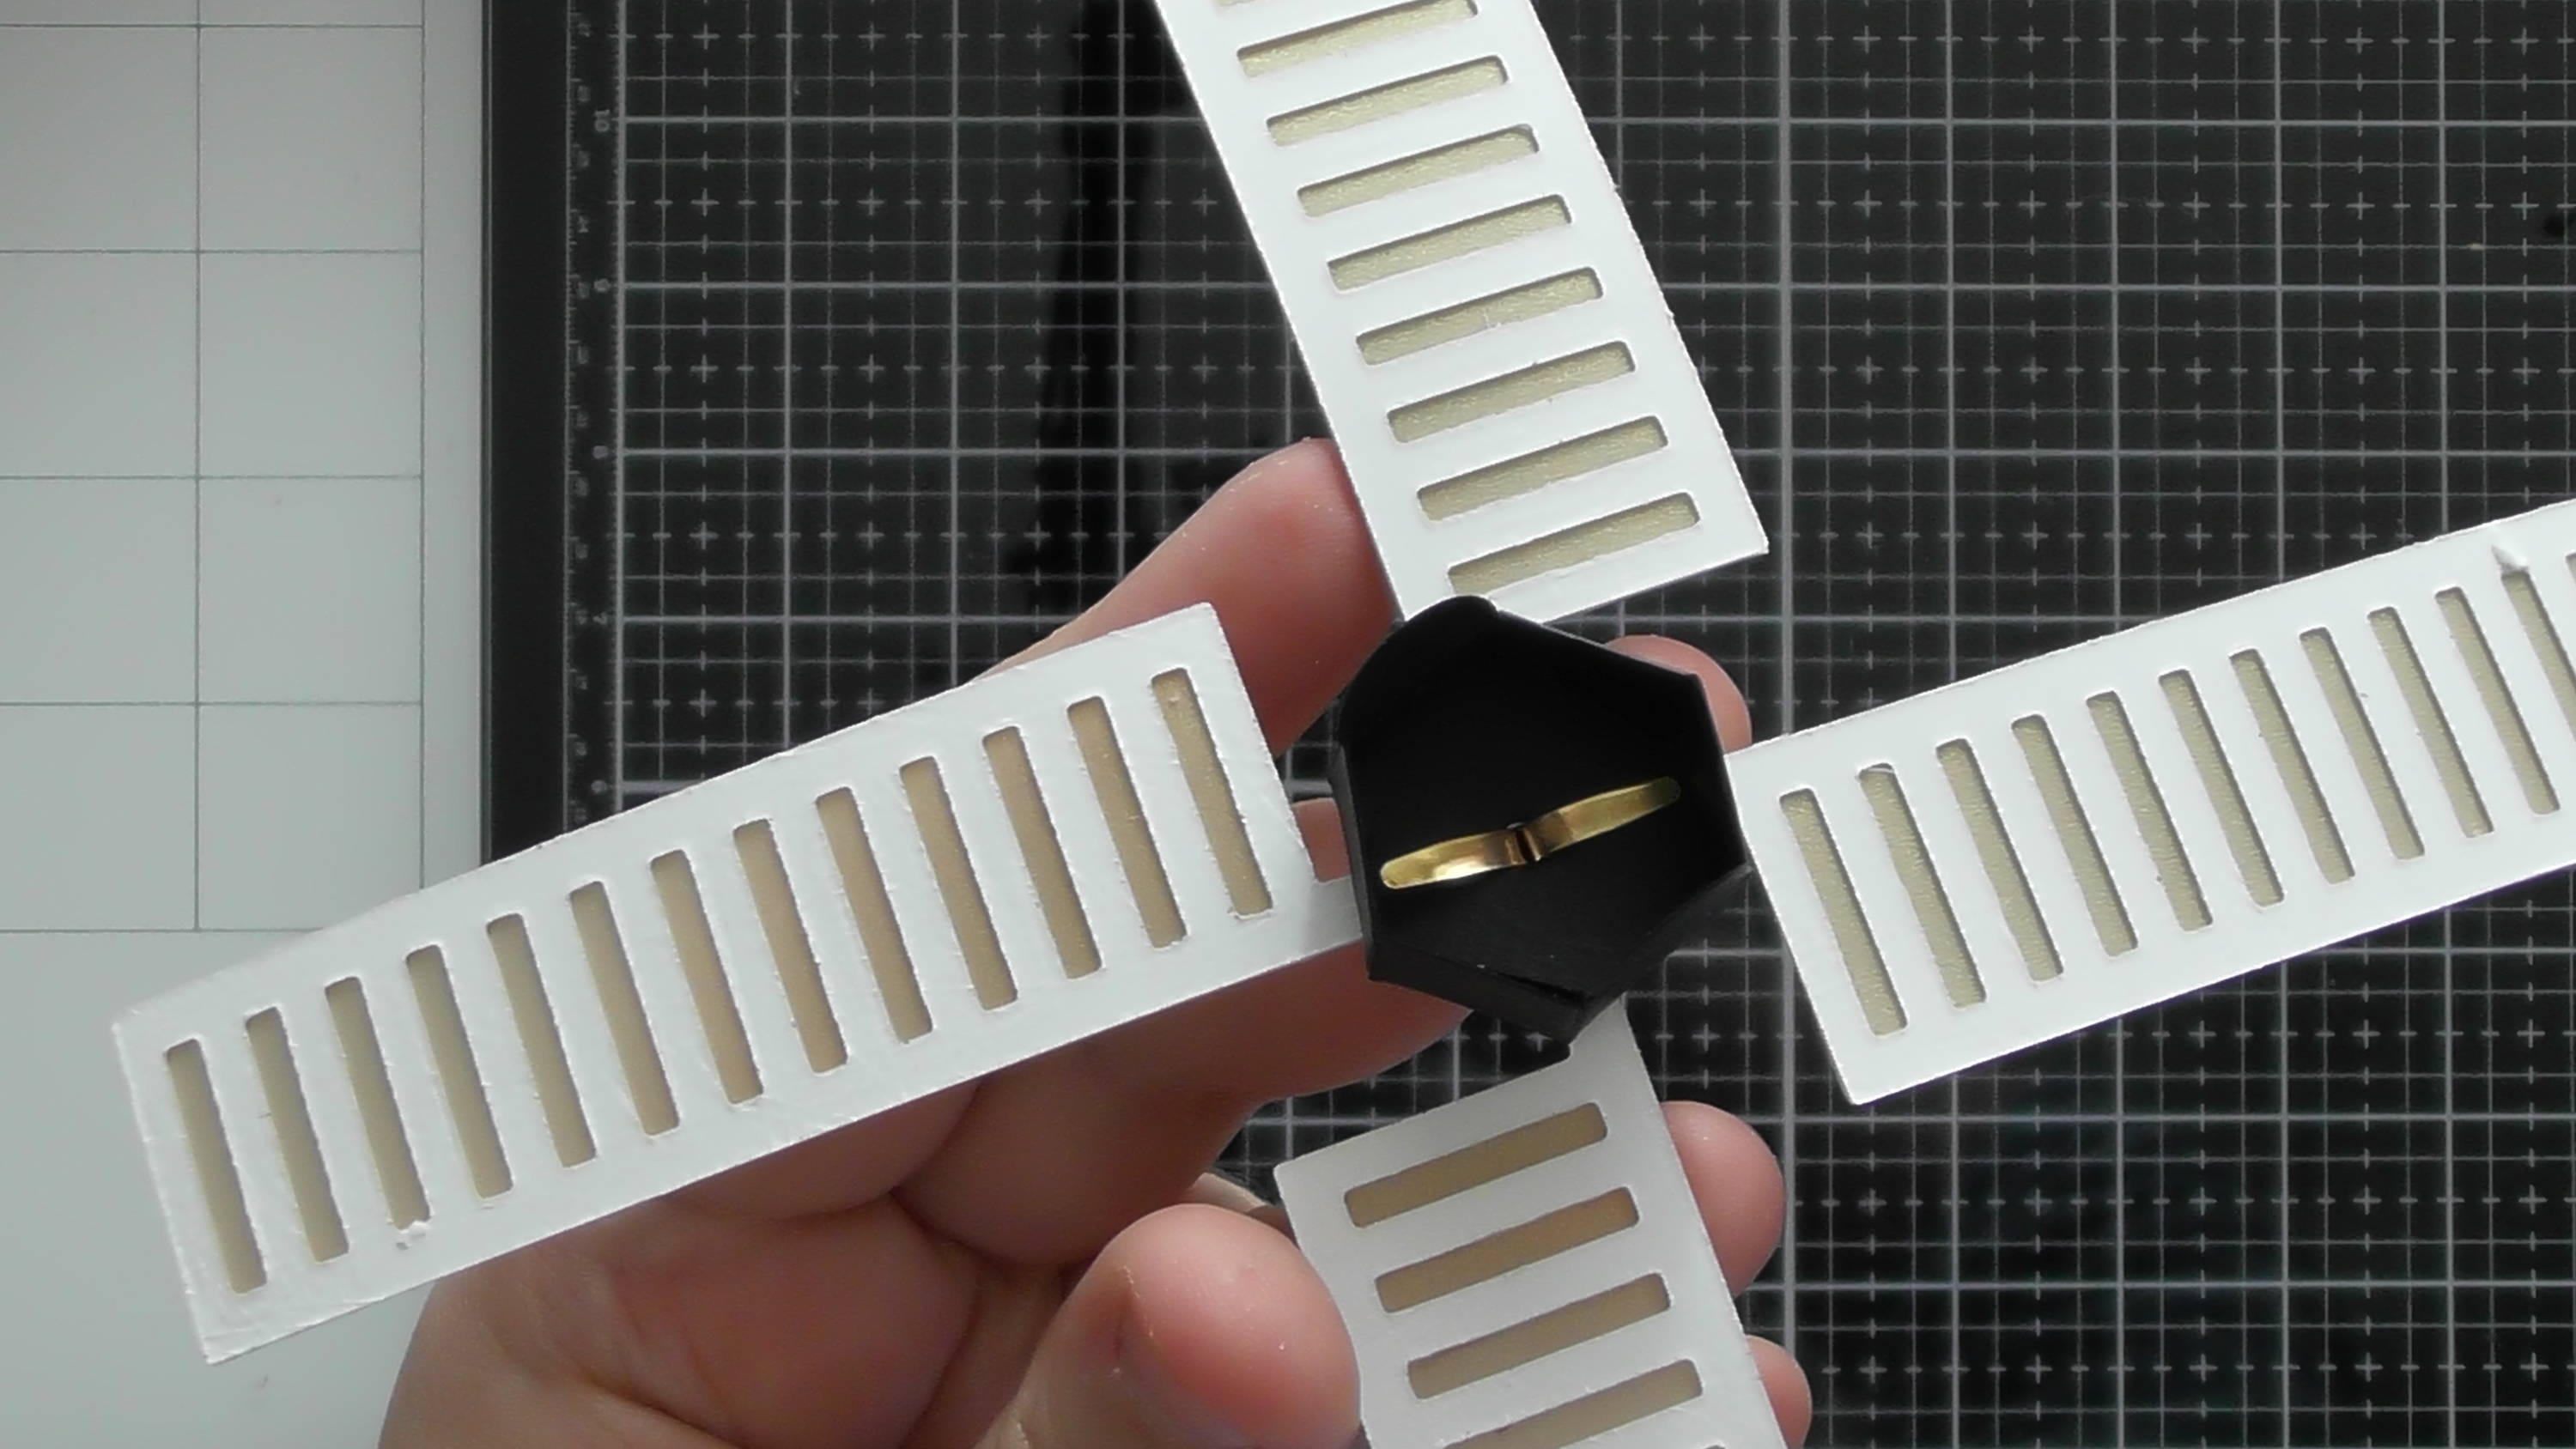
... Opening up the legs of the brad inside like so to secure them into place, then should still be able to spin...
Step 30
Back to the lid portion, add some red liner tape to those top curved tabs...
Step 31

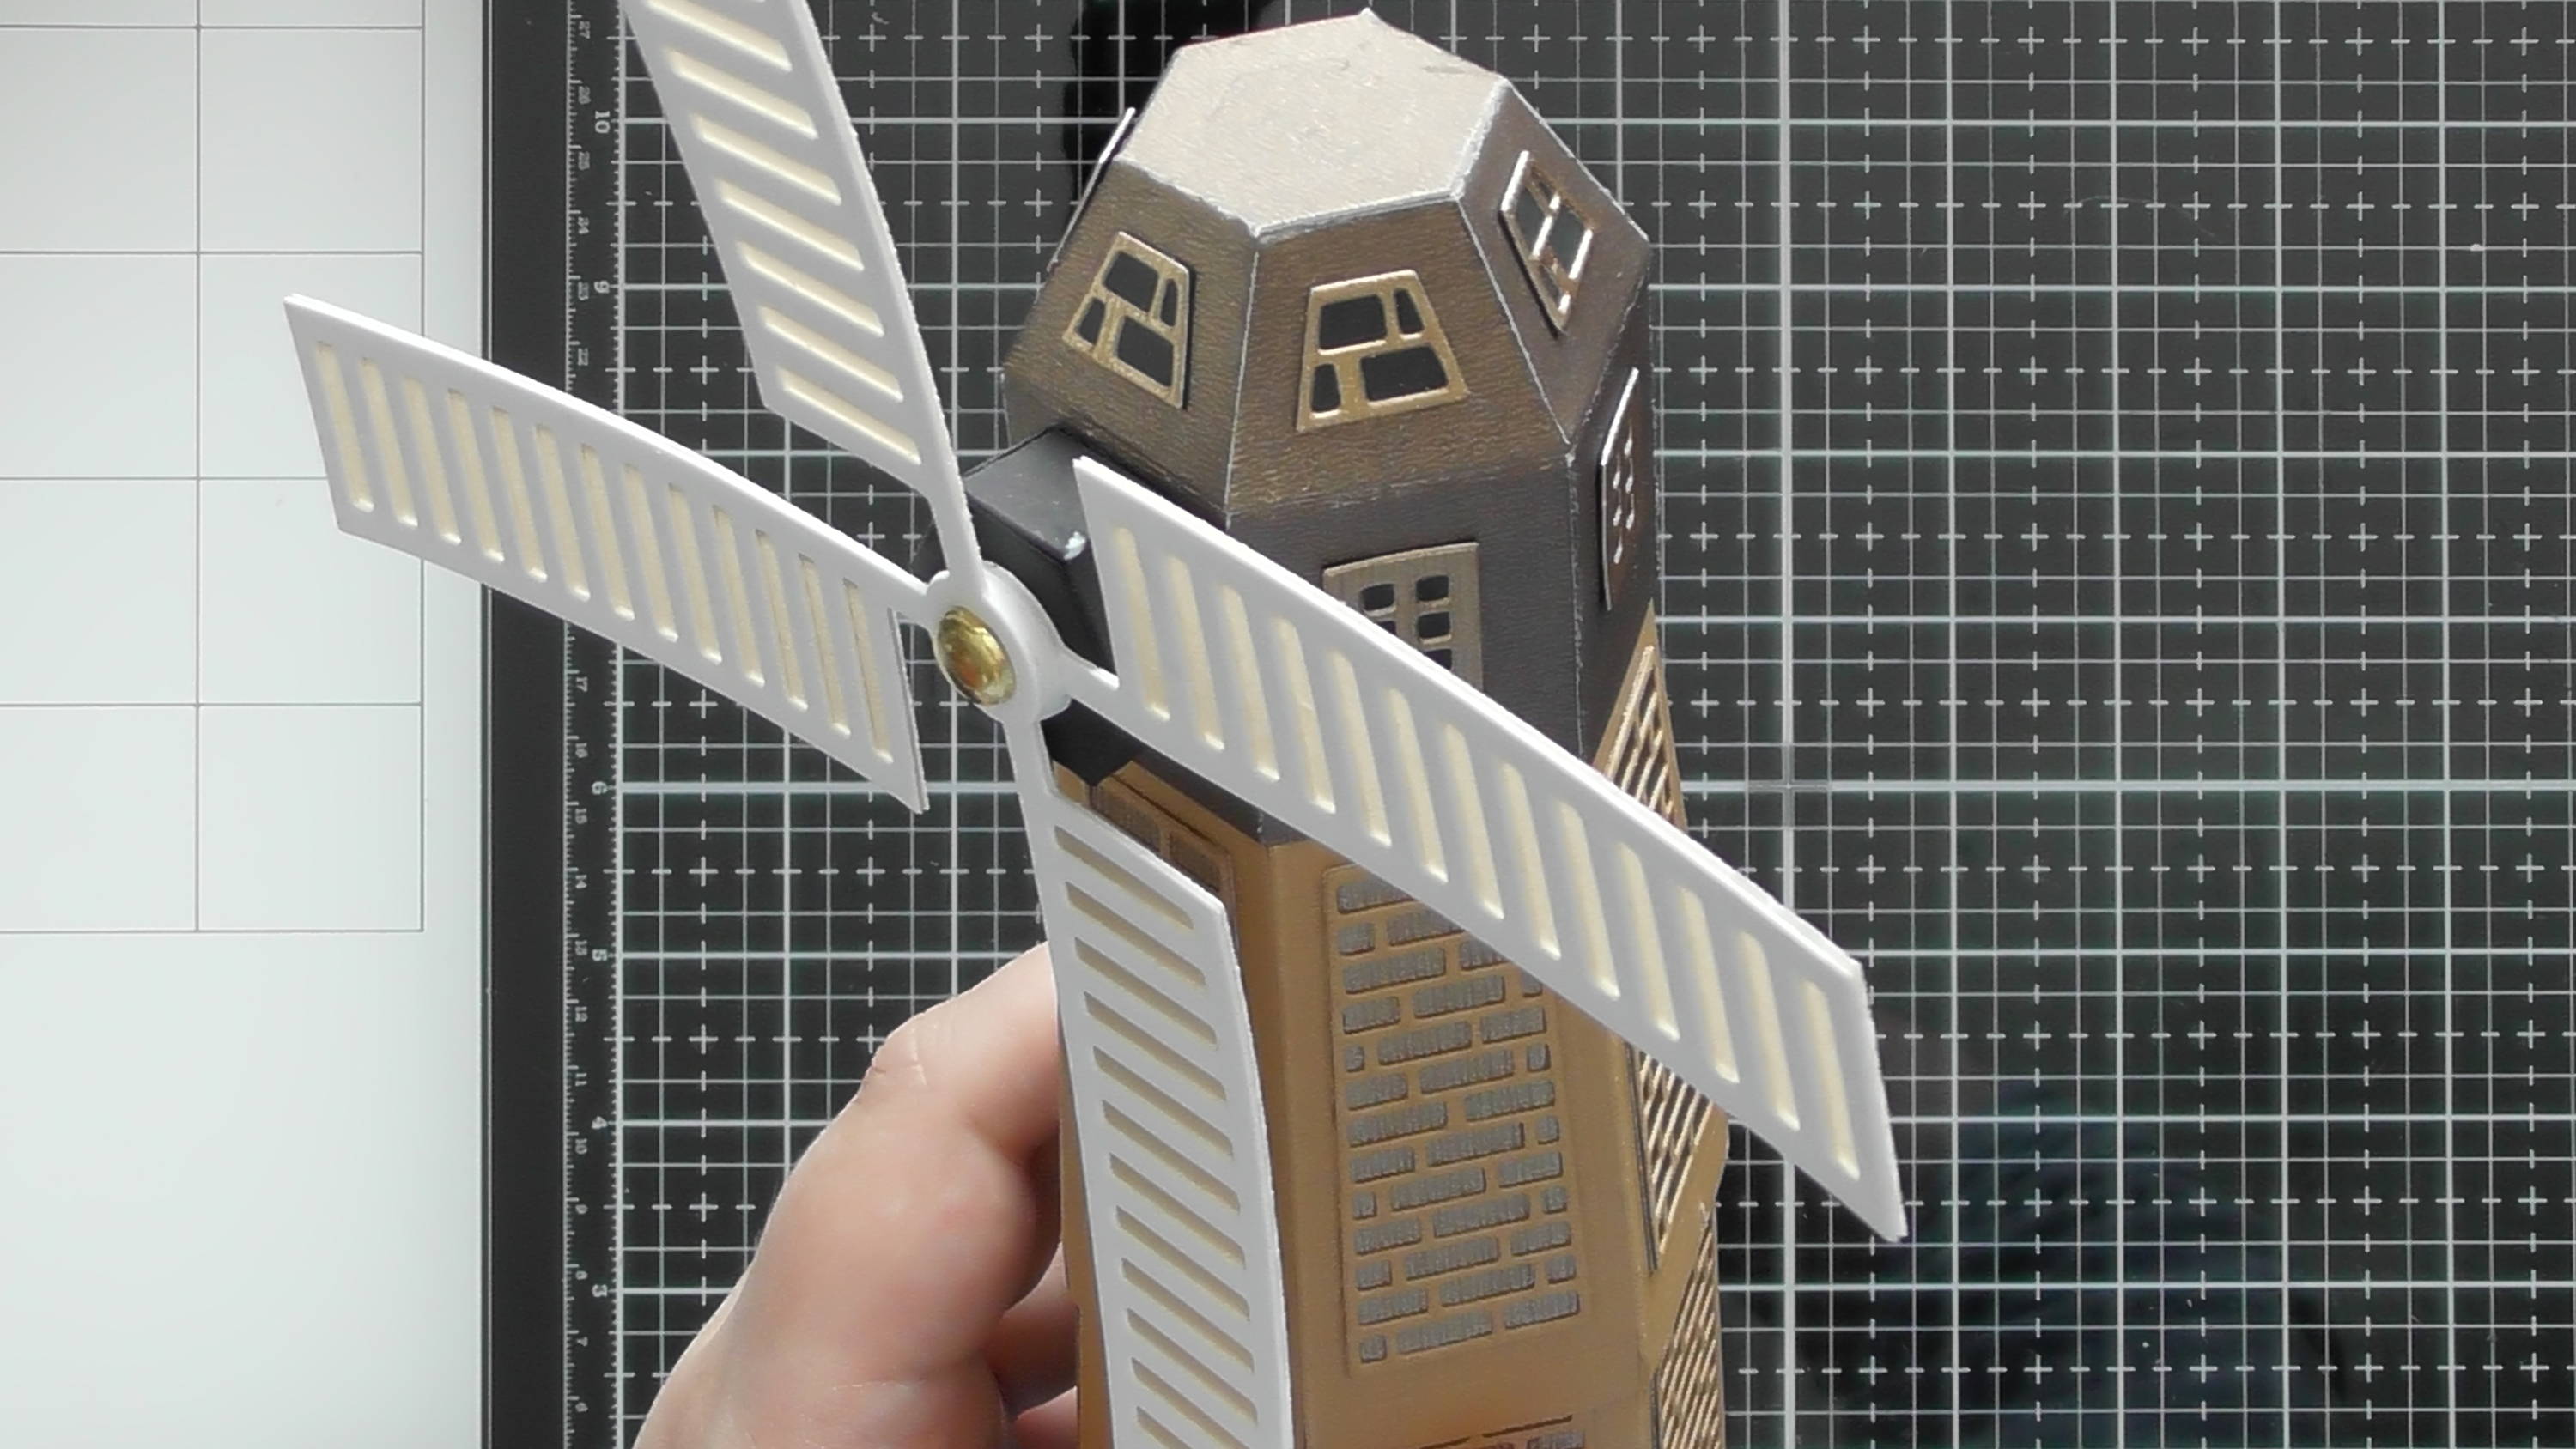
... Then add to top piece like so.
Step 32

Finally you can add the sails, using the 2 remaining glue tabs on that black hexagonal 3D piece.
Step 33
Finally we need a nice neat base, so die-cut 2 of these pieces, and pre fold all the score lines...
Step 34

... Twist the 2 pieces round and adhere together like so...
Step 35

... Then use the tiny triangular glue tabs to bring up the sides...
Step 36
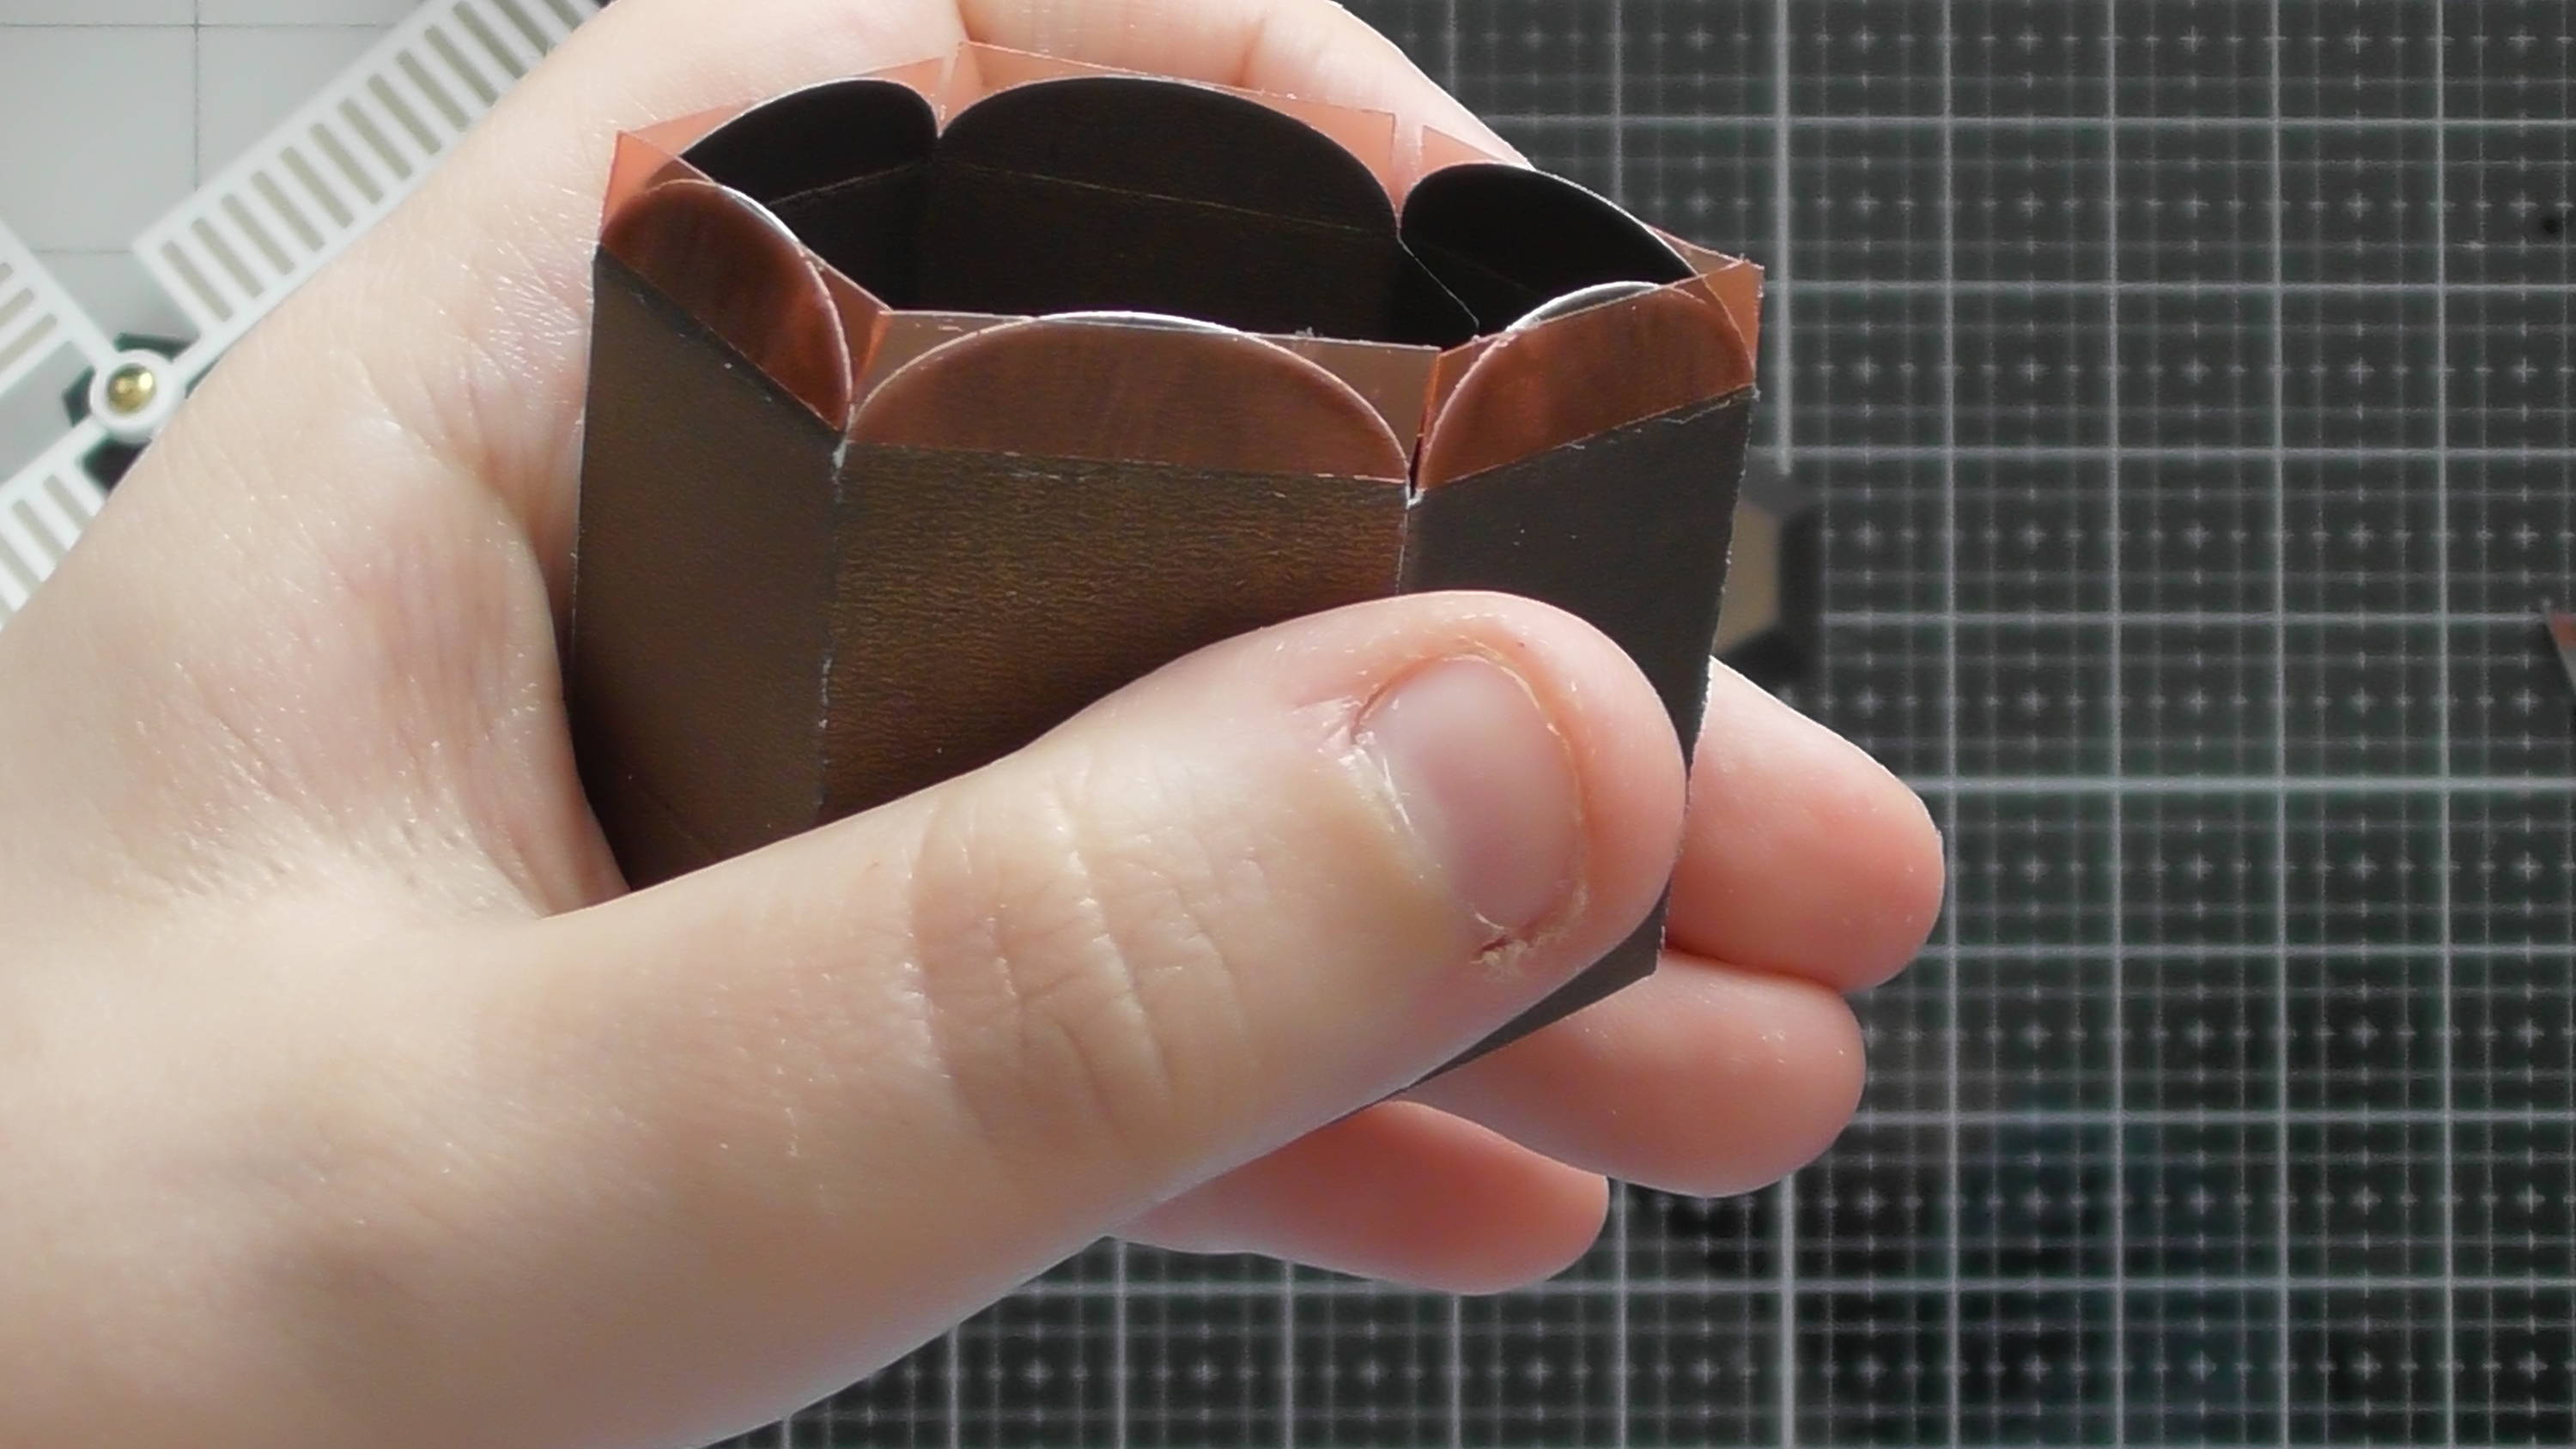
... Add glue to this section, and tuck it under so it sticks to the base ...
Step 37
... So you end up with a piece like this once all the pieces are tucked under.
Step 38
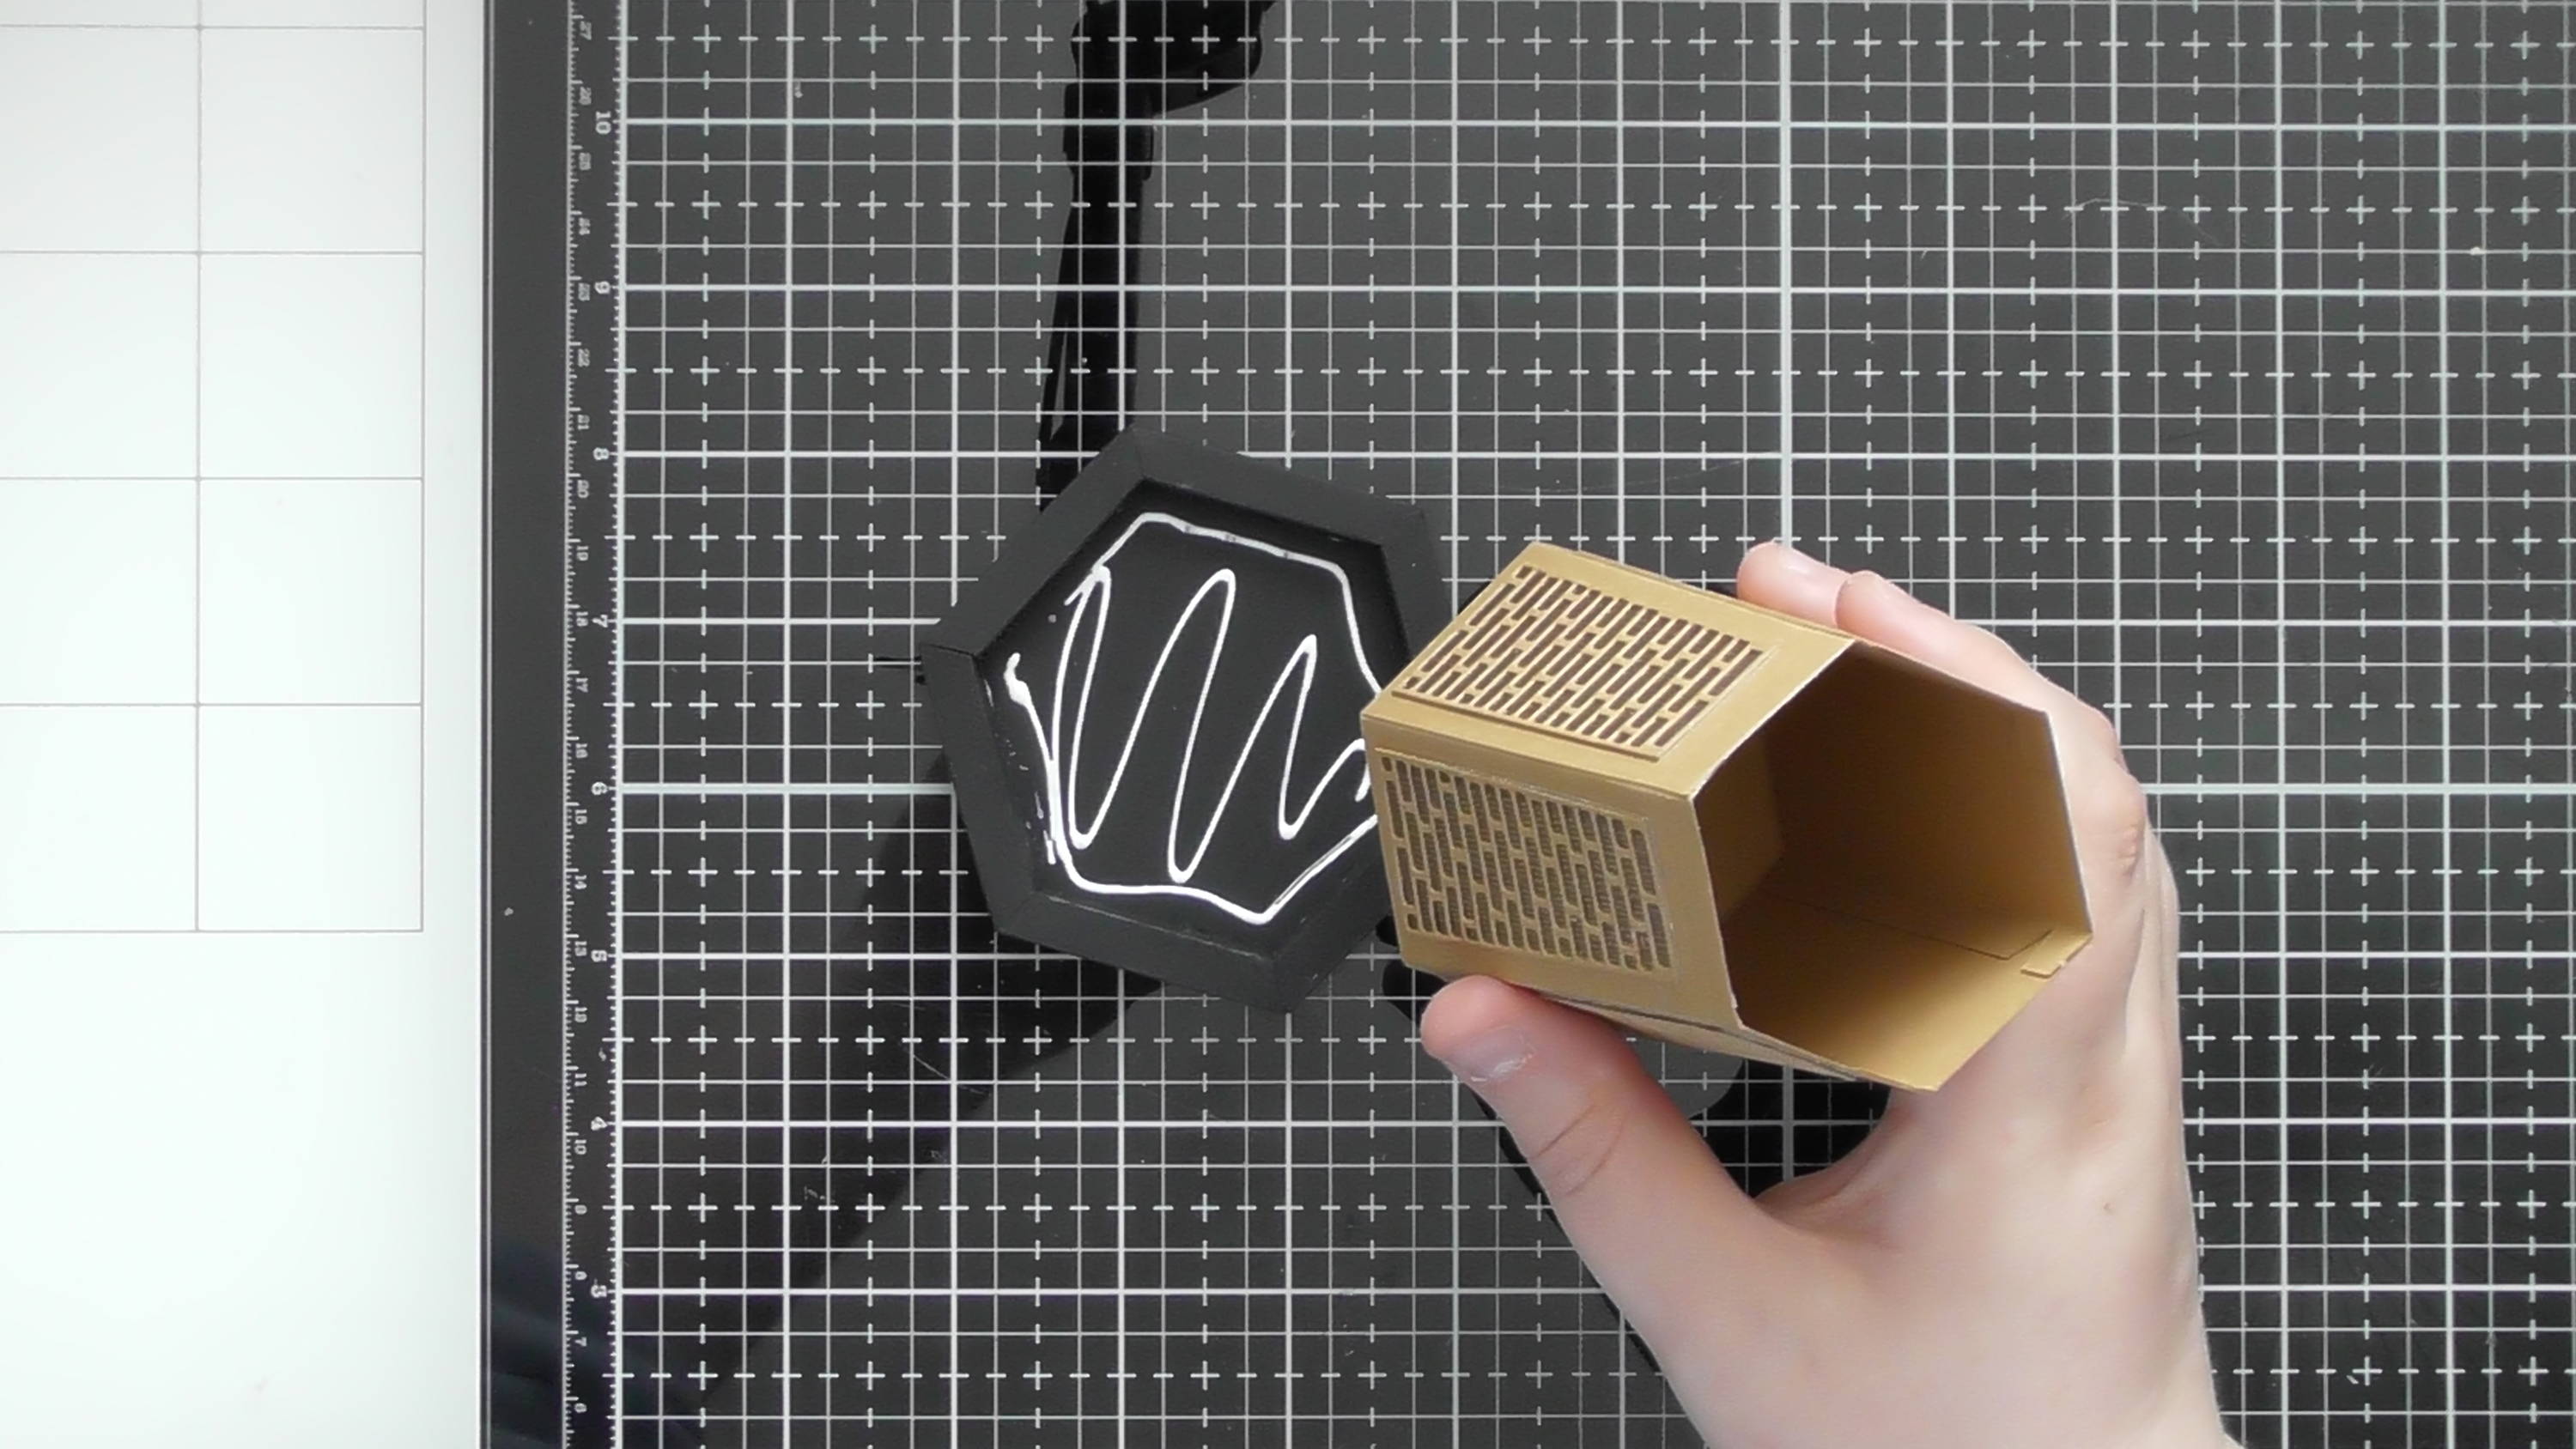
Add some glue into the centre, and place the base inside.
Step 39

Now you can decide where you want to adhere the piece, you can make the whole bottom piece whole, as shown...
Step 40
... Or you can stick the lid to the top half and have the box opening in the centre ...
Step 41
You’ve also got plenty of extra dies to add windows and doors to the windmill too :D
Buy The Craft Project
